General

Some Slight Hypocrisy

A while back, I decided to abandon super fine sharpening stones because my 1200 and 8000 grit diamond plates had worn unevenly and were ruining my plane irons. After much consideration, I have relented and picked up another 1200 grit plate for plane iron sharpening.

I did so not because sharpening only to 600 grit didn’t get the job done. On the contrary, I would defy anyone to notice the difference from a more highly polished iron.

I reacquired a 1200 grit plate because I was removing far too much material during routine sharpening. Even a couple of swipes to dress up an edge was eradicating the slight camber I put on my irons, turning routine sharpening into a grinding-level ordeal. Micro bevels became nigh-impossible and the ruler trick was rendered useless with the heavier grit.

I will say that all my irons are flatter than ever after two months of sharpening only to 600 grit, but I am hoping that the finer stone will bring routine sharpening back to an under-two minute endeavor. And that’s the point, right? Making it easier?

JPG

Through the Gauntlet

Sticking with the theme from Michael’s guest spot last week, let’s talk about preparing rough stock for joinery.

One of my most favorite things to do in the world is plane a piece of wood S2S (i.e., Surfaced Two Sides) by hand.  Going from rough stock to two perfectly straight, perfectly square sides entirely by hand is such a joy.  A face mark, then a square mark and some arrows to indicate grain direction.  Onto the next board!

The pile of wood grows almost as quickly as the pile of shavings.

And the pile of boards grows almost as quickly as the pile of shavings.

One of my least favorite things to do in the world is plane a piece of wood S4S by hand.  Going from two sides perfectly straight, perfectly square to four square entirely by hand is such a pain.  And that is why I still own and often use a thickness planer (it lives at my parents’ house), even though I do mostly hand tool woodworking.

Ready to load into the car.

Ready to load into the car.

On thicker stock like the above Douglas Fir which is for a miniature workbench for my niece and nephew (more on that another time), it is so convenient to send the S2S boards through the thicknesser to clean up the remaining sides.  Then just a quick smoothing plane to take out any plane marks and I’m good to go.  On thinner stock, I’ll actually thickness just one face (making it S3S?) and use the traditional method to square the final side.

Top piece is now S4S; bottom piece is now S3S.

Top piece is S4S straight out of the thicknesser; bottom piece is S3S(?) and ready for ripping/final squaring down do the gauge line.

I quickly came to realize that when thicknessing it’s imperative to know grain direction.  Tear-out from power planing is so much worse than tear-out from all but the heaviest set hand plane. That’s why I’ve gotten into the habit of indicating grain direction on all my S2S boards.  Keeping track of which way to pass a board through the thicknesser can mean the difference between a light pass just to square up a side and having to mill down another 1/4 inch to get to clear grain (or, even worse, having to mill another board entirely).

My thickness planer may be an hour and a half round trip drive away (plus the time for milling), but it ultimately saves me time and frustration.  And that is good enough for me.

JPG

A Rectilinear Corner

Editor’s Note: today, we’re doing something a bit different.  Michael, a friend, fellow-woodworker and fellow-lawyer, whom I have known for literal decades, has graciously agreed (after much prodding by me) to write a guest spot for TheApartmentWoodworker.com.  I think Michael brings up a prescient point about the modern woodworker.  In the past, many artisans would have contributed to a single piece of furniture.  Nowadays, hobbyist woodworkers are convinced they must be jack-of-all-trades craftspeople.  This is certainly not true, and there is great value and efficiency in outsourcing certain project parts. I also learned a new word (rectilinear). Thank you, Michael!
JPG
– – –
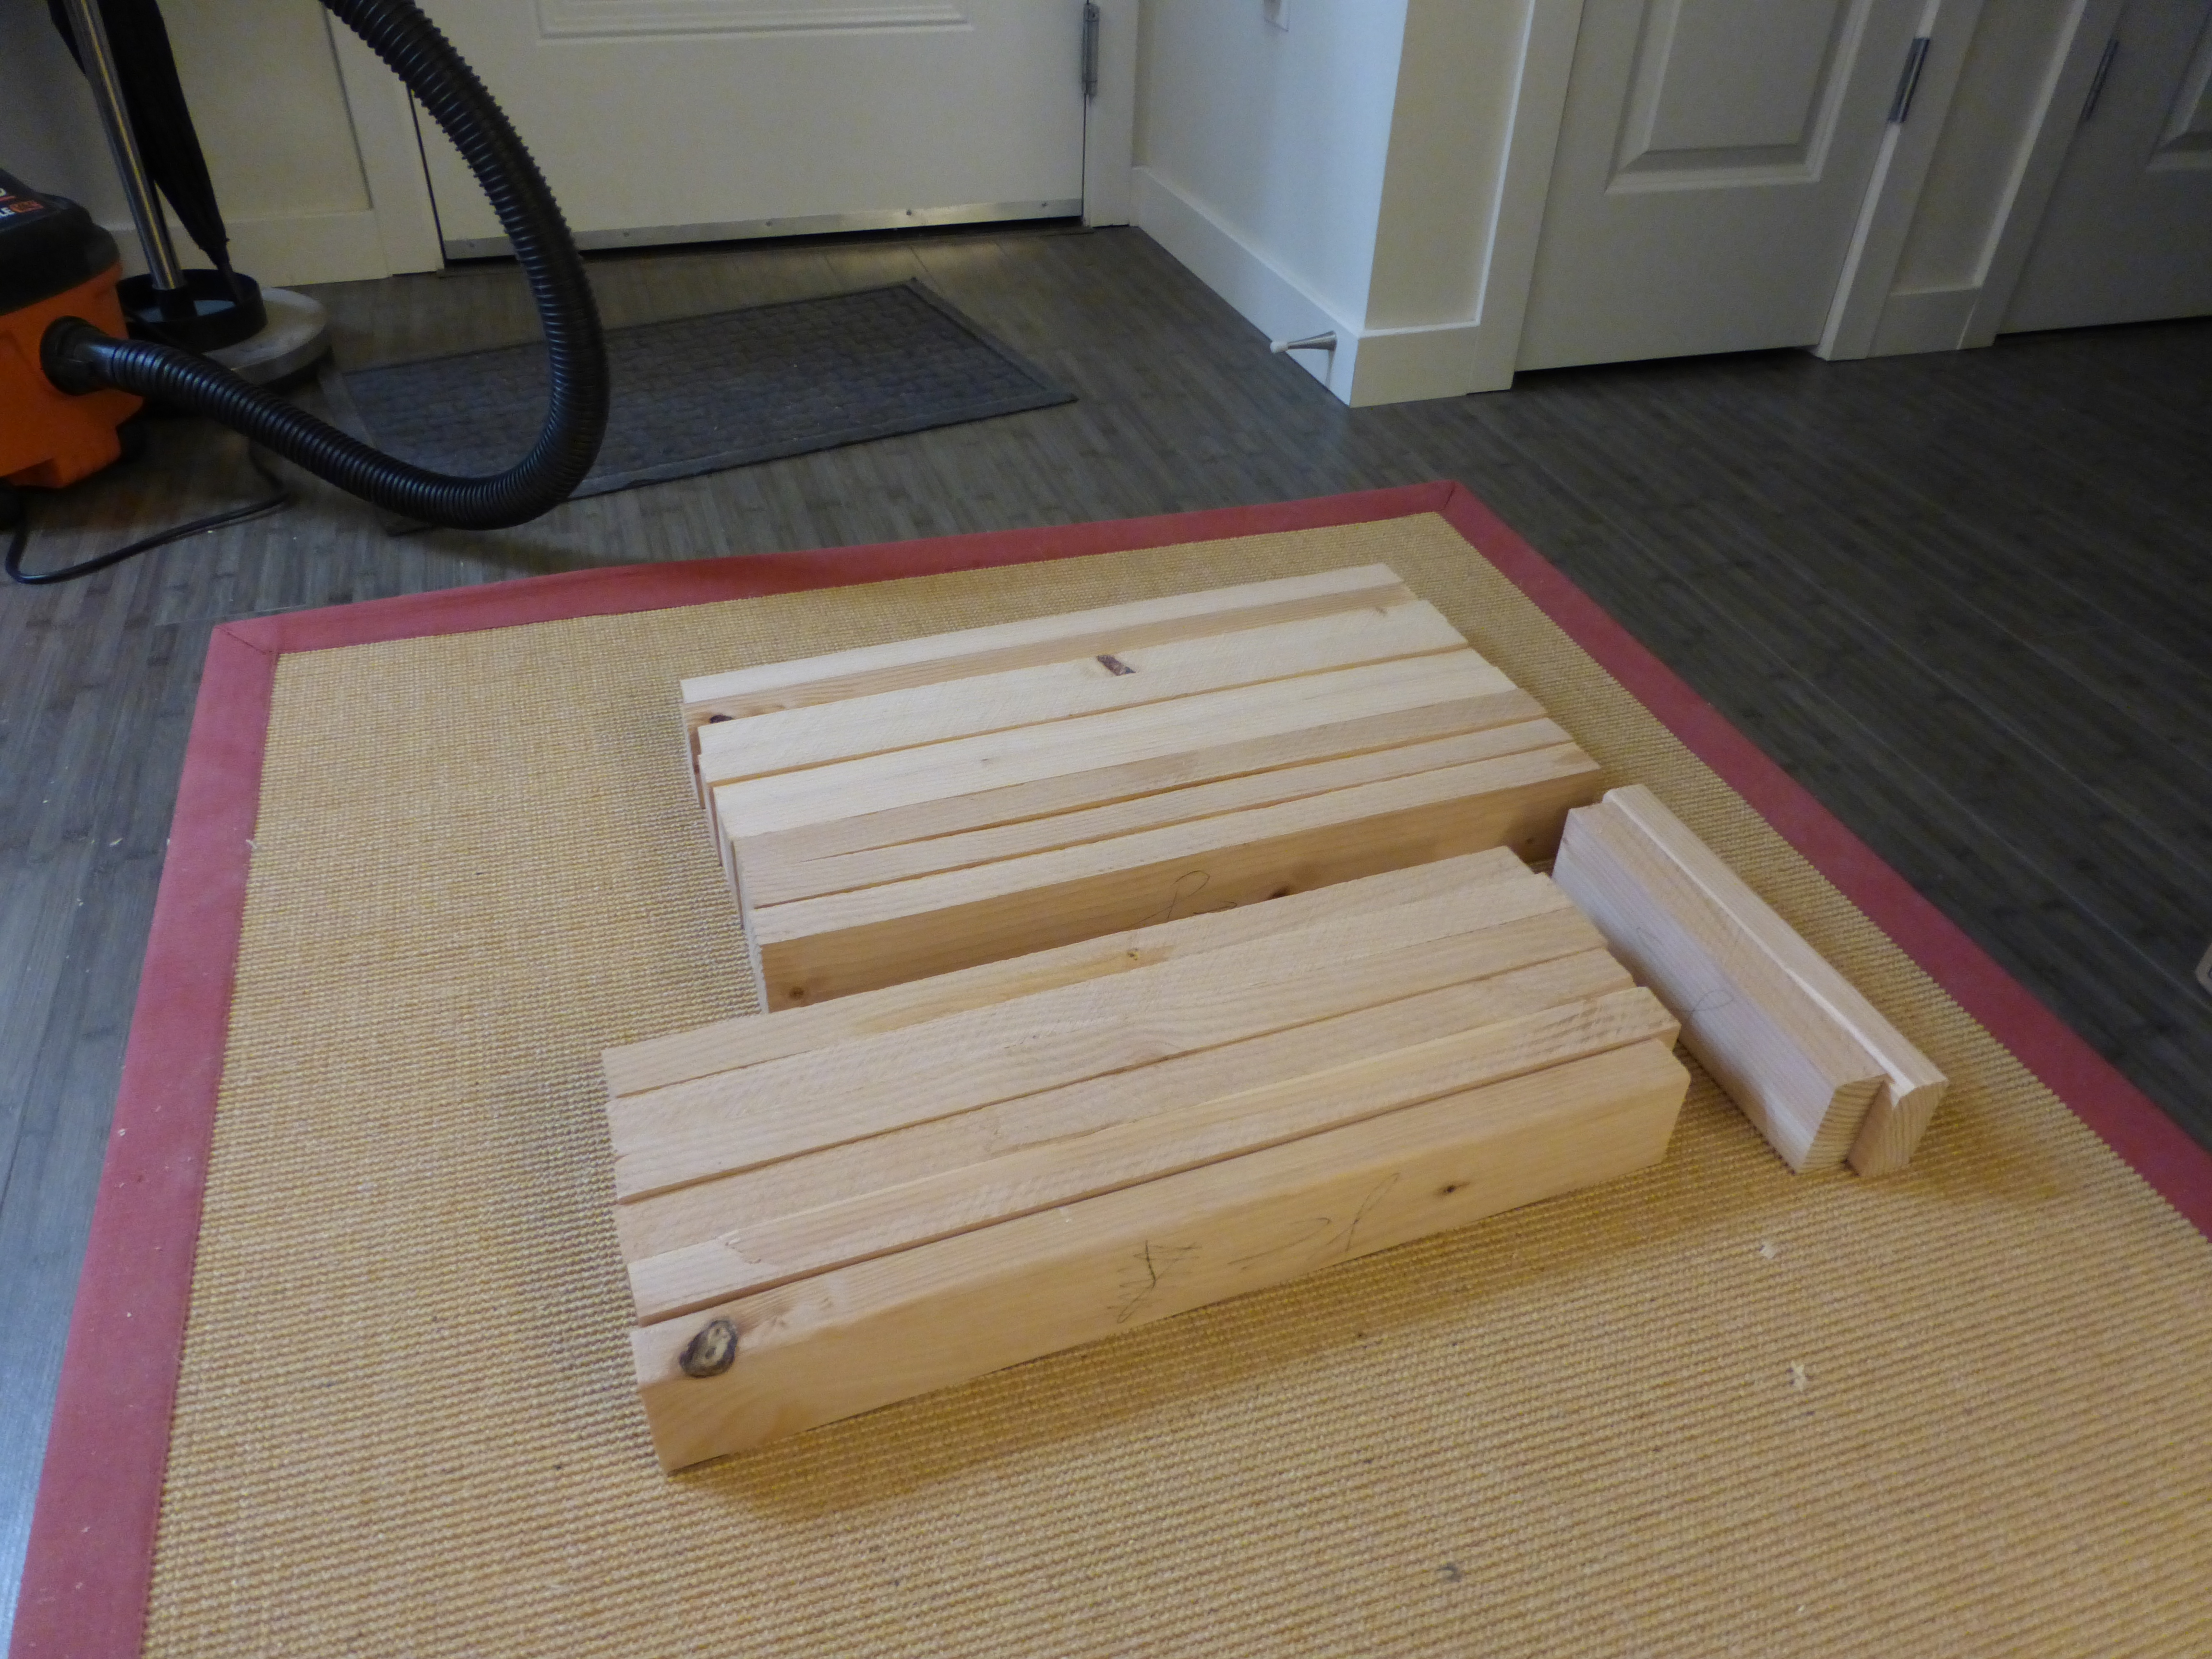
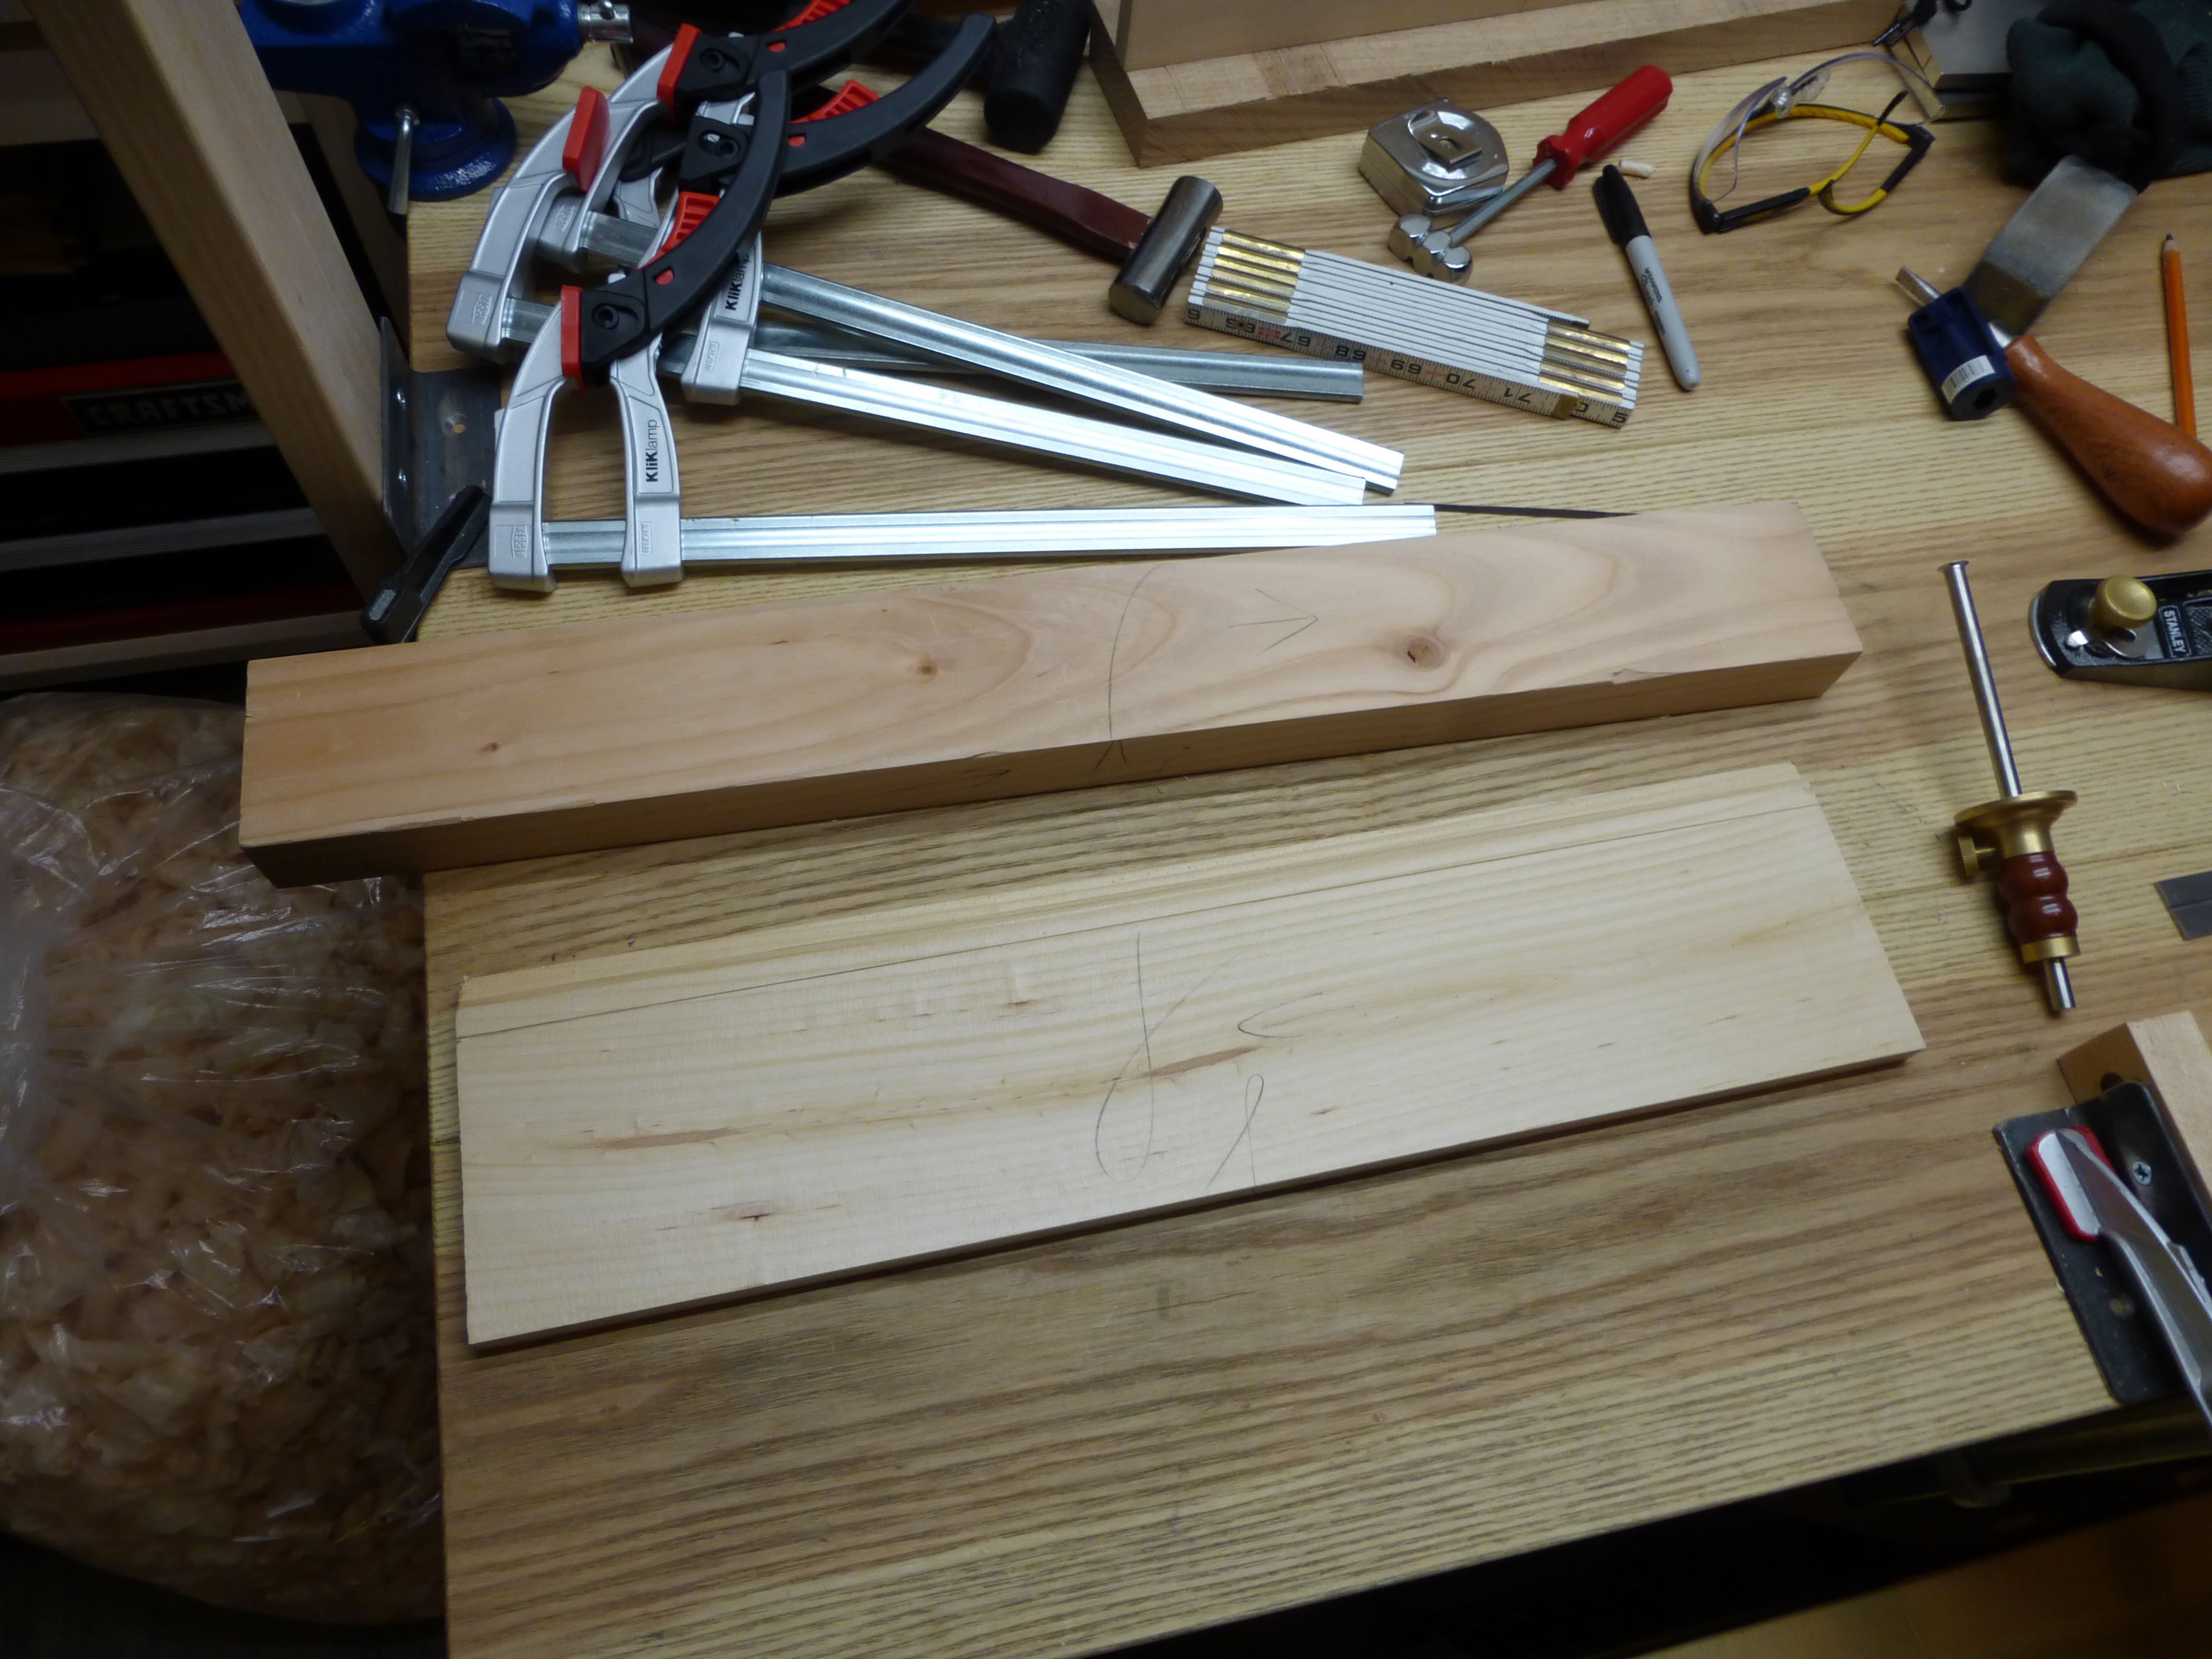
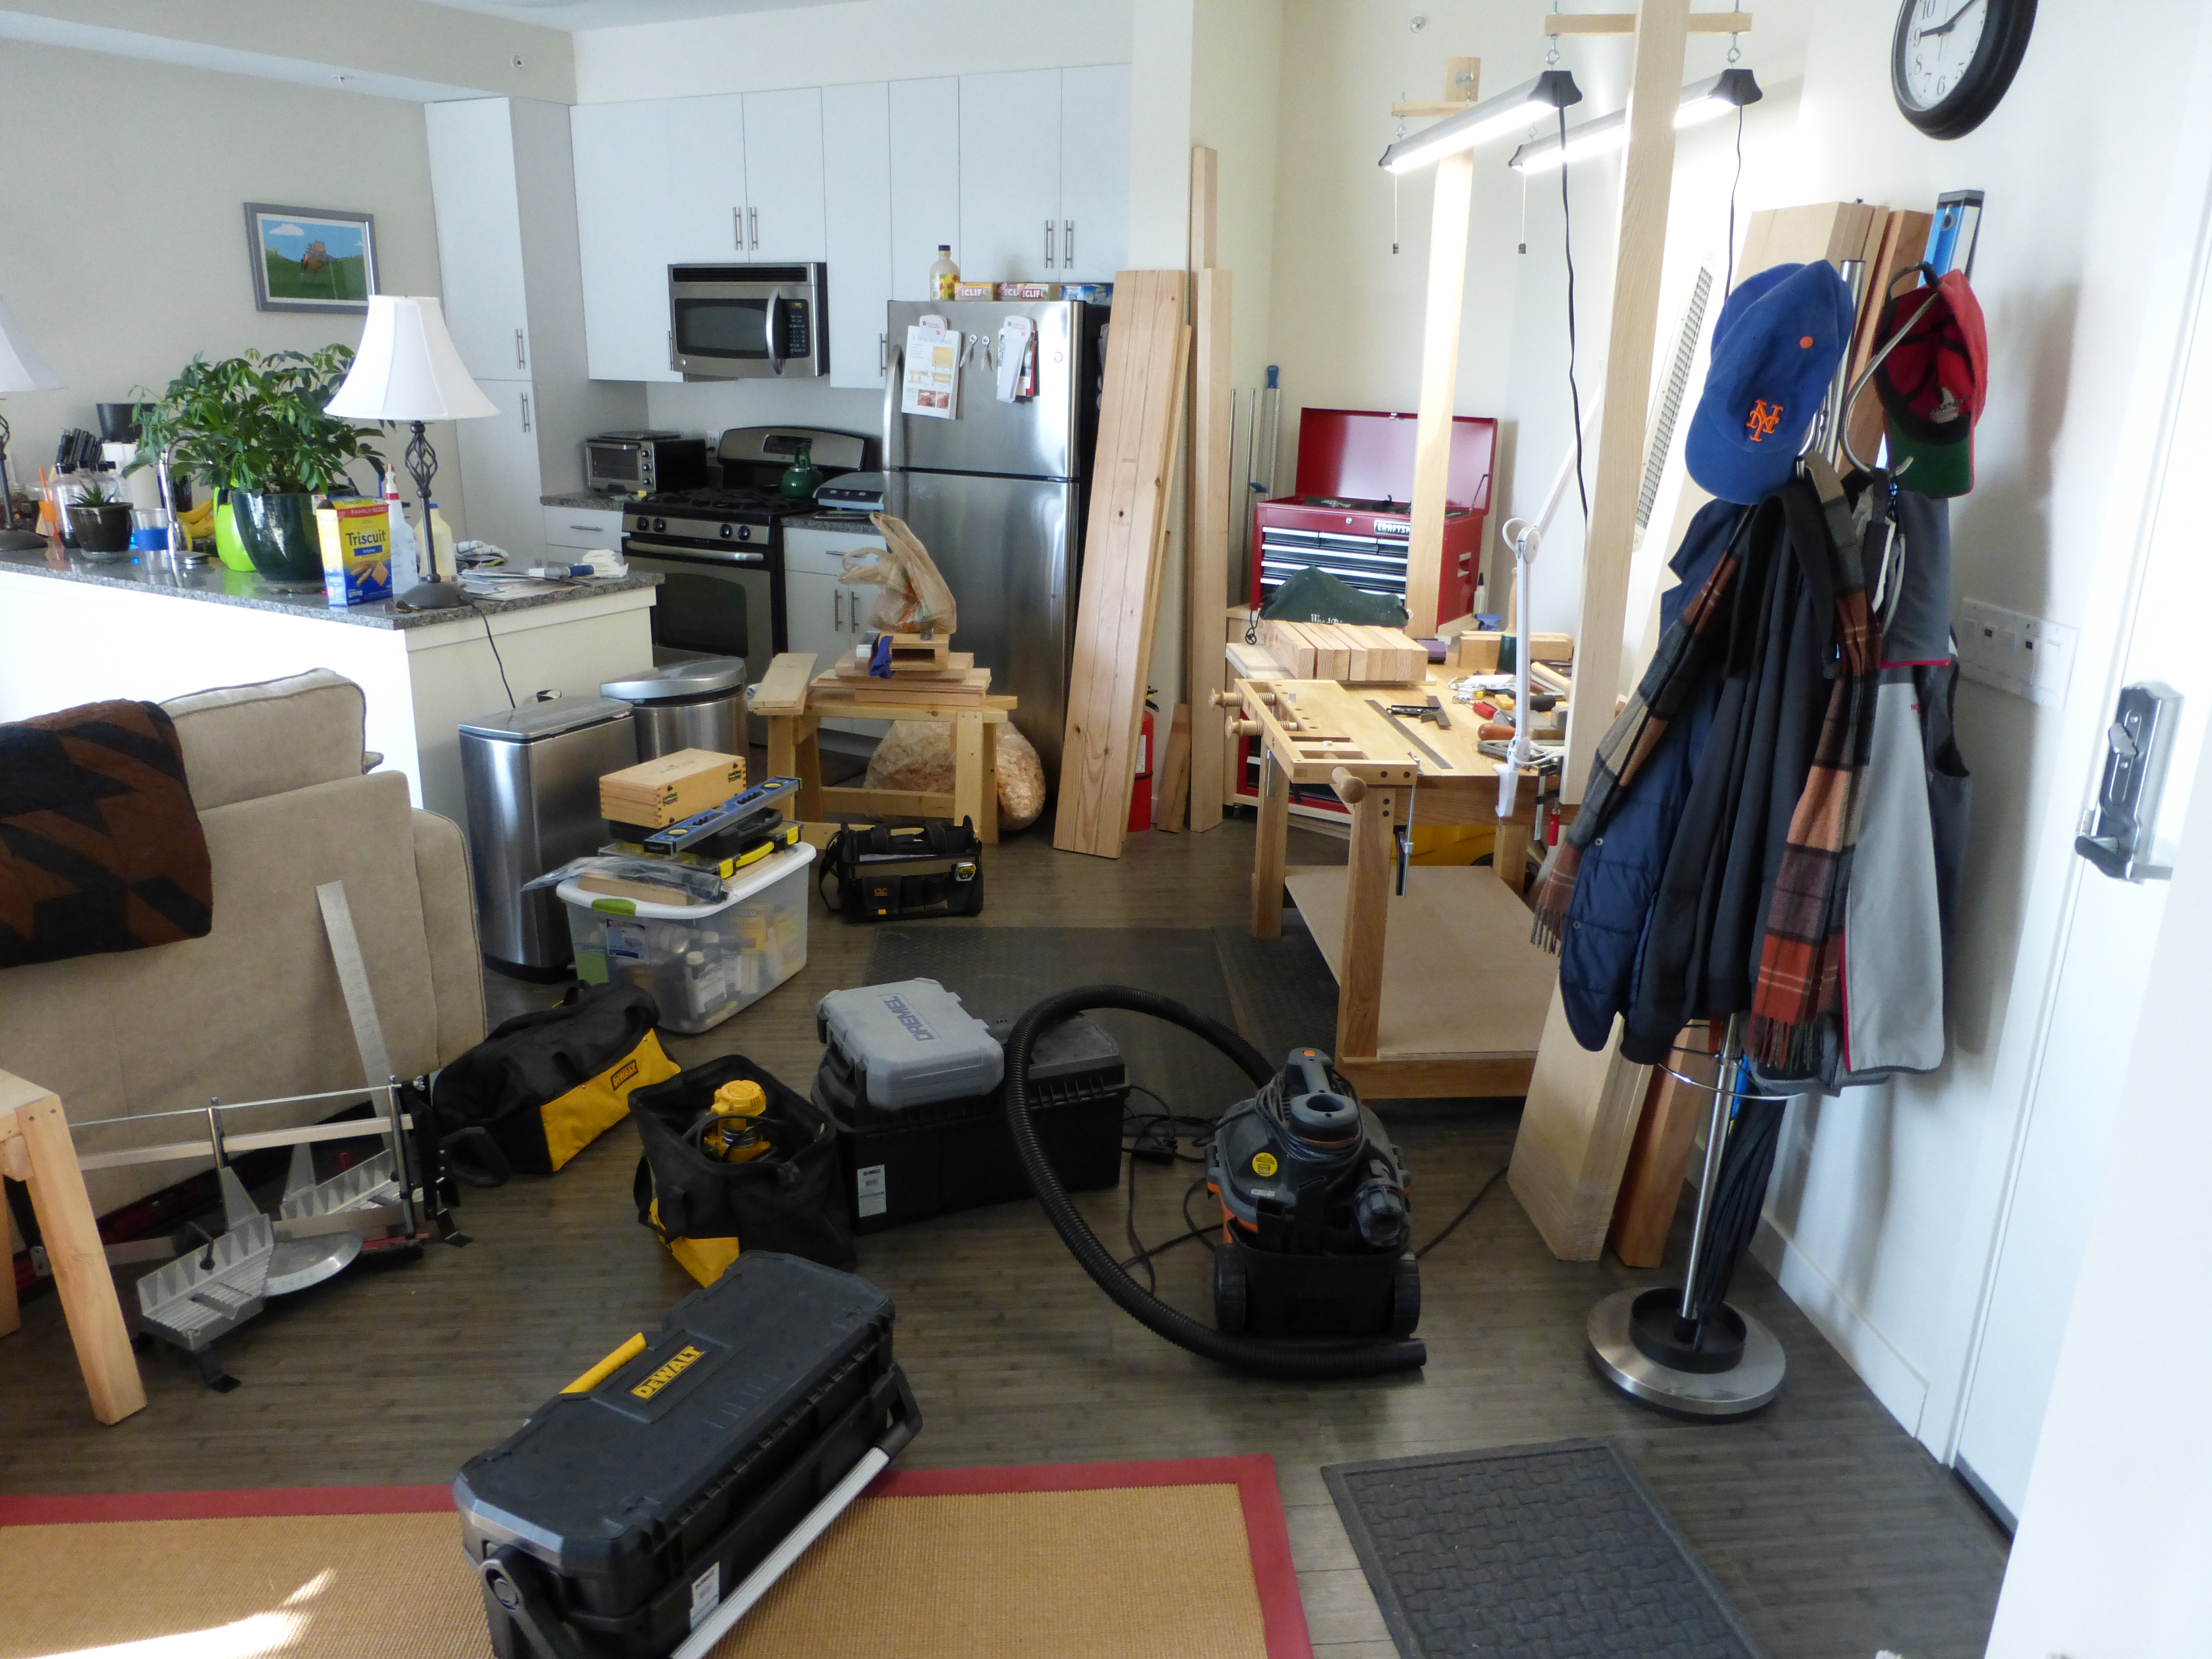
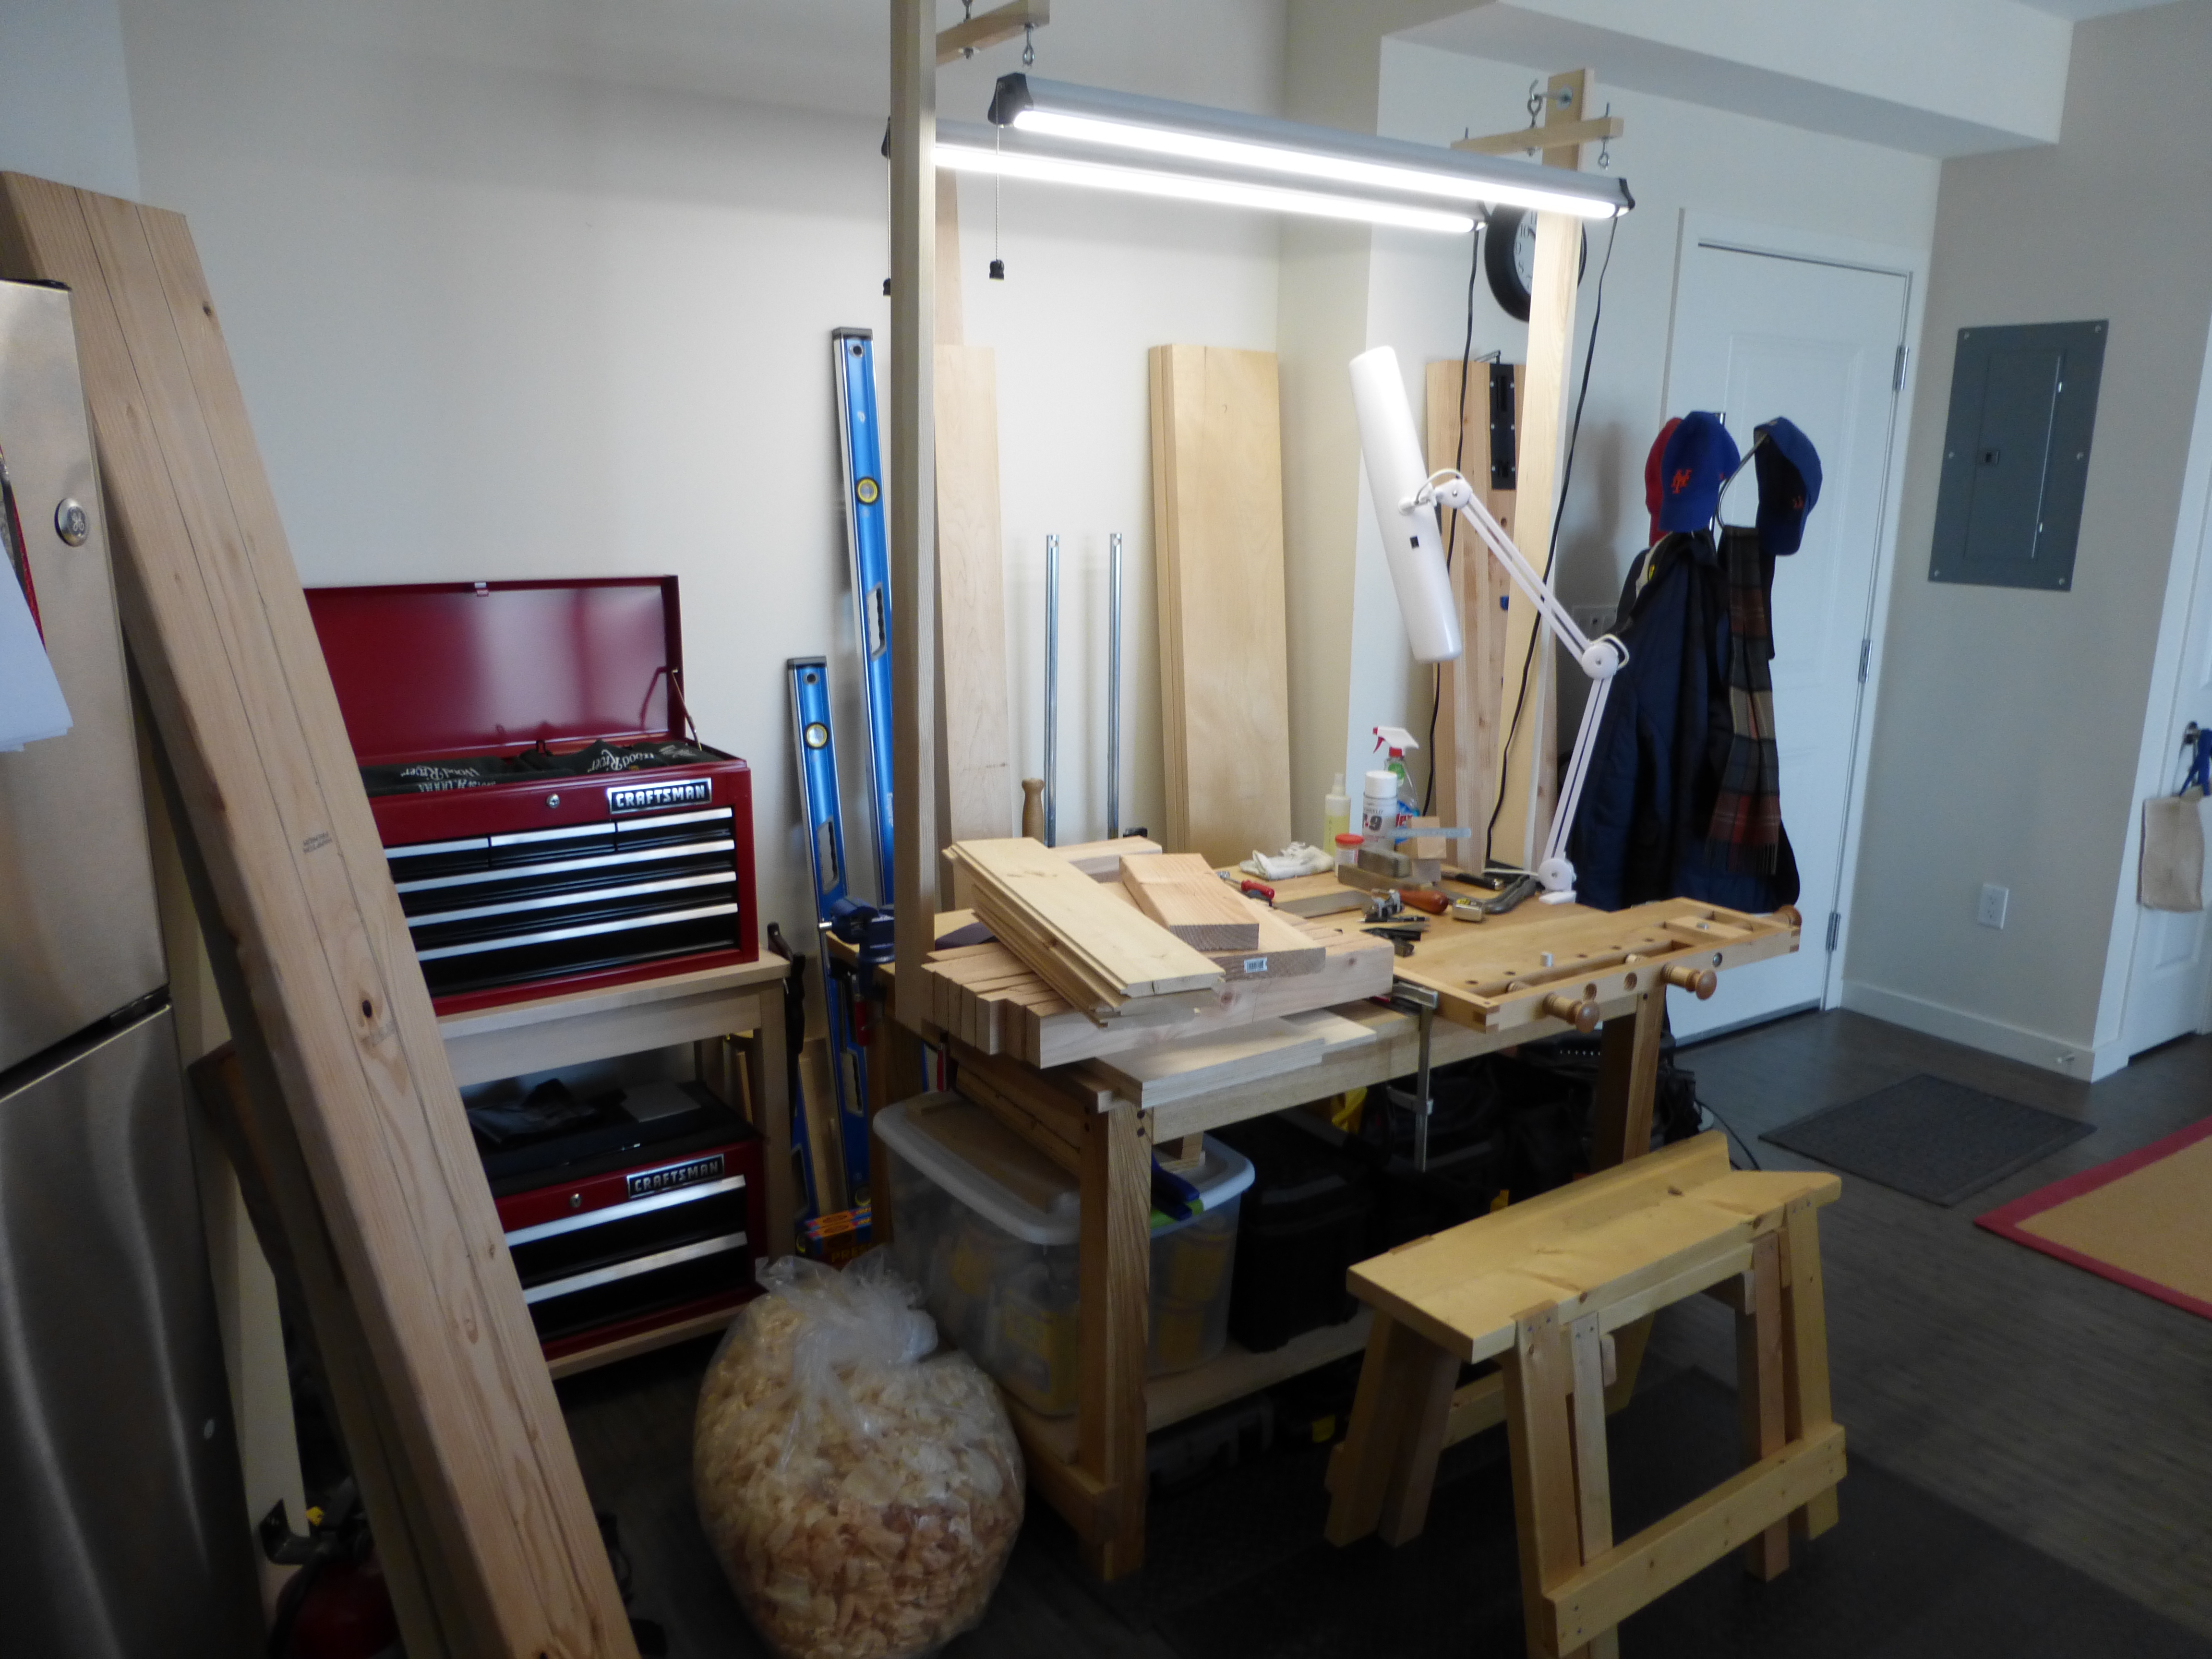
Like James, I woodwork in a small shop in my spare time. I use mostly handtools: not only because I enjoy them, but because, for me, they’re simply more convenient. I believe in using the most efficient tool for the job, and when the job involves cleaning up after yourself, and not tracking dust through the rest of the house (you know, the one your partner just cleaned), then handtools quickly score points on the efficiency scale.
But when the snow melts, and I can pull out a contractor’s table saw and rip down some boards in the yard, the efficiency scale leans the other way. Could I have done the job with handtools? Sure, but who cares? This is a hobby and I only have a limited time to do the things I enjoy, one of which is creating beautiful pieces of furniture.
I love the subtle camber on the front front (I hope that not just camera bend).

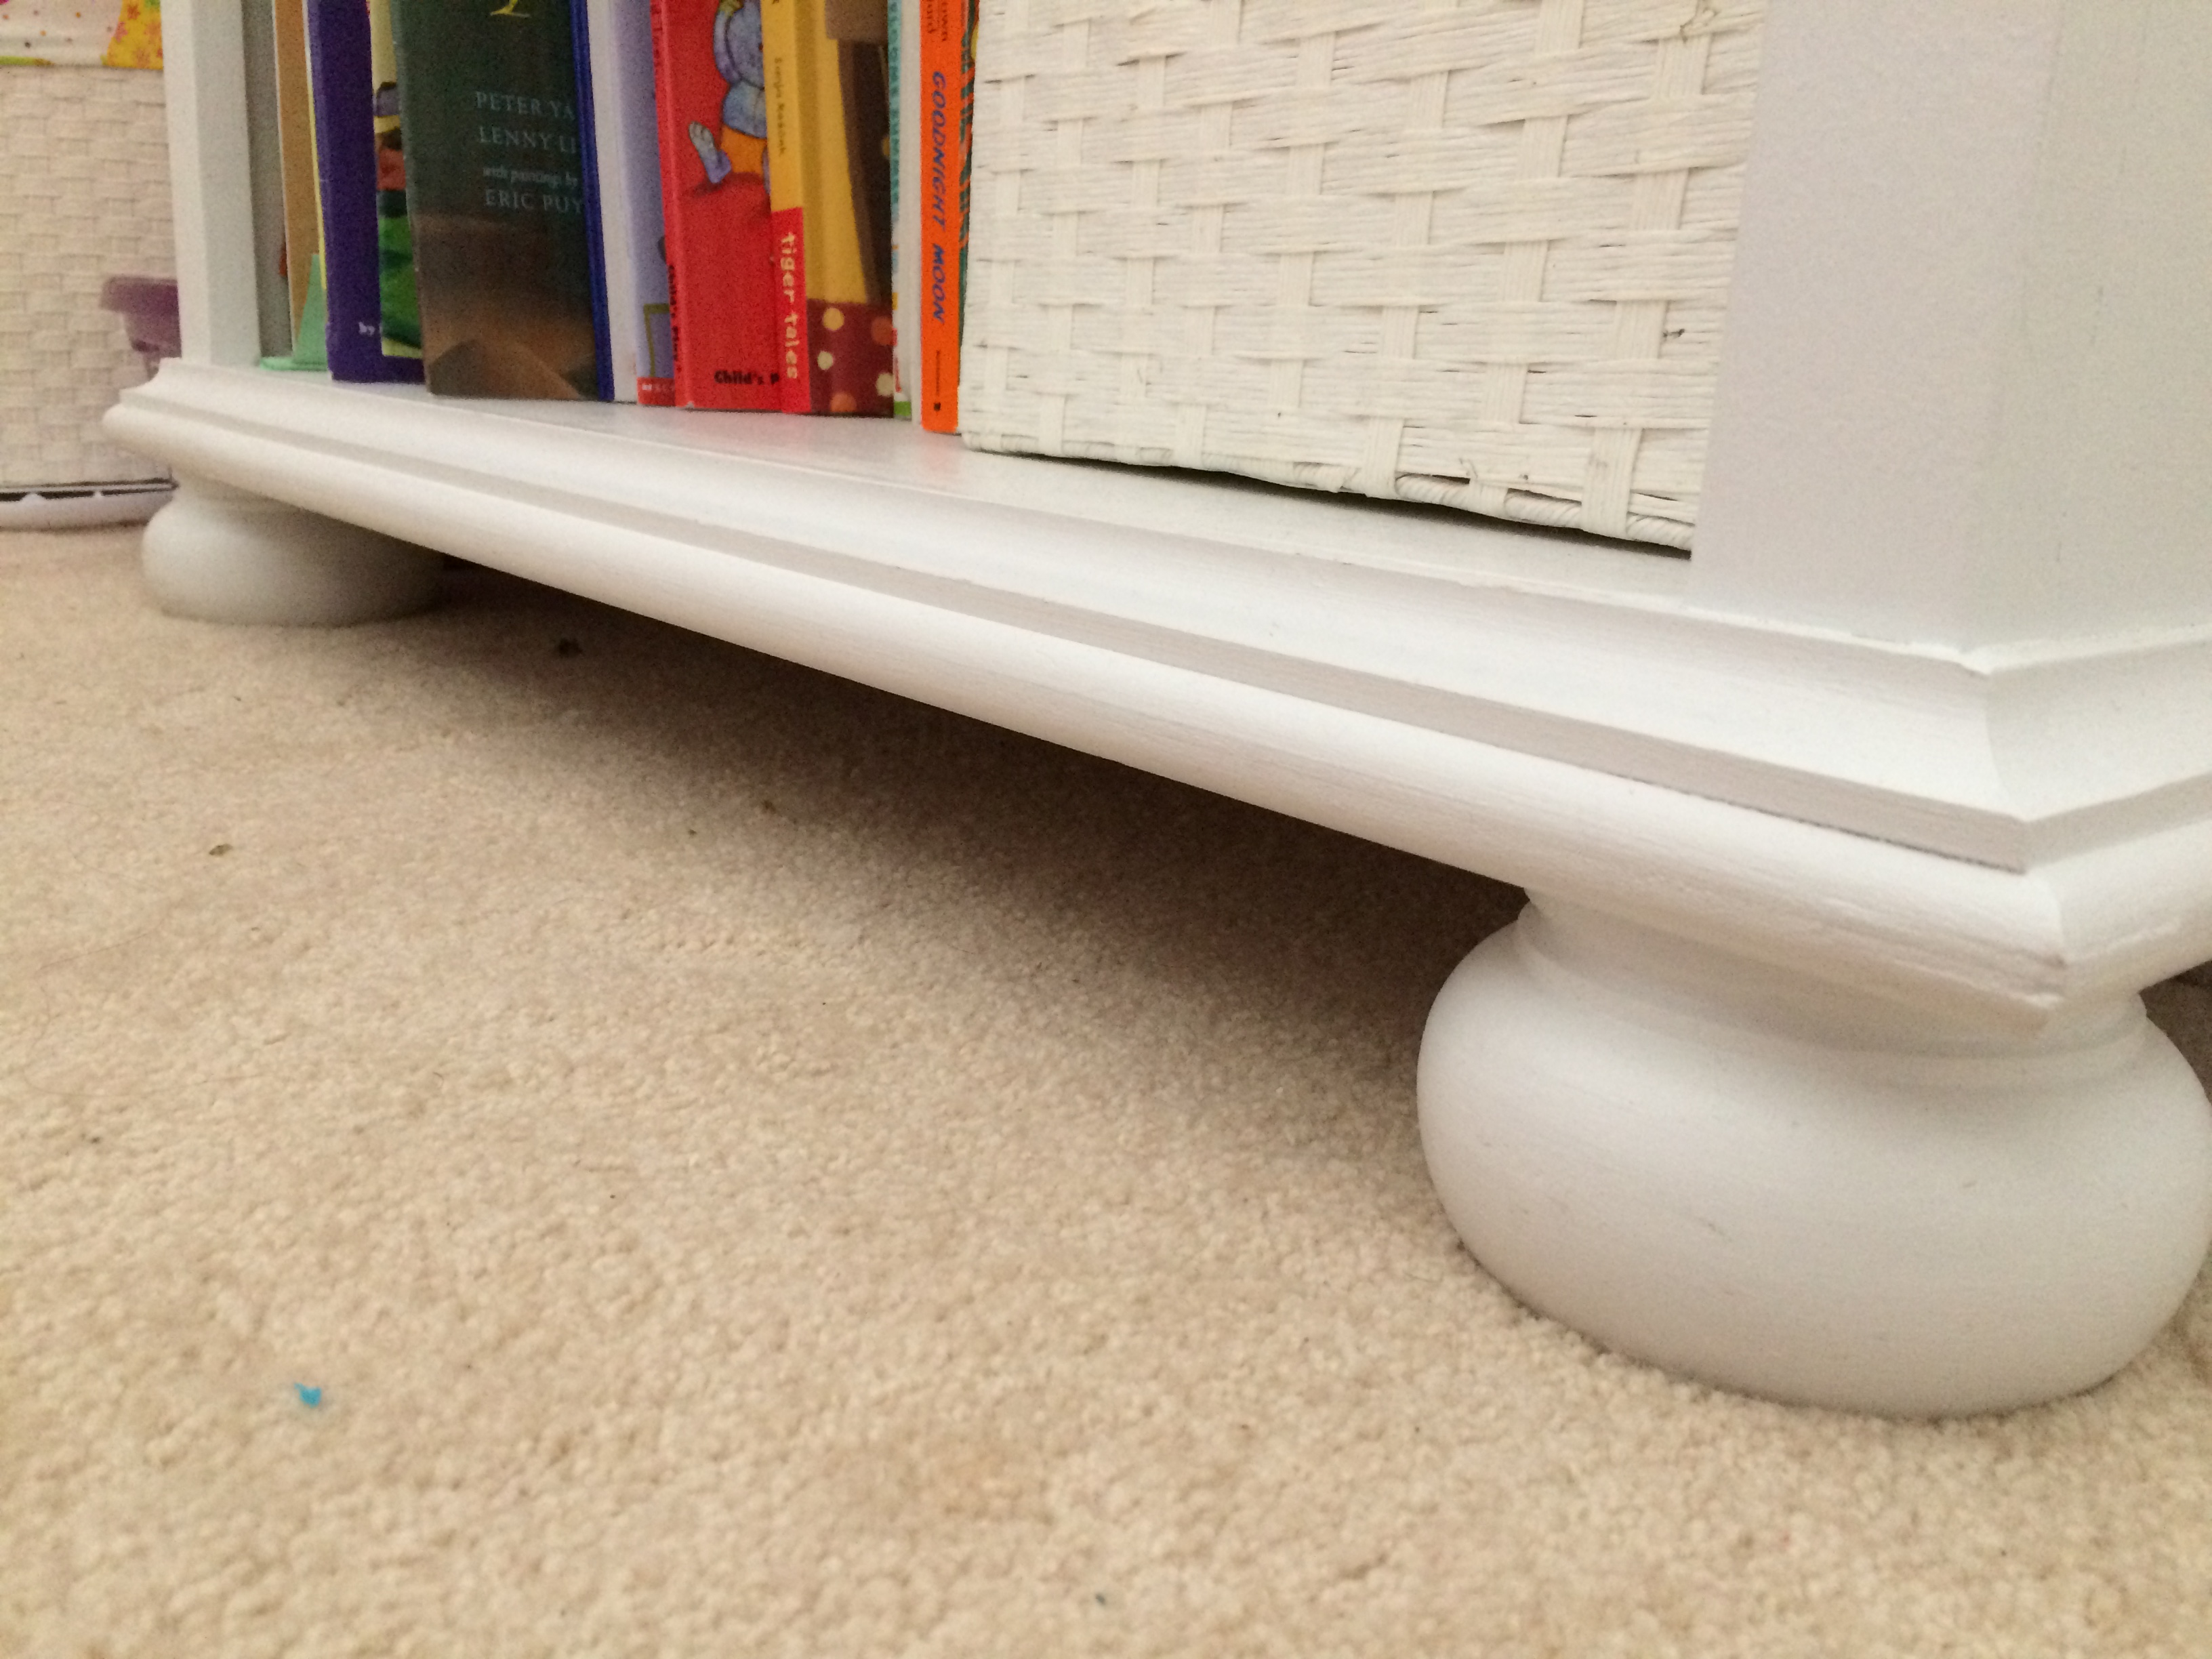
Editor’s Note: I love the subtle hollow on the front frame (at least, I hope that’s hollow and not just camera distortion).

That’s why I am a firm believer in outsourcing some woodworking tasks when it makes sense to get the project done. For example, I don’t turn my own legs. I don’t have a lathe, or have the room for one.  I’ve never even tried turning. Maybe I will someday, but for now, when a project calls for a turned leg, I go to places like tablelegs.com. There are other excellent websites as well, where a skilled turner will make you any style leg you want – from cabriole legs to bun feet. I can usually find what I’m looking for, or at least something close that I can modify to fit my project. The quality is great, and consistent.  The point is, my lack of shop and skills shouldn’t pin me into a rectilinear corner.
Bun feet!

Editor’s Note: Bun feet!

Sure, I could take a class at the local woodworking club and eventually develop the turning skill to do it myself.  But I want to actually finish my project this decade. Again, I say who cares?  And by outsourcing I am supporting other woodworkers.
But please don’t order your legs pre-mortised.
Don't be lazy: haunch your mortises.

Editor’s Note: Don’t be lazy: cut (and haunch) your mortises yourself!

Unveiling the “New” Workshop

Last week, I was lamenting the spatial constraints of my apartment woodworking shop, and I decided to do something about it.  Behold, the reorganized workshop!

P1000020

It’s like one of those “spot the difference” games in the local newspaper.

The biggest change was the location of my tool chest.  When I first moved into the apartment, I noticed the corner of the dining nook fit the tool chest pretty well. It did fit, but the angle always felt weird in relation to my normal working location. With the tool chest now adjacent to my work table, I have a better reach angle, plus I was able to hang my panel saws off the sides of the rolling table that holds the tool chest.  I put the dust extractor in the corner where the tool chest use to be.

Ruined as furniture!

Ruined forever as furniture!

The second real change was to move the table another 12 inches or so away from the back wall, which served two functions.  I now have more storage space for clamps and wood behind the workbench area.  I also am no longer tripping over the shop vac when in my normal planing position.

Seen on the right.

Plenty of clearance, seen on the bottom right.

Finally, because I know it’s the only picture anyone would care about anyway, here is the shop, fully unpacked and just before I started moving things around.  I had forgotten that I never made a bottom shelf for the table and there is just a sheet of 3/4 birch plywood under there.

P1000016

Let’s Go Mets!

And one more shot of the workshop from the opposite angle, too.

P1000022

Oft unseen.

It’s been working out well so far.  I haven’t noticed any impact on the travel lanes in my apartment, which is the most important part. Now to actually make something…

JPG

Where to Put It All?

It’s increasingly apparent that my little apartment woodworking experiment has hit a major snag. No, not sheer lack of time because of my hectic work schedule (I find the time). Not even lack of effective work holding (I’ve got that covered). My biggest problem right now is lack of space. Specifically, lack of tool storage space. I’ve pared away everything I can. There is simply nothing more to cull from my on hand tool collection and I’m still short on space.

Workshop Banner

Filled beyond capacity! Like a trendy nightclub!

I know I’ve been lamenting the space constraints in previous posts, but I’ve finally decided to do something about it. No, not build a TARDiS. Beginning this weekend, I am doing the next best thing: a major workshop layout redesign. The hope is to find enough floor space for a standing cabinet that can store larger, less frequently used tools and free up workbench and tool chest space for more commonly used items. All without cluttering (further) the travel lanes in my apartment.

I haven’t decided yet about the type of standing tool cabinet (store-bought or custom made [by me]). Given my stance on casework, and the need of an immediate solution, I will probably go with store-bought. Seems to be my new theme.

Wish me luck!

JPG

Some Minor Maintenance

It’s true that I don’t woodwork on a full-size woodworking bench.  I am not, however, immune from some of the more mundane workbench maintenance tasks.  Specifically, I took some time this weekend to re-flatten and re-seal my Milkman’s Workbench.

I’ve been working with thinner stock lately (some pine siding off-cuts for little dovetailed boxes) and have noticed that the as-planed pieces kept developing a slight twist.  Turns out, the bench had a couple small high spots (in the middle of the main bench), as well one large high spot around the last two dog holes.  Nothing terrible, but enough to affect stock that isn’t thin enough to self-support while planing.

P1000011

You can see the slightly lighter areas in the above picture.

The flattening didn’t take long (other than the drying time on the Danish Oil), but I took a pretty sizable tear-out chunk from some swirling grain near the wagon vise.  Clearly nothing fatal to the function of the Milkman’s Workbench, but you all know my feeling on aesthetics.

P1000012

It will eat my brain forever.

On an unrelated note, I’ve been watching a lot of Paul Sellers’ videos and am thinking about making one of his shooting boards.  We’ll see.

JPG

Lighting the Way

I know it’s tautological, but the most problematic aspect of small-space woodworking is just that: lack of space. I am fortunate enough to have a large common area that I can temporarily annex into the workshop, but that really only helps me for assembly or short term lumber storage.

With a rather full tool chest already, any time a new tool comes in, something else has to go (or, at least, to be stored). Normally, it’s a phantom problem, because I’m not really buying new tools. I have almost everything I need.  But I can’t just leave random tools laying around to trip over.

Although, I admit the shop is not the model of order most days...

Although, I admit most days the shop is not exactly the model of order…

As I plan out a lighting rig to go with the new camera, though, I am faced with a dilemma. I don’t want to reassemble a special lighting stand every time I need to snap a new picture. But I also don’t want my apartment to be cluttered with yet another free standing obstruction.

I think the third option, if it exists, is to build a rig that will work both as photography lighting and as workshop lighting. My current front lighting setup for joinery (an LED task lamp) isn’t working that well because of the depth of my workbench. Not to mention that it’s also very directional and the head gets in the way when photographing. On the other hand, a traditional front lighting rig with a diffuser may not shine brightly and clearly enough for use during joinery work.

I just don’t know yet how to solve for both issues, while simultaneously not creating something else for me to trip over. Any thoughts would be appreciated.

JPG

I Bought a Real Camera!

Usually on The Apartment Woodworker, I try to come up with clever titles for posts.  Today, no such luck.

It’s been almost 6 months since I started The Apartment Woodworker, and it’s been pretty clear to me from the beginning that I needed a real camera.  The internal camera on my Samsung smartphone is pretty good, but like all smartphone cameras, any bit of zoom immediately grained out the picture.  I had been putting it off until I was sure The Apartment Woodworker was something I’d enjoy.  It’s been a blast, so I took the plunge and bought a proper point and shoot.  It even shoots video, so maybe there is some of that in store.

I have tapped a buddy of mine to teach me how to use the thing.  I’m hoping that with a bit of training, and some better lighting (which I will unveil later this week), The Apartment Woodworker will reach new heights of artsy foofiness.  The updated banner (full image below) was shot using the new camera.

Workshop Banner

Very little staging required!

JPG

On the Virtues of Power Tools for Stock Preparation

This one is text only.

Here at The Apartment Woodworker, I am always looking for new and exciting ways to bring the strange world of small-space woodworking to life.  In a total reversal from my usual course, I would like to talk for a moment about the virtues of power tools and apologize to anyone at whom I ever scoffed for using a table saw in rough stock preparation.

If you haven’t angrily closed your browser yet, let me explain. I make no secret of my reliance on a thickness planer, nor do I deny I often turn to my orbital sander for quick finishing-prep. I also love a good roundover or chamfer by router and I sharpen the forstner bits for my power drill with a rotary tool. I even own a sweet miter saw that lives at my parents’ house. But I rationalize this because each one of those power tools complements my hand-tool-first approach to small-space woodworking. Every single board first gets at least ripped and planed S2S by hand before a power tool even touches it.

For the first time ever, though, I wish I owned a table saw. I have been hand-ripping rough-sawn, close-grained hard maple for the plant stand project and Praise Alvis is “hard” an understatement.

I’d be cutting joints by now if I had a table saw. My 4.5 tpi and 6.5 tpi rip panel saws are way too coarse and my 9tpi rip panel saw is way too fine. And each now has a kink in the plate that I need to hammer out. It’s true I don’t have the room for a table saw in my apartment and I could just grab my circular saw from my brother’s house, but that’s not the point. I merely see the point now of power stock preparation.

Up until this point, I considered myself to be a handtool snob who would never, ever use, let alone buy, a table saw. But now I think that when I again have a full-sized shop, I just might just buy myself a SawStop and learn to use it safely. Or at least a bandsaw. Those aren’t so bad.

For stock preparation only: not for joinery. I’m no powertool sissy.

JPG