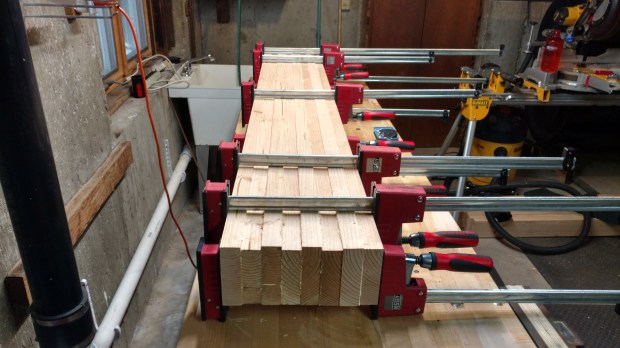
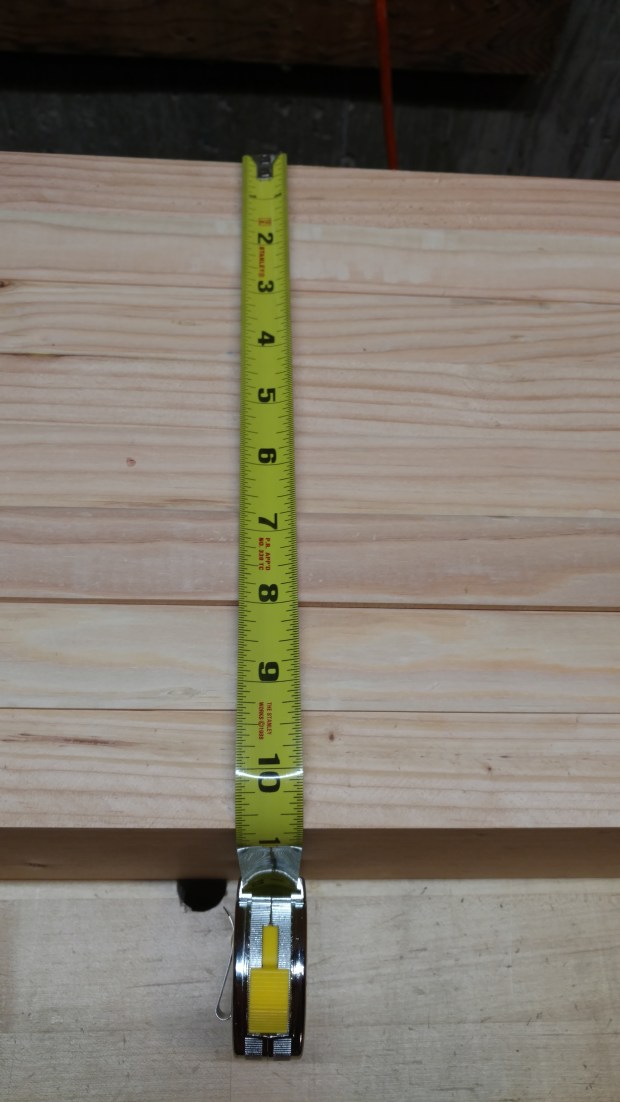
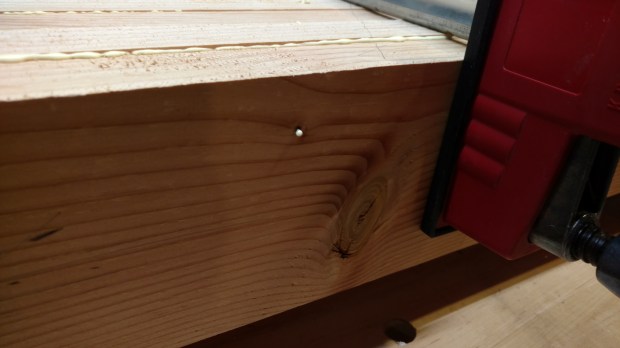
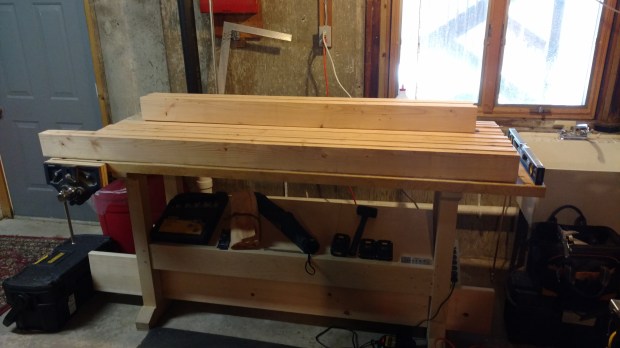
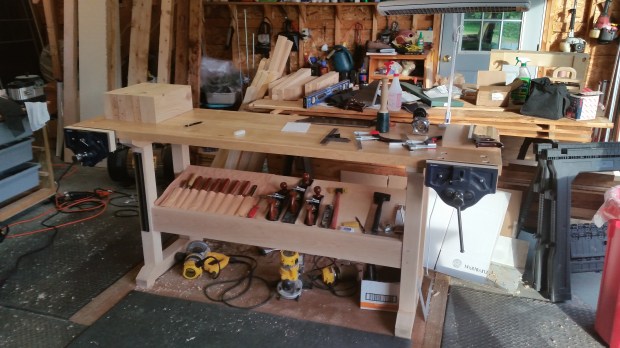
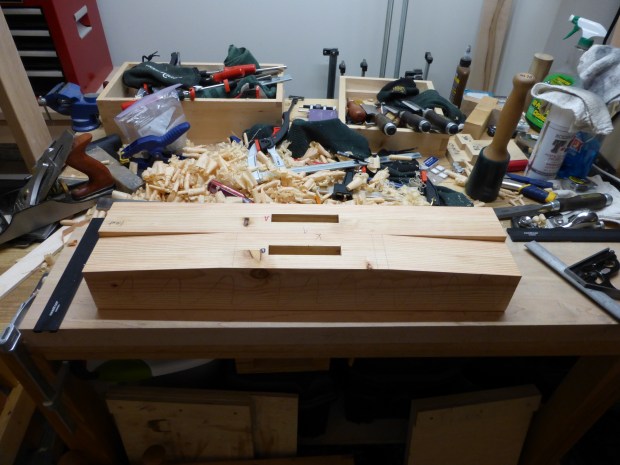
Saturday was another productive day on the Douglas Fir workbench build. I surfaced and glued two additional boards to the core slab, bringing it to just over 13″ deep.

The same length and depth as the planing slab, but nearly twice as thick!
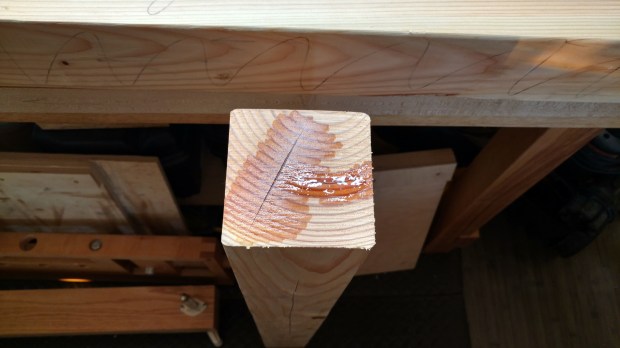
Dodging a bullet on the previous eight boards, the expired/near-expired PVA glue has in fact held. Being paranoid, I plan to add a couple full-length mending plates to the underside of the bench top once fully assembled. Not because I think it will do anything, but because it will make me feel better.
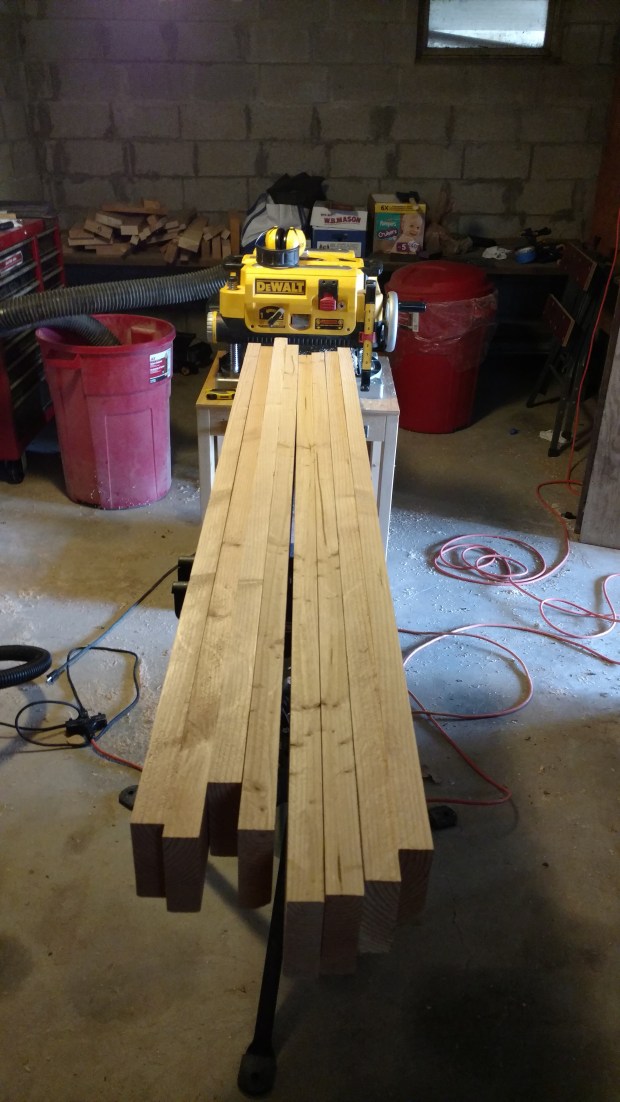
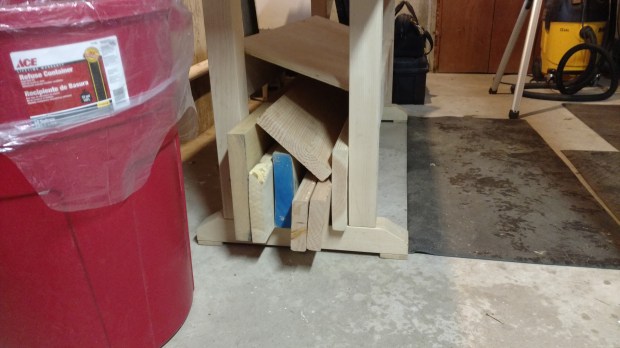
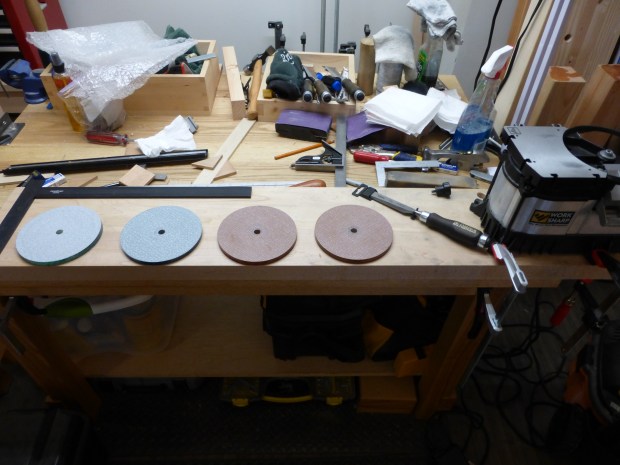
I also rough cut to length the remaining stock so that I could take, umm, stock of how much more lumber I needed. What’s shown below is almost everything required to make the full bench.

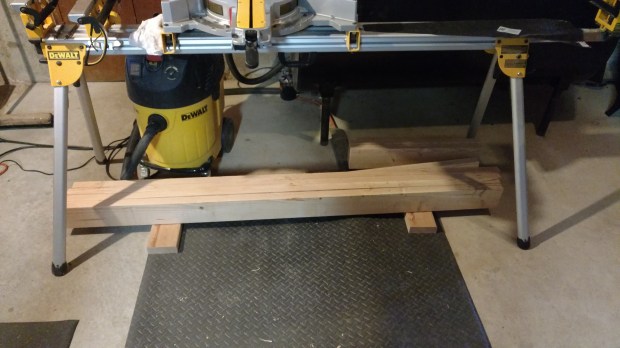
DeWalt, I am open to sponsorship…
Here is what’s still on the buy list:
- Eight feet of 2×6, which will become (i) the tenon board and the inside board of the left front leg and (ii) [probably] the outside vise chop on the tail vise. Not sure if I’ve mentioned it, but unlike the other three legs (which are comprised of ripped down 2×10’s), the left front leg is laminated from 2×6’s for extra stoutness when chopping.
- Twelve feet of 2×10, which will be ripped in half and cut down to (i) four 48″ lengths for two long stretchers and (ii) four 24″ lengths to make two short stretchers. I also have two other 24″ lengths which are flagged as short stretchers. The prettiest of the six 24″ boards will become the end cap/inner chop on the tail vise. I will decide on the fly if I want to add a second end cap to the benchtop (unlikely).
All in all, should be another $30 or so from the home center. I’m definitely under budget on this build, having carefully planned out my cuts from what was available. I will eventually need some pine for the slatted shelf, but I’m not worried about that right now.
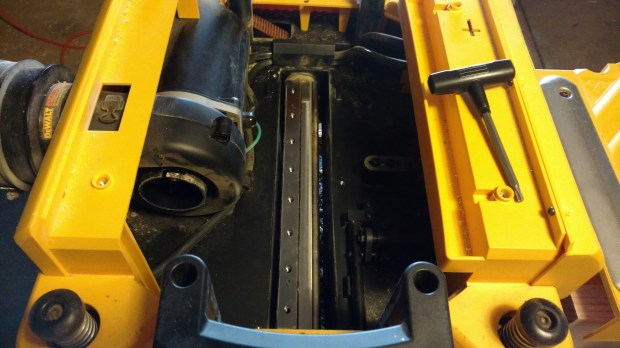
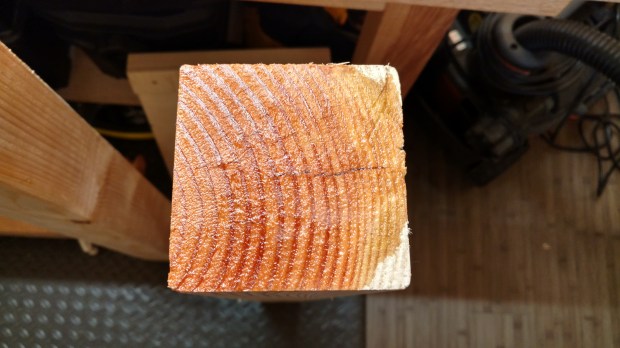
I’m torn about something, though. My thickness planer is only 13″, so to use it I’d have to remove about 1/4″ of depth from the core slab as it currently exists. However, my local woodworking club has a 15″ thickness planer. If I use theirs, I can add one more board to the core slab. But then I’d be using tools other than my own (and it would cost me for shop time). A good problem to have, I guess.
JPG