tool storage

Hither and Thither

Earlier this year, I made a little traveling tool chest to go with my traveling workbench. It works great, and it holds all of the hand tools I need for working away from the shop. But it’s not perfect. I didn’t really think through the bits and bobs I’d need to actually do woodworking. Things like a roll of blue tape, a powered drill driver (and charger), a hammer, and auger bits. Pretty much everything that isn’t french fit into the well or a till just gets piled in and must be unpacked and piled elsewhere to access to the main set of tools.

It’s a well known fact that Dutch-style tool chests are bigger on the inside (having lots of places to stash tools around the inside of the main compartment). And with some wall cabinet projects coming up, I needed some dovetailing practice. I’d been cutting mostly mortise and tenon joints as of late. Even though I consider myself to pretty good at dovetailing, it had been a while. So let’s make a Dutch tool chest.

No half tails this time. But I still got it!

Now a full size Dutch tool chest (single lower compartment) is portable enough in its own right. But I like the form factor of my current traveling tool chest and have found a full size DTC to be a little unwieldy to load and and out of the truck. So this chest, although 27″ wide, is only 18″ high. That means a full size main compartment but only a 3.75″ lower compartment. Big enough to cram in a drill driver and charger, a roll of auger bits and a brace and bit and some other bulky odds and ends, but not so big that I’m tempted to overpack. I’ve found that as far as traveling tool chests go, the more extra space you have, the more extra tools you’ll cram in. And that defeats the purpose.

It looks narrower than it actually is.

One of the beautiful design features of a DTC is the angled top. Not only does it keep you from piling things onto the chest (thereby preventing you from getting at your tools), it also means that you can put a full size tool rack on the back wall of the main compartment. You just can’t do that with a square chest. I prefer a tool rack that is 1.25″ x 1.25″, with 1/2″ holes drilled on 1.5″ centers. A good number of my tools actually require elongated holes (not just the bigger chisels), but a 1/2″ hole on 1.5″ center is good for a great many tools.

Yes: in a traveling tool chest, I still need 3 screw drivers. That’s a bevel gauge between the awl and the marking gauge, btw.

Another great part of the DTC form (piggybacking off the angled top) is the plane till. Not only can you fit a plane till into the main compartment of the chest (in this case, one that holds not only my two shortened panel saws, but also a small 12tpi rip tenon saw), but because of the extra headroom in the main compartment, the space underneath the saws on both sides of the till are usable space. In a stationary, shop-based DTC, you can just pile things in there. For this traveling chest, I’ll need to make some little trays (like the plane till, more on that below) to keep things from bouncing around. And the saw till also keeps the tool rack from sagging in the middle.

Usable space under there.

This is a traveling chest, so I don’t need to fit a full set of bench planes. Instead, I just keep a No. 5 (with both straight and cambered irons) and a No. 3, plus a low angle block plane. Taking into account the saw till, I’ve got 6.125″ of depth for two rows of plane till/general storage. That is enough (with some creative orientation) to fit everything I need, including my sharpening gear. That’s what I currently have in the square traveling tool chest well, at least.

I don’t own a table saw, and making long thin stock is tough by hand (at least without using rolls of double sided tape). So I tend to build up my tills for French fitting with 1/4″ nominal hobby boards from home center. The poplar is best; one can usually find it nicely quartersawn in 48″ lengths. Its true thickness is around 7/16. But when French fitting by hand, it’s just shooting board practice.

Still needs some internal dividers.

I think that’s it for this one. I have a new to-do’s for the rest of the weekend that will take me out of the shop.

JPG

Thought Experiment, Part Deux

In my ongoing efforts to replenish my intellectual excitement for woodworking, I have undergone a periodic downsizing of my tool kit.  Using a full sized, English-style floor chest is great.  But it gave me the space for extraneous tools to creep in.  And, when something can happen, it does happen.  So the best solution to reducing a tool kit is to reduce the available tool storage.

IMG_20200605_134104.jpg

Another Dutch Tool Chest for the archives.

This particular Dutch Tool Chest has no dovetails.  For good reason: the entire thing was built on the low, apartment woodworking bench.  Which has no vices.  And I’m a tails-first kind of person.  The bottom corners are rabbeted and nailed, which is more than solid enough, even if it was actually more work to assemble than dovetails would have been.  Well, more clamps and cauls, at least.  I have a feeling it would have been easier if the apartment woodworking bench was more than 9.75″ inches wide.

IMG_20200517_063926.jpg

Wooden hand screws are well worth the investment, if you’ve never used them.

I also, for the first time, just bought shiplapped pine siding from the home center instead of bothering to do my own rabbets or tongue and grooving.  It saved quite a bit of time and effort and, if you pick through the pile, you can find knot-free wood. A sixteen foot board was like $8.  I have no idea why I ever bothered doing this myself.  Just put the course side facing into the chest.

IMG_20200524_133753.jpg

Sure, the chamfers are a bit wide, but it’s the back of the case.  

As I’ve done additional woodworking, I’ve slowly moved tools over to the new tool chest.  A few things that haven’t made the cut yet:

  • 1 1/2″ chisel (my 1 1/4″ is just fine)
  • Scrub plane (my No. 5 is just fine)
  • No. 3 smoothing plane (my No. 4 is just fine)
  • Low angle block plane (I’ve migrated to a rabbet block plane over time)
  • Roll of firmer gouges
  • Quarter set of Hollows and Rounds (Nos. 2, 4, 6, and 8)
  • Yankee Push Screwdriver
  • Large (18″ max) dividers

Although, it’s fair to say, I don’t think there is room for any of that stuff in the new tool chest anyway.

JPG

Thought Experiment

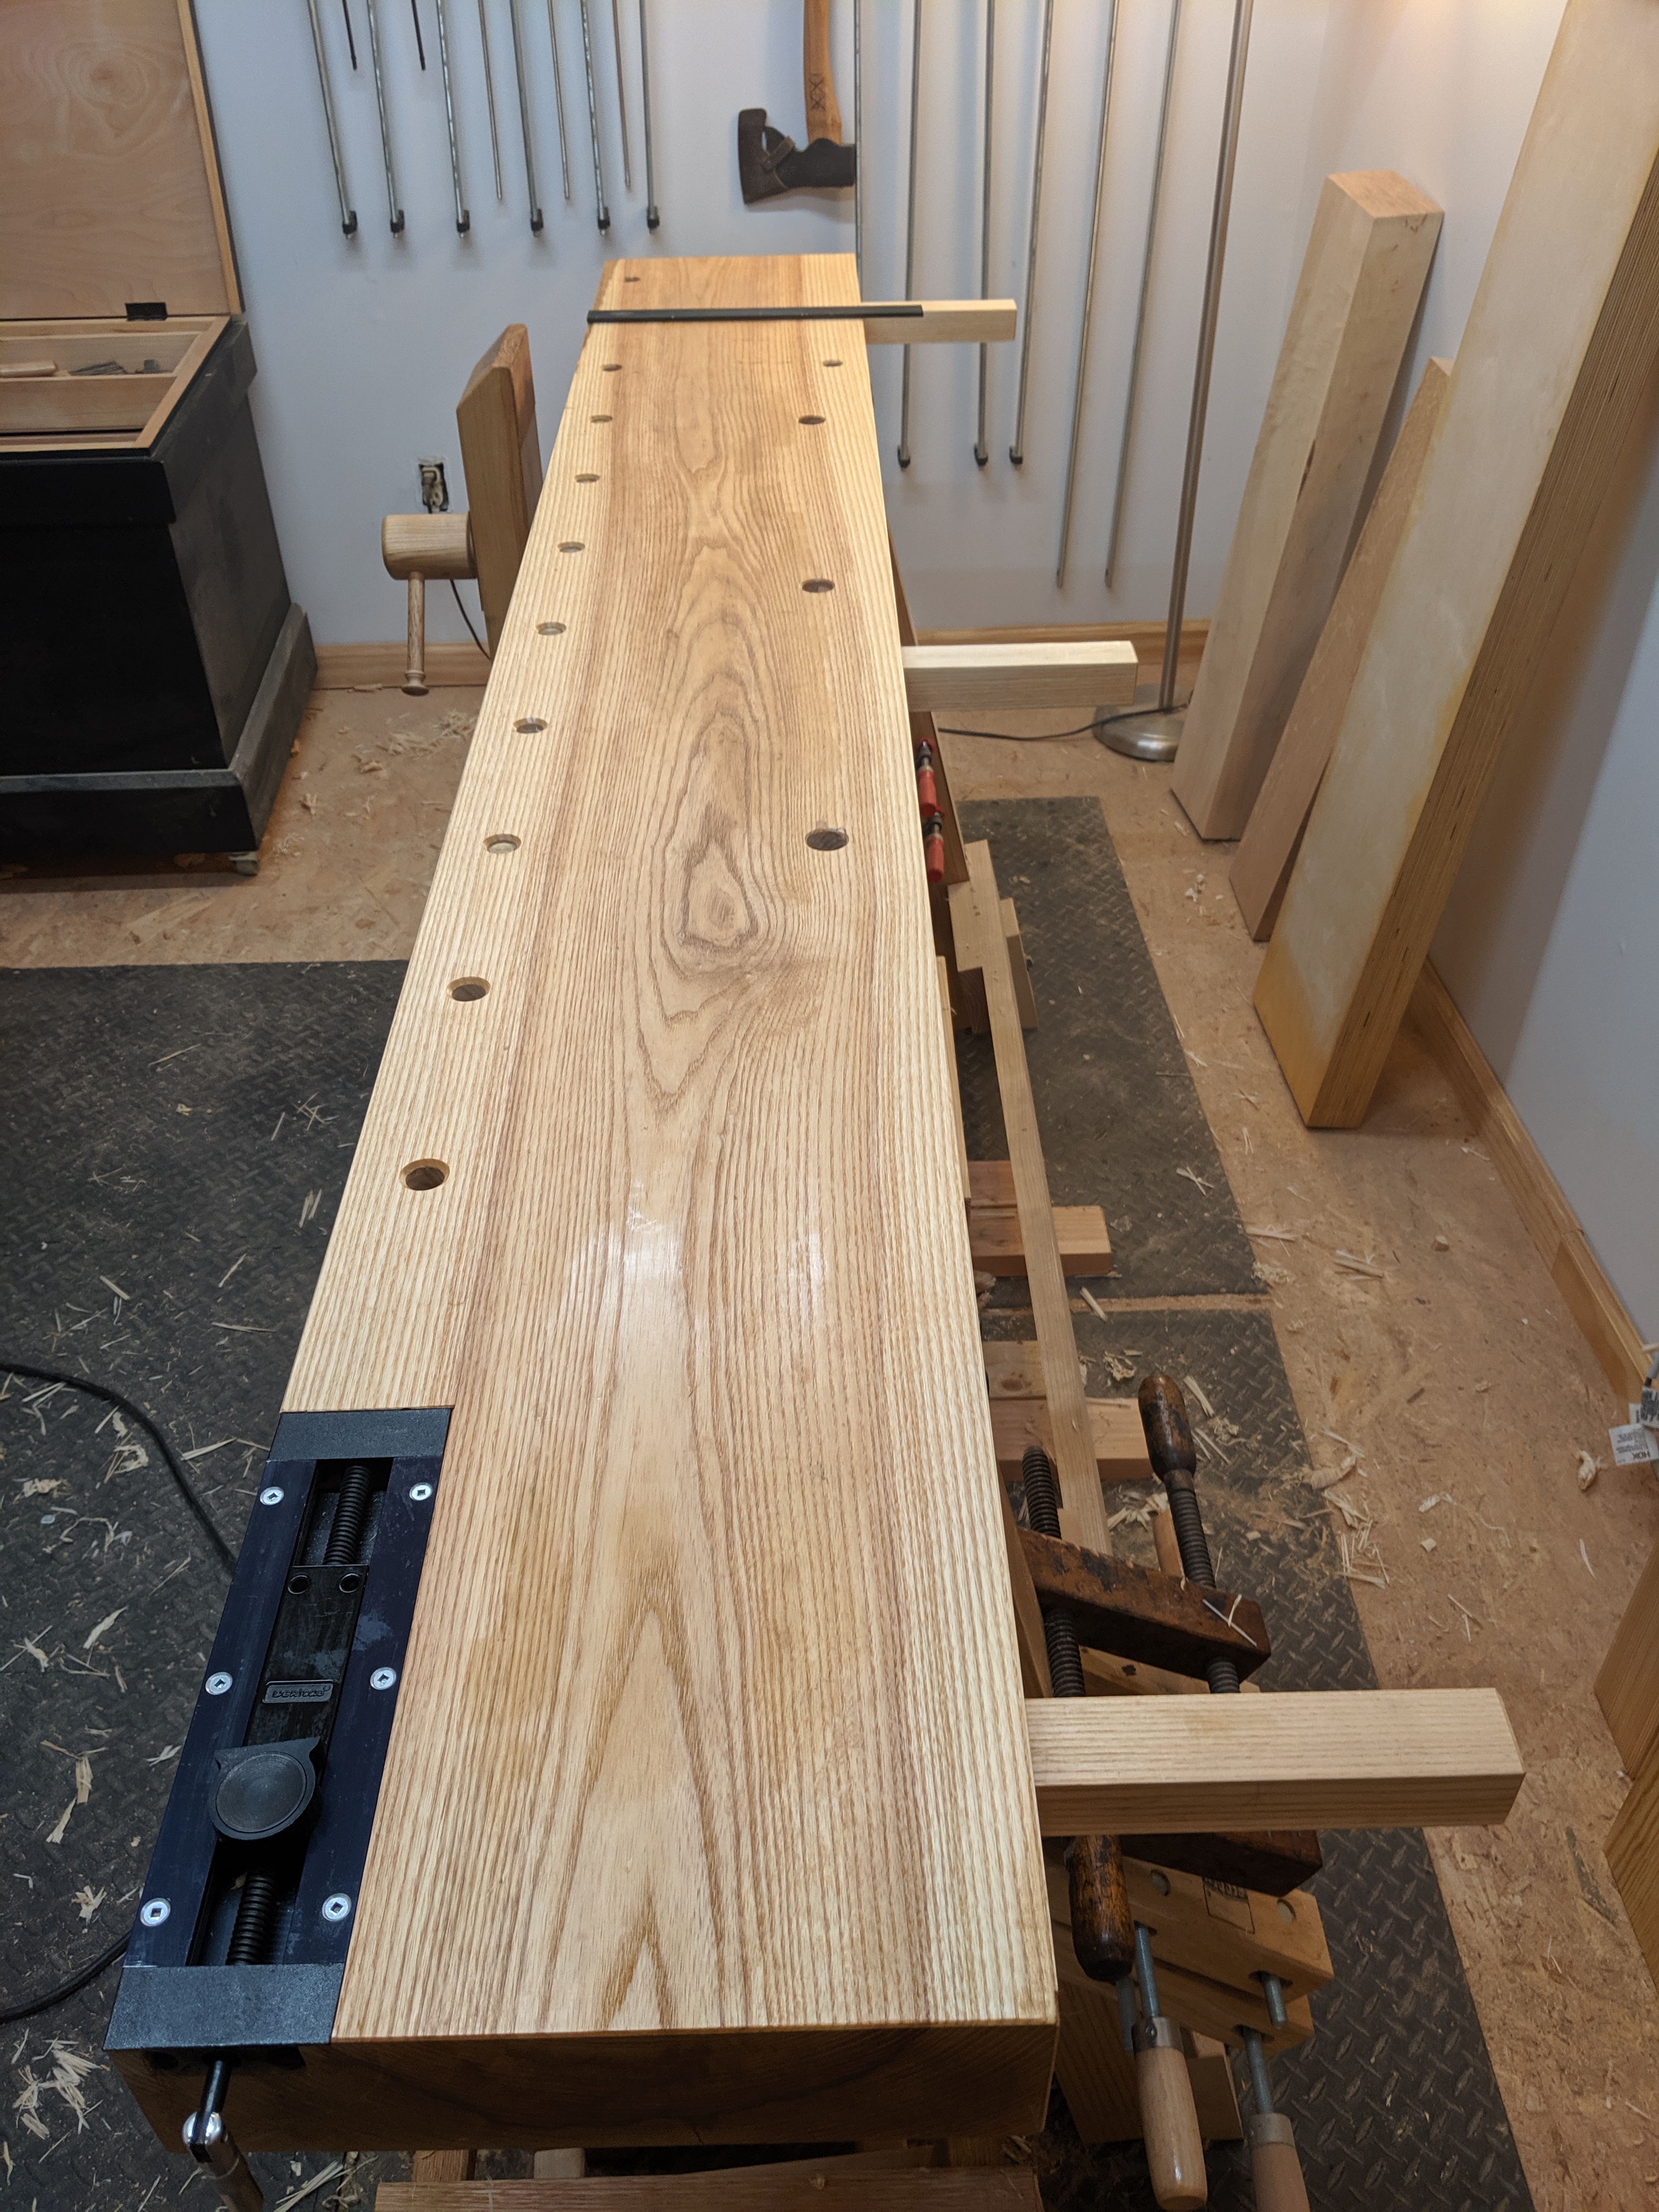
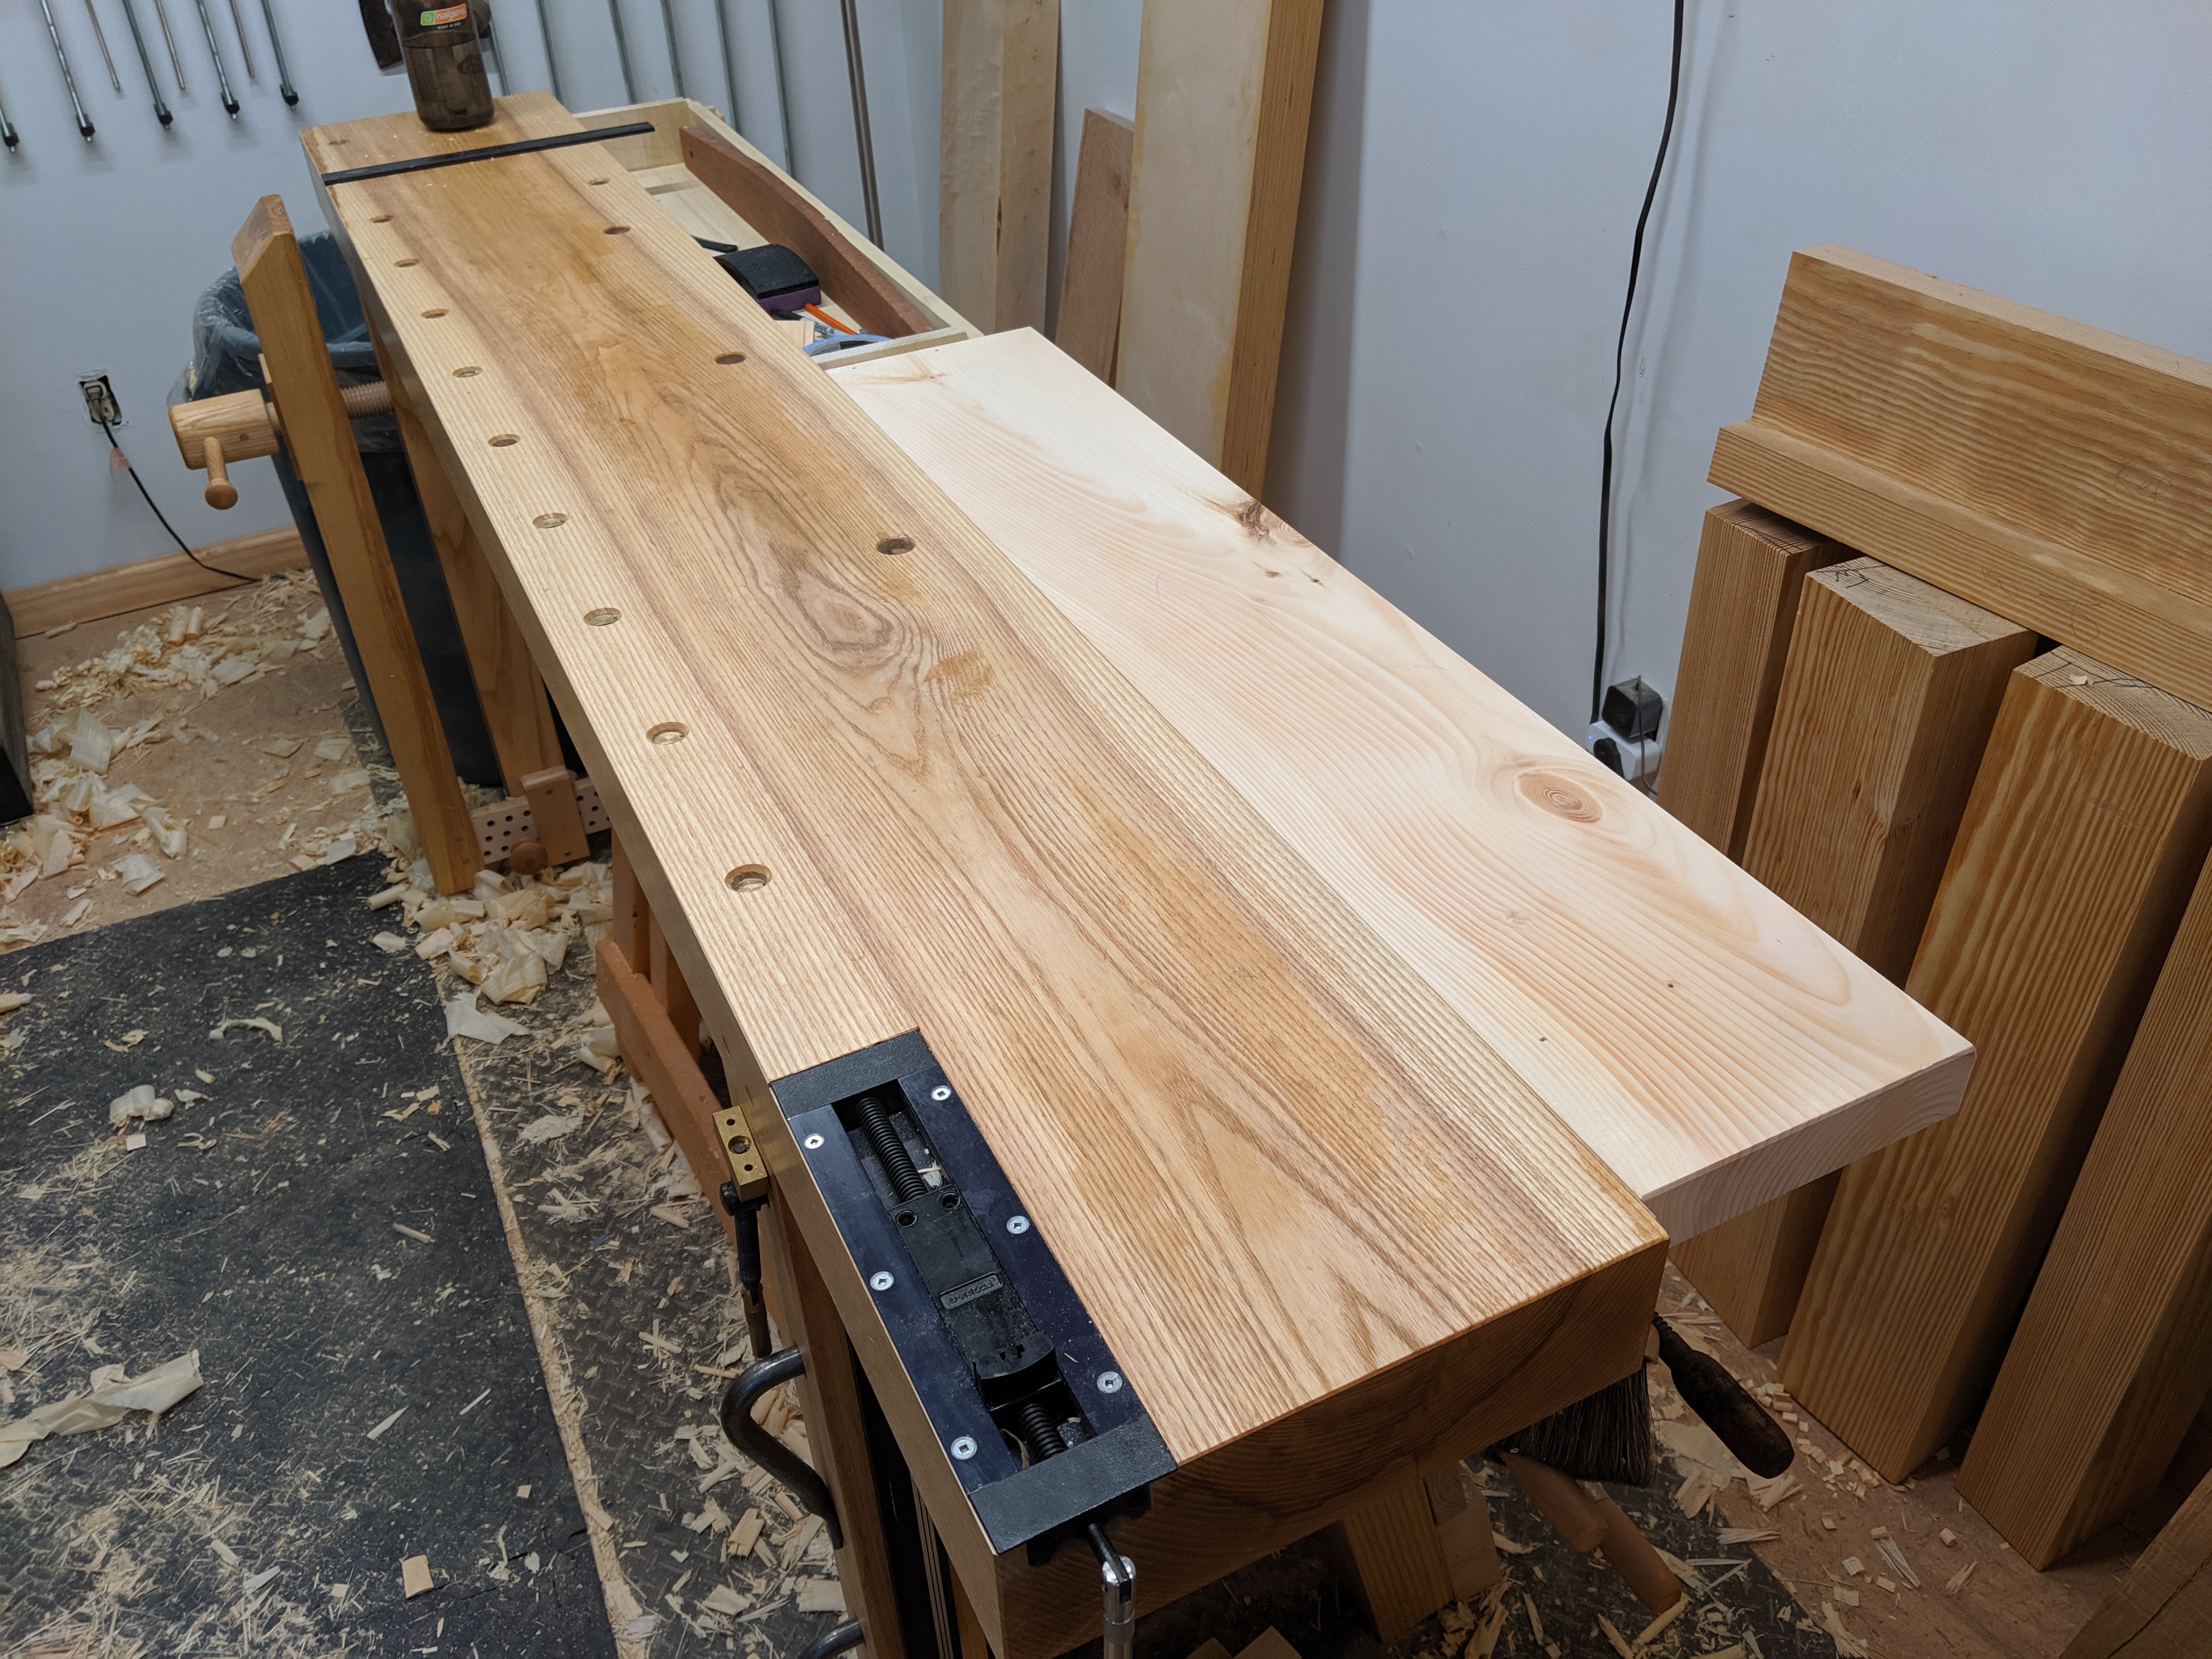
Where we last left off, I had just about made a functional workbench for the cost of seven Douglas Fir 2×4’s and some construction screws.  Before I knew it, I had a sturdy surface that (although a bit narrow, in retrospect) was ready for some serious woodworking.  There was just one problem: I had cheated and not even realized it.

IMG_20200512_160454.jpg

Nice looking bench, if I say so myself.

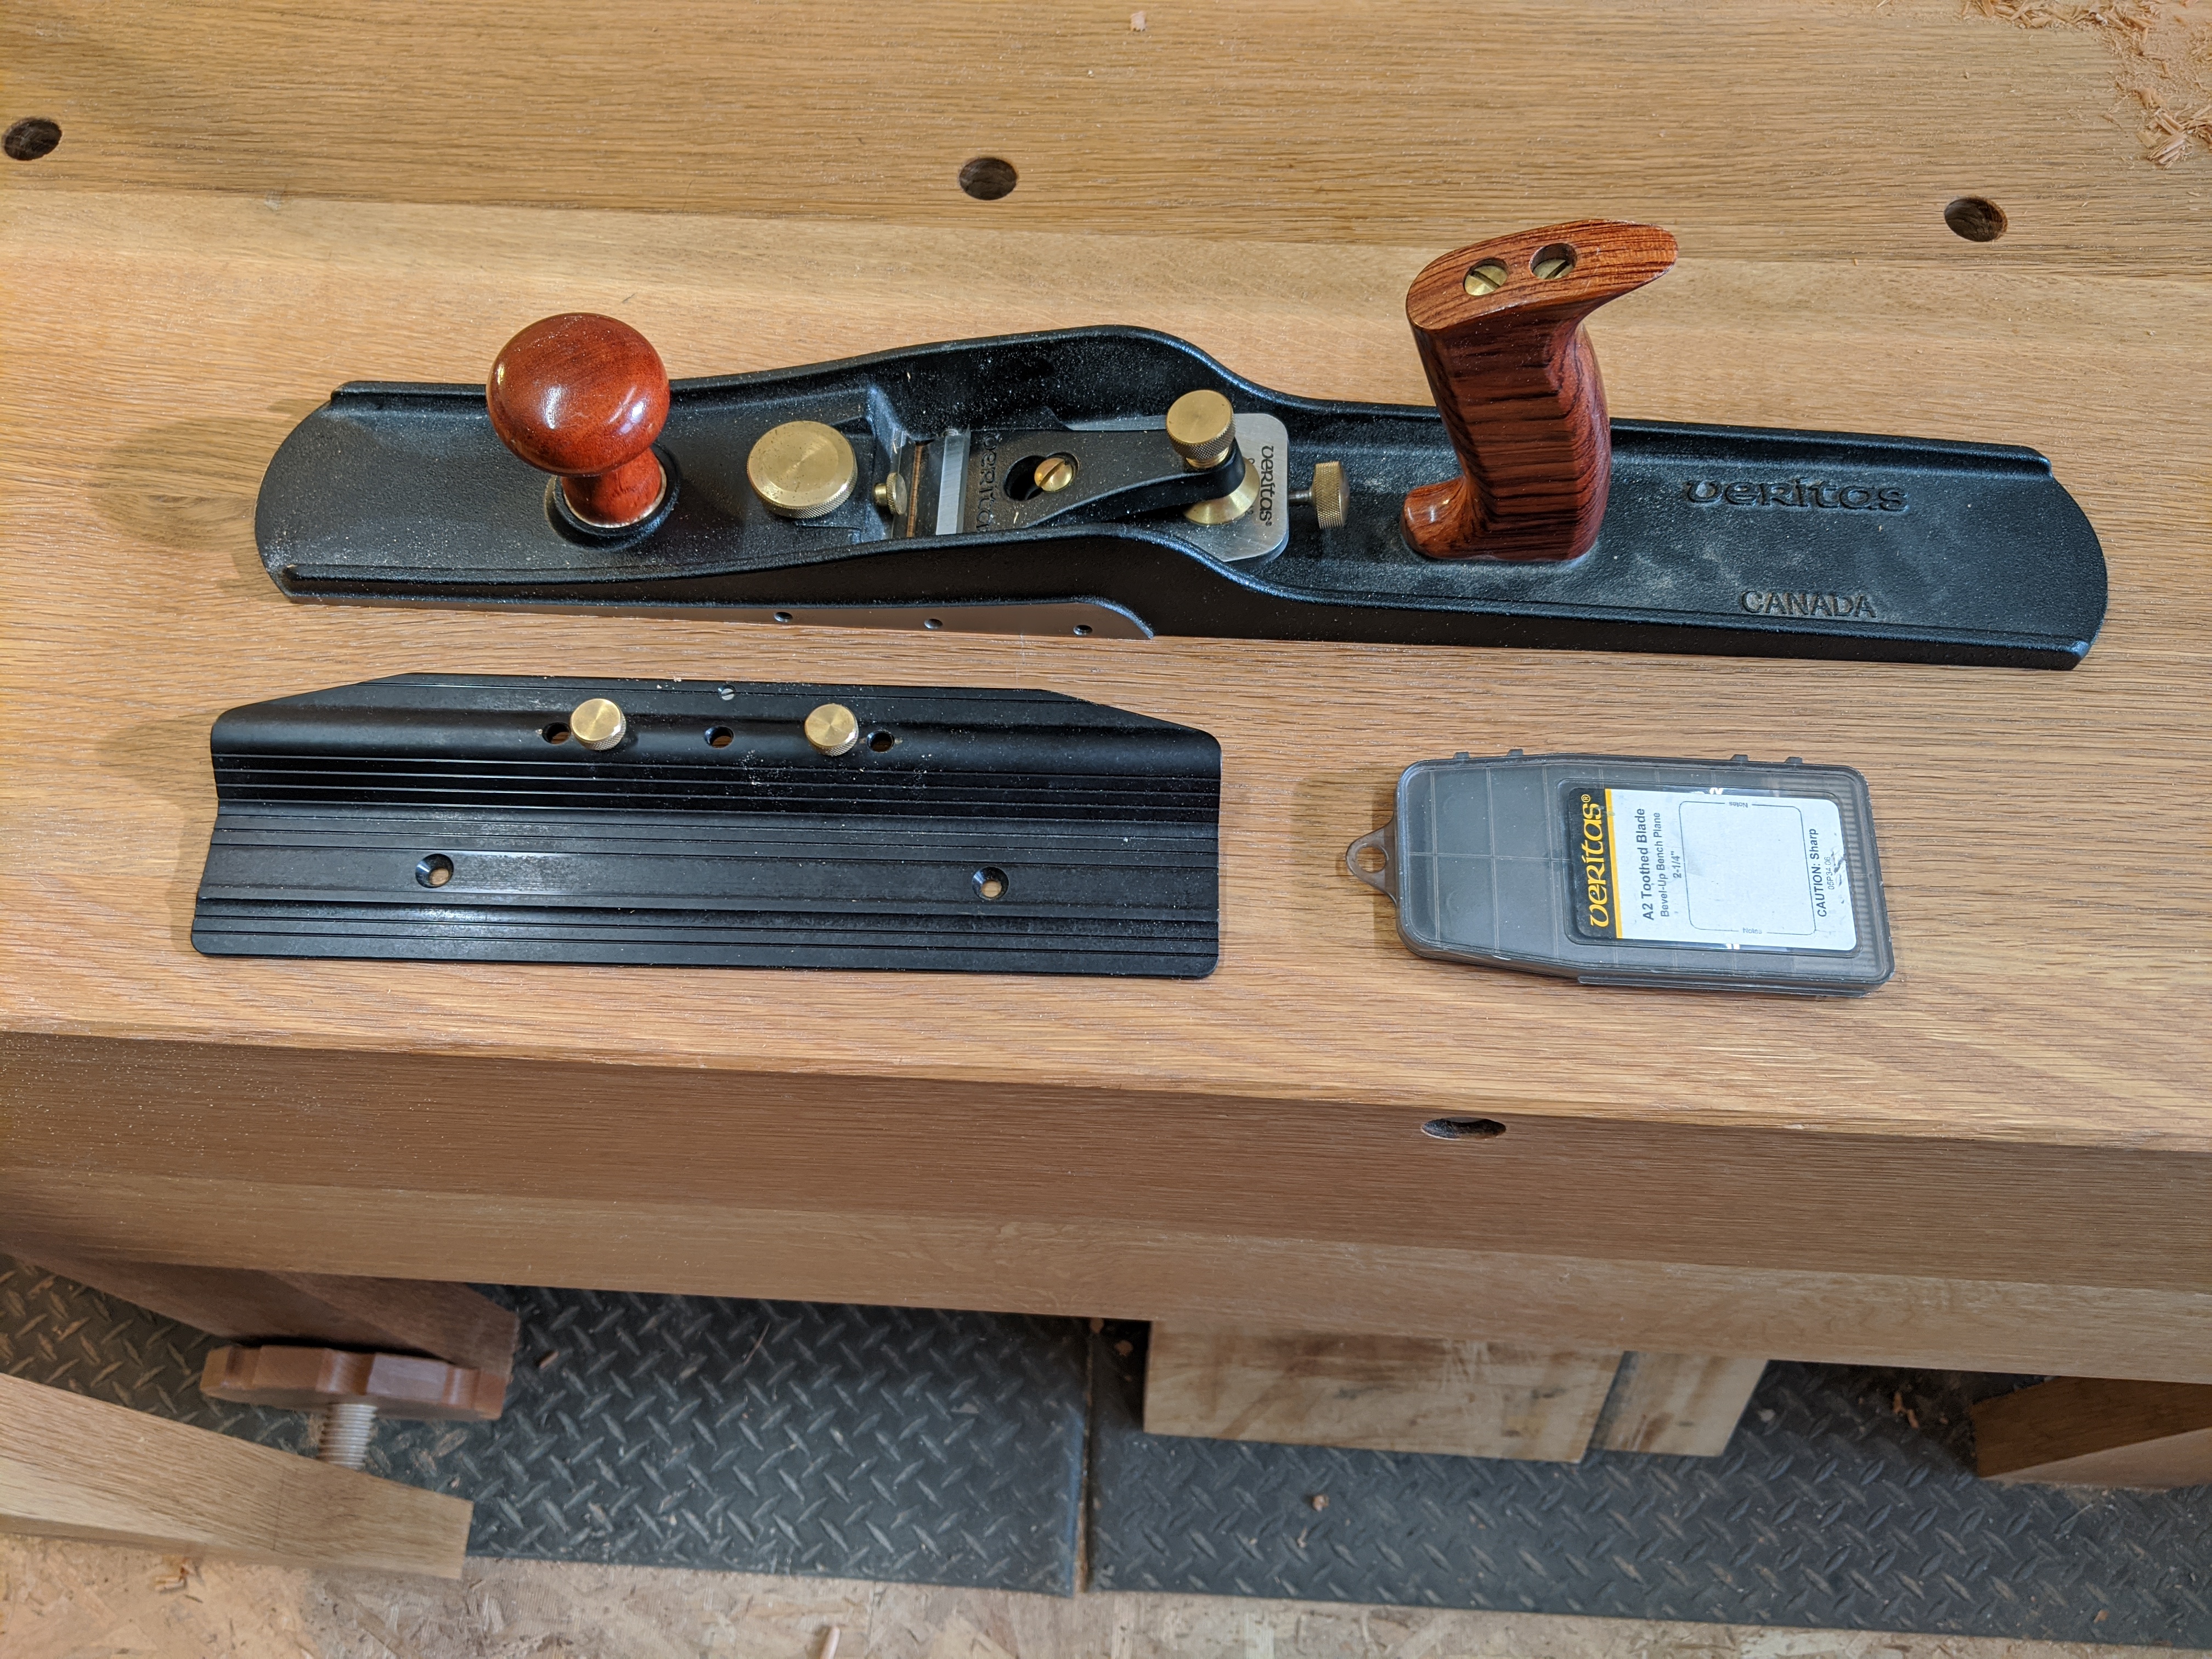
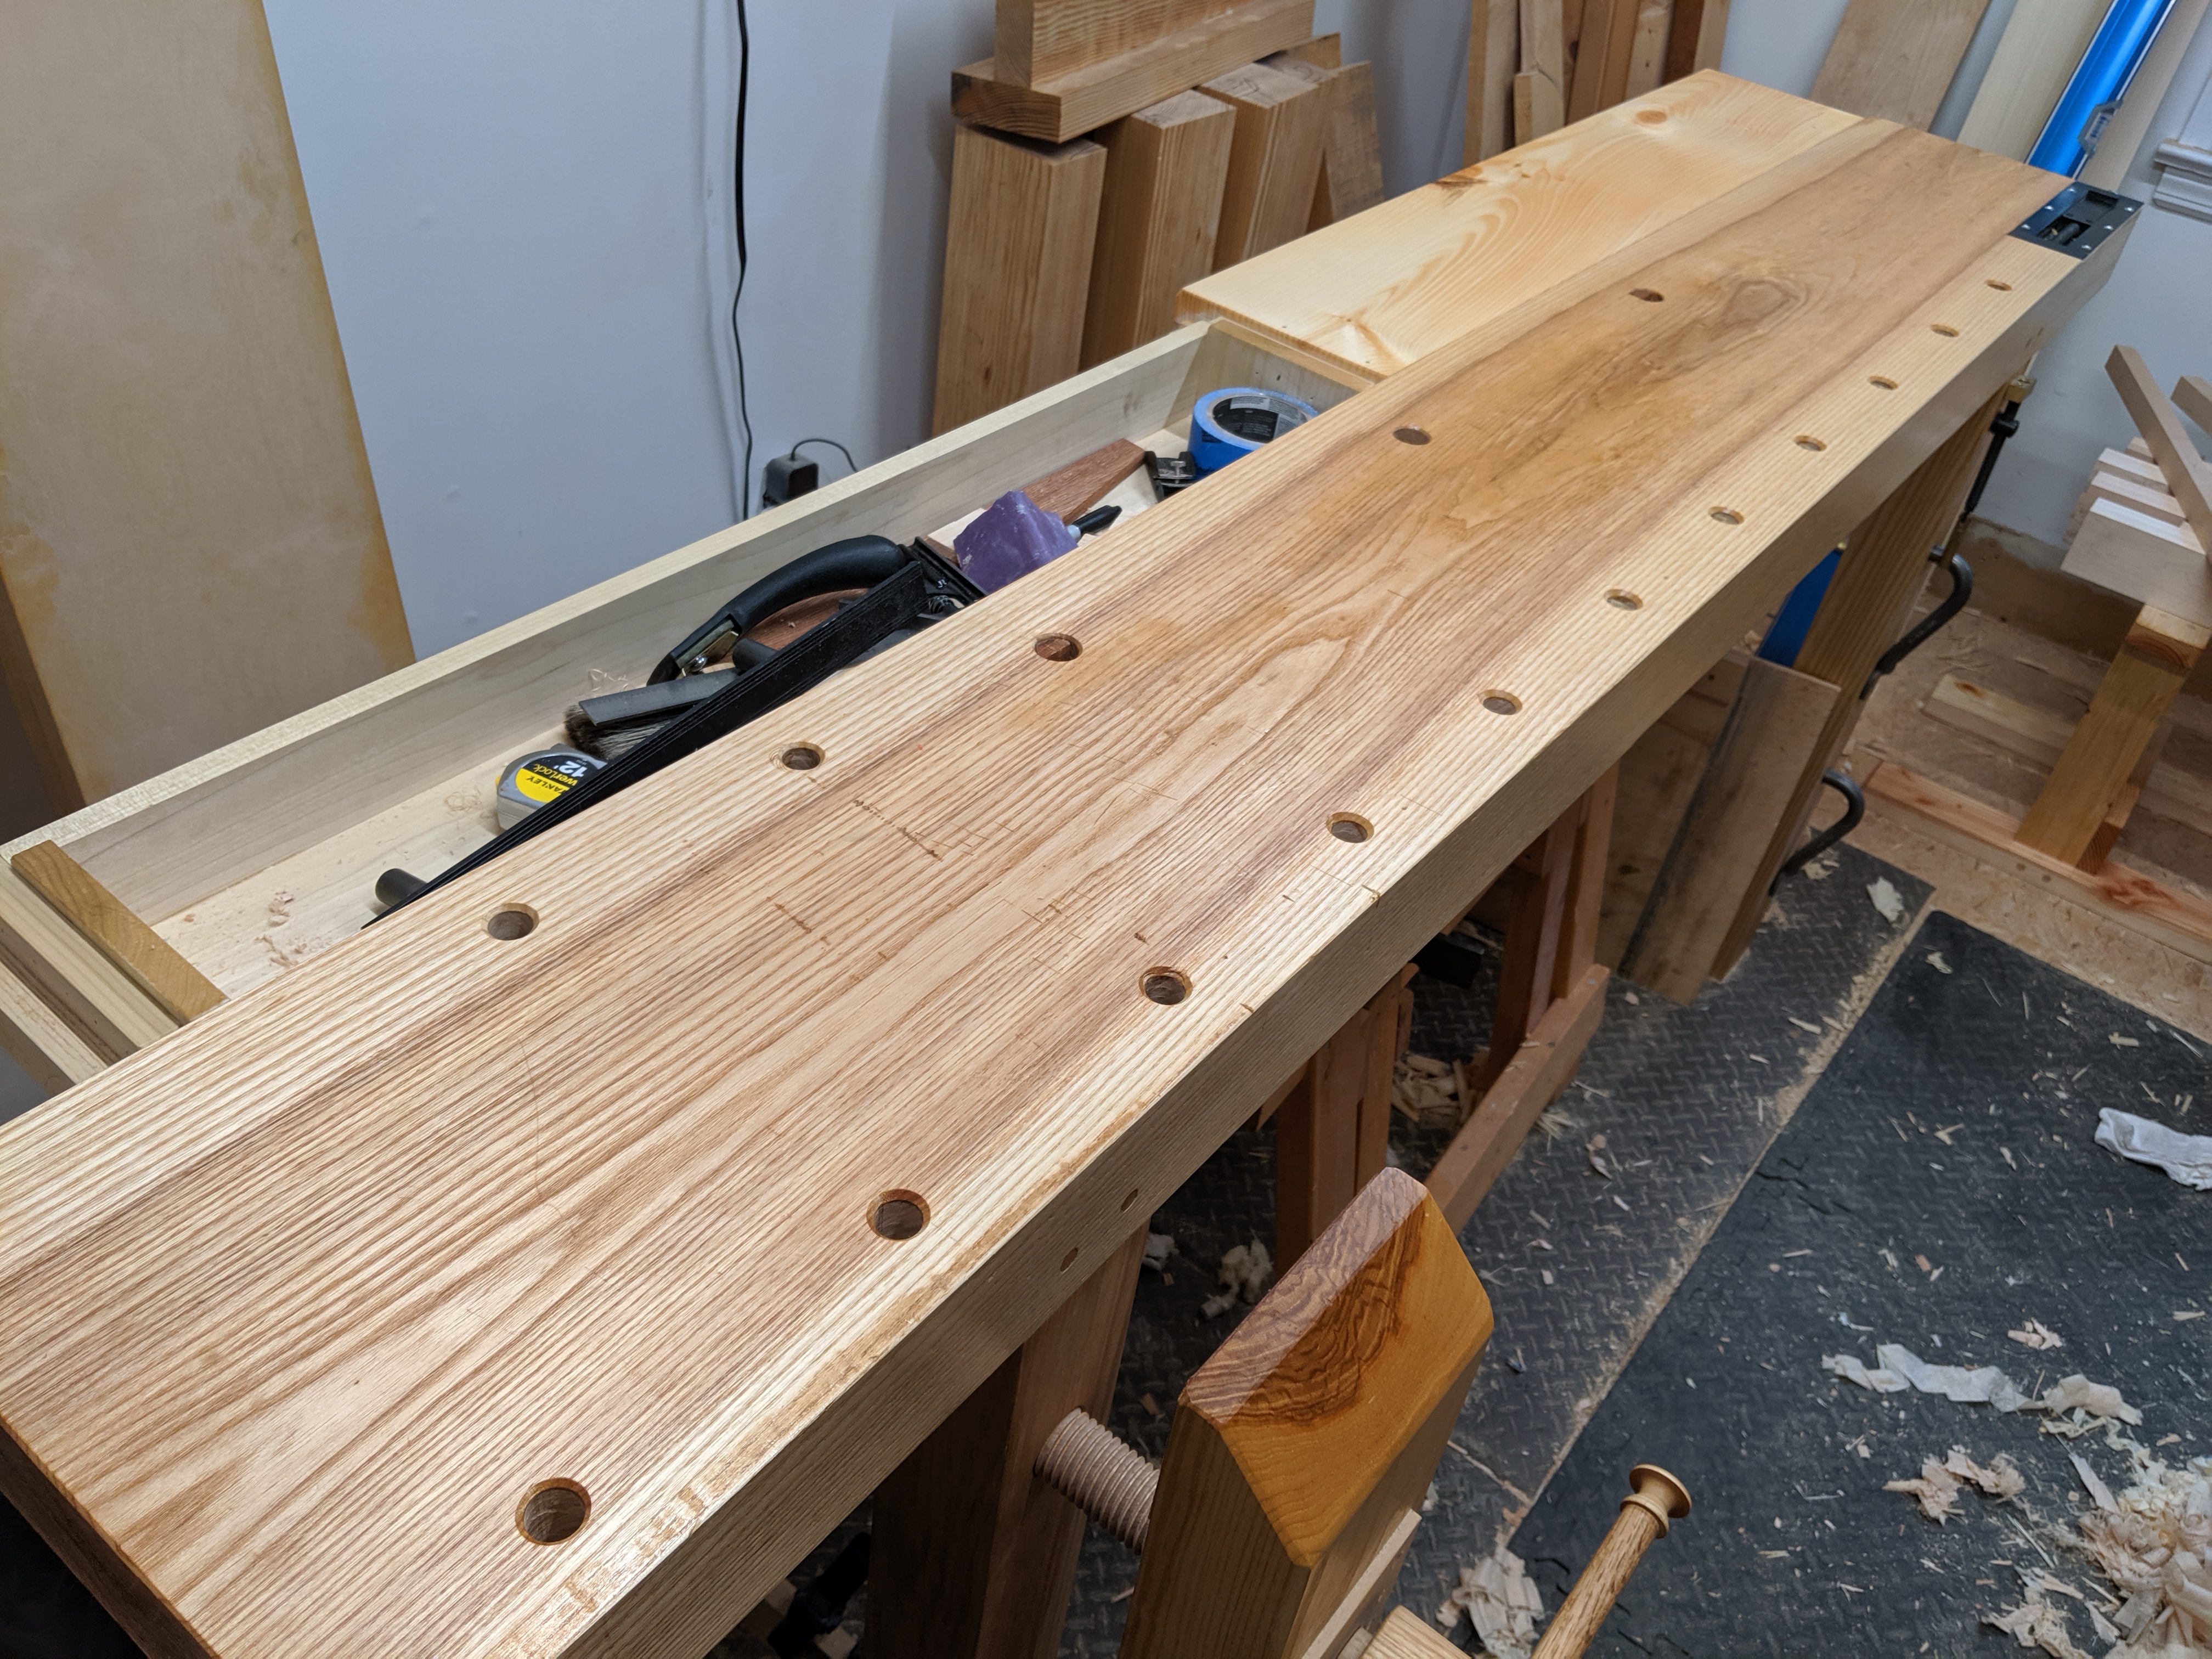
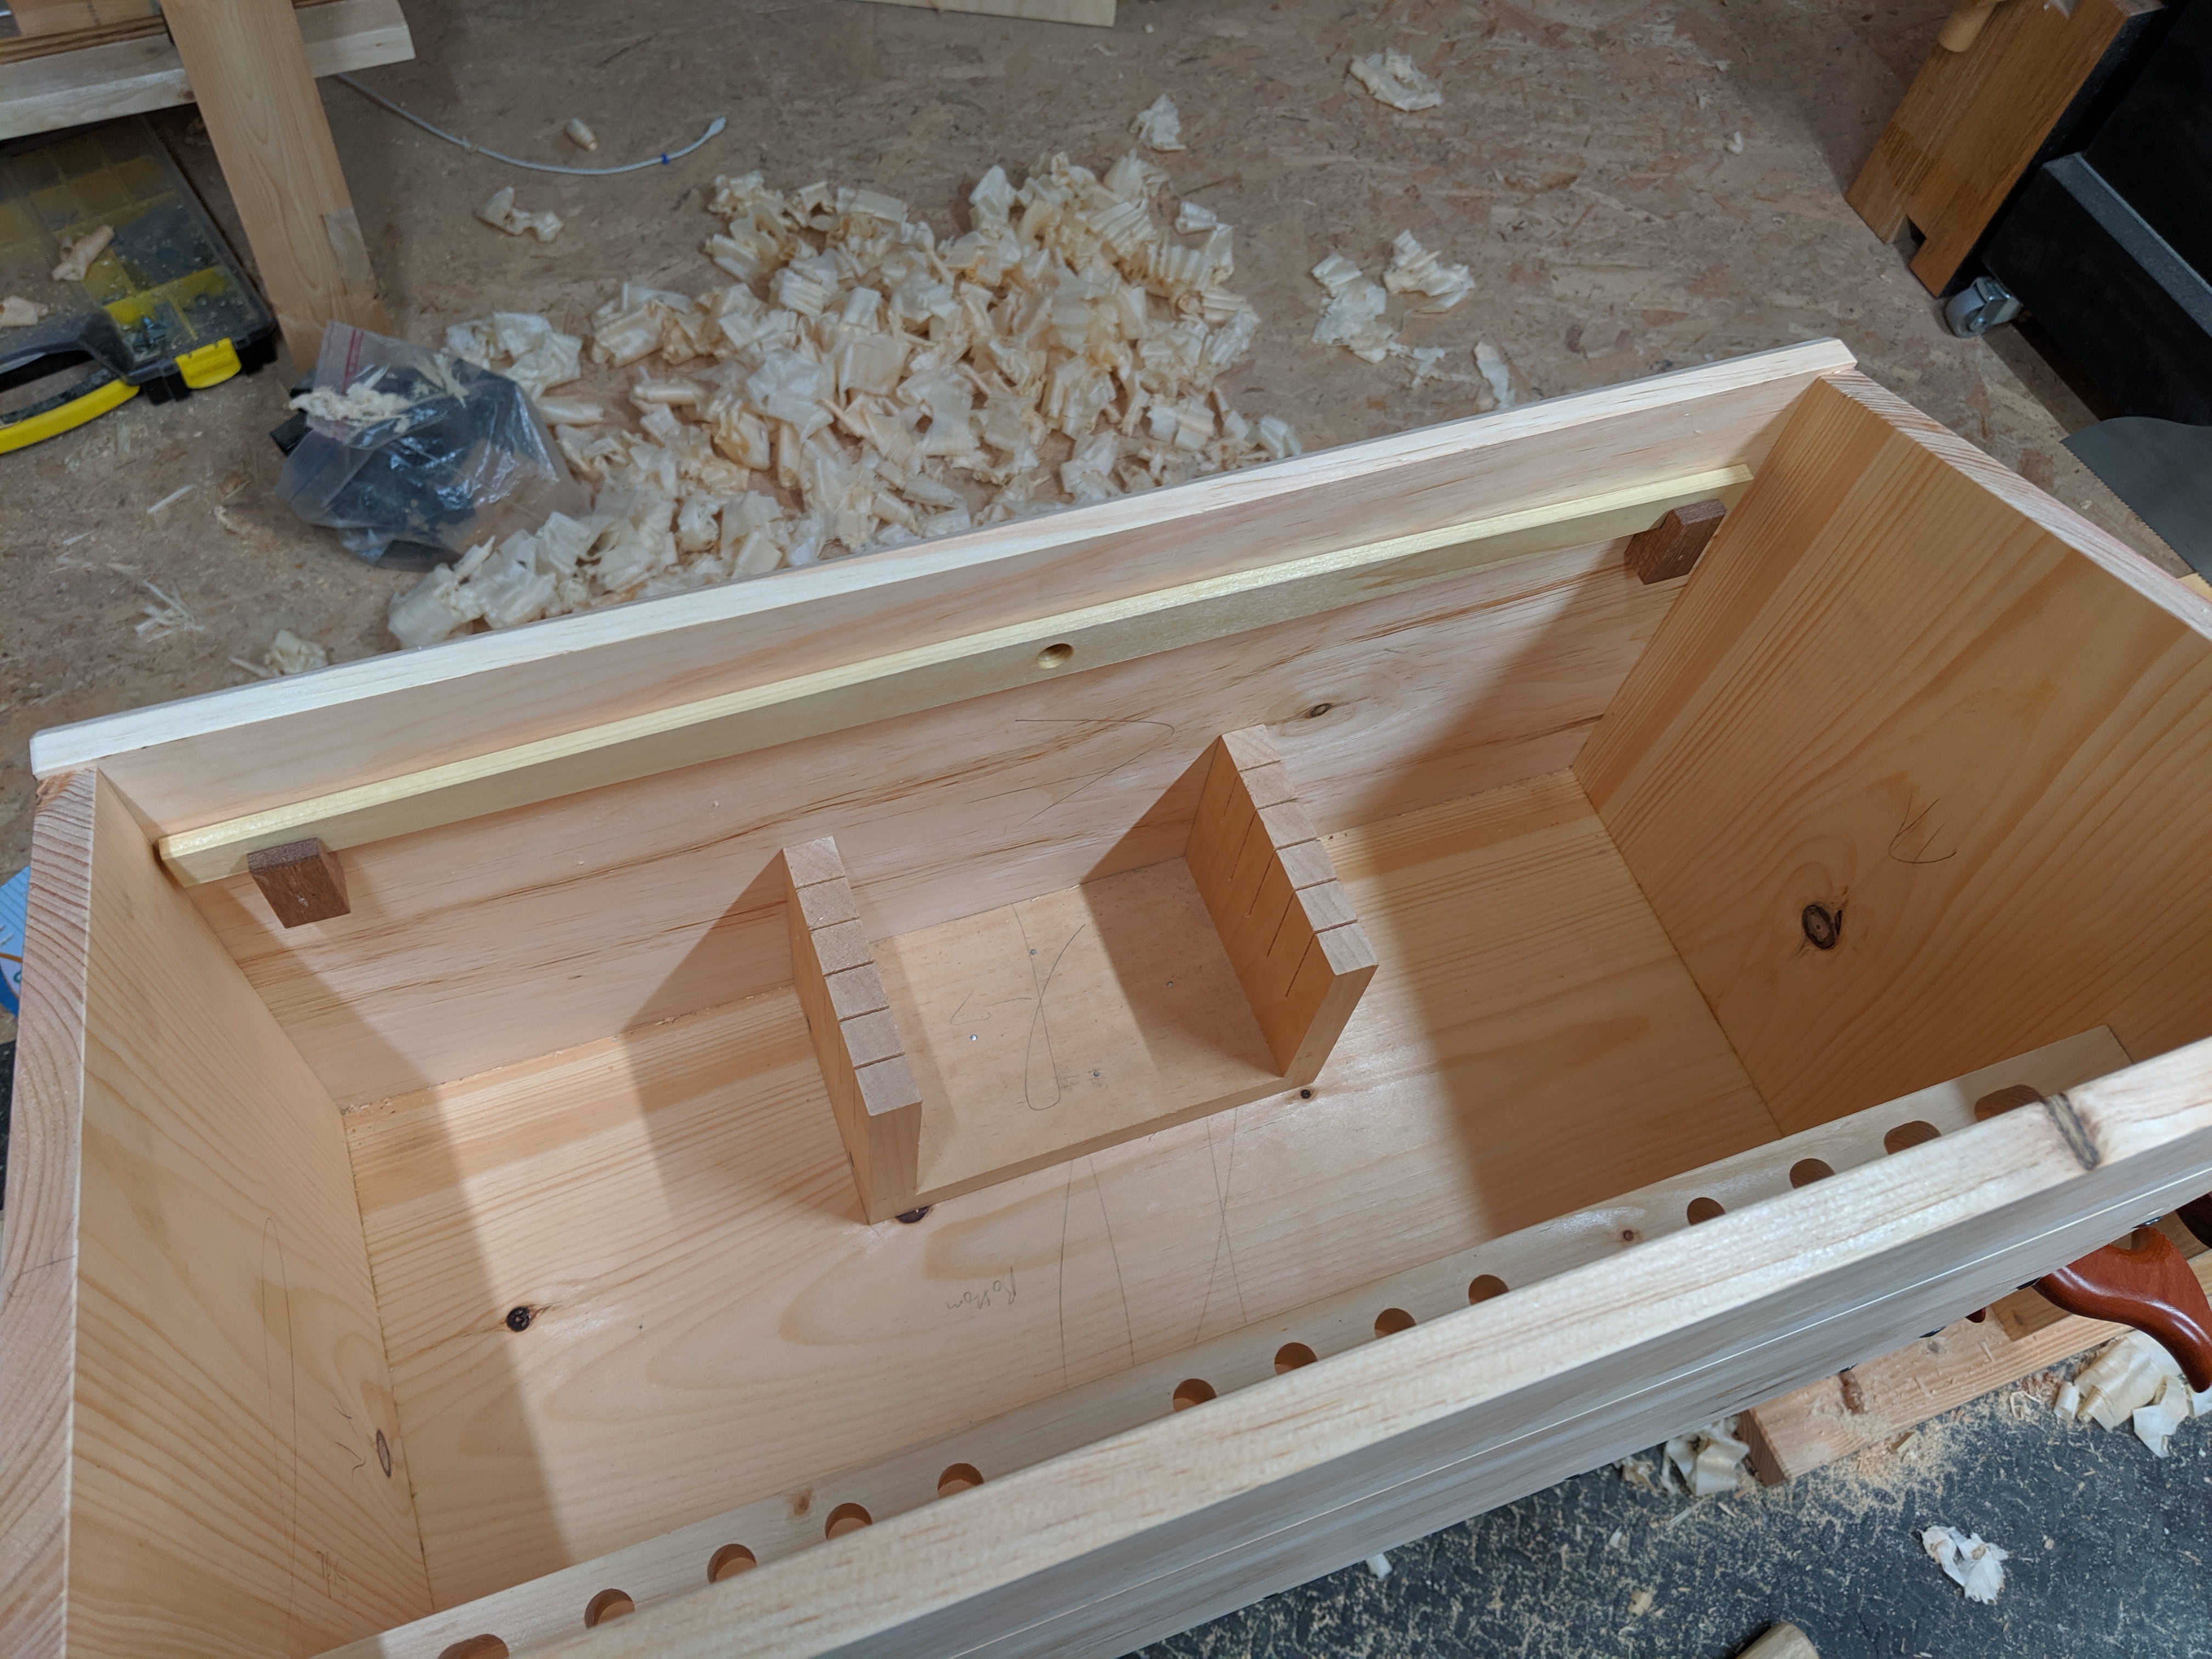
You may have noticed the Veritas low profile planing stop shown above.  They are easy to install (you just drill a couple of 3/4″ holes) and super functional and I swear by them.  But there is no 3/4″ bit in my basic tool kit yet.  Since I’m not yet ready to compromise this intellectual exercise, the planing stop has to go.  Some West Systems epoxy does the trick filling the holes.

IMG_20200513_093018.jpg

Faces in things.

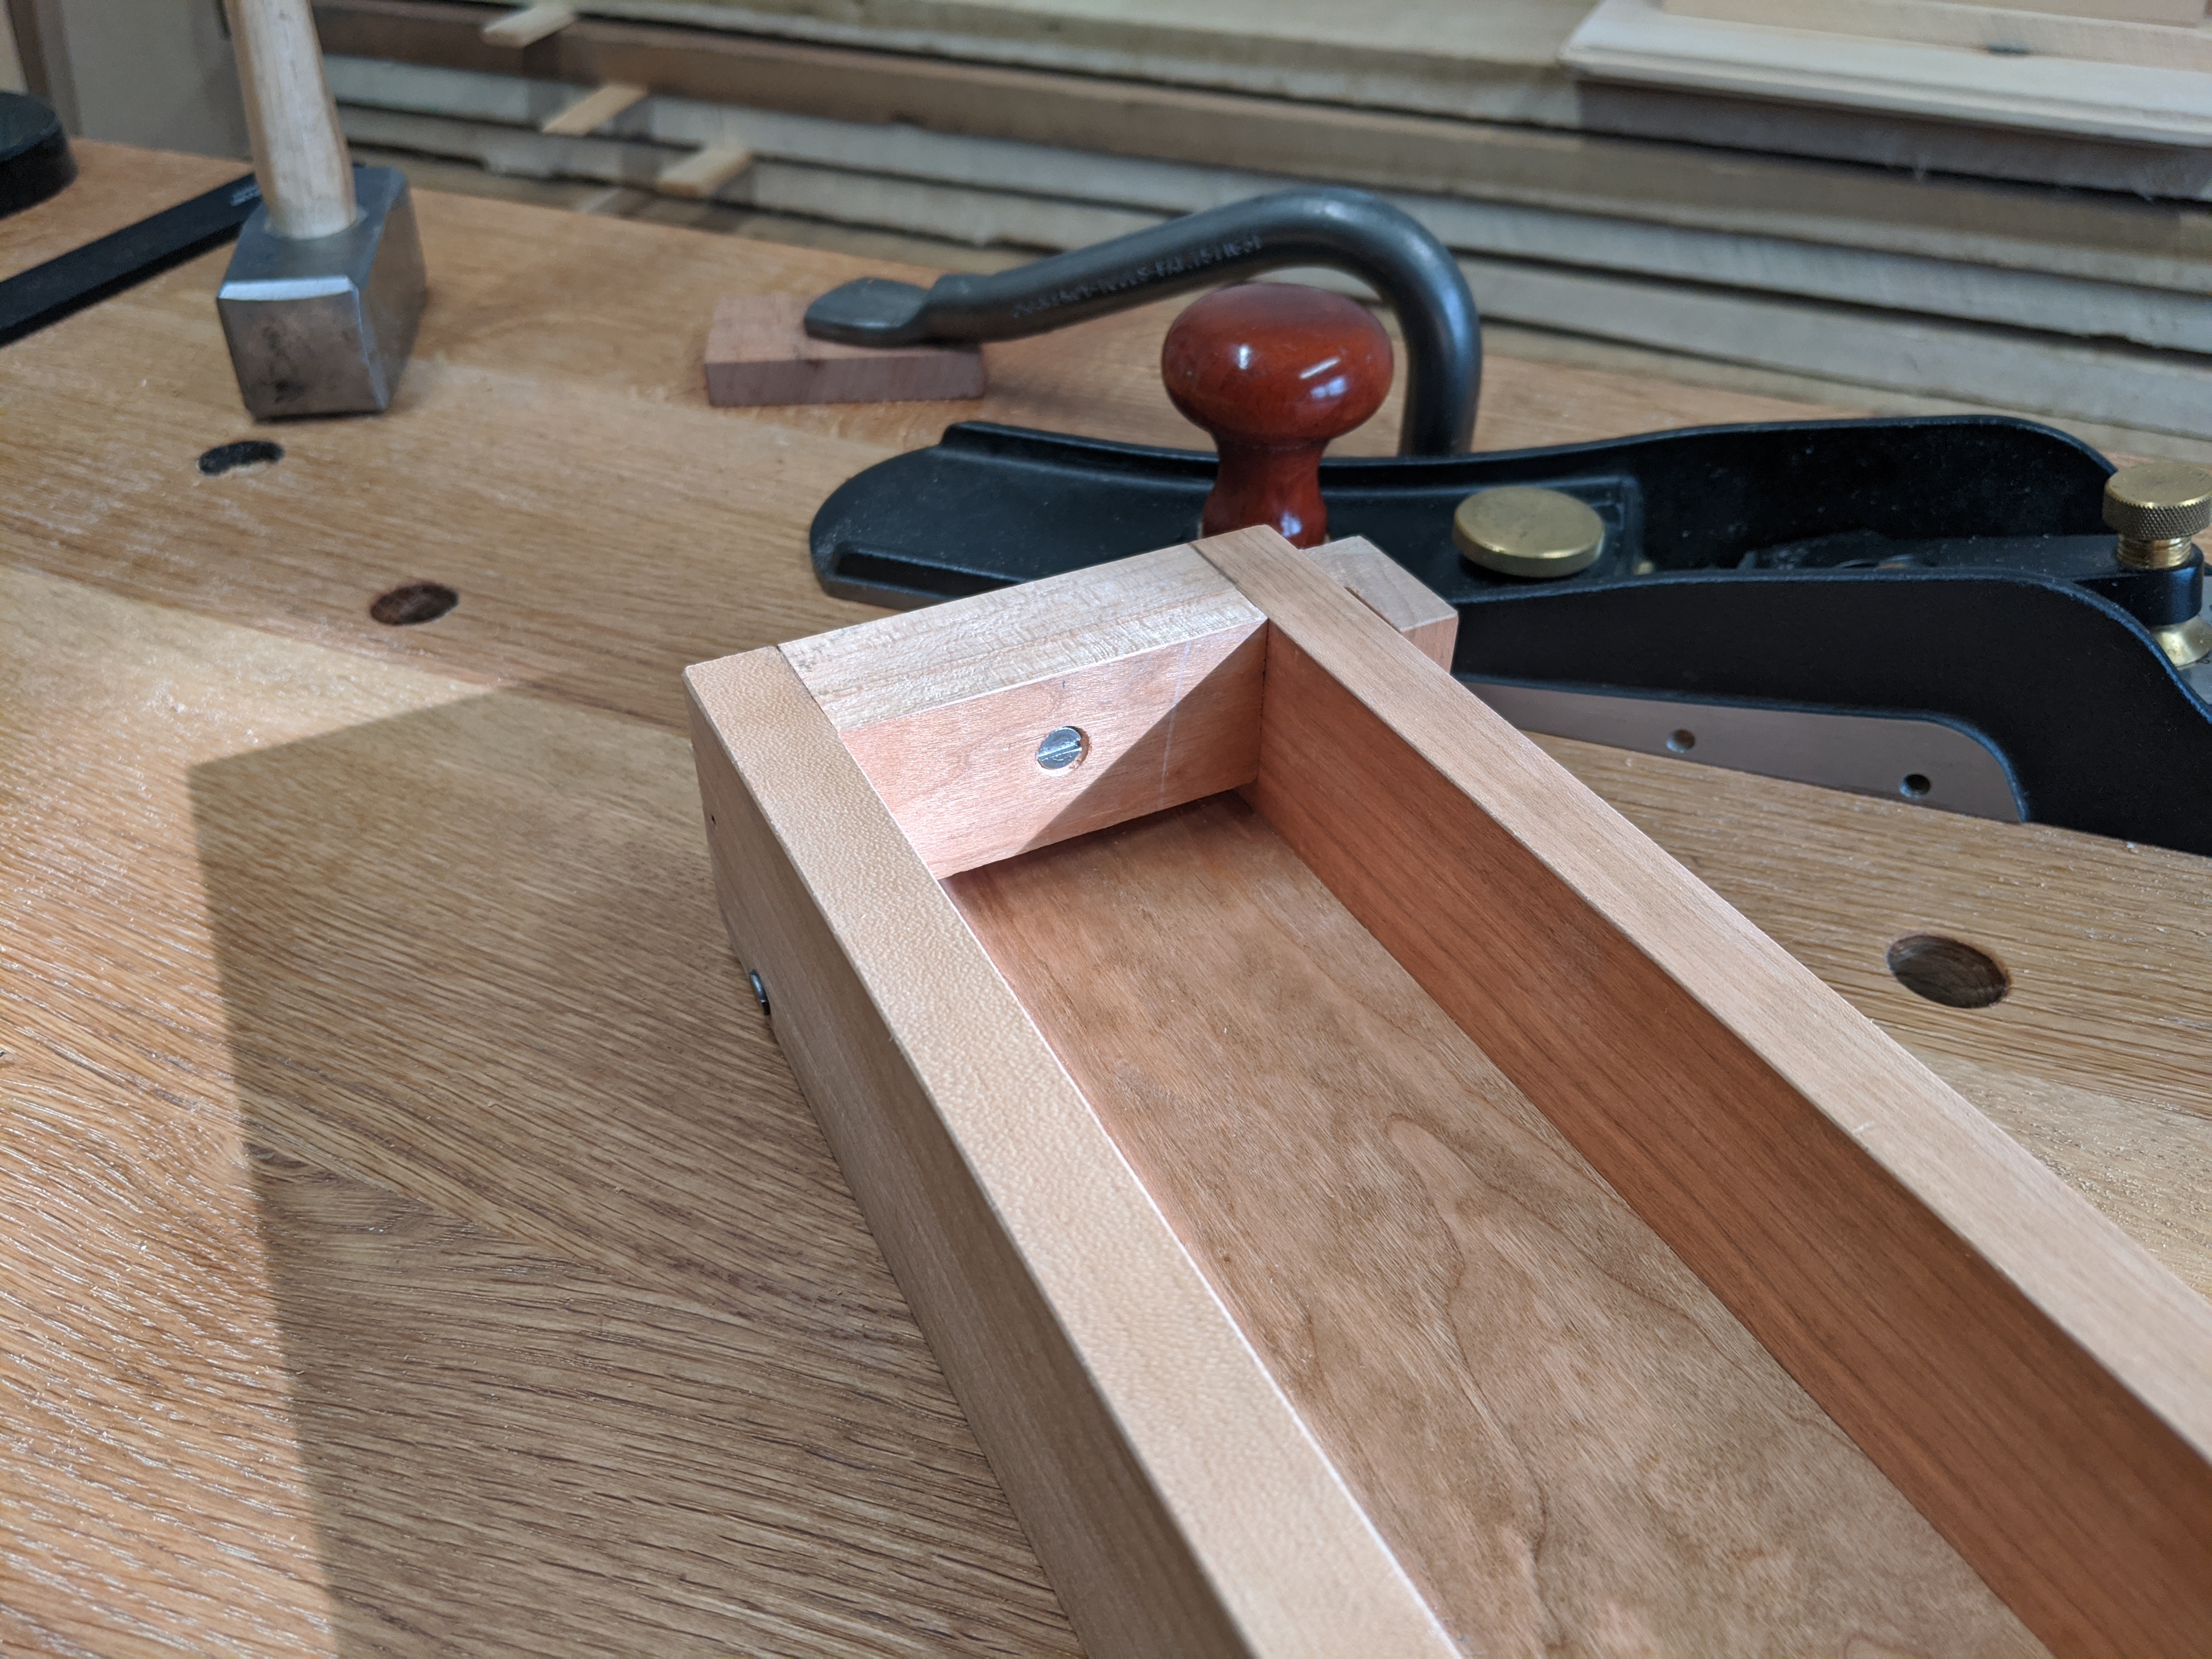
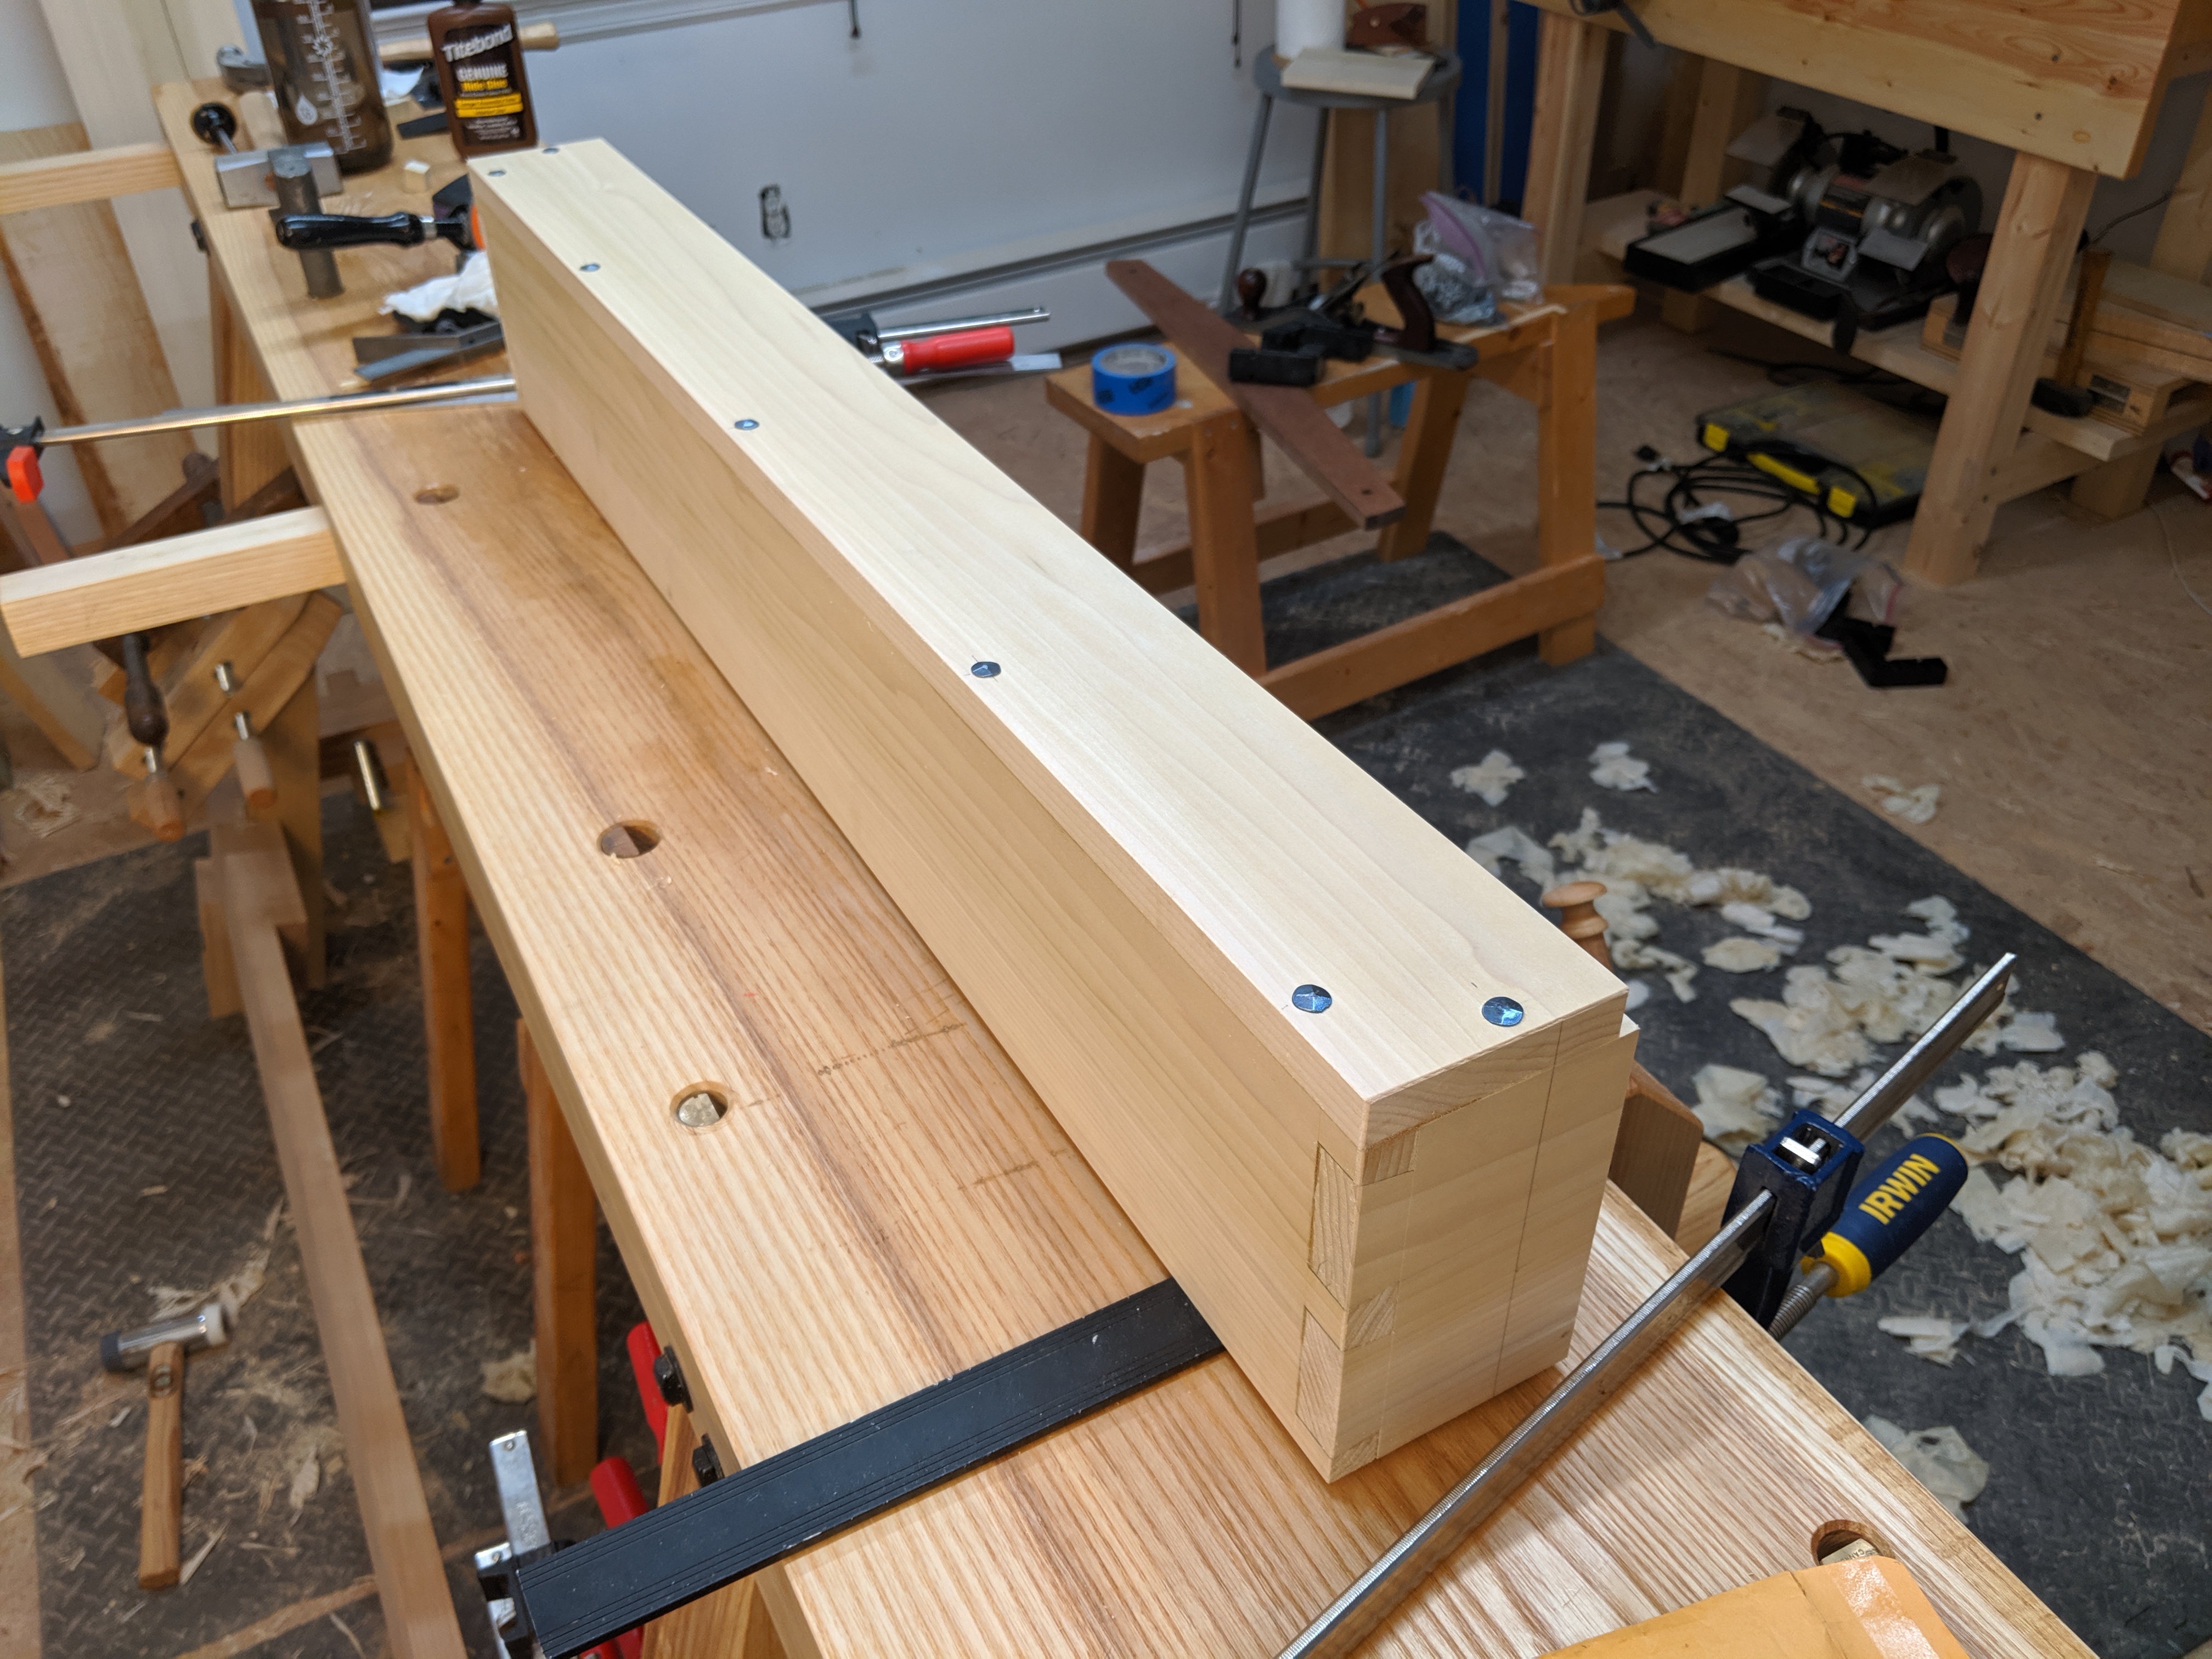
3/4″ drill bit aside, I definitely have a regular set of drill bits and a hammer.  So instead of a commercially-available planing stop, let’s instead make a palm, which is a different type of planing stop that’s useful for restraining boards both on the their faces and on their edges.

For those unfamiliar, it’s literally just two 1/2″ boards, nailed on at 45 degrees to the length of the bench and 90 degrees to each other. I used 6d die-forged nails with the heads counter-bored a bit so I don’t accidentally ding a plane sole on thinner stock.  Narrow boards (and boards on edge) wedge themselves into the palm (a bit like a crochet), and wider boards but up against the points (like a straight planing stop).

IMG_20200514_101714.jpg

Not sure what additional wisdom you’re looking for here.

I think that’s all the workholding I’ll need for now.  That said, the list of tools has expanded a bit.  The current list of all tools I used for building the bench is as follows:

  • No. 5 Jack Plane
  • Chisels: 1/2″ and 1″
  • Panel saw
  • Double-faced mallet (not pictured)
  • Claw hammer (not pictured)
  • 12″ combination square
  • 4″ try square
  • 36″ straightedge
  • 12′ tape measure (not pictured)
  • Folding marking knife
  • Wheel marking gauge
  • Small folding bevel gauge
  • Birdcage (square) awl
  • Mechanical pencil, etc.
  • Medium cut straight file
  • Cordless drill driver with standard drill bits and driver bits (bits not pictured)

But I think it’s fair to say that if the entire tool kit for making a workbench fit on the top of that workbench, then it qualifies as an apartment woodworking bench.

IMG_20200511_194329.jpg

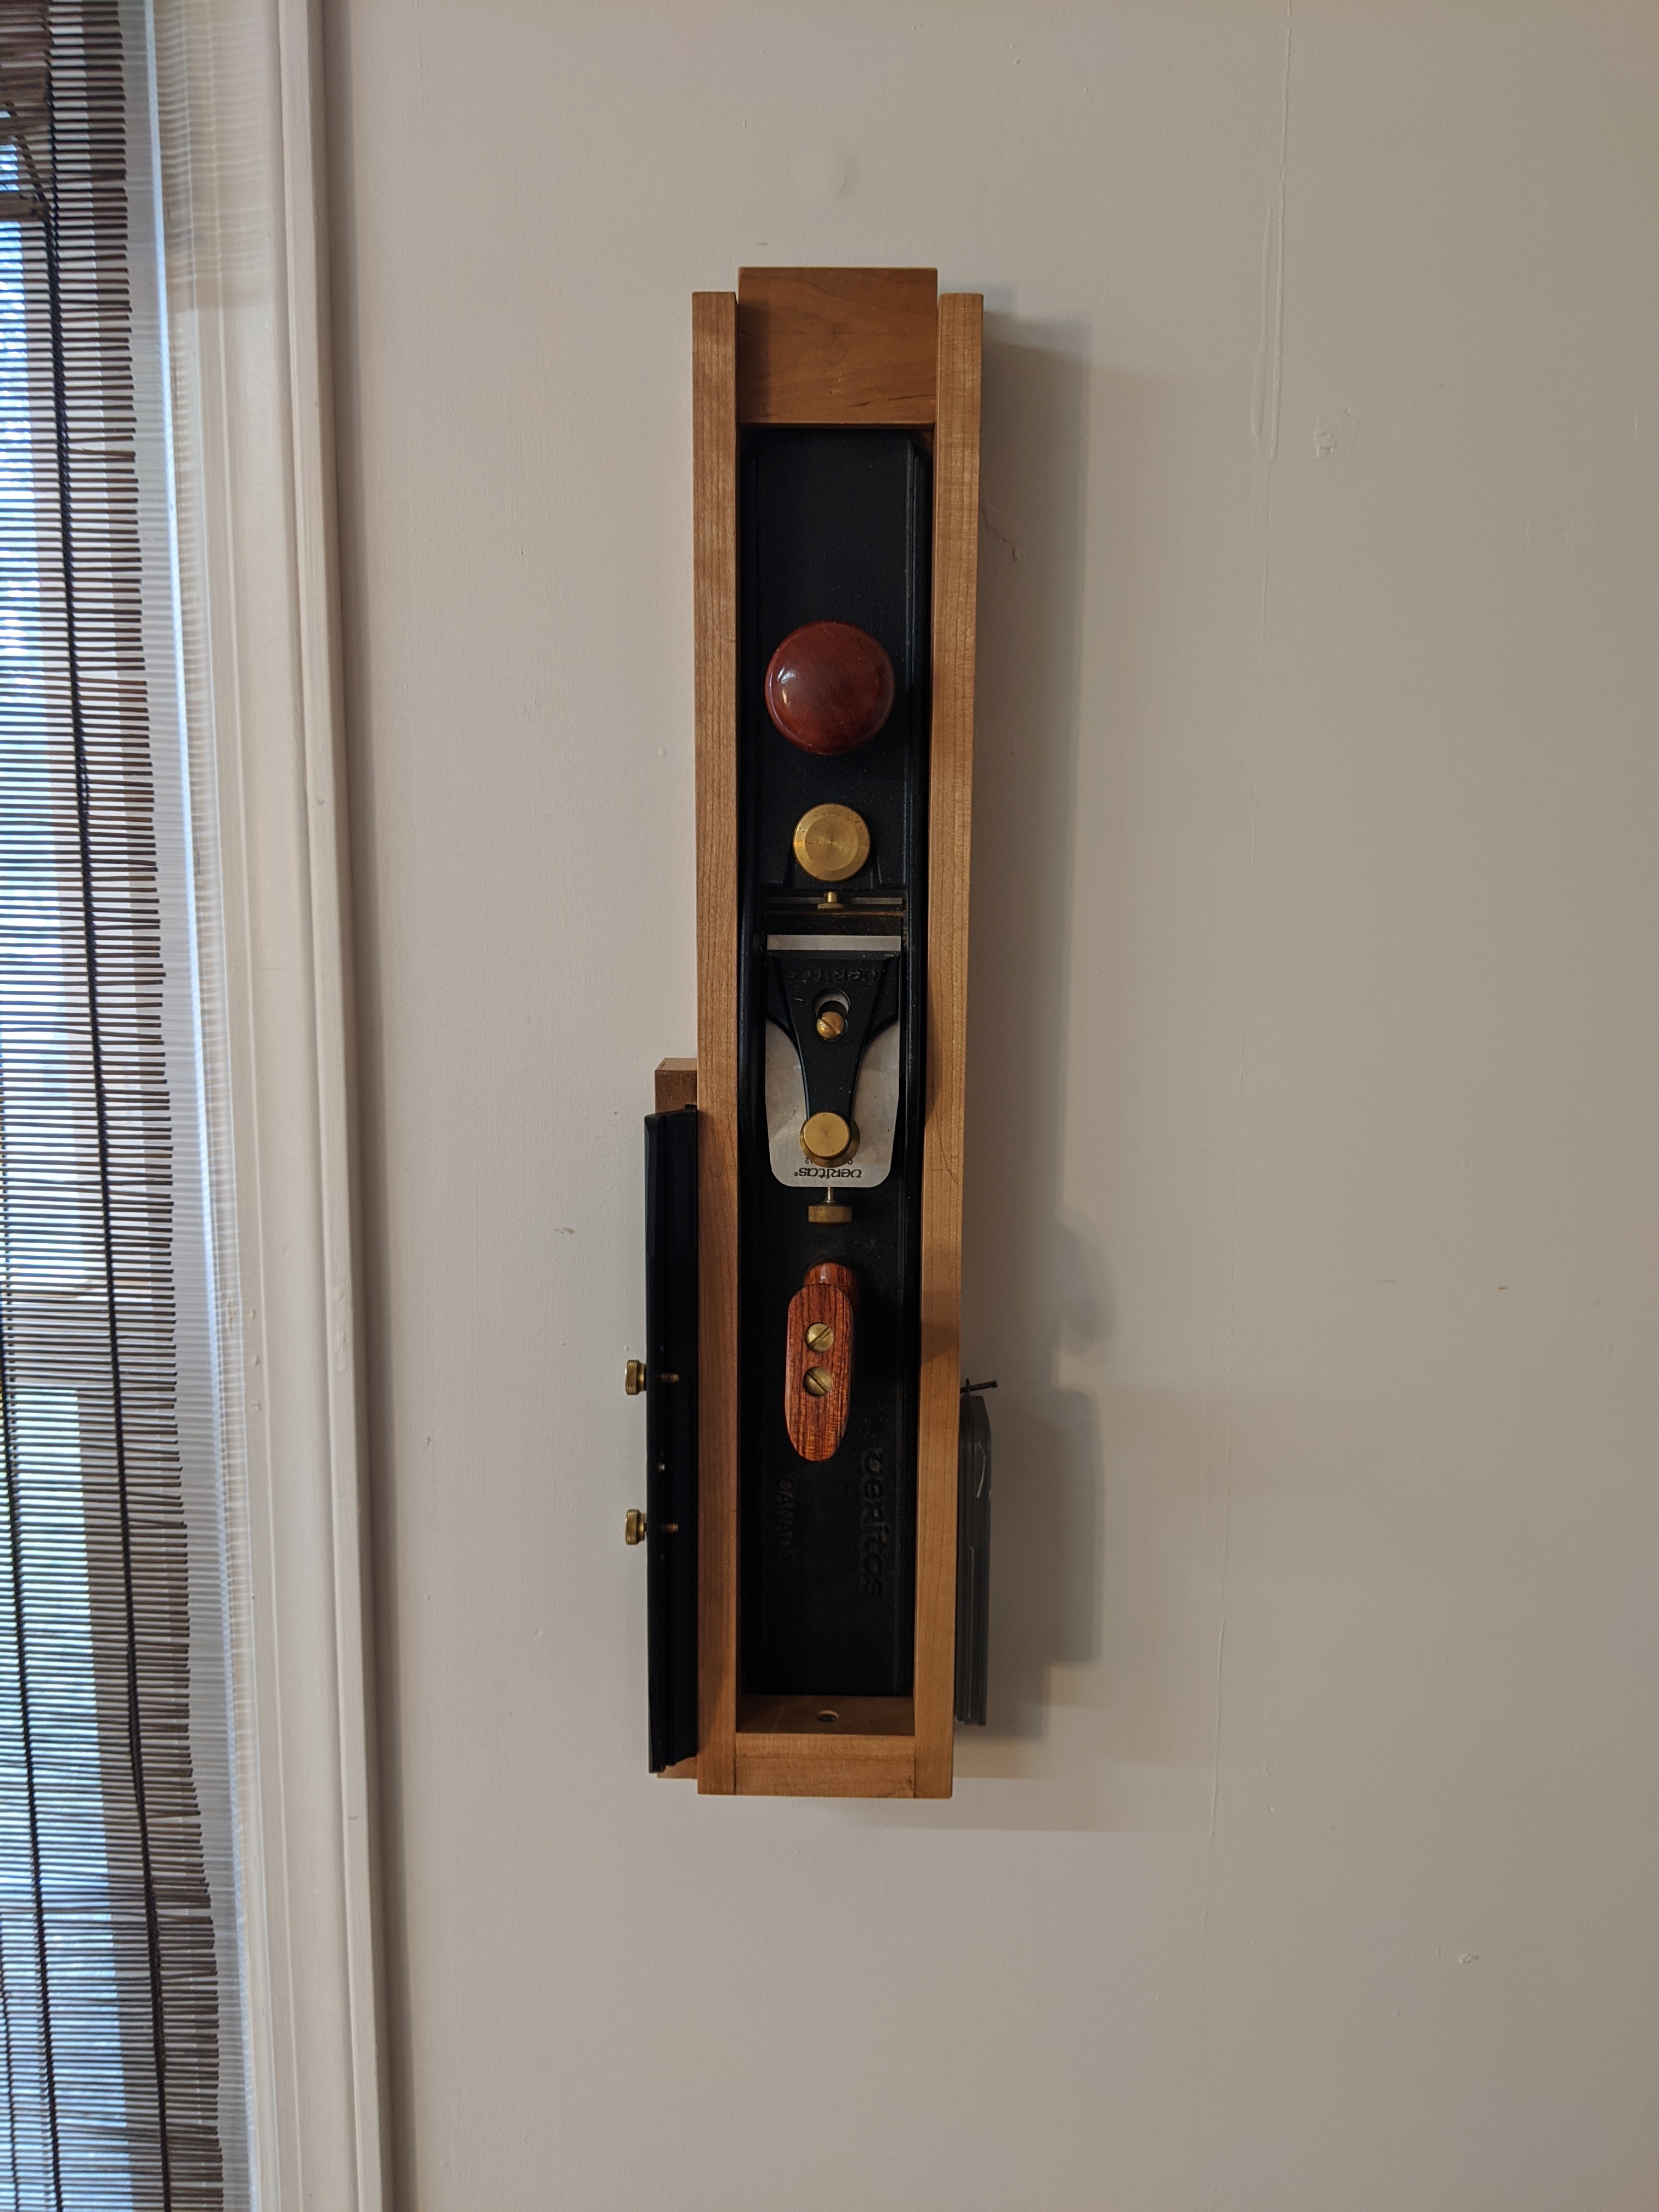
I plan to immediately add a large router plane, also.  I can live without it; I just choose not to.

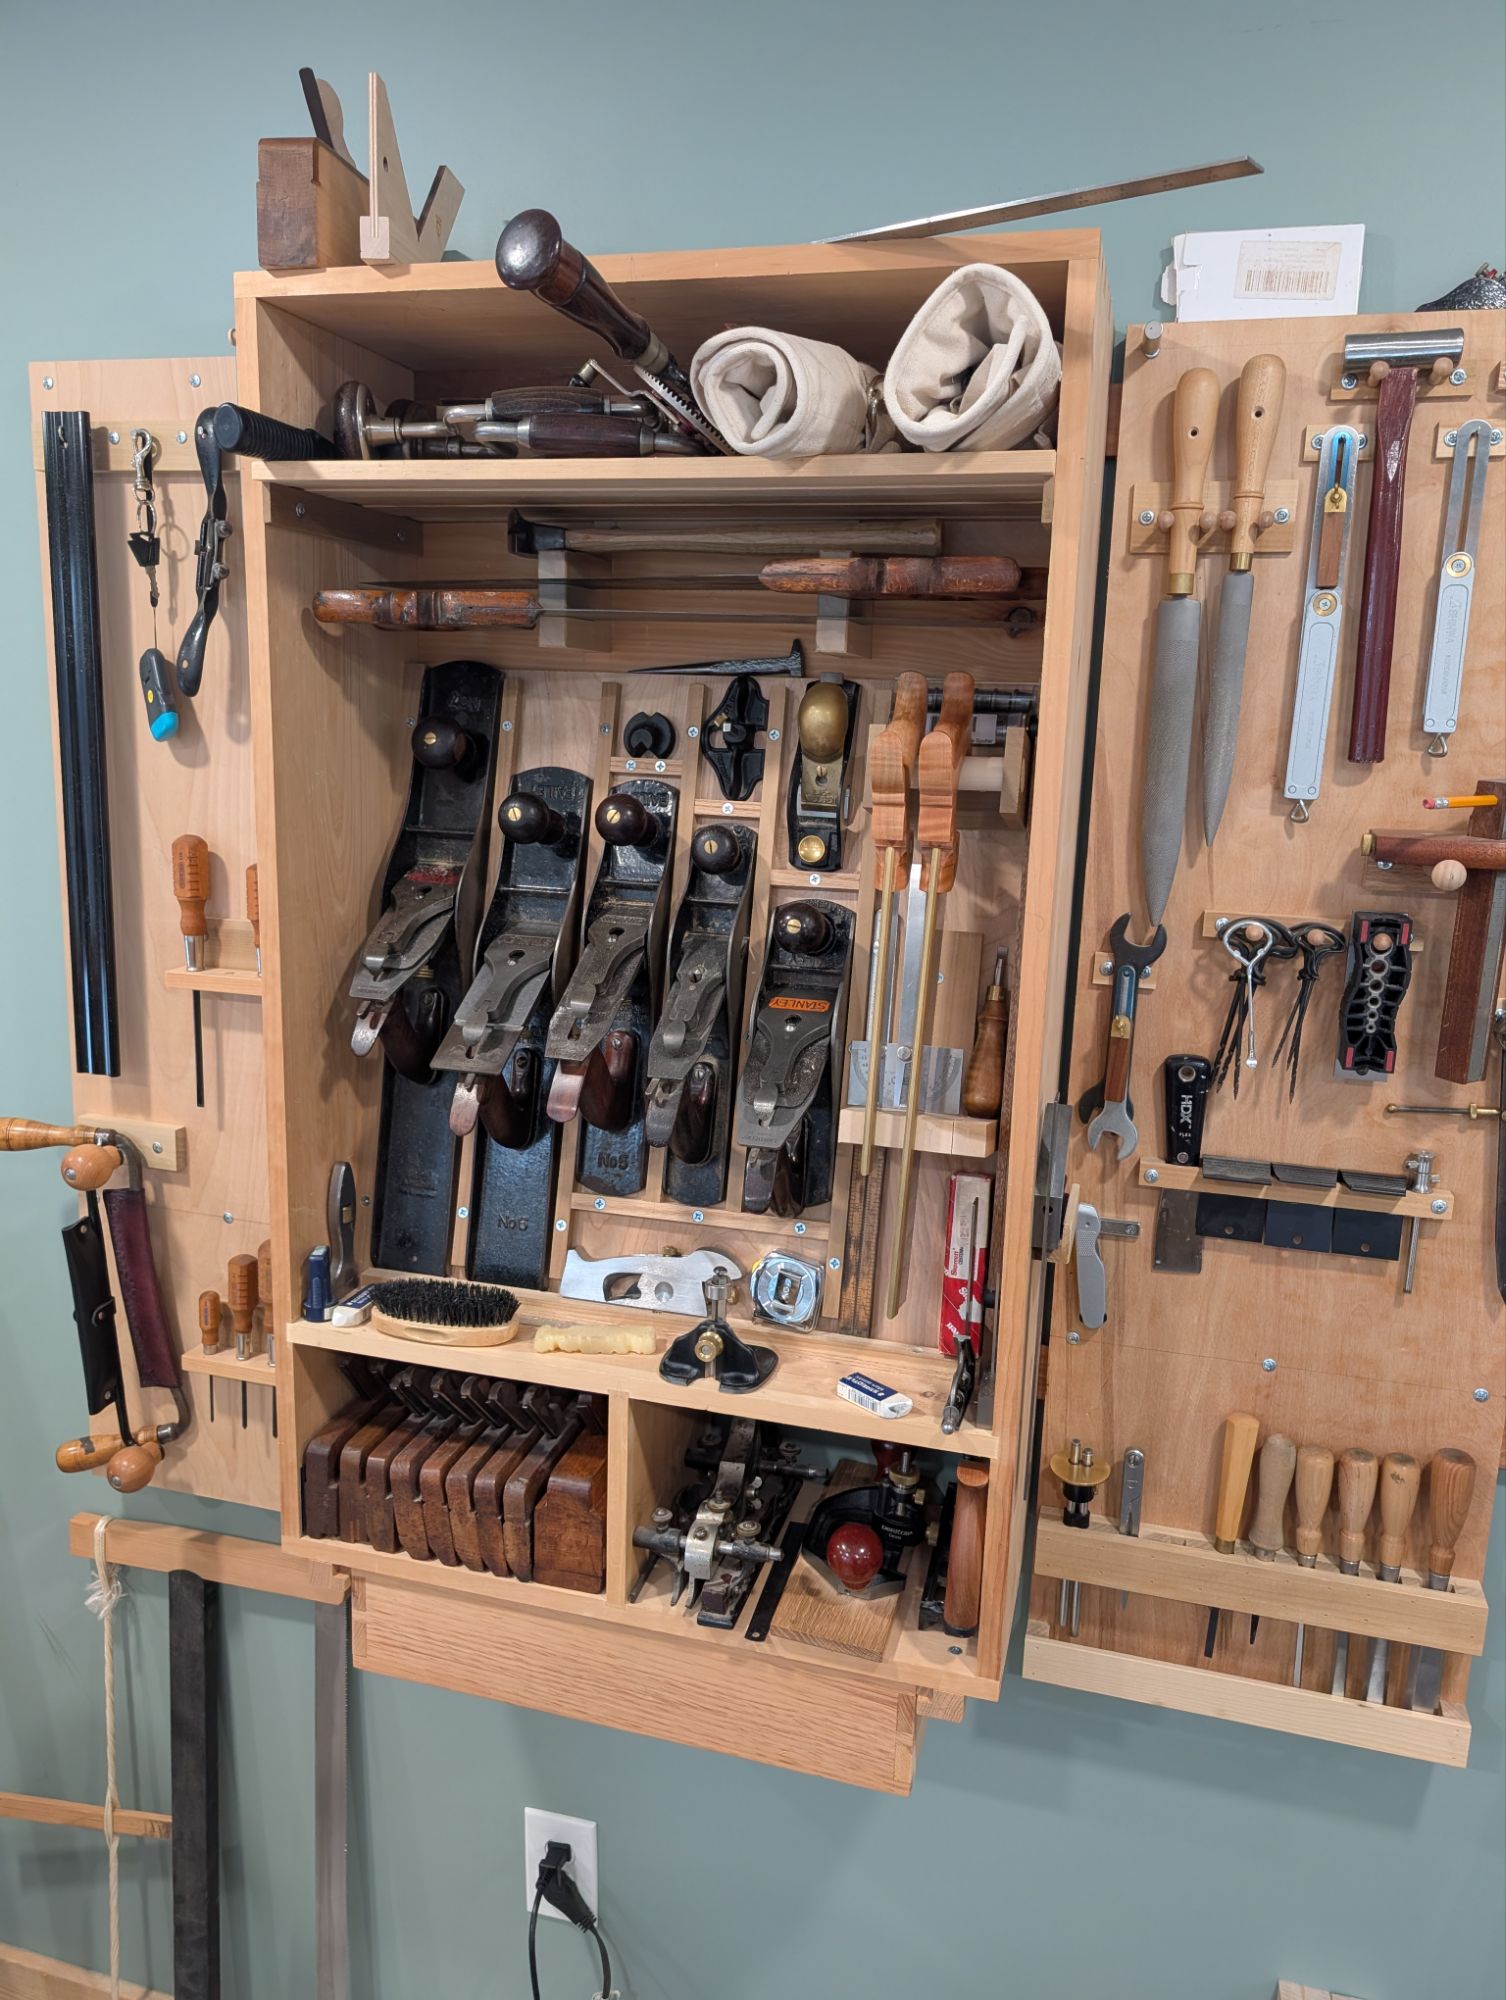
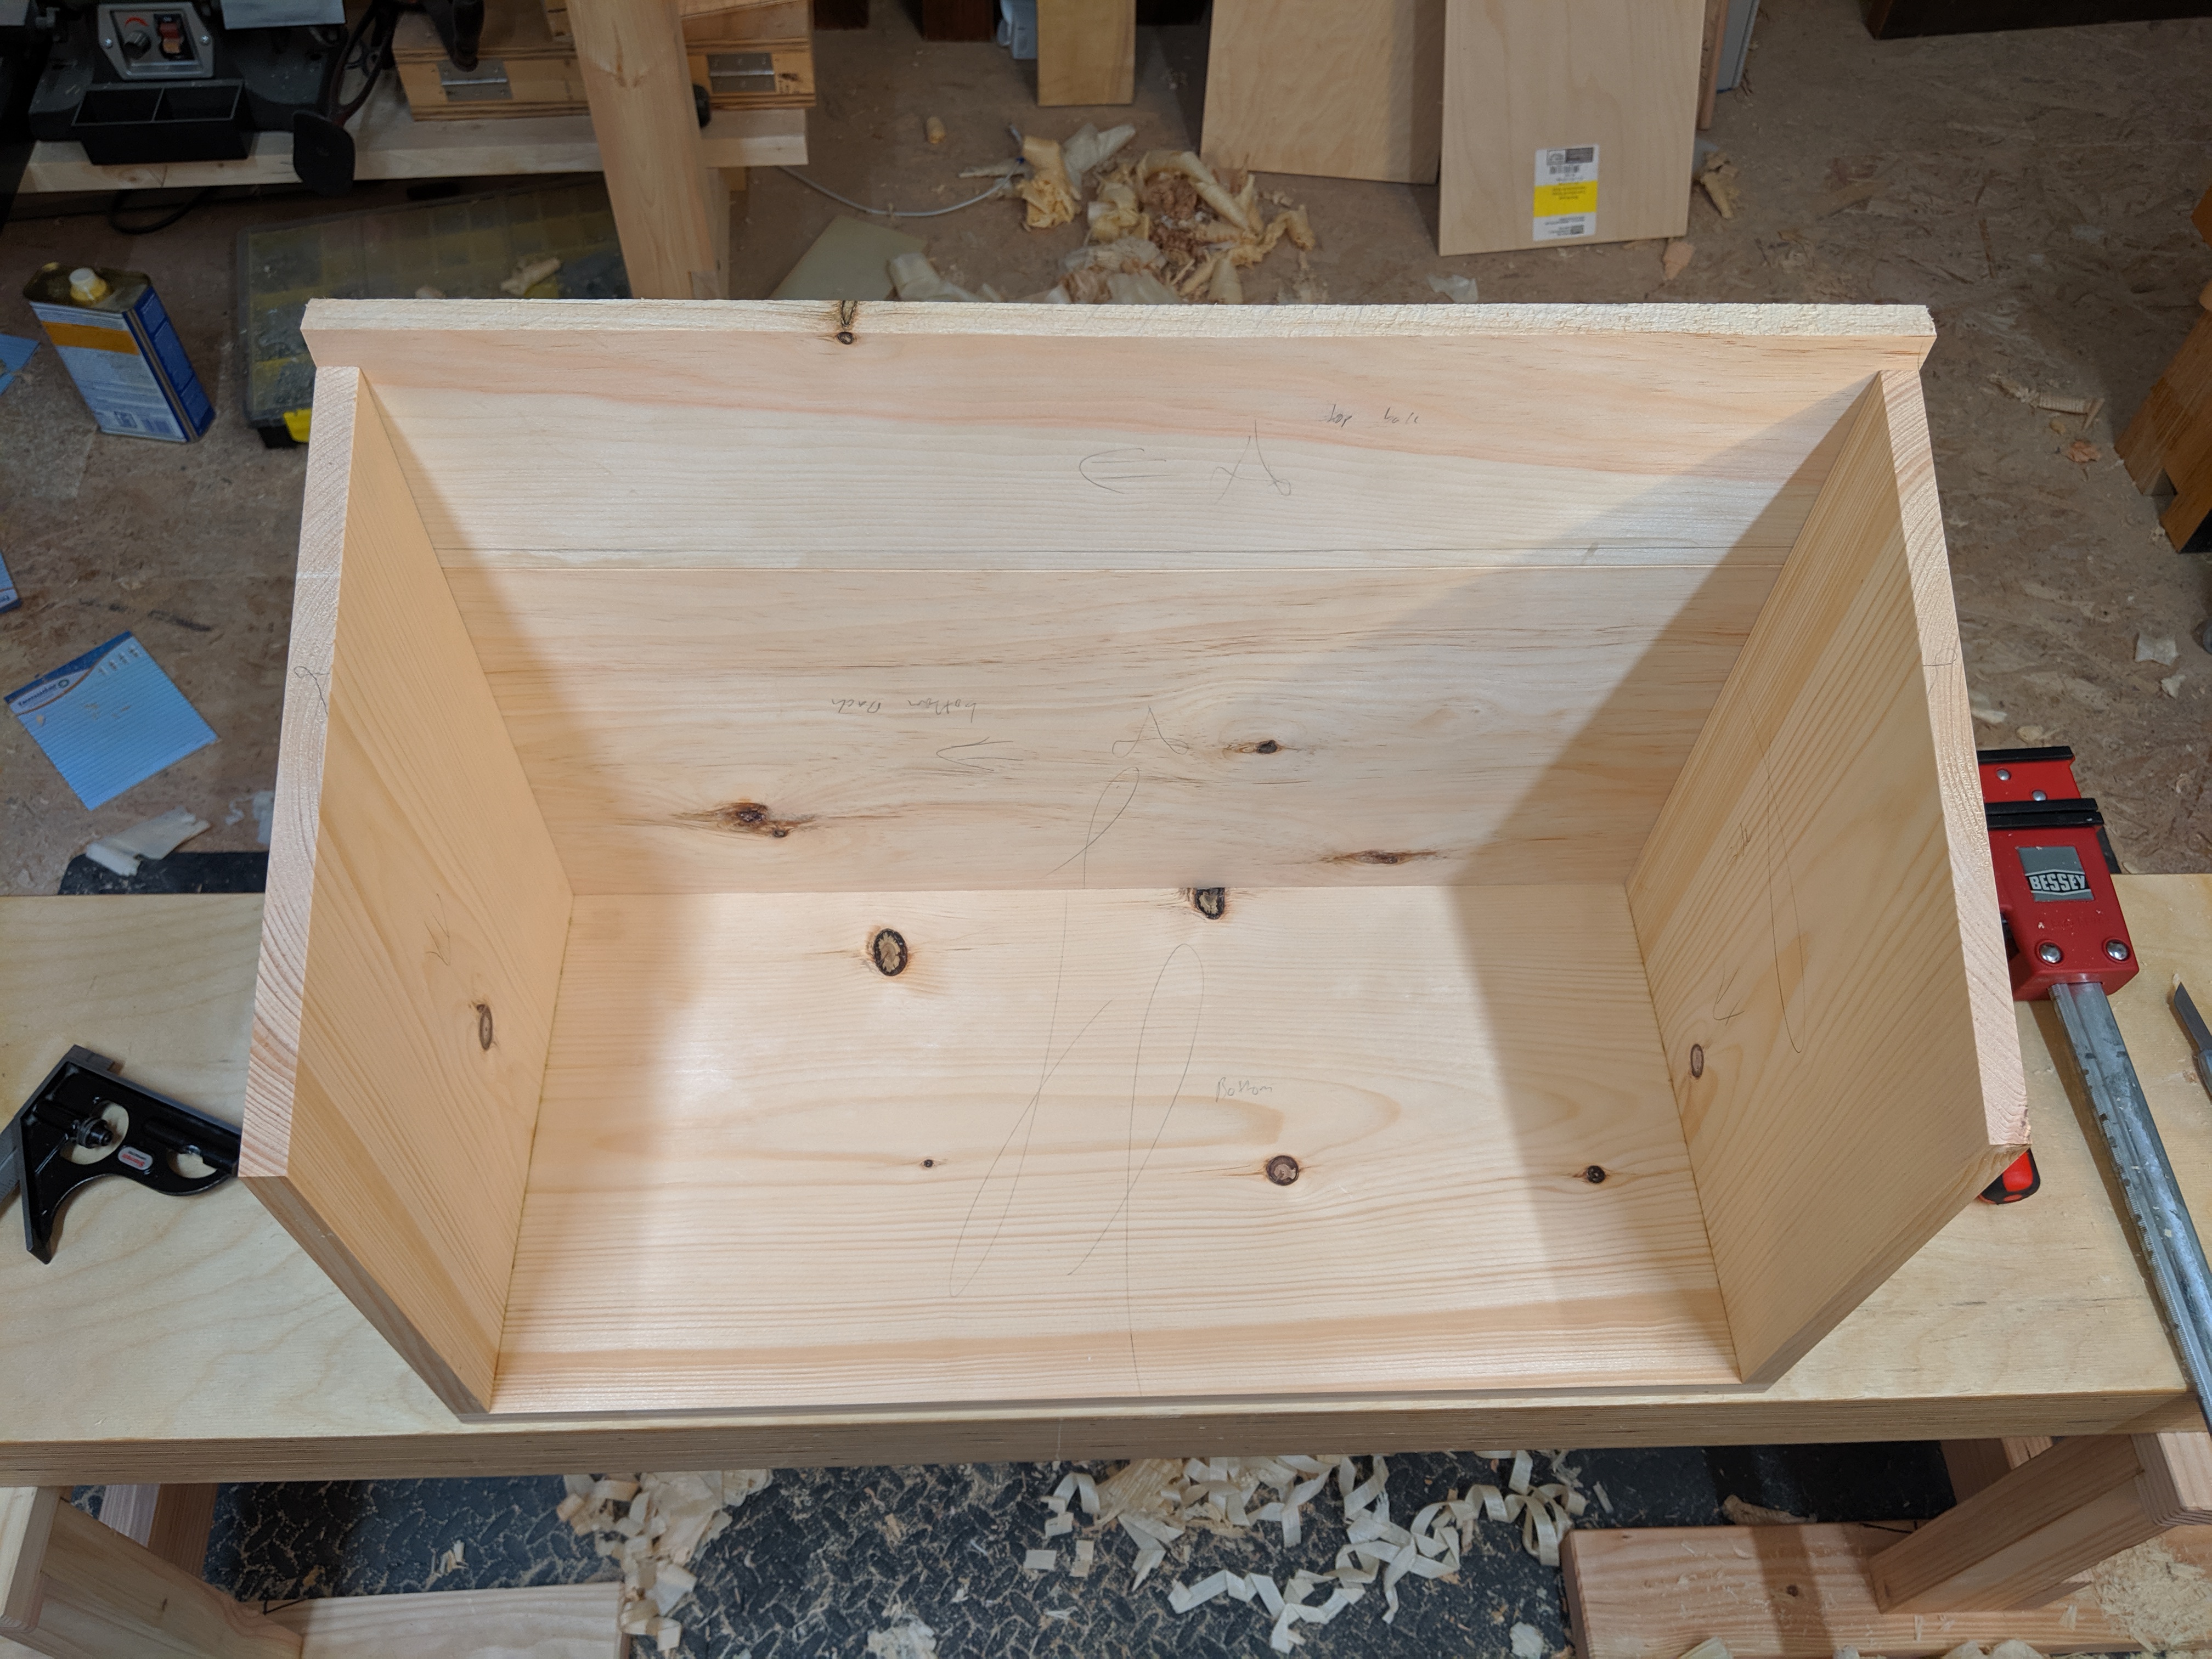
Up to this point, I’ve just been keeping track of the tools used and putting them back in my floor chest as I go.  But a full size floor chest is not exactly within reach for most small space woodworkers.  To be honest, my full size floor chest (40x24x24, not including the casters) is probably too large for my 12×13 bedroom workshop shop.  So it’s time to make some tool storage that’s more appropriate for a small shop.

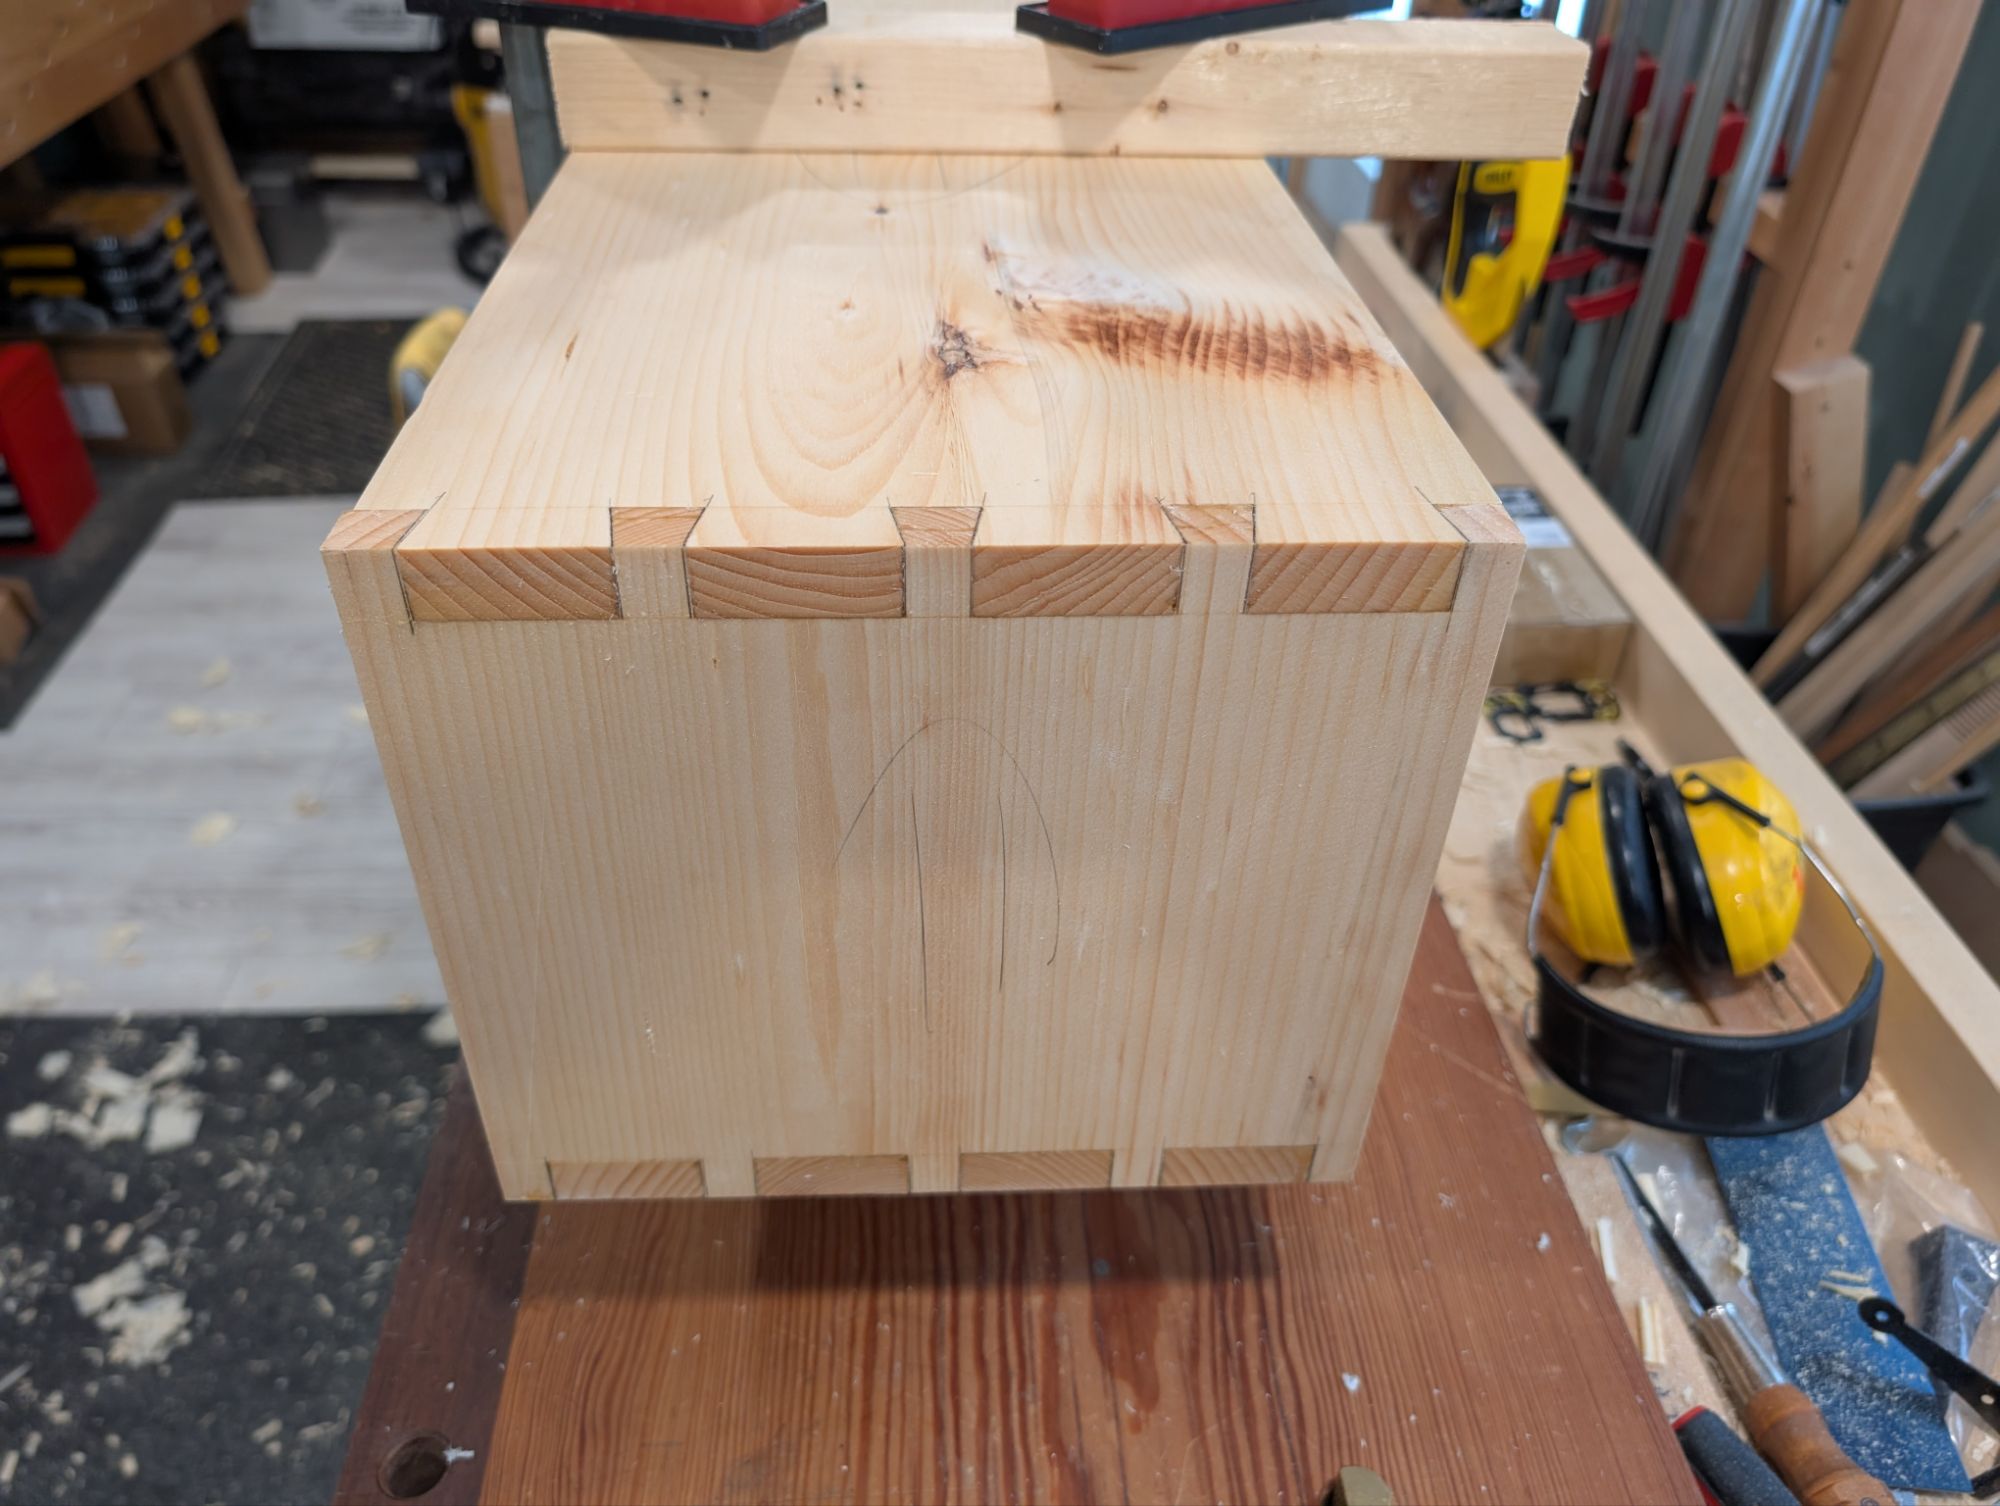
I think a tool chest in the Dutch style popularized by Christopher Schwarz and Megan Fitzpatrick is the best option here.  I’ve built two of them before (one large that was gifted to a friend, one extra small with just the angled compartment that is just a residential toolbox) and in my experience they can be built with minimal tools.  I’m not bold enough to cut dovetails pins first on a low workbench, so I’ll stick to rabbets and nails/screws for this one.  Should be plenty strong for something that will live on a saw bench up against the wall.

But here are the rules going forward for this experiment:

Rule #1A: before I can pull a tool from my floor chest, I have to first do the operation (if possible) using one of the simple tools listed above.  For example, when making the workbench, after I cleaned up one of the leg mortises entirely with chisel, I could have swapped in a large router plane to do the same job (I actually did this for one where the grain was particularly unruly).  Another example: once I hand crosscut and square a board the first time, I can thereafter use my chop saw to move things along on the rest of the cuts.

Rule #1B: if the operation cannot be comfortably (or safely) done on the low workbench with a simpler tool, I can pull the correct tool as long as it can will in the Dutch tool chest.  If the correct tool will not fit in the Dutch tool chest and the operation is not comfortable (or safe) to do on the low workbench, I cannot perform that operation and must use a different joint/feature.

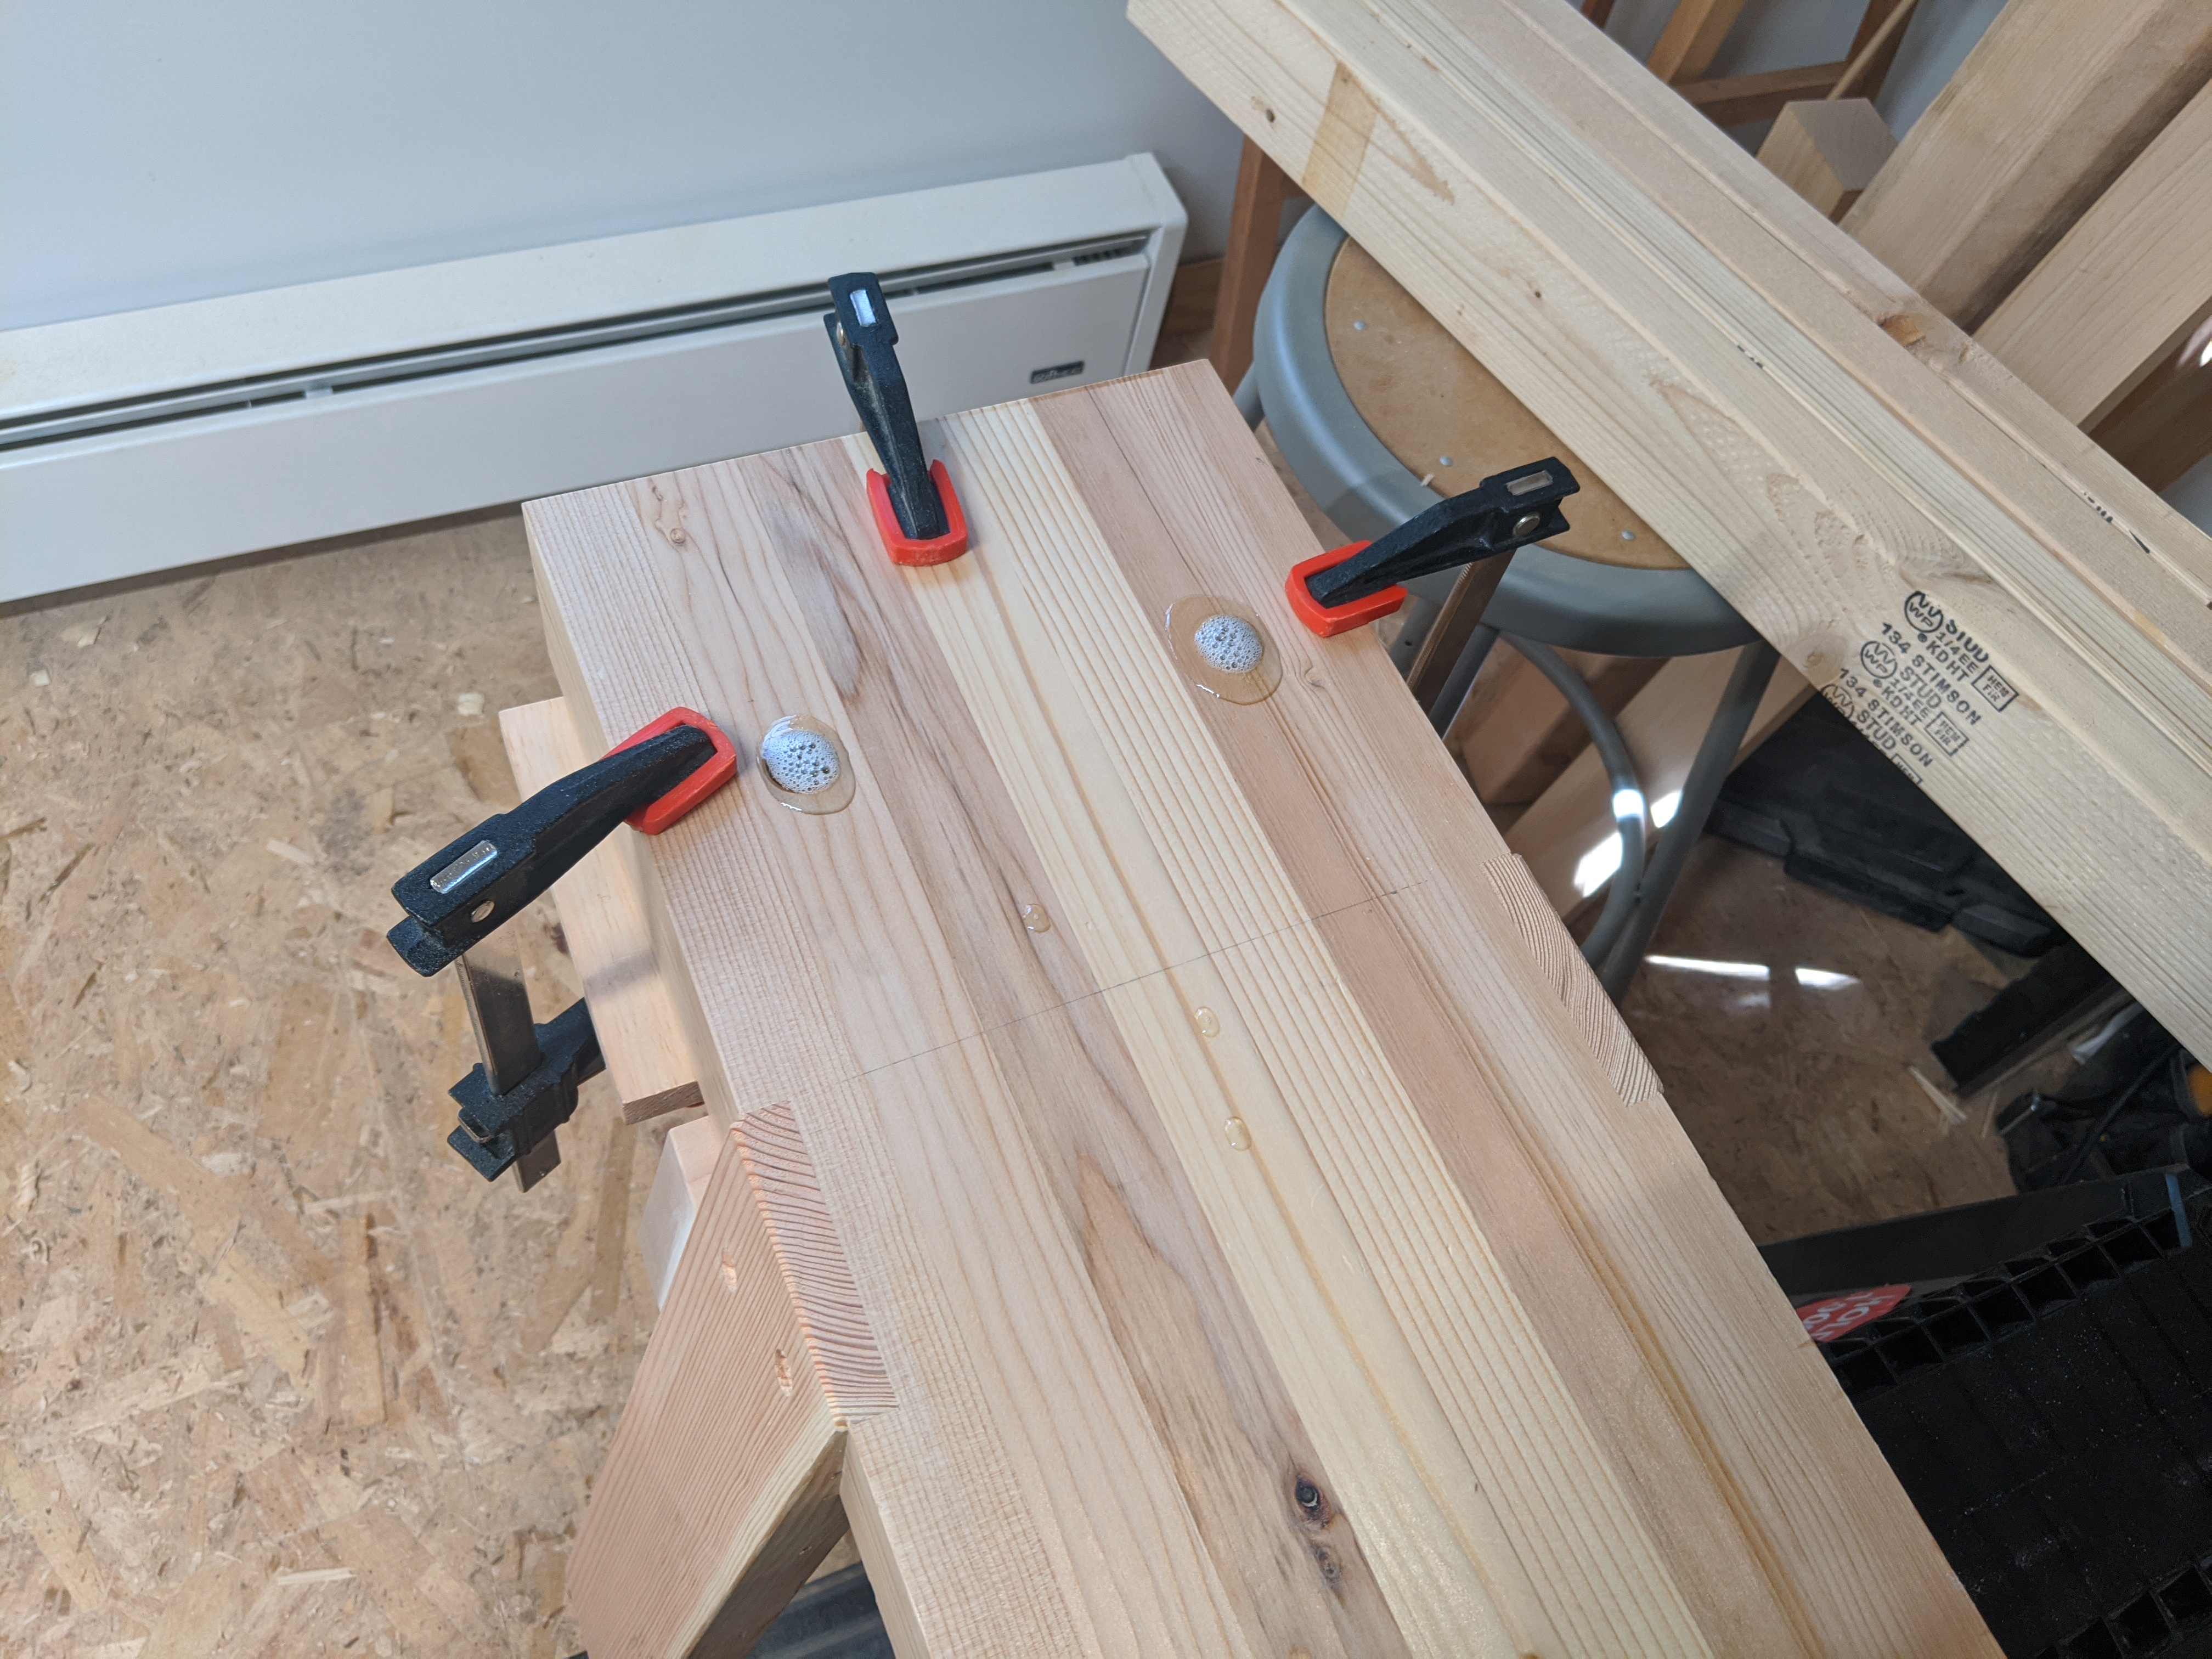
Rule #2: No vises, but clamping boards to the workbench is fair game.  I have access to my full set of clamps, in fact.  I’m not that much of a masochist.

Rule #3: I have access to my existing shooting board and can do the operation on my high workbench.  I can certainly make another shooting board that will fit better on the low workbench (I’ve done it before).  However, this same shooting board used to live on my kitchen island and I see no reason to change things up now.  And shooting while standing is far easier on the back and shoulders.

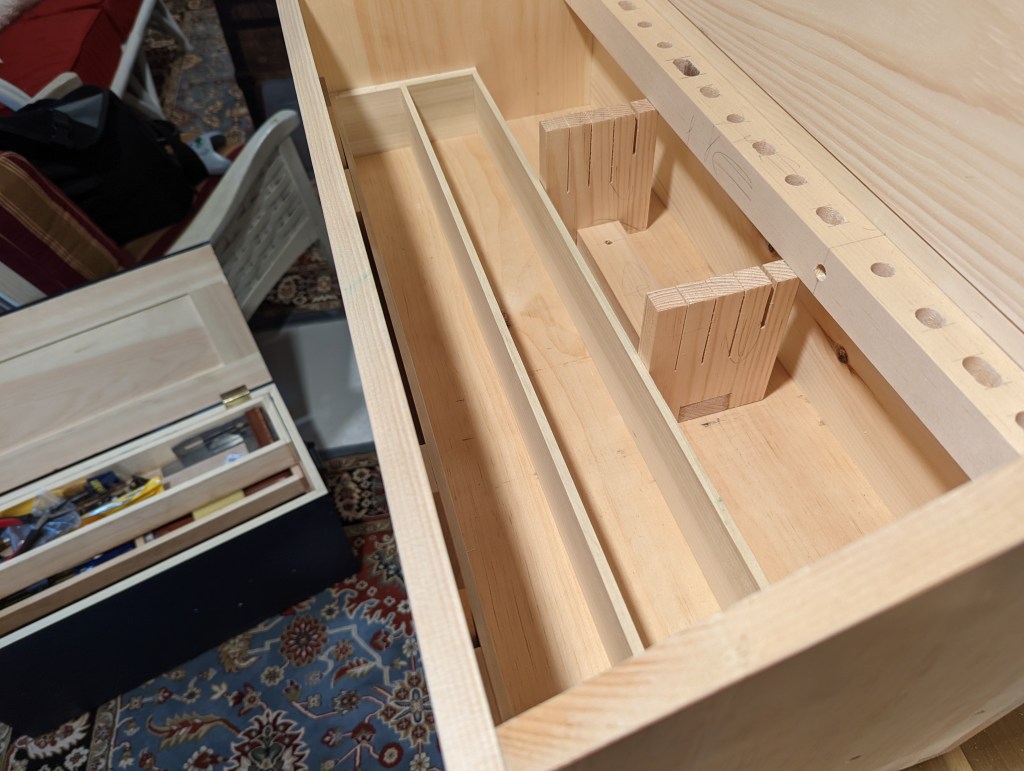
Rule #4: I’m also allowed to use my benchtop drill press for the chisel rack that goes in the chest.  Yes, I could do it by hand.  But I’m not getting into this argument with you.

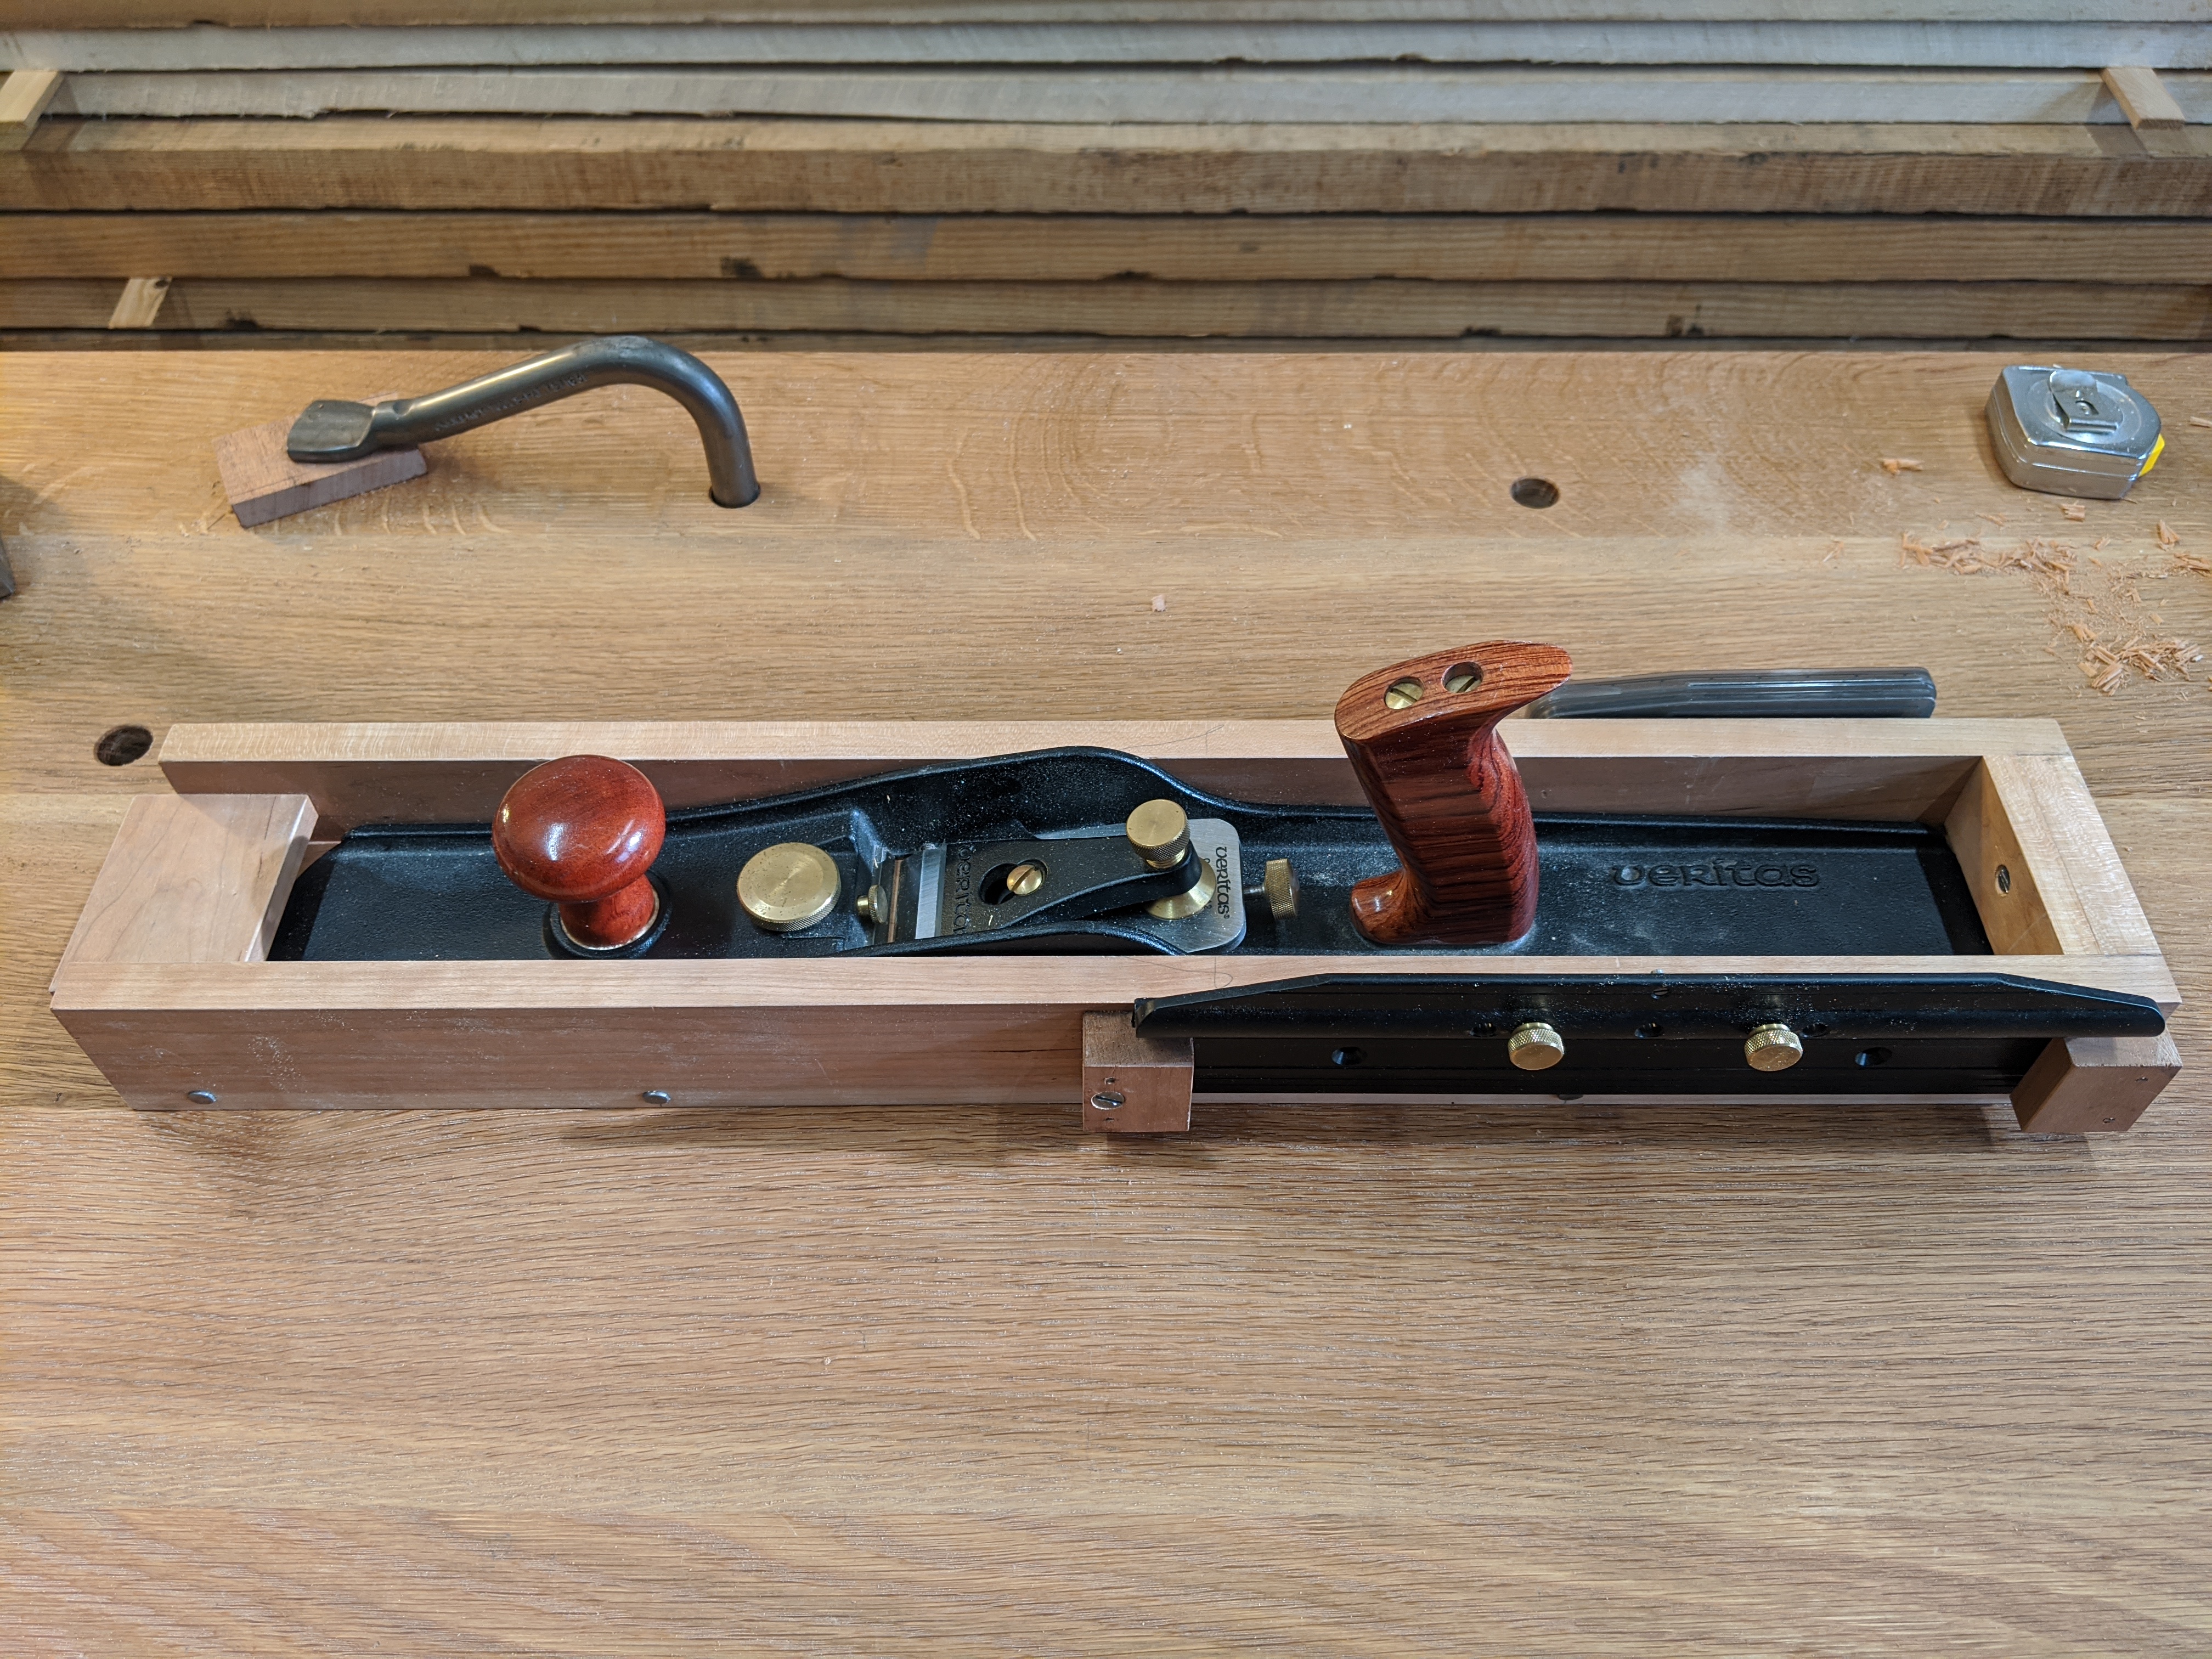
As of the writing of this post, I’m almost finished with the main part of the Dutch tool chest.  Here is the full tool kit to date (not counting parallel jaw clamps and the aforementioned benchtop drill press):

IMG_20200517_080658.jpg

Still no 3/4″ auger and bit, though.

This has been a long one, so I’m leaving it at that for now.

JPG

Test Run

A few years ago, I bought a Veritas Bevel Up Jointer Plane.  I also got the jointing fence, which I have more than once used to make a hand jointer for small parts.  It’s also still very useful for edge-squaring, especially on long, narrow stock.

But ever since I inherited a first gen Stanley Bedrock Jointer Plane, I haven’t had room in the tool chest for it.  It therefore lives in storage and, without it closely at hand, it’s been rather neglected in its use.  So I’ve devised a way to keep it closer at hand: a saw till to hang on the wall.

IMG_20191229_095833.jpg

Ignore the bad paint job on the wall!

I have a fair pile of reclaimed mahogany that one day will become a full wall cabinet (maybe not Studley-level, but something like it).  One part of any good wall cabinet is a plane till.  From what I can tell, there are two basic ways to capture the planes in a plane till.  First, angle the till with a single catch at the bottom so gravity does all the work.  Or have both top and bottom catches so the planes can sit vertical.  I’ve chosen the latter.

There’s three parts to store in the till: (x) the plane itself, (y) the jointing fence, and (z) a toothed blade that’s great for coarse work and also roughing up smooth bench tops.  Let’s start with the box to store the plane.

IMG_20191228_105124.jpg

Because of the ridge to which the fence attaches, it’s unfortunately not possible to shoot with this plane.

The box is pretty simple: just three narrow pieces of cherry, glued together in a long U shape and nailed after-the-fact for extra strength.  The recess should be about 1/8″ wider than the plane sole and at least 4″ longer than the plane sole.  Then friction fit and glue and nail on ends to enclose the box.  Once the glue dries, glue and screw on the first cleat to capture the heel of the plane sole.  The exact thickness of the cleat and the height and depth of the recess will depend on the plane.

IMG_20191228_105306.jpg

Like so.

If this were an angled till, that would be the end of it.  But a vertical till needs another cleat at the top to capture the toe of the plane.  The till works by inserting the plane toe at an angle into the top cleat, then straightening the plane to vertical and dropping the heel into the bottom cleat seen above.  And when it’s dropped into the recess made by the bottom cleat, the toe should still be retained by the top cleat.  Otherwise the plane would crash to the floor.

Unfortunately, locating the top cleat is a bit of trial and error.  It’s L-shaped, much like the cleats that retain the fence as seen below.  You can make this cleat in a single piece (like I did) or laminate it from one narrower piece and one wider piece.  There will be a sweet spot where the depth and height of the rabbet forming the L allows easy access in and out without too much slop.

Once you figure out the spacing, screw the top cleat in place from the back of the till.  No glue with this one, just in case something needs to be adjusted, either because the angle is off or you get a different plane and want to reuse the till.

IMG_20191228_105154.jpg

The nearly-finished till.

A couple of wooden hooks retain the jointing fence and the replacement blade hangs in its plastic case from a cut nail.  I declined to finish the till and just screwed it into a stud on the wall.

Funny thing is, since making the till, I still haven’t used the plane.  Perhaps I just don’t need it.

JPG


Back to Back to Back

I’m not quite ready to abandon my upright Stent Panel Workbench for the low, sitting variety.  But I am ready to correct something that’s bugged me ever since I finished the workbench in the first place: the back wing.  It never stayed flat on its own, let alone in plane with the main slab of the bench.  There is clearly some design flaw, even though I allowed for wood movement and ample support with three posts mortised into the slab.  I’ll re-use the wing (which is 86″ x 10″ x 2″ ash) for another project.

IMG_20190722_082238.jpg

I need more 1″ holdfast holes.

The main slab of the workbench is only 12.5″ wide.  That’s nothing to scoff at, but it’s not nearly enough real estate for tasks like gluing up panels or project assembly.  And there is pretty much no place to set down tools so they are close at hand.  So first up is a tool tray that spans half the area where the wing used to be.  After much deliberation, I’ve approached this a bit like a Dutch tool chest.  Dovetails at the bottom corners for maximum strength, nailed on back.  In 3/4″ poplar, because there was a very nice piece of 1×10 at the home center when I was buying some more 1×12 white pine for general building purposes.

IMG_20190723_081206.jpg

Reasonably consistent color for poplar, and a decent color match to ash once oiled.

The finished tool tray is just a hair under 37″ wide (the posts themselves are exactly 37″ apart) and 6″ deep.  There is 3.5″ of clearance below the benchtop.  This is plenty for a bench plane on its side and all the other tools I’d like close at hand.  Speaking of which, I decided to attach the tool well to the left side of the bench (the end with the leg vise), which seems like the best place to keep tools at hand.

IMG_20190723_081525.jpg

Because if it can’t fit a hand plane clear of the workbench top, it’s not a good tool tray.

There are a few ways I could have hung the tool tray to the bench.  But the simplest and easiest was to add some runners to the ends so it just hangs on the posts.  The posts are not perfectly in wind, so I clamped the tool tray to the bench and nailed the runners in the right position, rather than squaring them initially and planing them down to fit.  Some small blocks, nailed onto the posts, keep the tray from sliding away from the slab.

IMG_20190724_070658.jpg

Don’t tell anyone, but I used the 18 gauge brad nailer to attach the runners and blocks.

The ends of the tool tray are in plane with the workbench slab.  This was intentional, as originally I intended entirely replace the back wing with two tool trays.  But after working on the bench with the tool tray for a few days, it became very apparent that I needed at least part of the bench to be solid for the full 20″ of depth.

From 9 months or so of working on this bench, it’s become clear that the wing doesn’t need to be terribly stout.  It certainly doesn’t need to be 2″ ash reinforced with 2″ angle iron.  So instead I grabbed an otherwise somewhat useless 2″ pine off cut that’s lapped onto the posts.  There are a few wire brad nails acting like dowels to support the seam with the main slab and a couple more wire brads through the board into the posts to keep everything in place.  Net it, this board can move much more freely with seasonal expansion and contraction than the old wing could.  But it will be easily replaceable if I get neurotic and replace it with ash again (which, let’s face it, I definitely will).

IMG_20190728_090157.jpg

And the color match isn’t terrible, either.

For optics, but not functionality, I will probably nail a board to the end of the extension to bring it flush with the right end of the bench (and provide a bit more resistance to cupping, like a breadboard end).  Absolutely nothing ever happens all the way at that back corner.  It’s just to make it prettier.  I could do the same thing at the back right corner, but the end of the tray (which is flush with the bench top) is already in line with the last bench dog hole, so it’s not strictly necessary either.

I unfortunately can’t tell if the color match is getting better or worse with a second coat of Tung Oil.  Maybe I just have to open the blinds and let the sun shine in for a couple weeks.

IMG_20190801_091903.jpg

Or paint the whole thing black!

This is a good time to mention that 36.25″ is a bit too high for comfortable hand planing at my height (I’m 5’10”).  Even if it is better for sawing and chopping.  So I’ll eventually trim about 1″ off the ends of the legs.  Which is easier said than done, as the back legs are angled.

But I’ll give it a try and report back.

JPG

Everything Old is New

They say that everything in furniture making is either a platform or a box (or both). And I say that sometimes it feels like everything my woodworking life is either a workbench or a tool chest (or both).  So let’s talk about the latest tool chest.

IMG_20190717_180954.jpg

I’m a big fan of this red color.

I’ve built a Dutch Tool Chest before. I think the form has many advantages, especially in the small home shop where the shallow profile efficiently fits into the floor plan.  I just hated squatting all the time to get at my joinery planes, which is why I switched to a proper floor chest.  But that’s not really an issue when using the plywood low workbench.  In fact, one could skip the lower compartment all together and just have the top till area.  Which I did.

IMG_20190704_063216.jpg

You’re already squatting when working on this workbench.

The great virtue of a dutch tool chest is how easily it goes together with much less material compared to a rectangular chest.  The joinery consists of dovetails on the bottom two corners and nails or screws for everything else (plus two rabbets if you build a proper one).  The entire case (which has inside dimensions of 11.25″ x 23″ x 15″) came together in an afternoon from a single ten foot pine 1×12 from the home center:

  • Two sides:  one board, 26″ long  and full width (crosscut at 20 degrees to form two boards)
  • Bottom: one board, 24″ long and full width
  • Back: two boards, one 24″ long and full width, one 24″ long and ripped to 5″, shiplapped (T&G also would have worked)
  • Front: one board, 24″ long and full width

The remainder of that first board became the tool rack and the skids on the underside.  If I had started from a twelve foot pine 1×12, I probably could have gotten the lid too from that single board.

IMG_20190706_115148.jpg

Everything is 5/8″ thick.

This tool box wouldn’t hold a full set of woodworking tools.  But it’s definitely big enough to hold everything a beginner hand-tool woodworker would own. Especially with the chisel rack and the saw till.  I even made a straightedge specifically for this tool chest.

IMG_20190717_063000.jpg

That’s a salvaged saw till from a prior tool chest.

As of today, it’s stuffed with my spare tools: both a No 5. bench plane and a No. 4 bench plane, a full set of back saws and most of a set of chisels, together with diamond plates for sharpening, a hammer, a chisel mallet, and the essential marking tools (including combination square).  A small panel saw that would fit too, but I don’t own one that small that is not one of my regular tools (at least not until I break out the angle grinder).

Even with all of that loaded in, it’s still light enough to carry around and fits easily in the back of my SUV.

This is another one of those “I wish I had known about it when I first got started woodworking” projects.  I would have made this entirely with screws and plywood, or rabbets and nails in dimensional pine.  No dovetails needed.  And it would even match the plywood low workbench.

Speaking of which, it’s time to take the plunge on boring the rest of the dog holes in the laminated slab top.  But I’m ready.

JPG