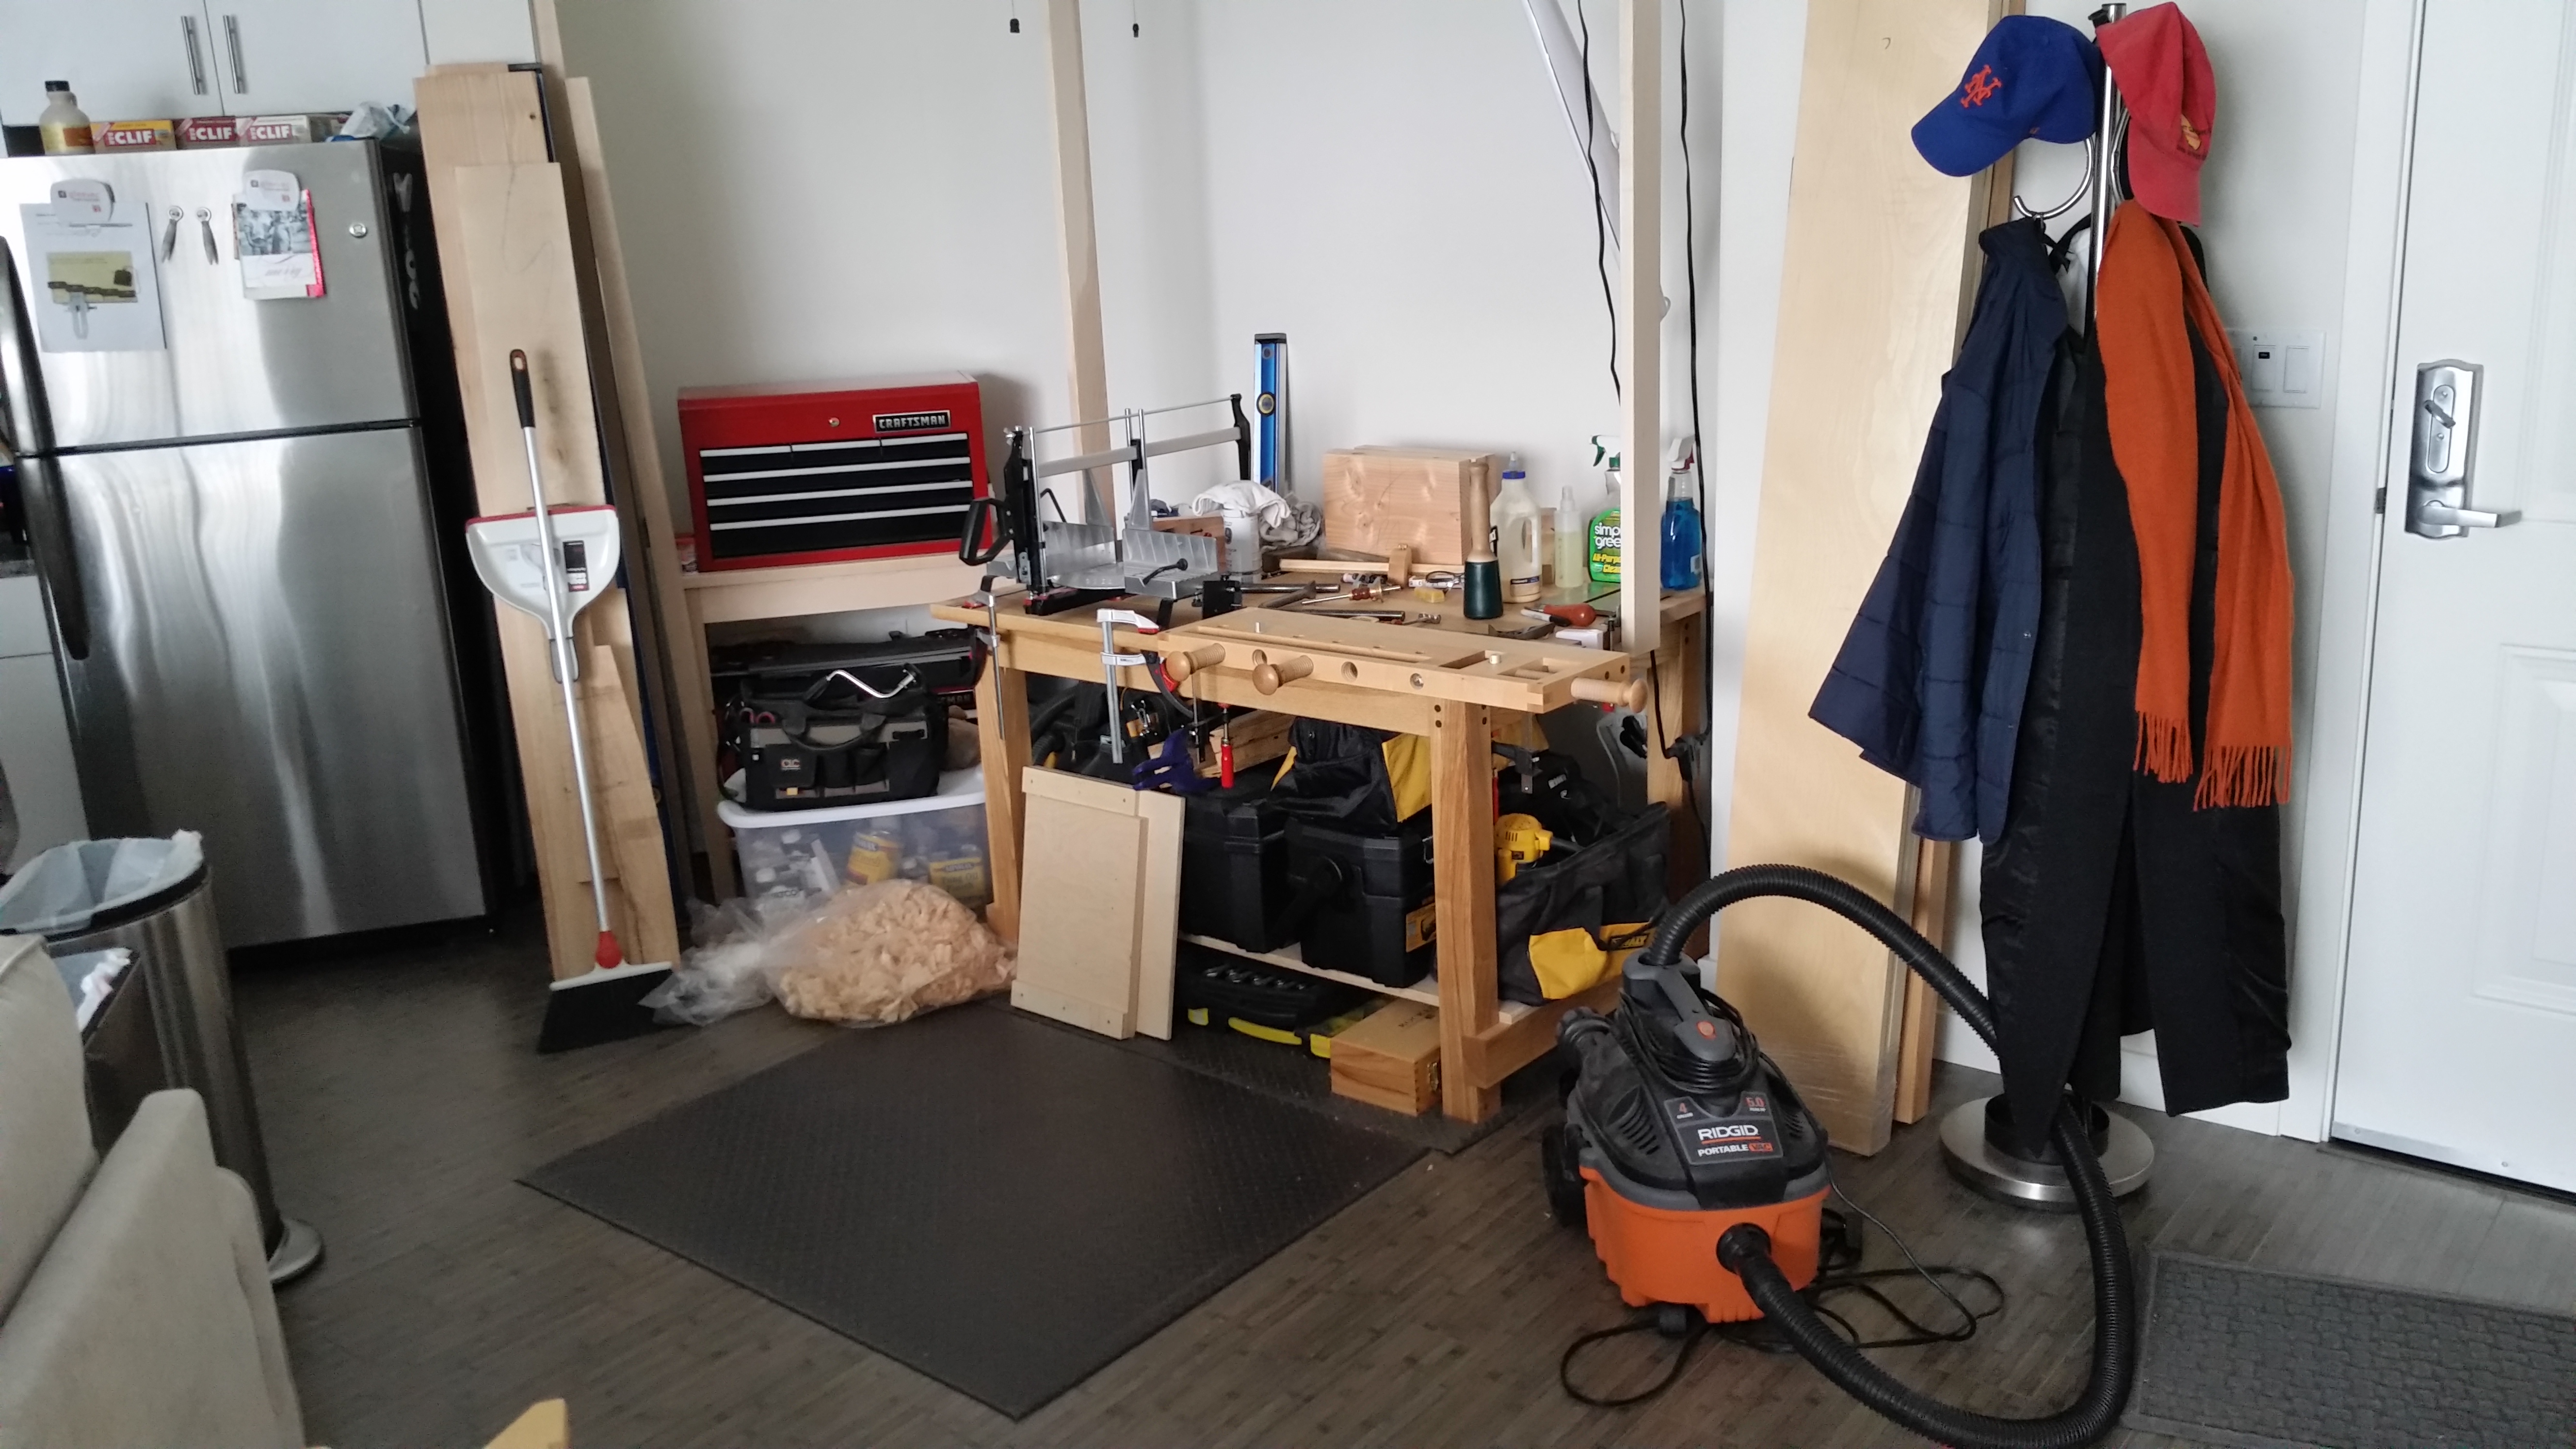
It’s true that I don’t woodwork on a full-size woodworking bench. I am not, however, immune from some of the more mundane workbench maintenance tasks. Specifically, I took some time this weekend to re-flatten and re-seal my Milkman’s Workbench.
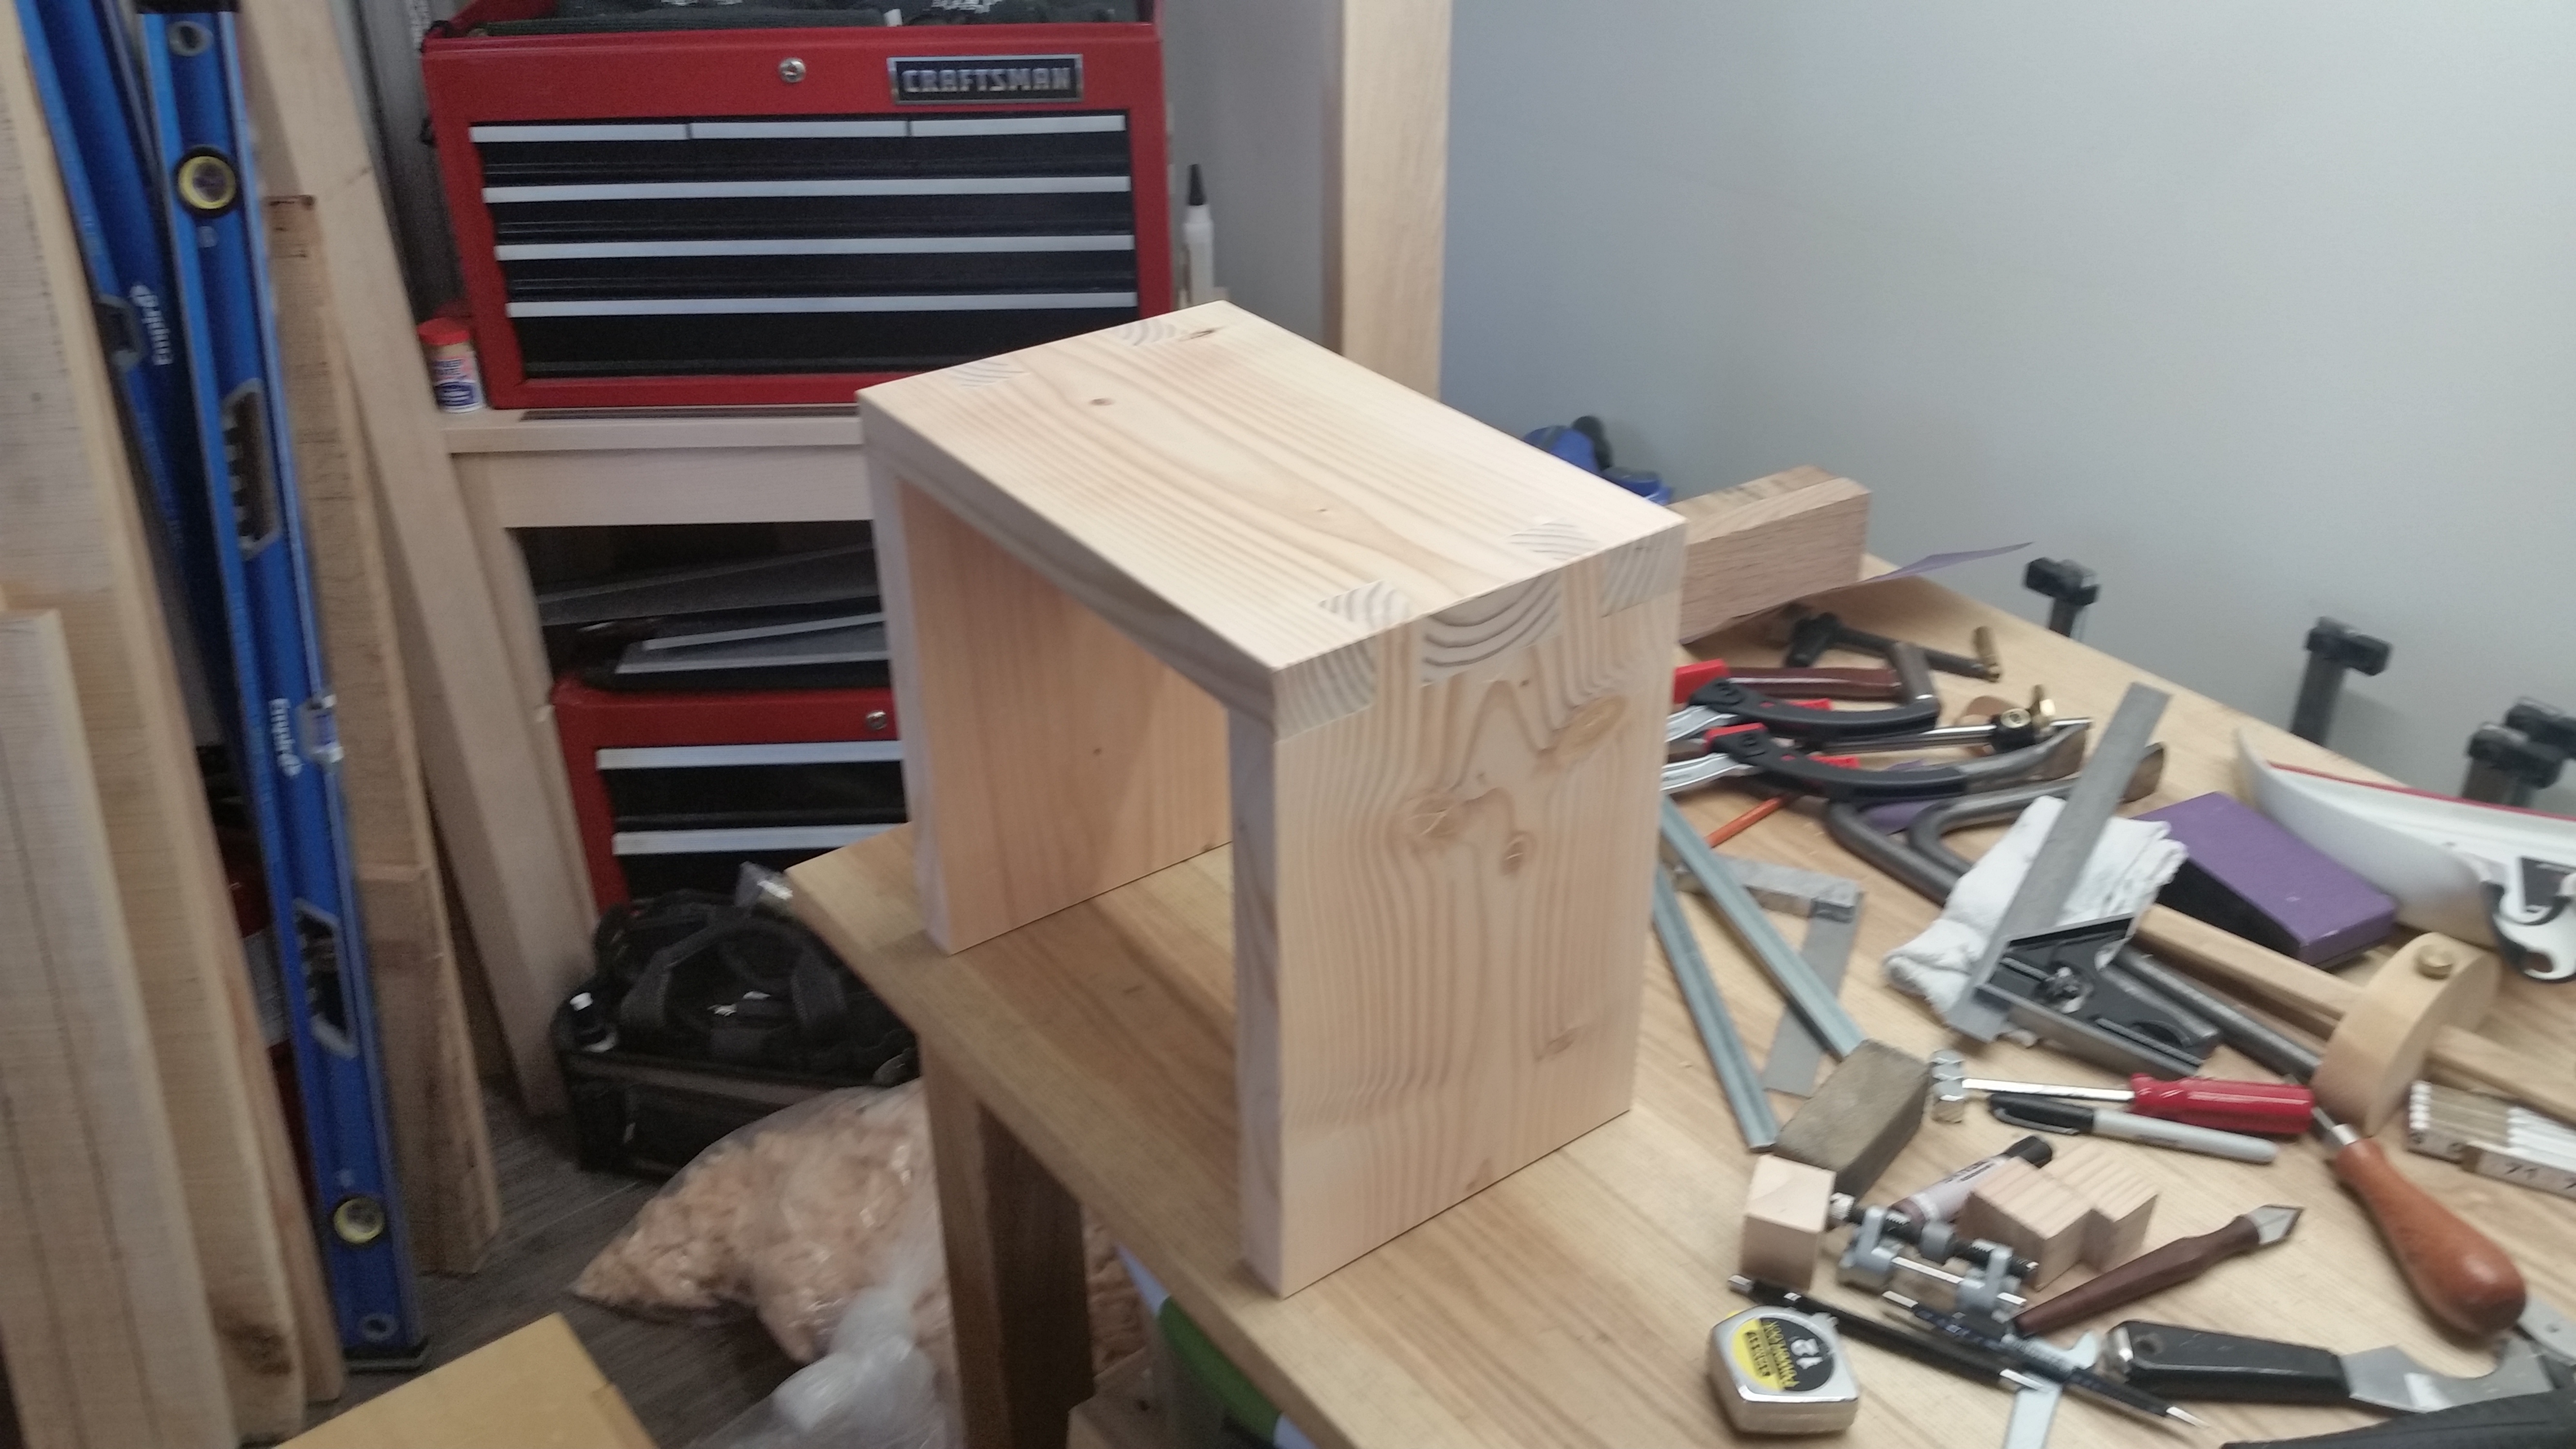
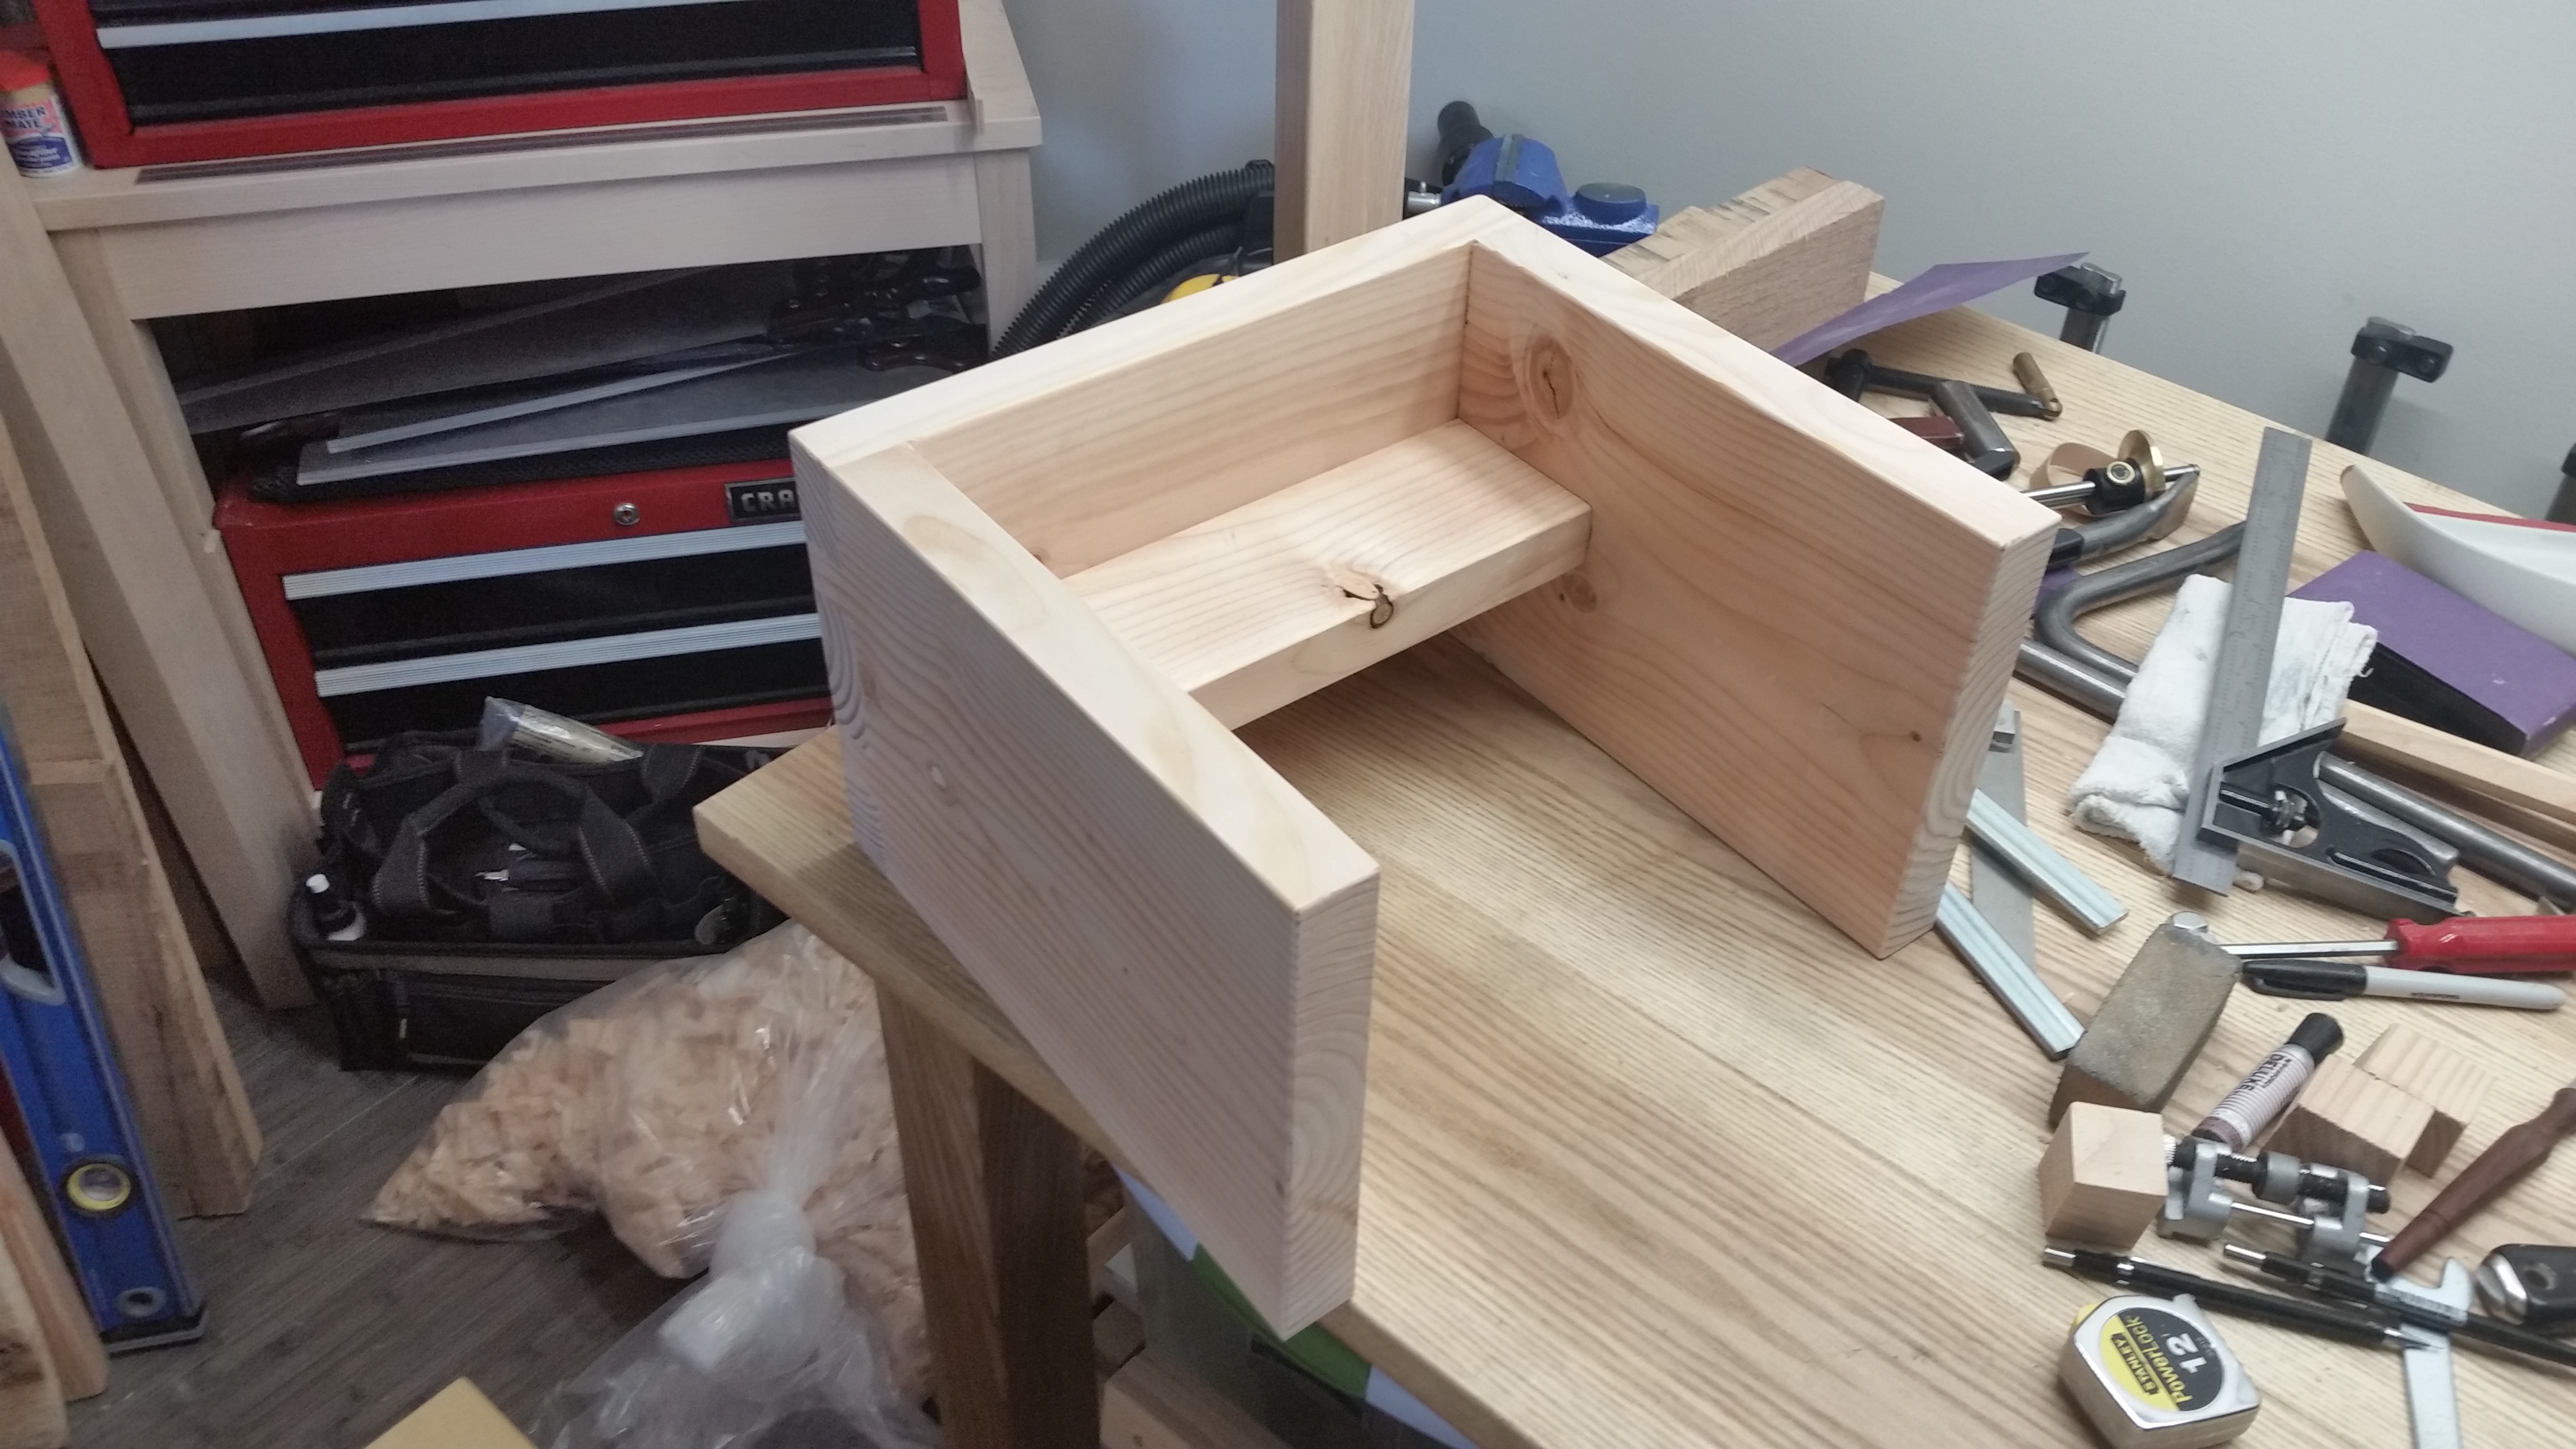
I’ve been working with thinner stock lately (some pine siding off-cuts for little dovetailed boxes) and have noticed that the as-planed pieces kept developing a slight twist. Turns out, the bench had a couple small high spots (in the middle of the main bench), as well one large high spot around the last two dog holes. Nothing terrible, but enough to affect stock that isn’t thin enough to self-support while planing.

You can see the slightly lighter areas in the above picture.
The flattening didn’t take long (other than the drying time on the Danish Oil), but I took a pretty sizable tear-out chunk from some swirling grain near the wagon vise. Clearly nothing fatal to the function of the Milkman’s Workbench, but you all know my feeling on aesthetics.

It will eat my brain forever.
On an unrelated note, I’ve been watching a lot of Paul Sellers’ videos and am thinking about making one of his shooting boards. We’ll see.
JPG