It seems these days the only part of a workbench that anyone cares about is the benchtop. Everyone is blue in the face with strong opinions on length, depth, thickness, material, vise configuration, dog hole locations, what have you. The average workbench is lucky to get much more than four legs, four stretchers and maybe a shelf. But I am telling you, there is much more to a workbench than a flat, heavy slab (or lamination).

Until they make levitating workbenches, I guess.
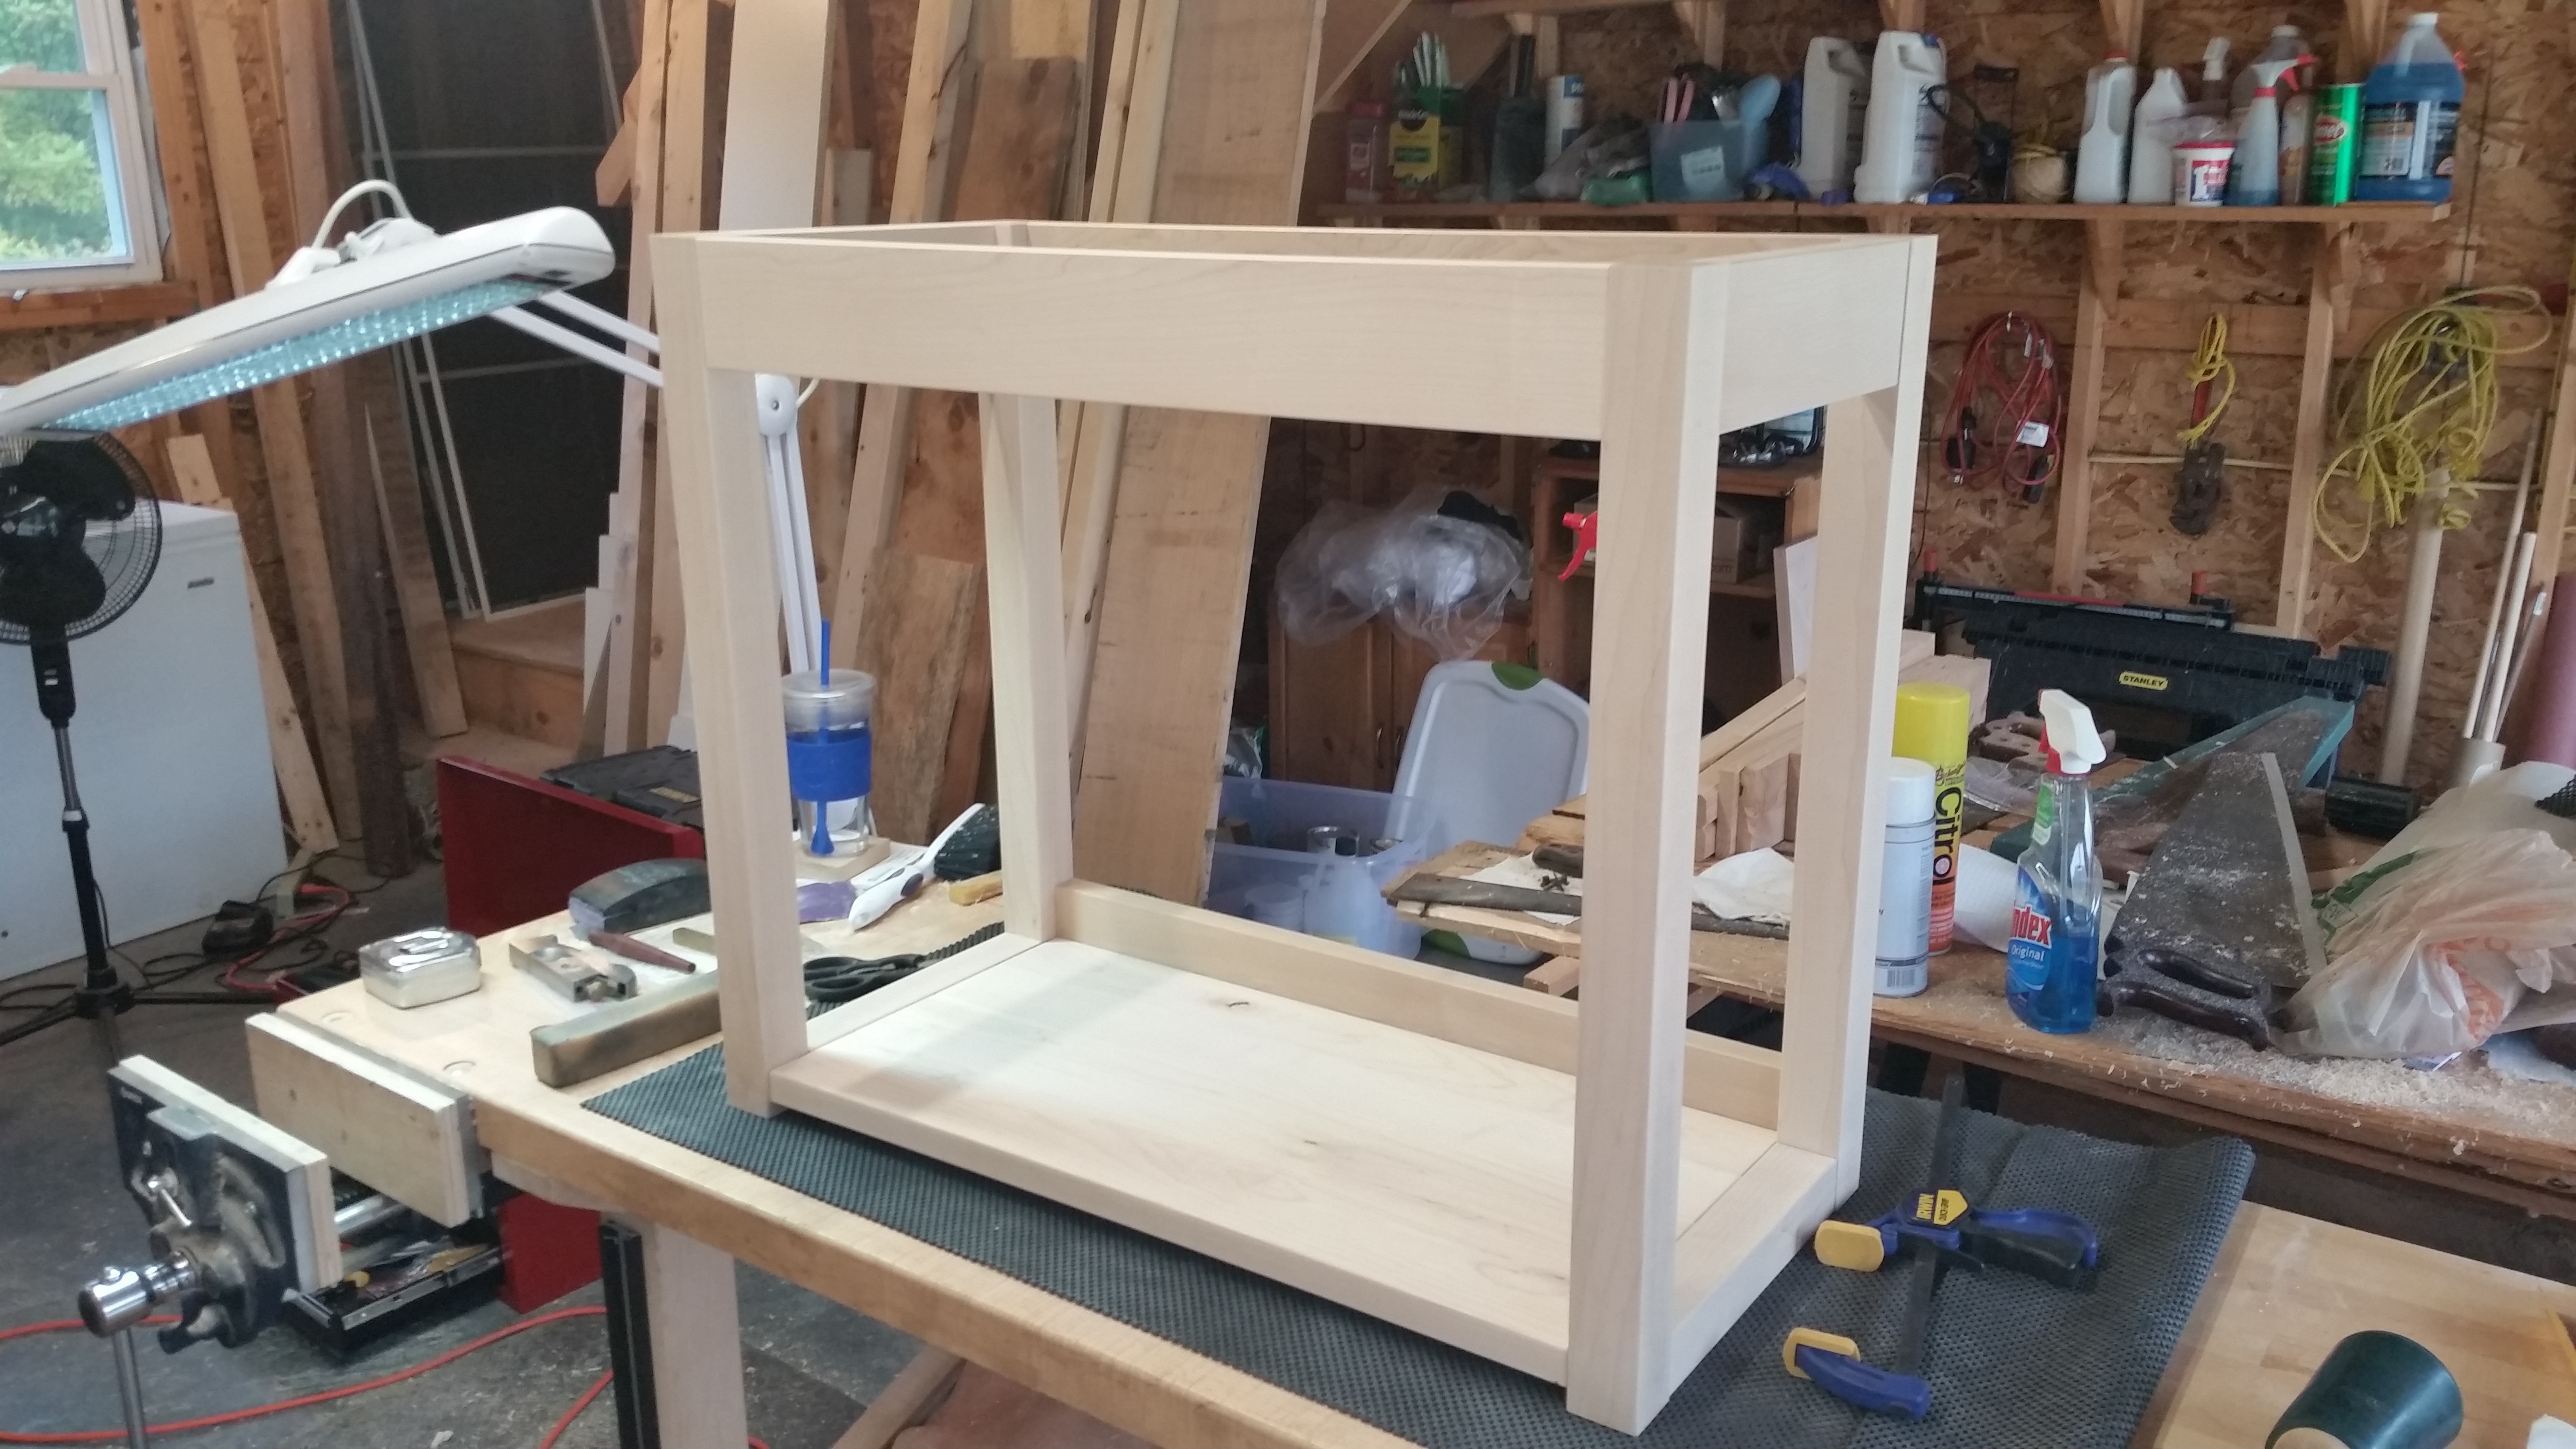
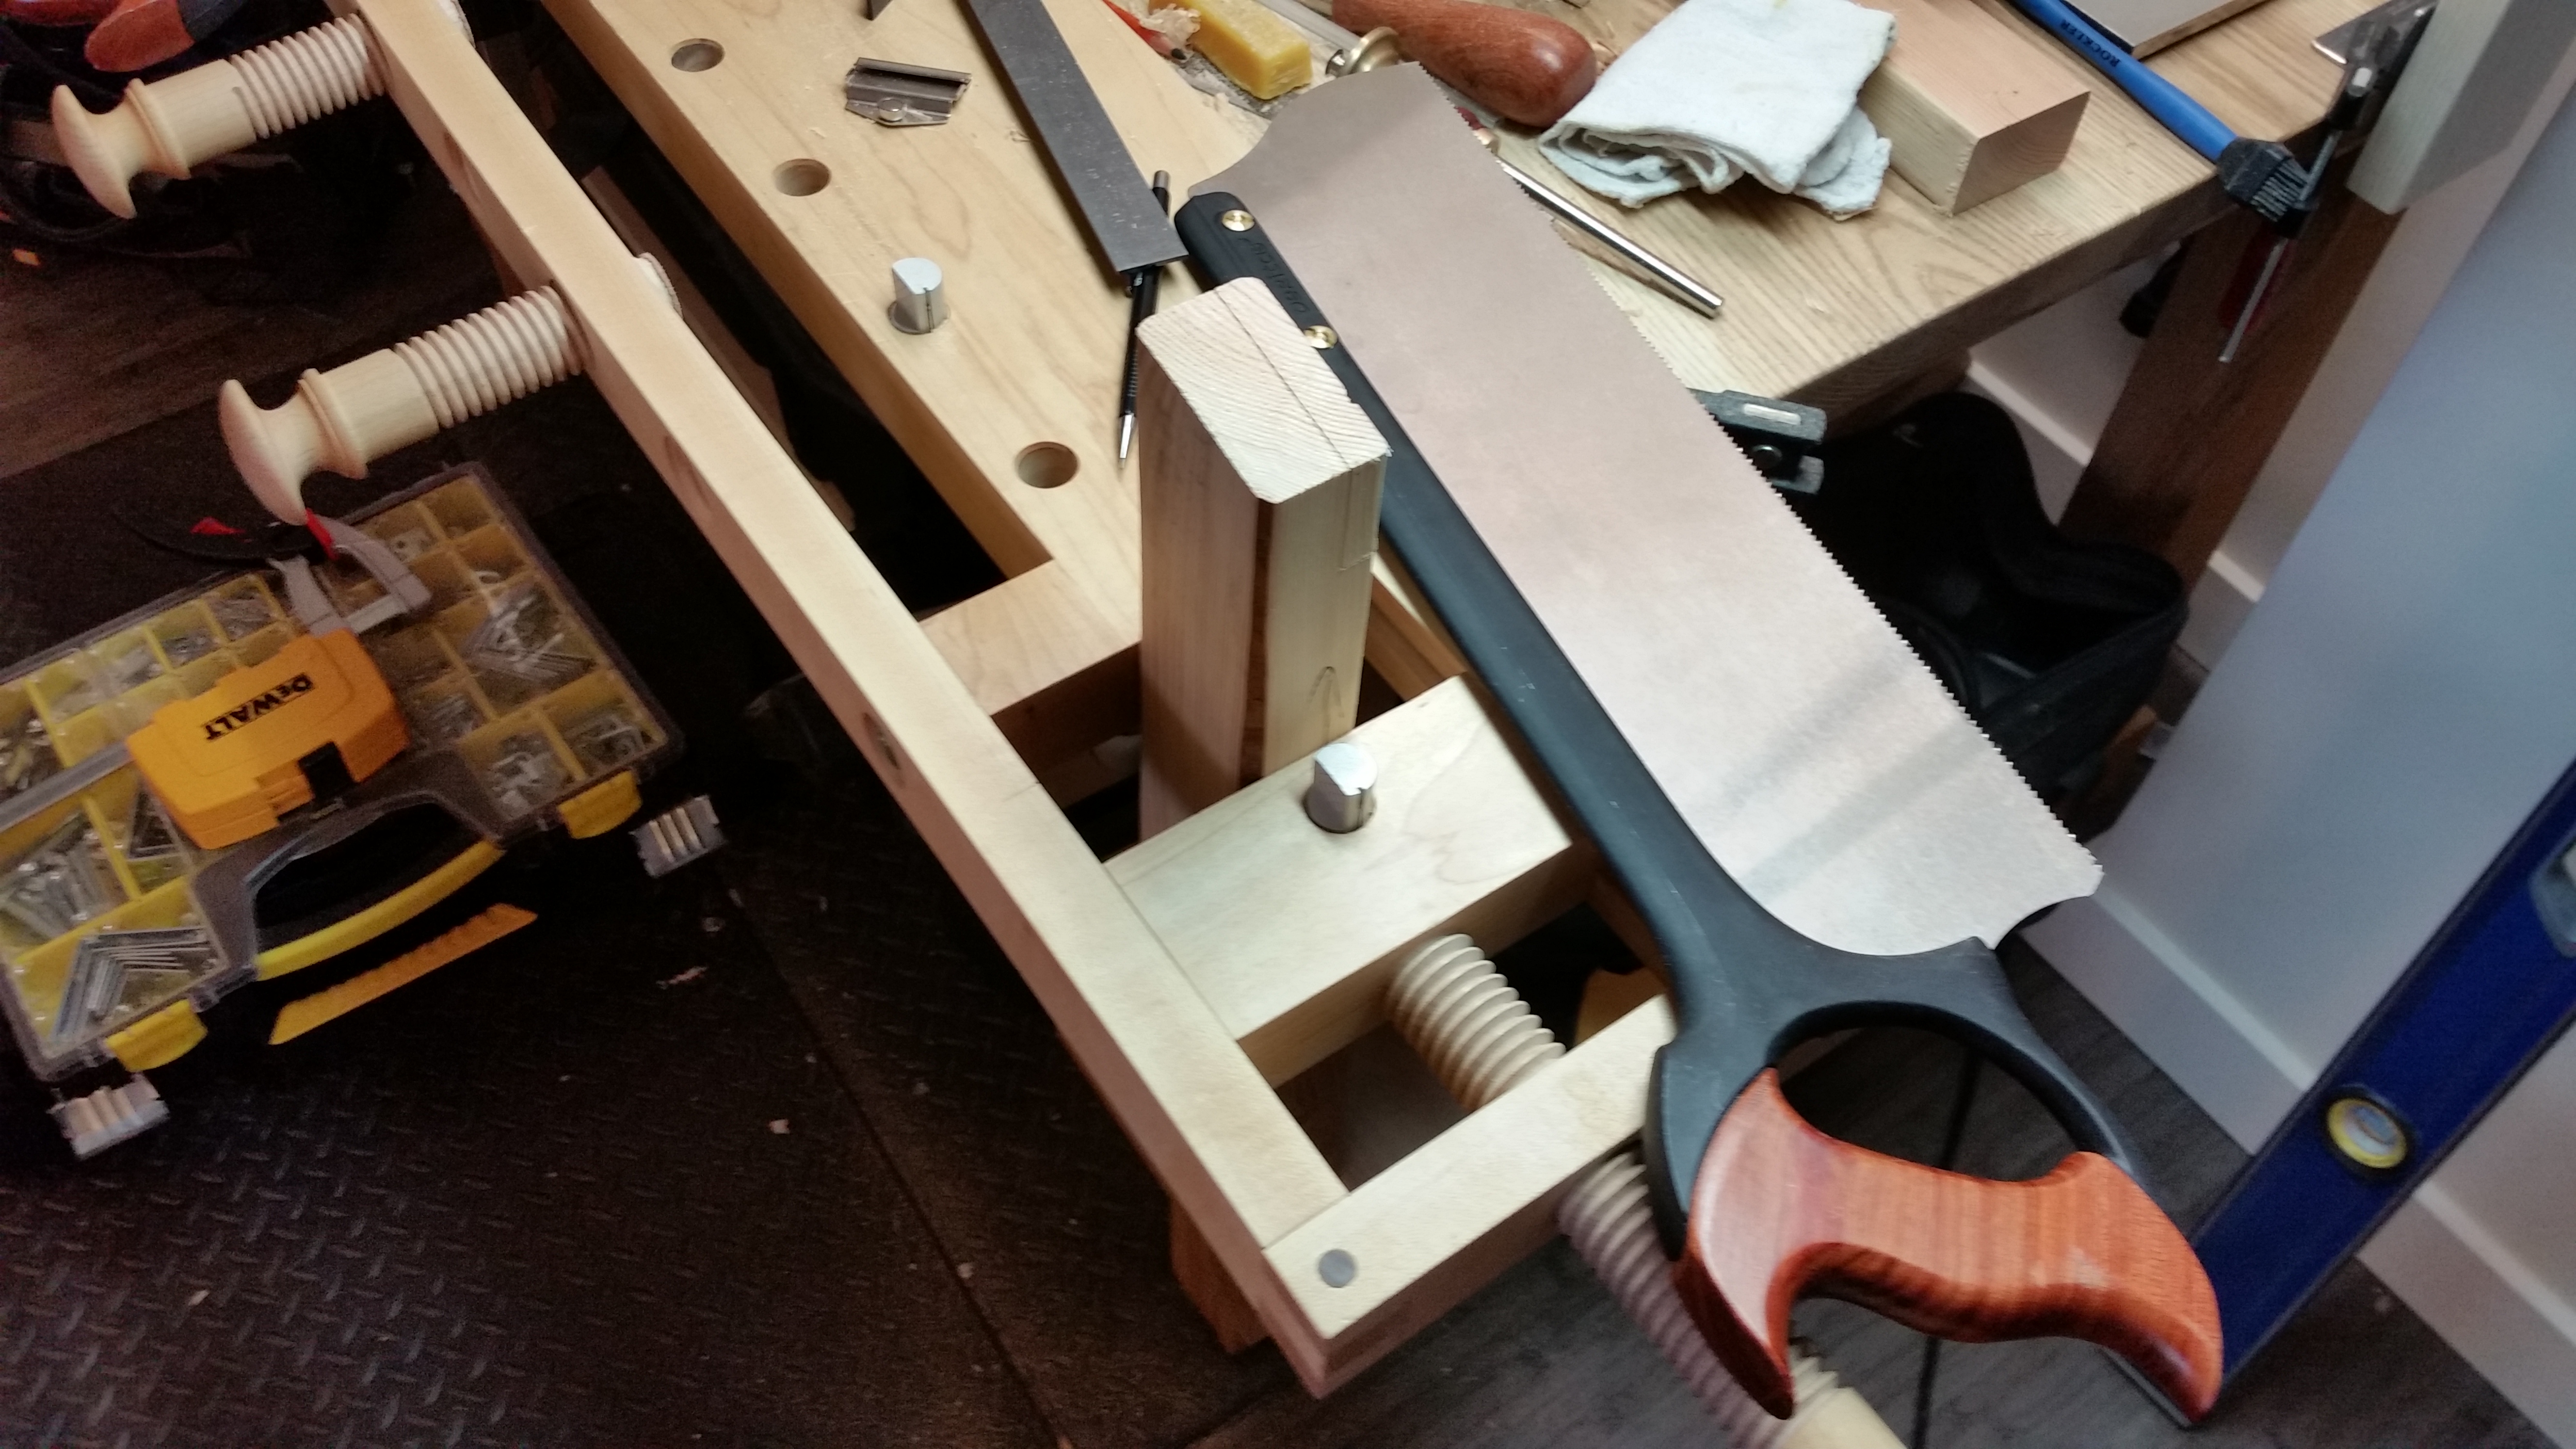
If you’ve been following the blog, you know that in lieu of a traditional woodworking workbench I built a solid ash table to which I clamp various work surfaces: a Milkman’s workbench for joinery or a miterbox for repeatable cuts, to name a couple. The tabletop is only about 5/4 thick and I’m certainly not drilling dog holes or chopping mortises on it (I really do hope to use it as a dining table someday), but as a clamping surface, it truly excels. In theory at least, as long as it can clamp to a table, my workbench can have any work surface I want (or am able to create). The system has served me well these last few months, but it has its obvious shortcomings.
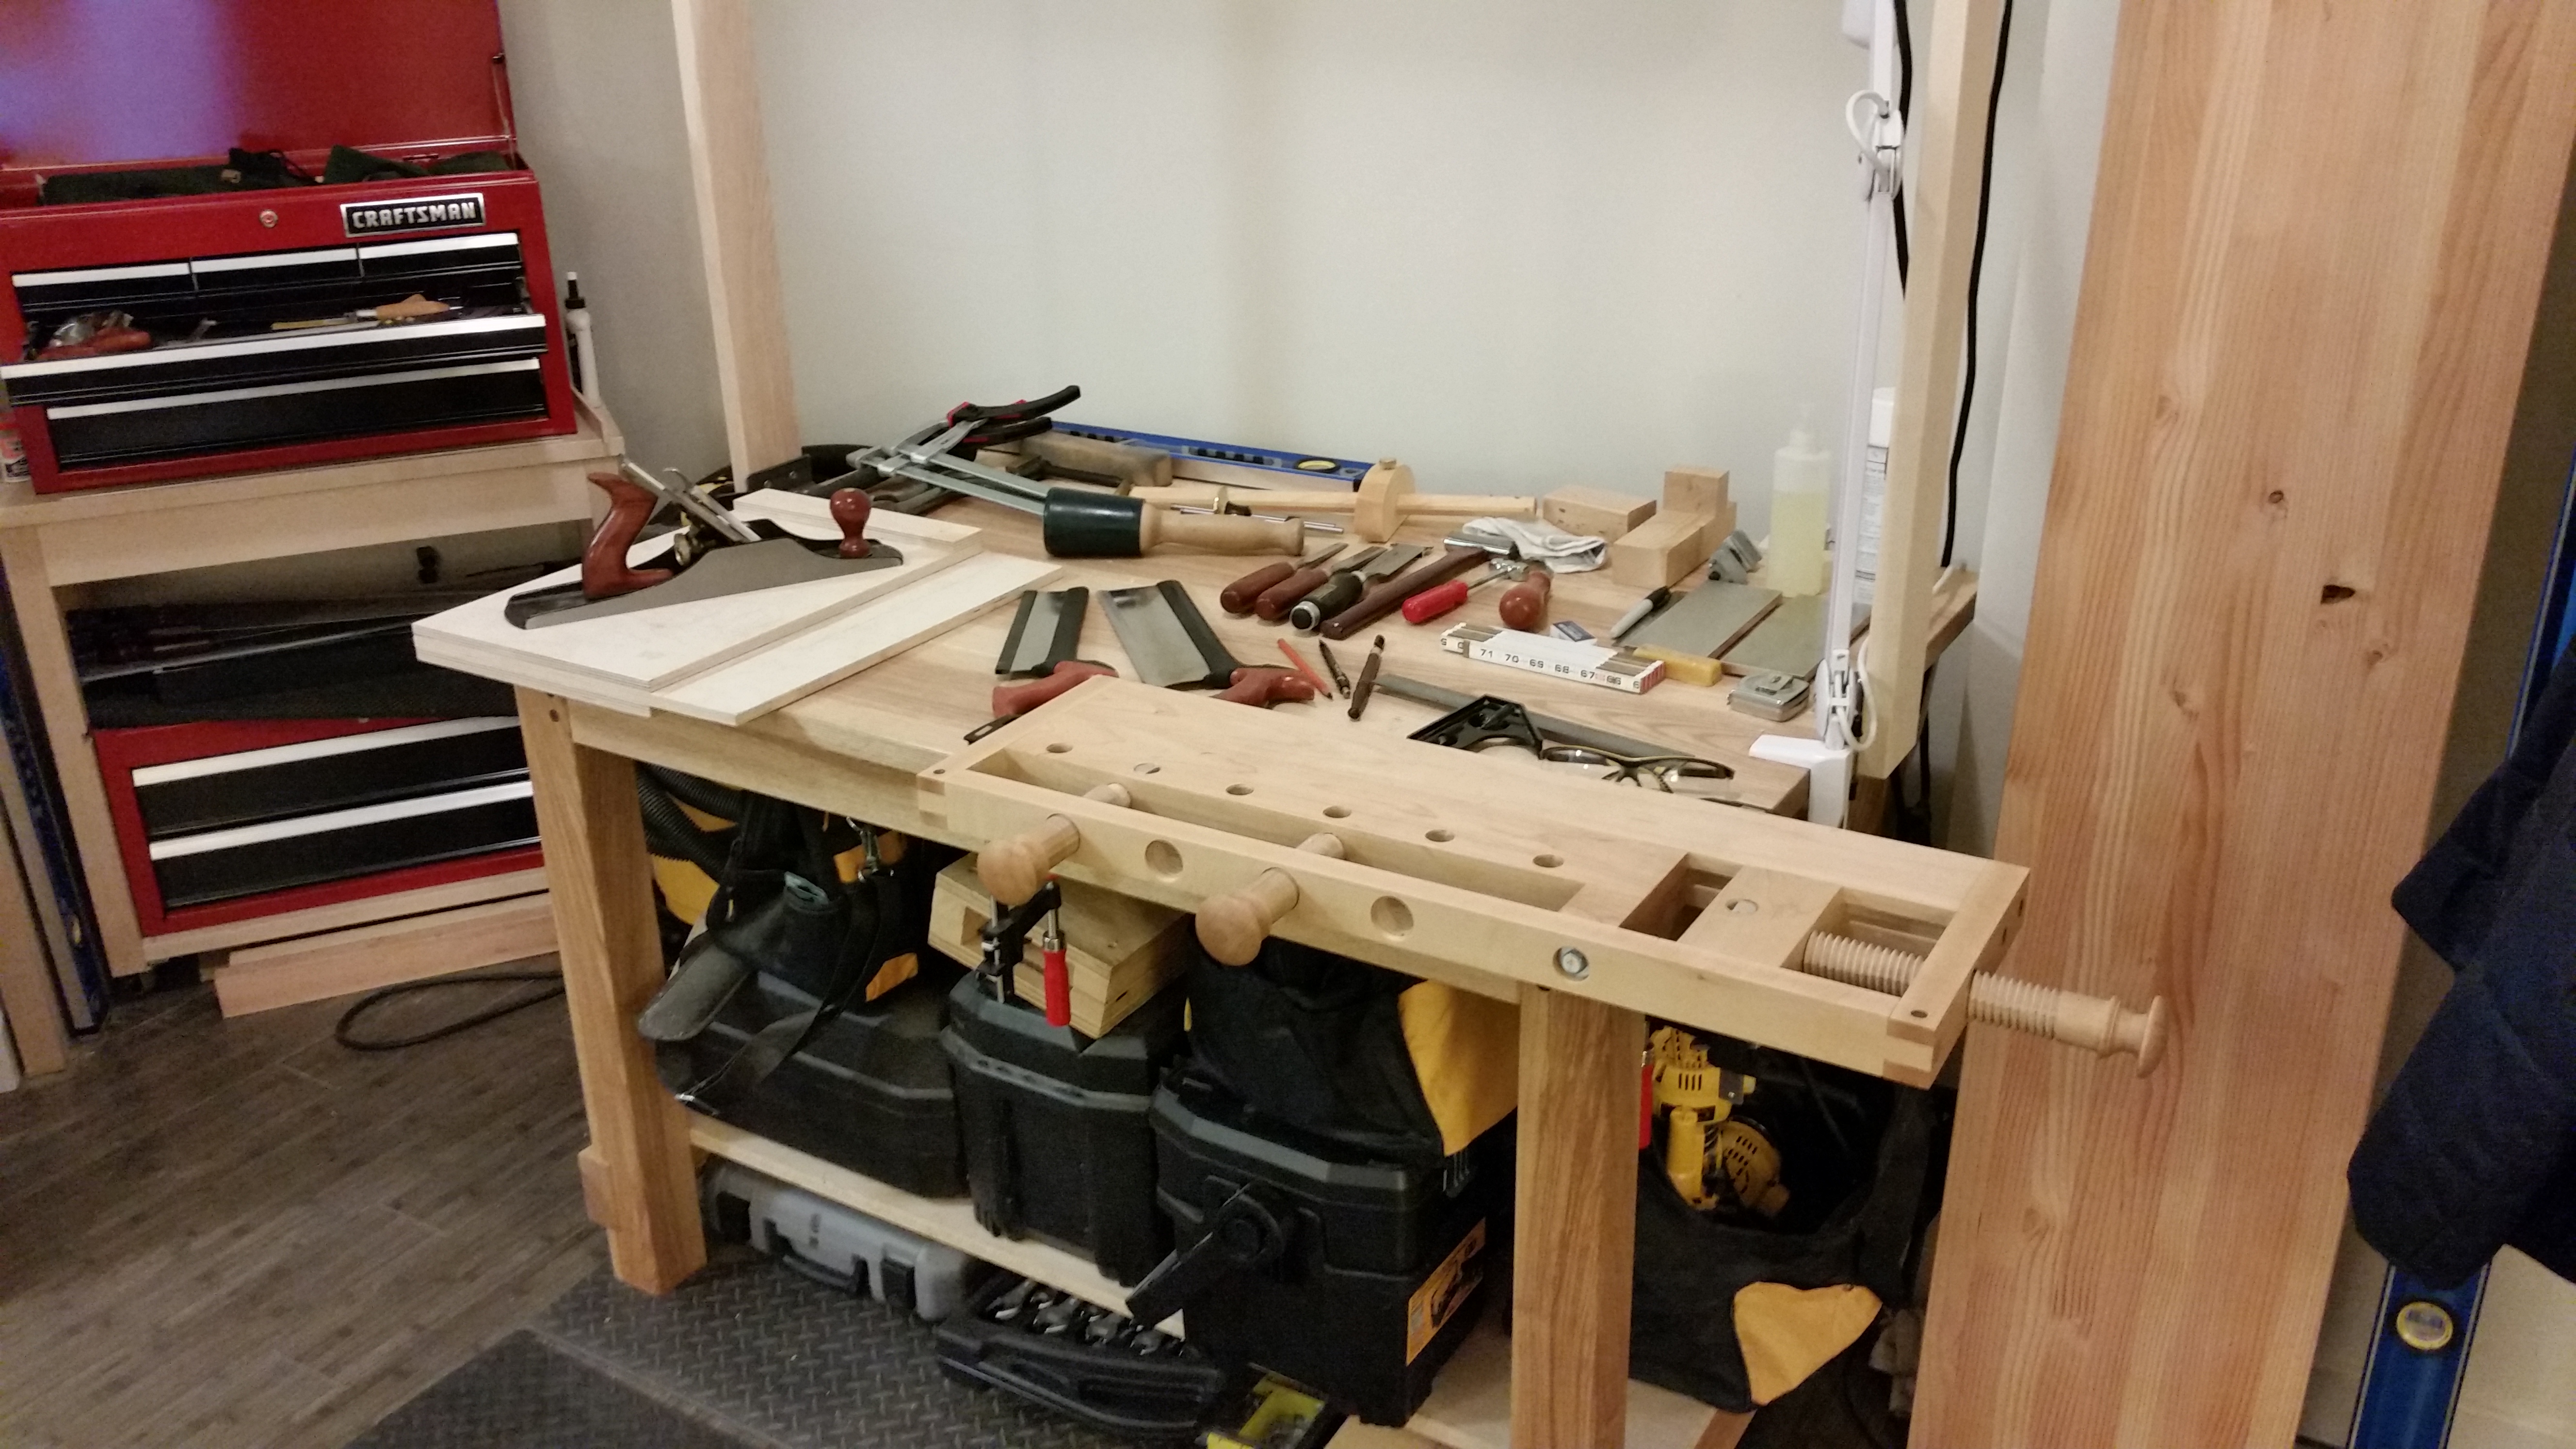
It’s worked well enough, so far, as long as the boards that fit between the dogs or the screws.
Don’t get me wrong. I would love to have a real woodworking workbench and I’m very close to convincing myself a furniture-quality roubo (maybe something 72″ long x 20″ deep x 32″ high, with a double screw front vise and a slatted shelf underneath) would be a perfectly acceptable apartment furnishing. Given my time and space constraints, though (for all my prop replica sonics, I’m still not The Doctor), I did the next best thing to making a real woodworking workbench. I built the part of the workbench I was missing: the benchtop.
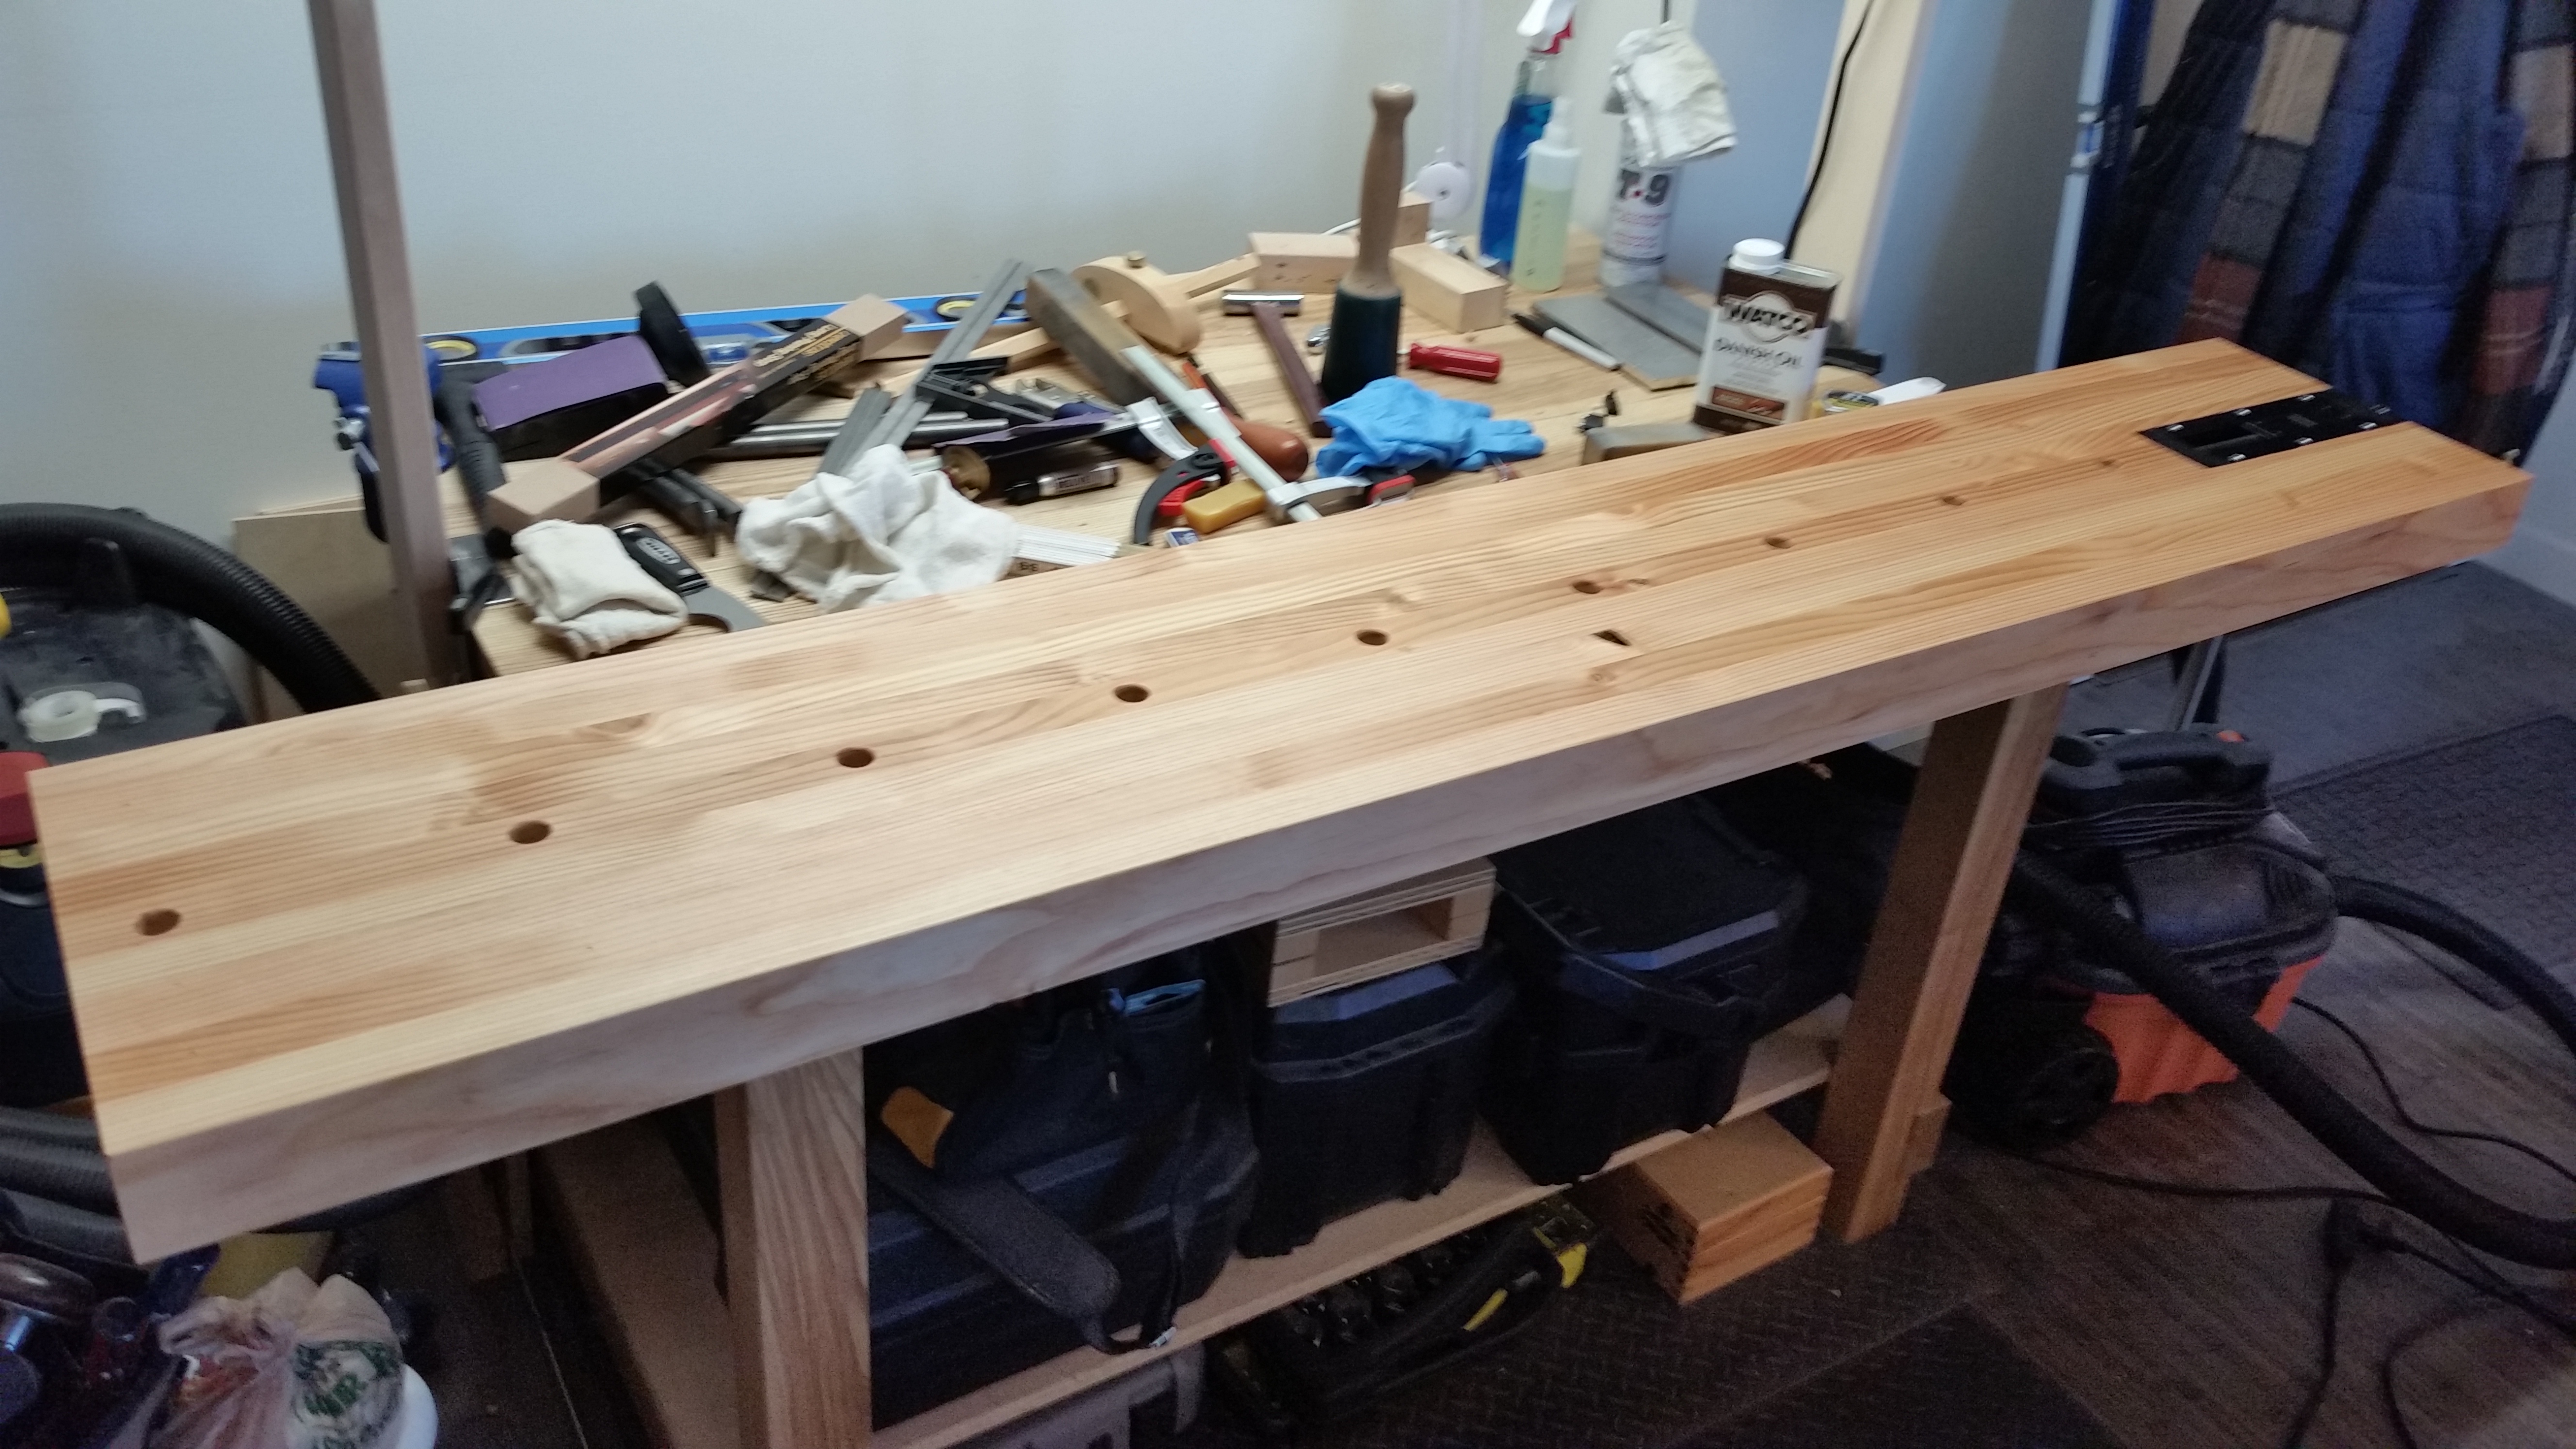
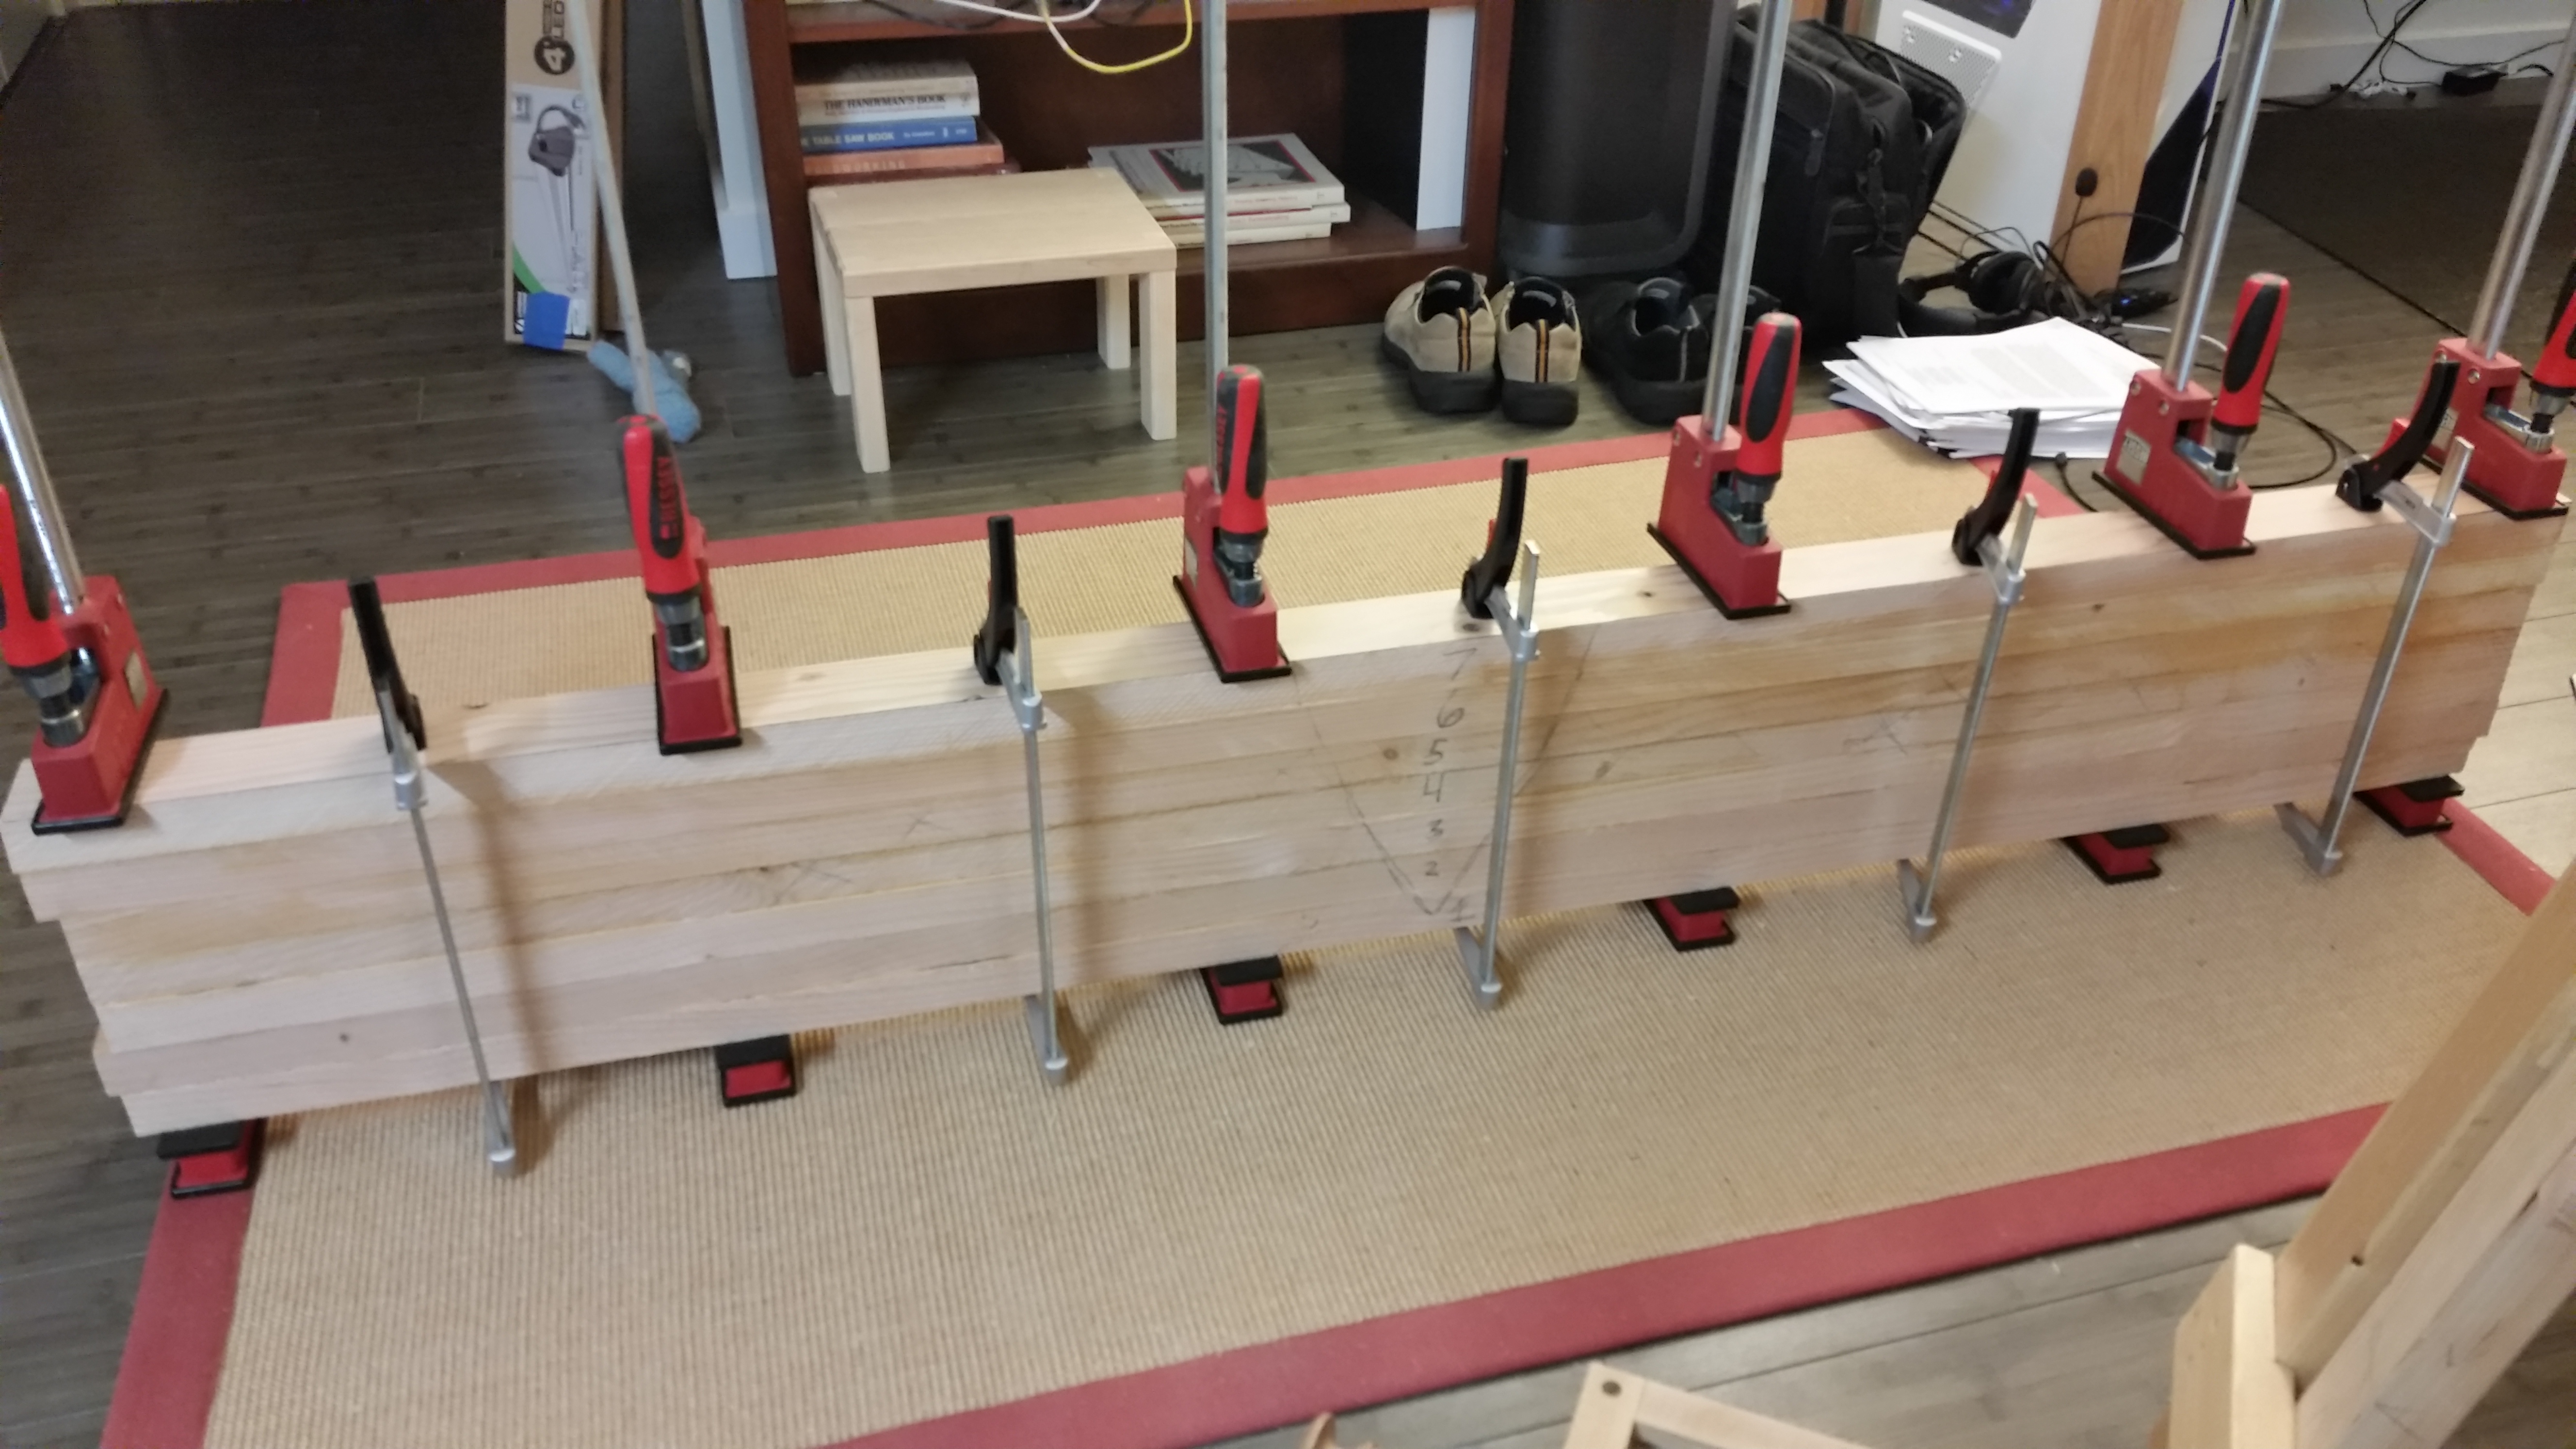
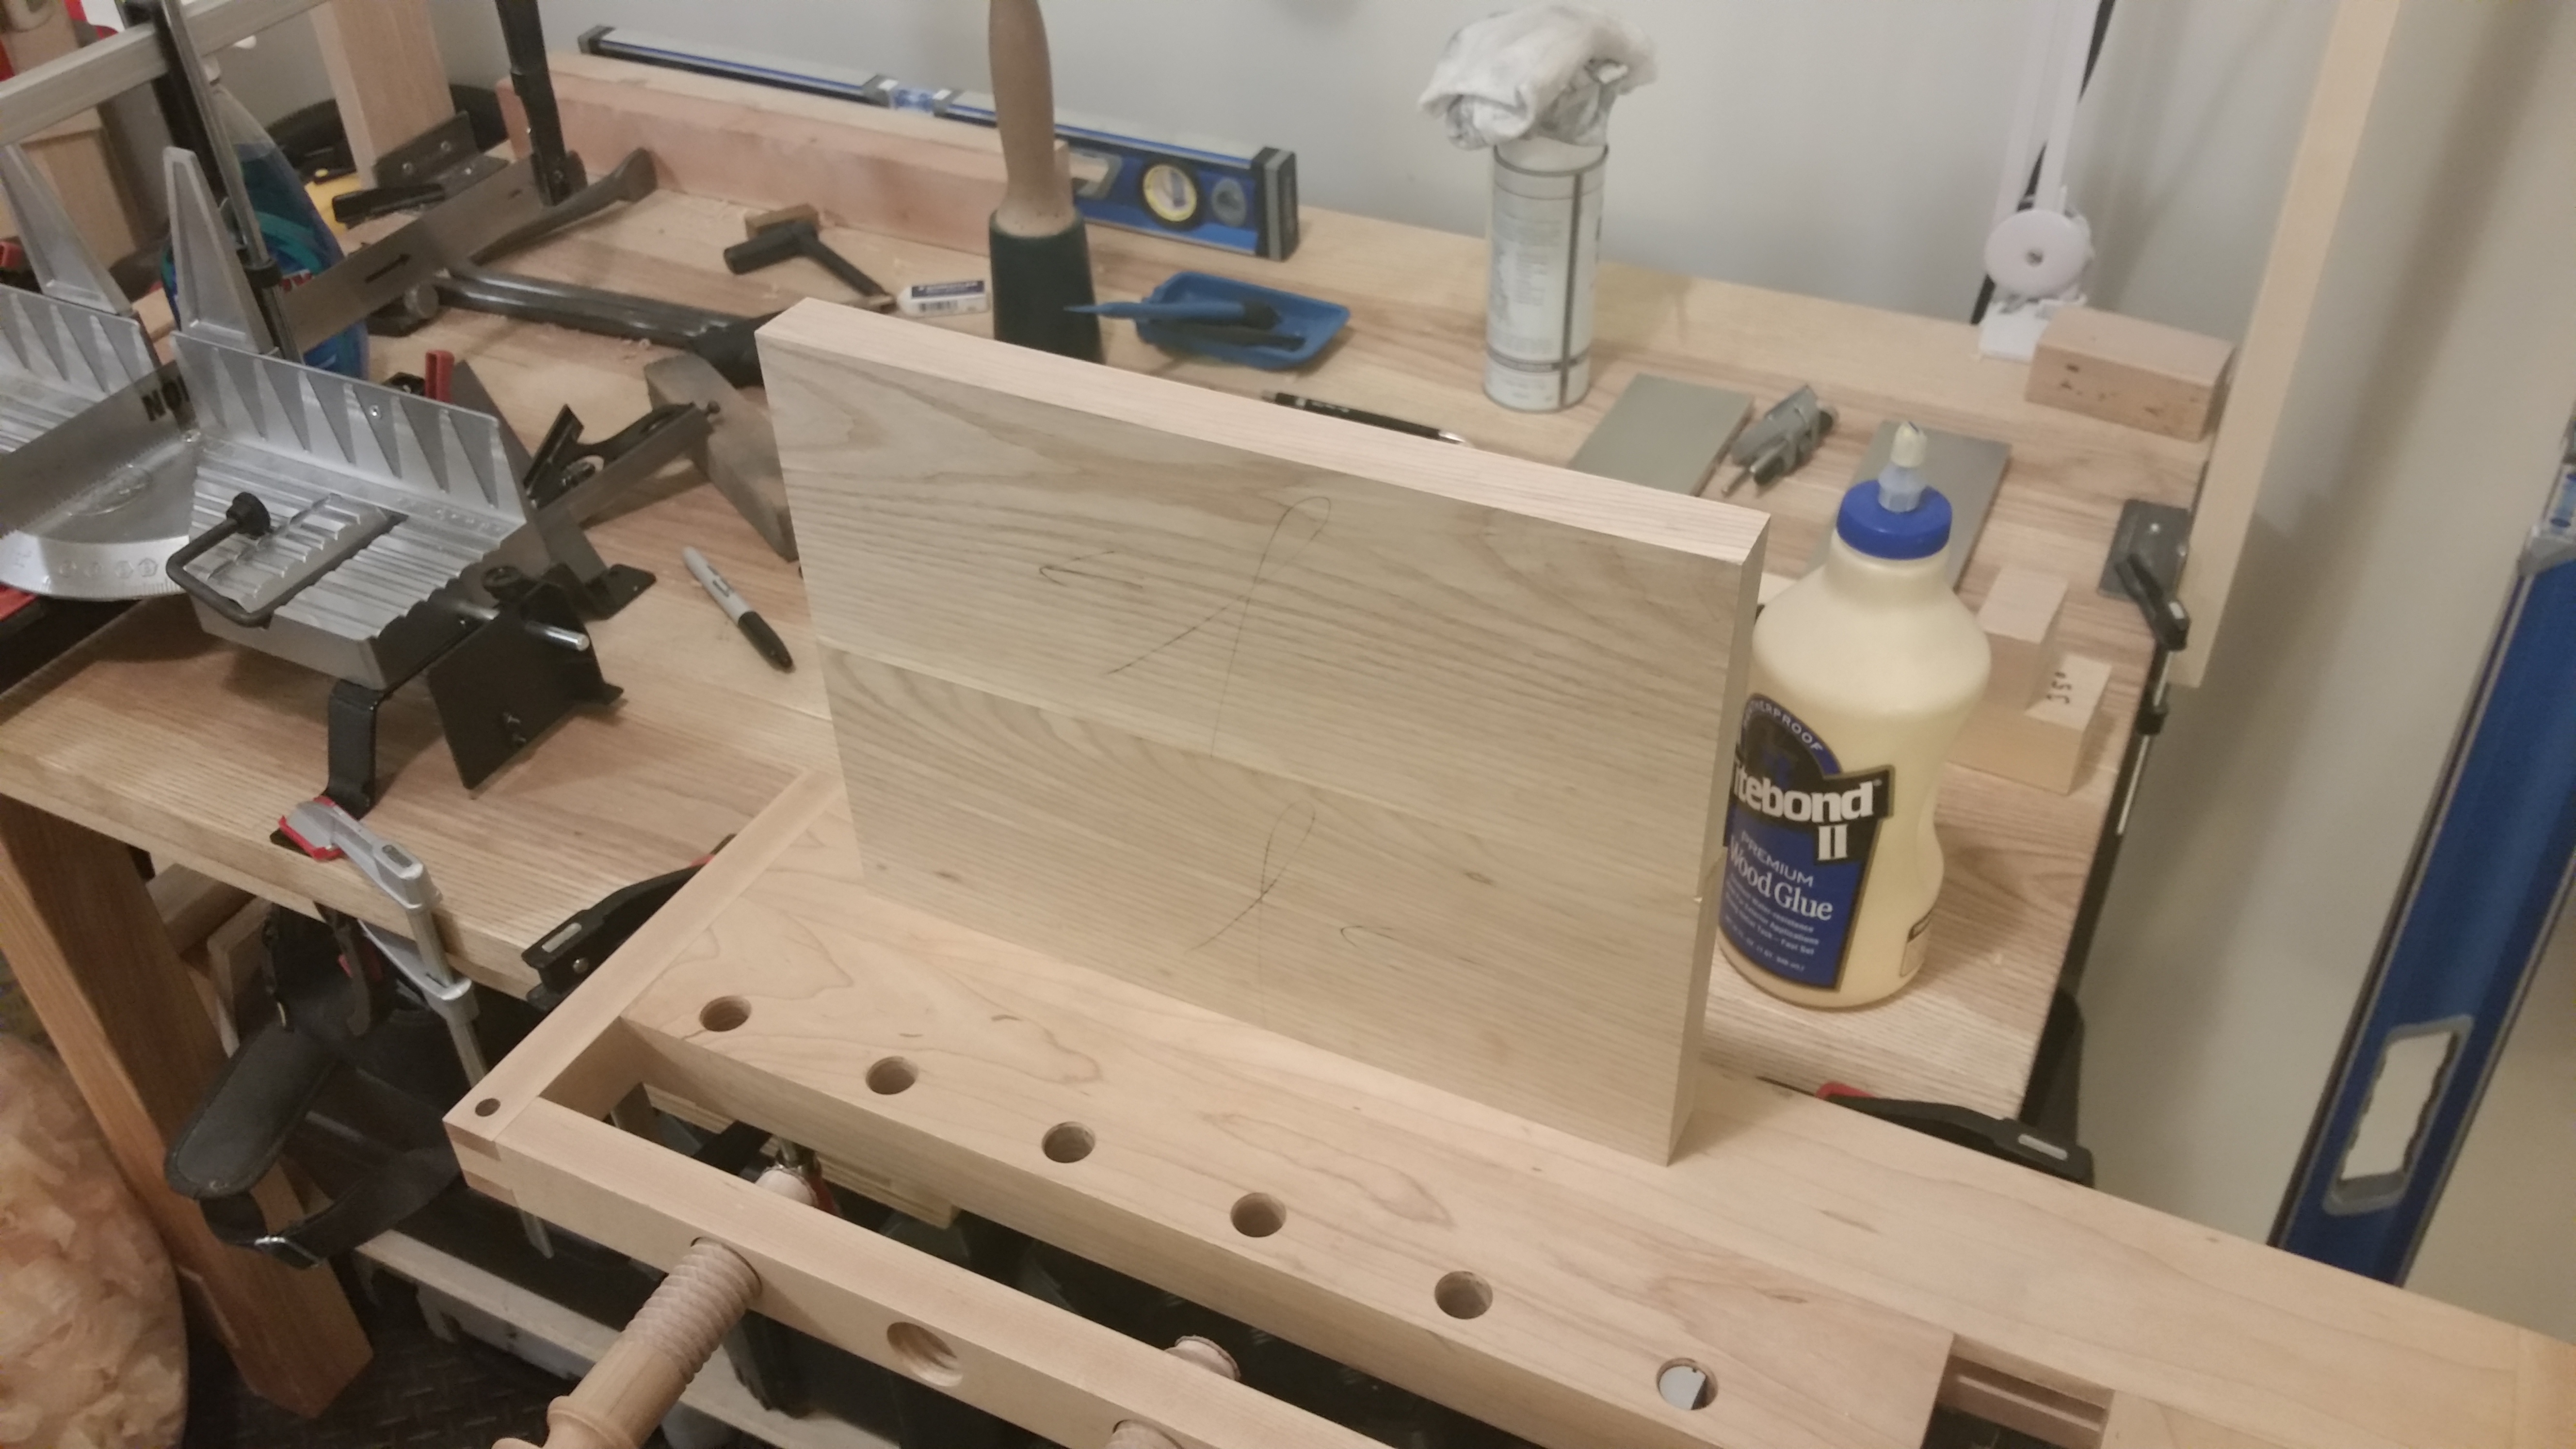
Behold, approximately 35% of a proper woodworking benchtop!
What you see above is 72″ x 13″ x 2.75″ of pure home center Douglas Fir, with 3/4″ dog holes and a Veritas inset vise, and sealed in two coats of Danish Oil. Nine boards, each one hand-ripped from six-foot lengths of the clearest, straightest, driest 2×10’s I could find in the pile, hand planed to decent gluing surfaces and skip-planed through a thickness planer after basic flattening (followed by final flattening and smoothing by hand). Weighing in at around 75 lbs, the planing slab clamps to the table with angle irons and f-clamps and stands against the wall when not in use.
Over the next week or so, I plan to take you through the planning and construction of what I have dubbed my “planing slab”a, more or less because the genesis was a need for extra work surface for planing longer boards. It was a beautiful chore to construct and I am thrilled with the result. I can’t wait to tell you all about it.
JPG