Tools

Apartment Woodworking: Year 10 Retrospective (Part 1)

I recently celebrated my 10th woodworking anniversary. About this time in 2012, I got sick of paying for furniture that didn’t quite match my sensibilities and took matters into my own hands. I’ve probably covered this before, but growing up, we were a New Yankee Workshop household (not a Woodwright’s Shop) household. So when I decided to get back into woodworking as an adult, I went first for some power tools. A home center run with my father resulted in 12″ chop saw, a plunge router kit, a cordless handheld tool bundle, and a boatload of wood screws (plus one hard point saw and one chisel). Those tools alone got me through a bed (that was reclaimed into the base frame for my bar), a desk (that was reclaimed into the base frame for my regular outdoor workbench), and a console table (reclaimed into god knows what).

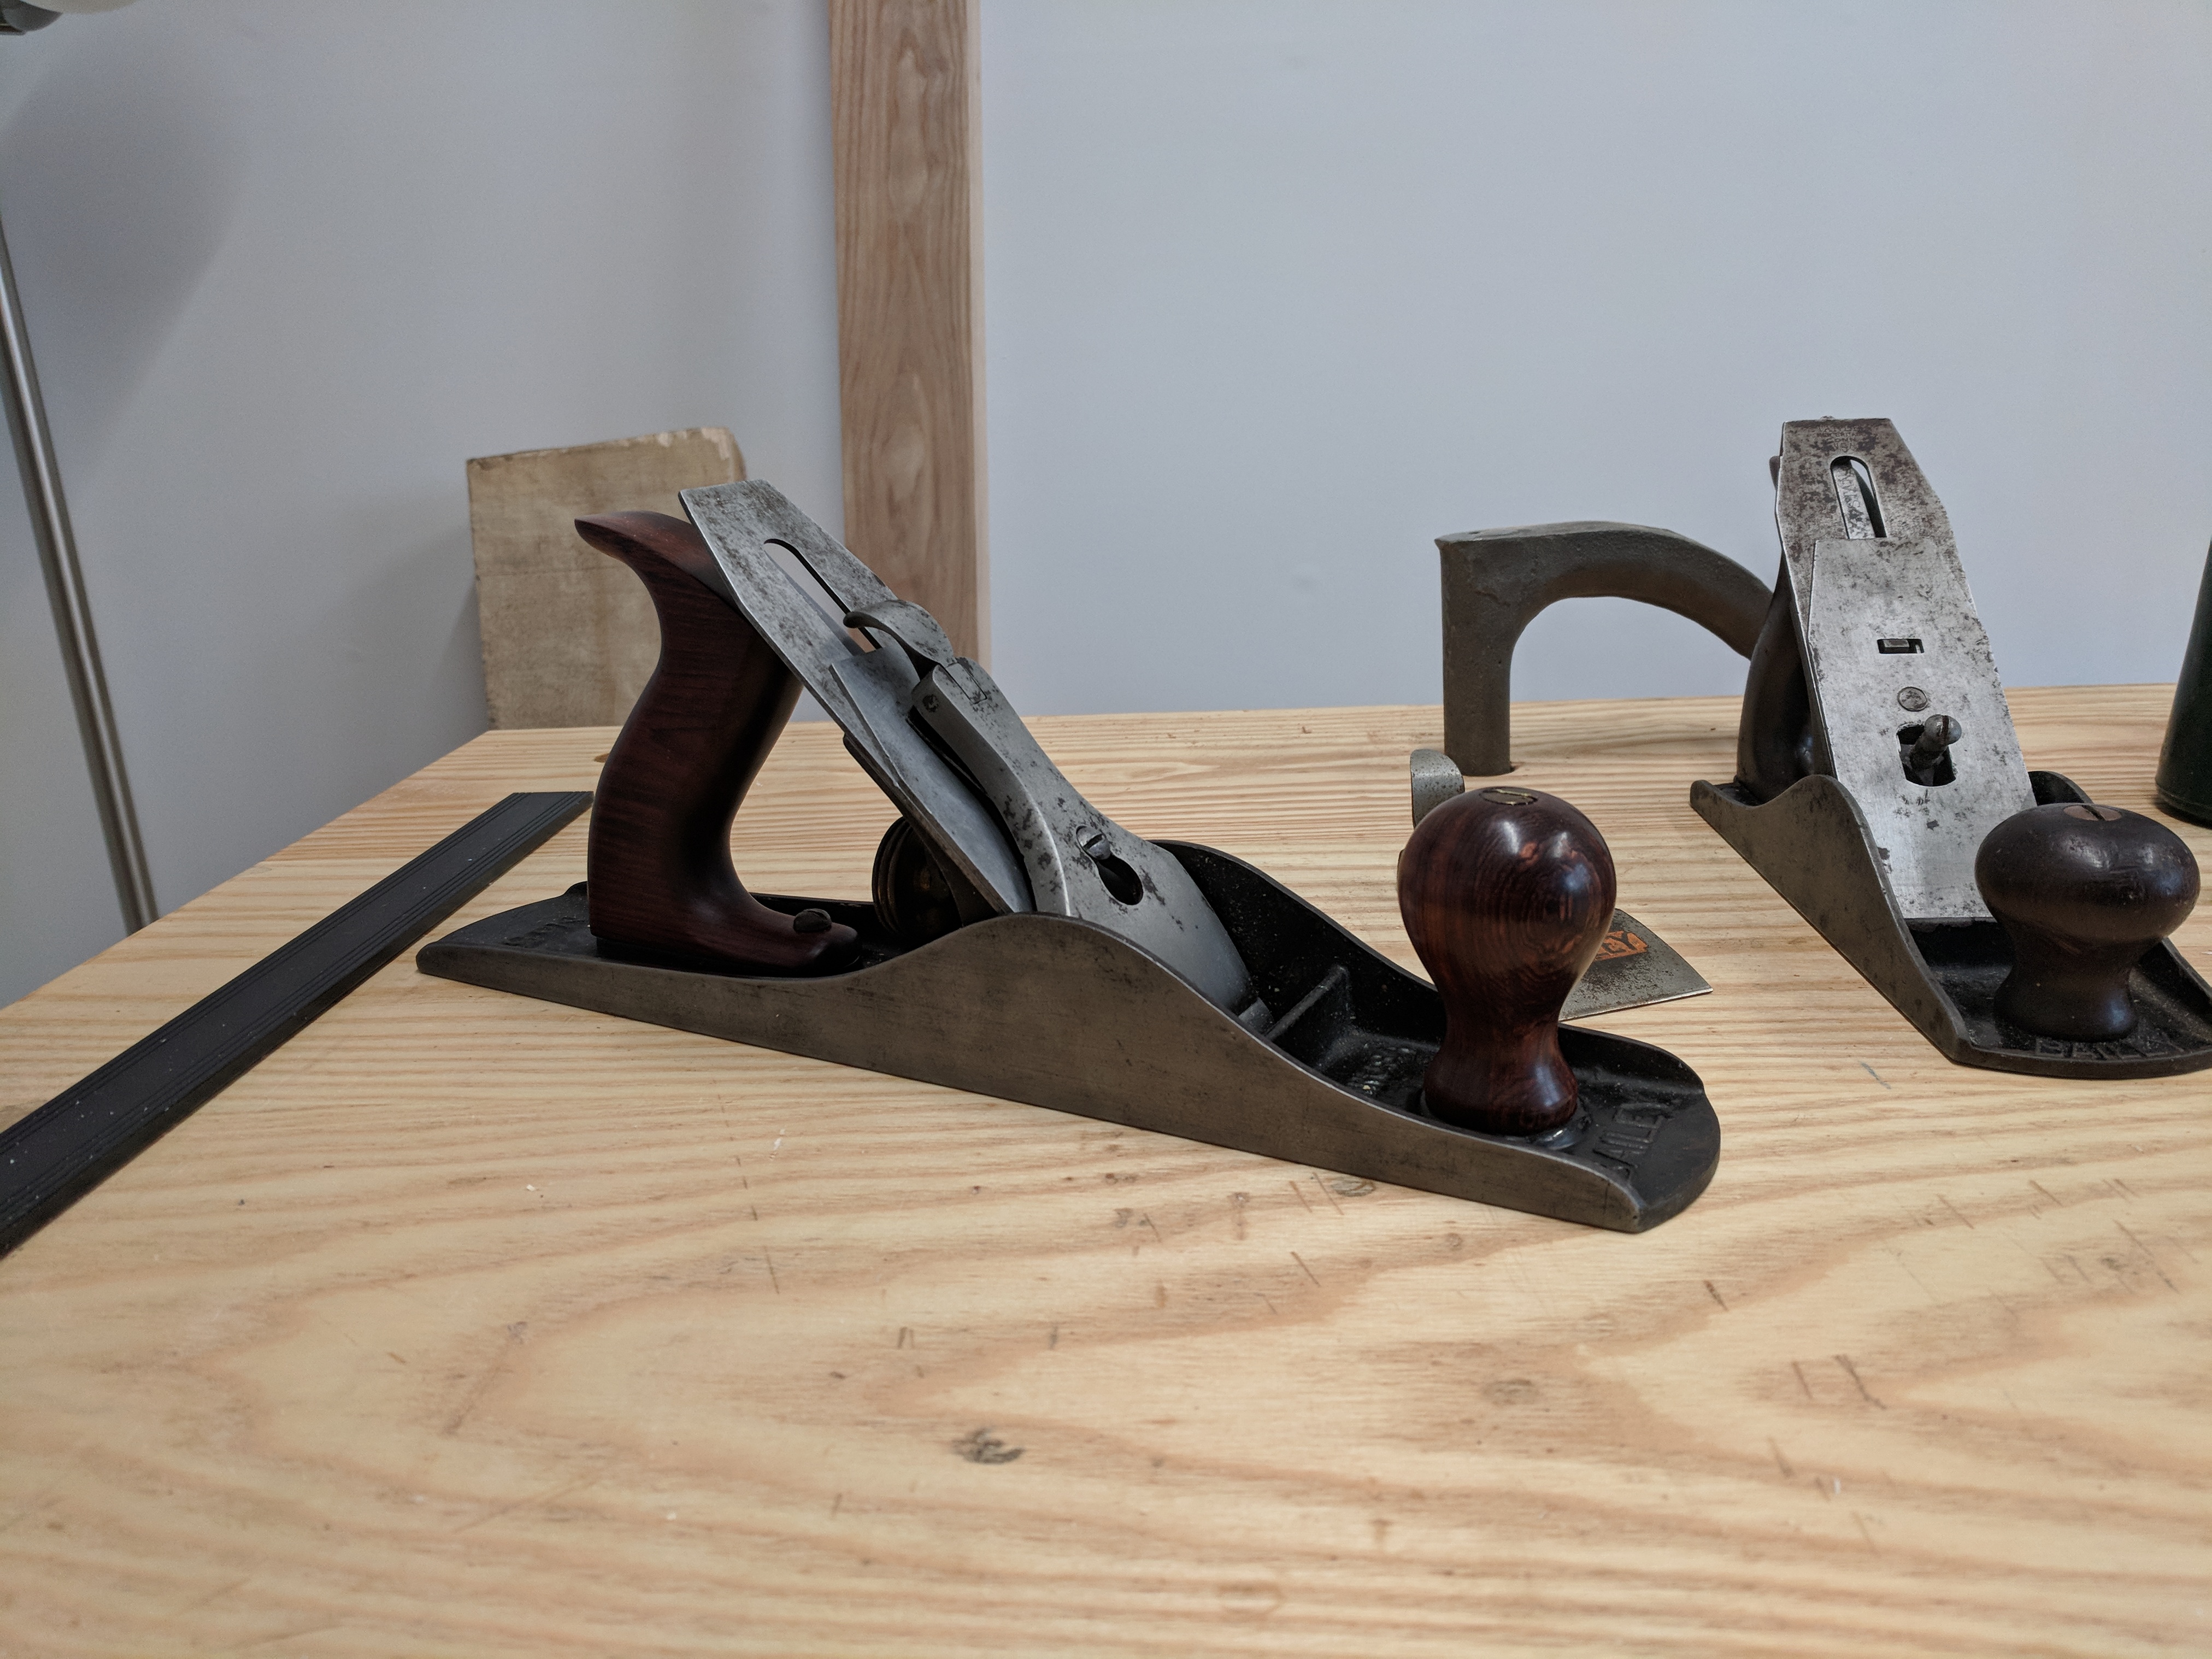
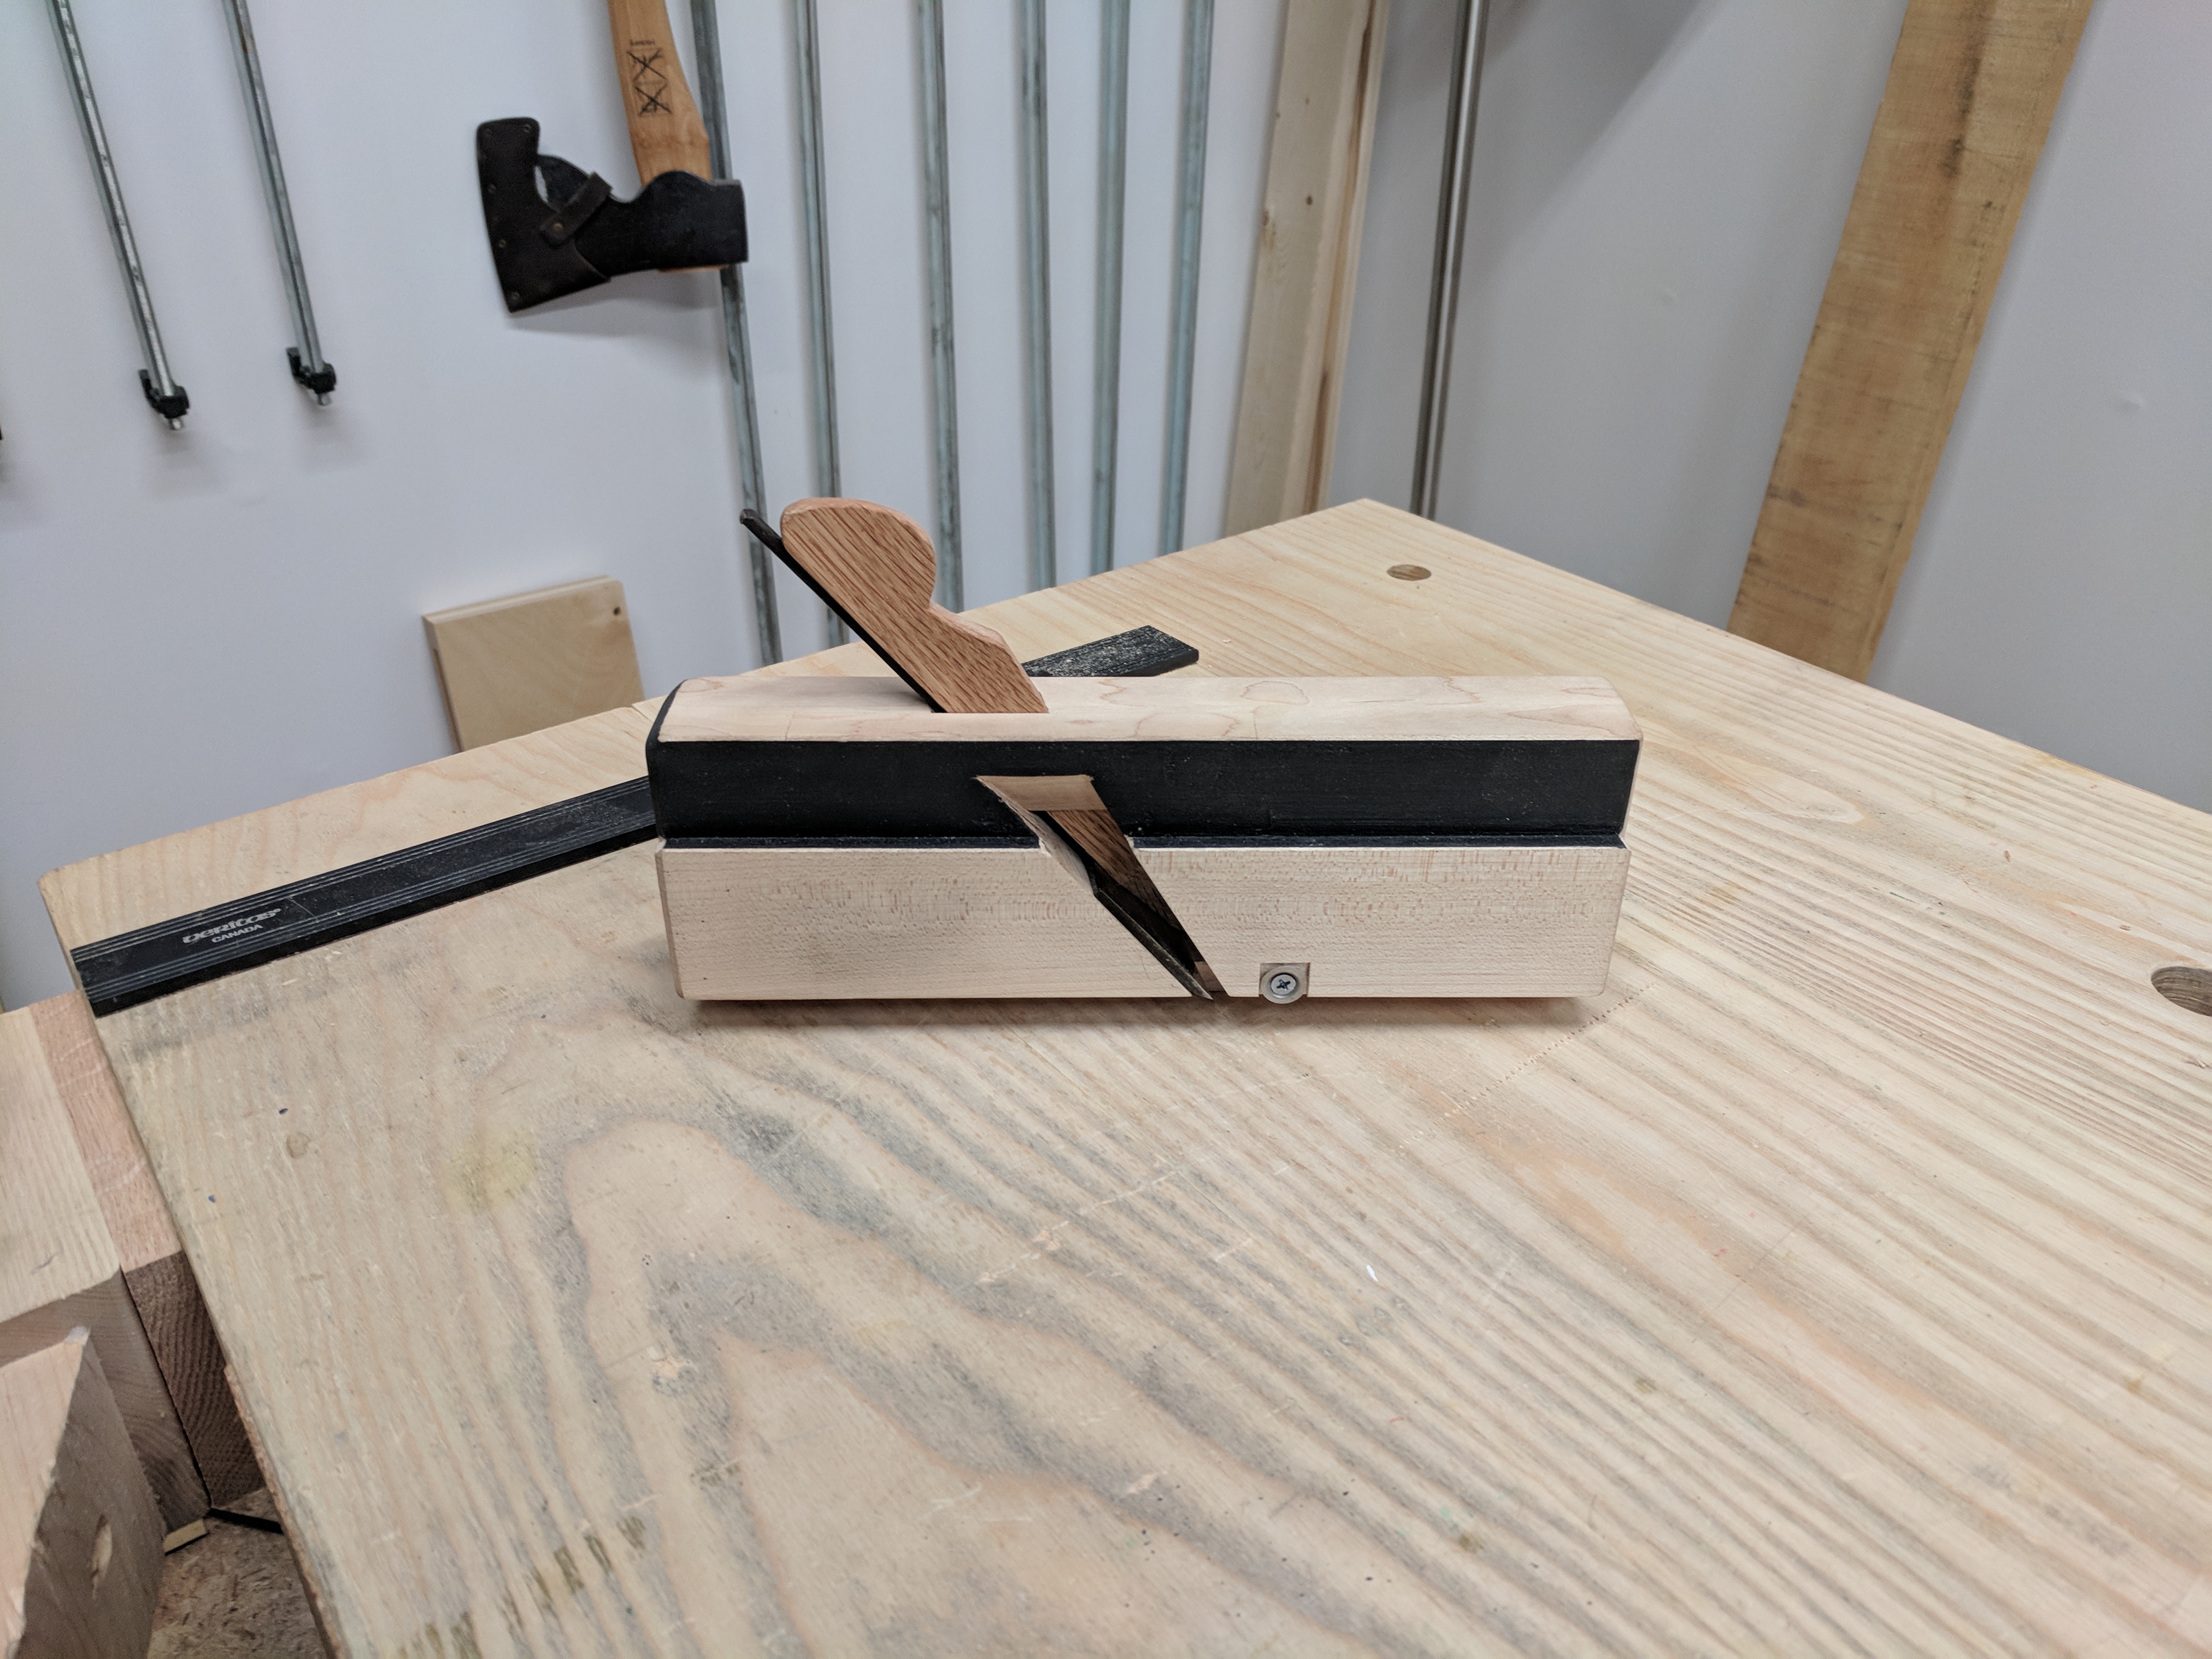
But I quickly gravitated toward working primarily without power. Not just because it’s loud and dusty using a plunge router in your foyer, no matter how great your shop vac. But also because it’s meditative to me. Now I am sure there are some folks who Zen out with the random orbit sander. But not I. My happy place is a No. 6 or No. 7 hand plane and a stack of rough sawn lumber to S4S.

My other happy place.

Sure, I still have that same chop saw and cordless circular saw. And I regularly use them, along with a hollow chisel mortiser and a thickness planer. I even bought an impact driver a couple months back and can’t believe how I’ve lived without one for all these years. But the fact is, nowadays my power tools support my hand work; not the other way around.

Although I joke that I am an artist, I will never make anything that ends up in a museum. I’m not a savant at anything woodworking related (although I consider myself well above average at hand cut dovetails). I have a day job, that keeps me very busy. And in these 10 years, I’ve devoted enough time to the craft to have picked up a thing or two. And I’d like to share that collected wisdom with the world.

This will be a multi-part series. I’m not sure how many installments there will be, and I certainly expect I won’t make it straight through without deviating to regular posts. I have literally no sponsors.

Getting Started in Woodworking

If you’re here, it may be because you’ve searched “Woodworking in an Apartment” or “Small Space Woodworking” and took a flyer. If so, welcome. I’m James and I have very strong opinions on literally everything.

If you think you might want to get into hand tool woodworking with a limited tool kit and limited space, there are better resources than me. You should go to YouTube and check out Paul Sellers and Richard Maguire. Paul and Richard are giants to me. Paul’s 10 part workbench video came out a few months before I started woodworking (although I didn’t discover Paul until 2014, after 2 years of fapping about with power tools). Paul is like a combination of Mr. Rogers and Bob Ross.

Richard started posting a year into my woodworking career. Paul’s website, Common Woodworking, didn’t exist when I needed it most. Richard’s site, The English Woodworker, has long form content (both paid an unpaid) that cannot be beat. Richard is at the same time exceedingly practical and esoteric. Trust me; you’ll see.

So check their stuff out and maybe come back here if you want more of those very strong opinions of mine. If you’re open to using more substantial power tools, the Woodworkers’ Guild of America and the Wood Whisperers Guild are both good resources.

Beginner Woodworker Hand Tools

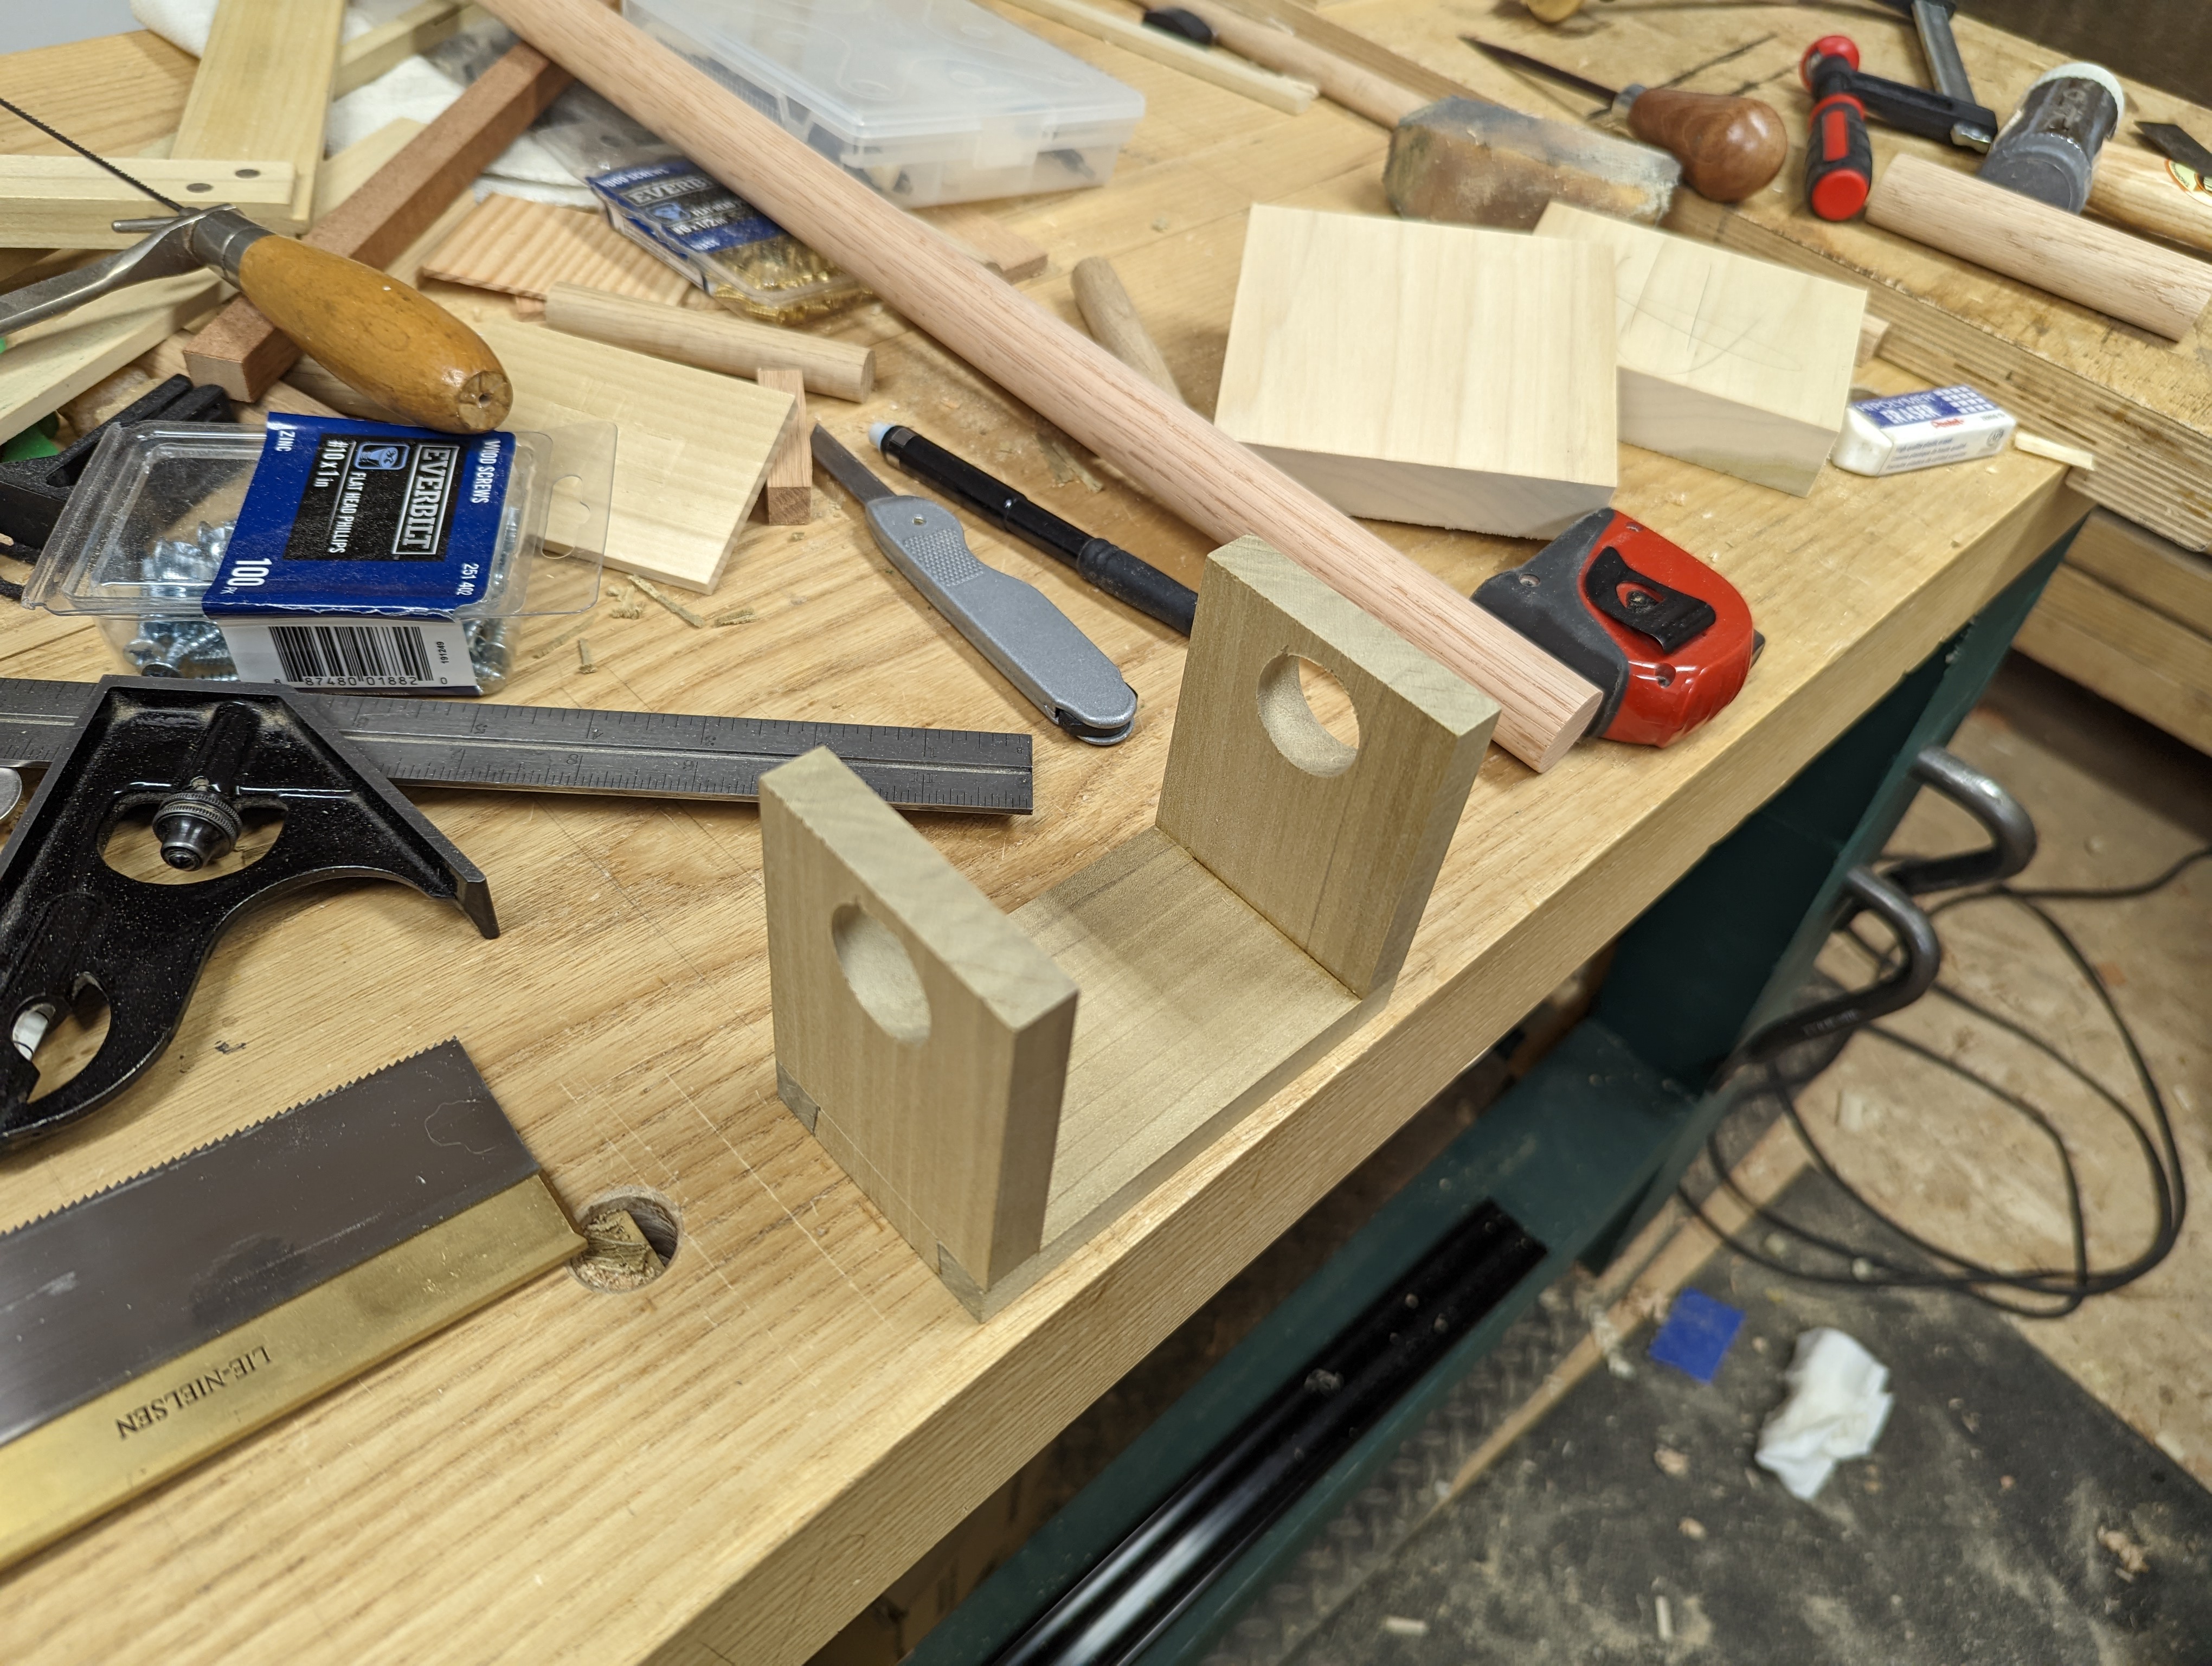
People have written entire books on this question. I have my own thoughts, sure. My only piece of real input is to buy a few tools of good quality, rather than a bunch of tools of crappy quality. But if you want my 10 year retrospective take on the absolute core tool kit, here it is.

  • Hardpoint panel saw from the home center (Home Depot has DeWalt; Lowes has Craftsman; I have used both)
  • 1/2″ (and maybe 1″ too) Lee Valley bevel edge chisel (the ones with the clear handle; they work both for fine work and mortising)
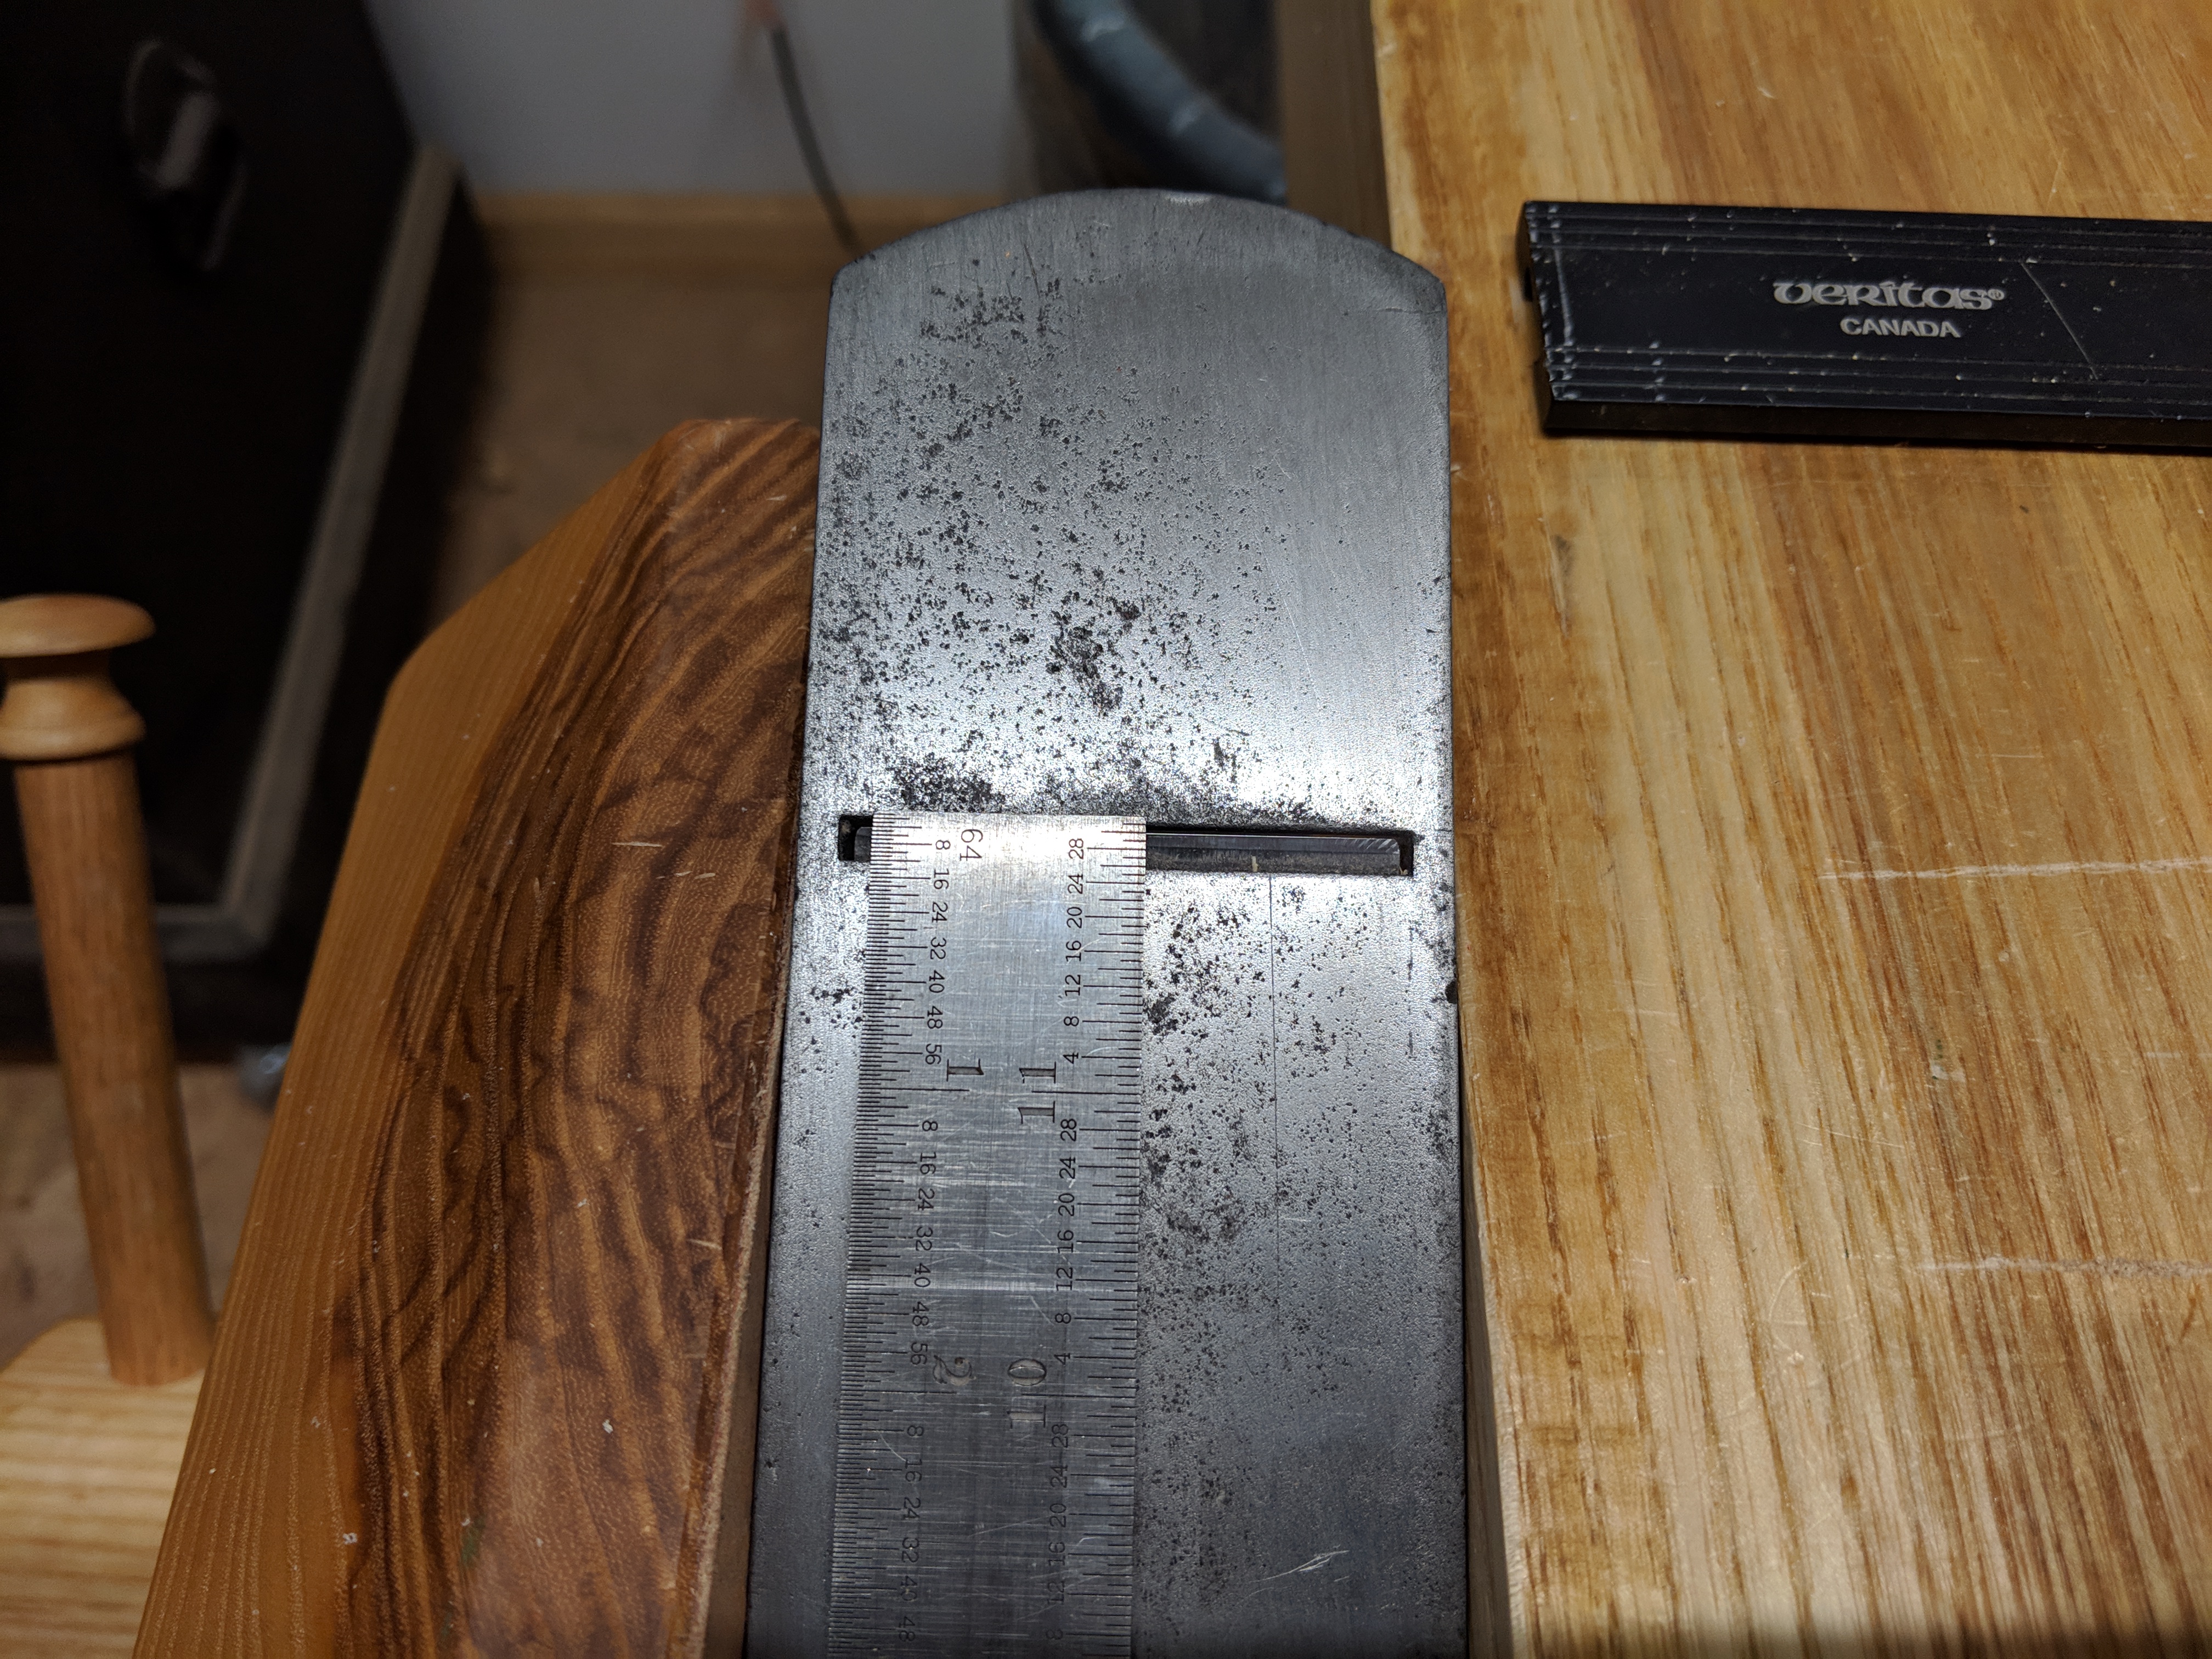
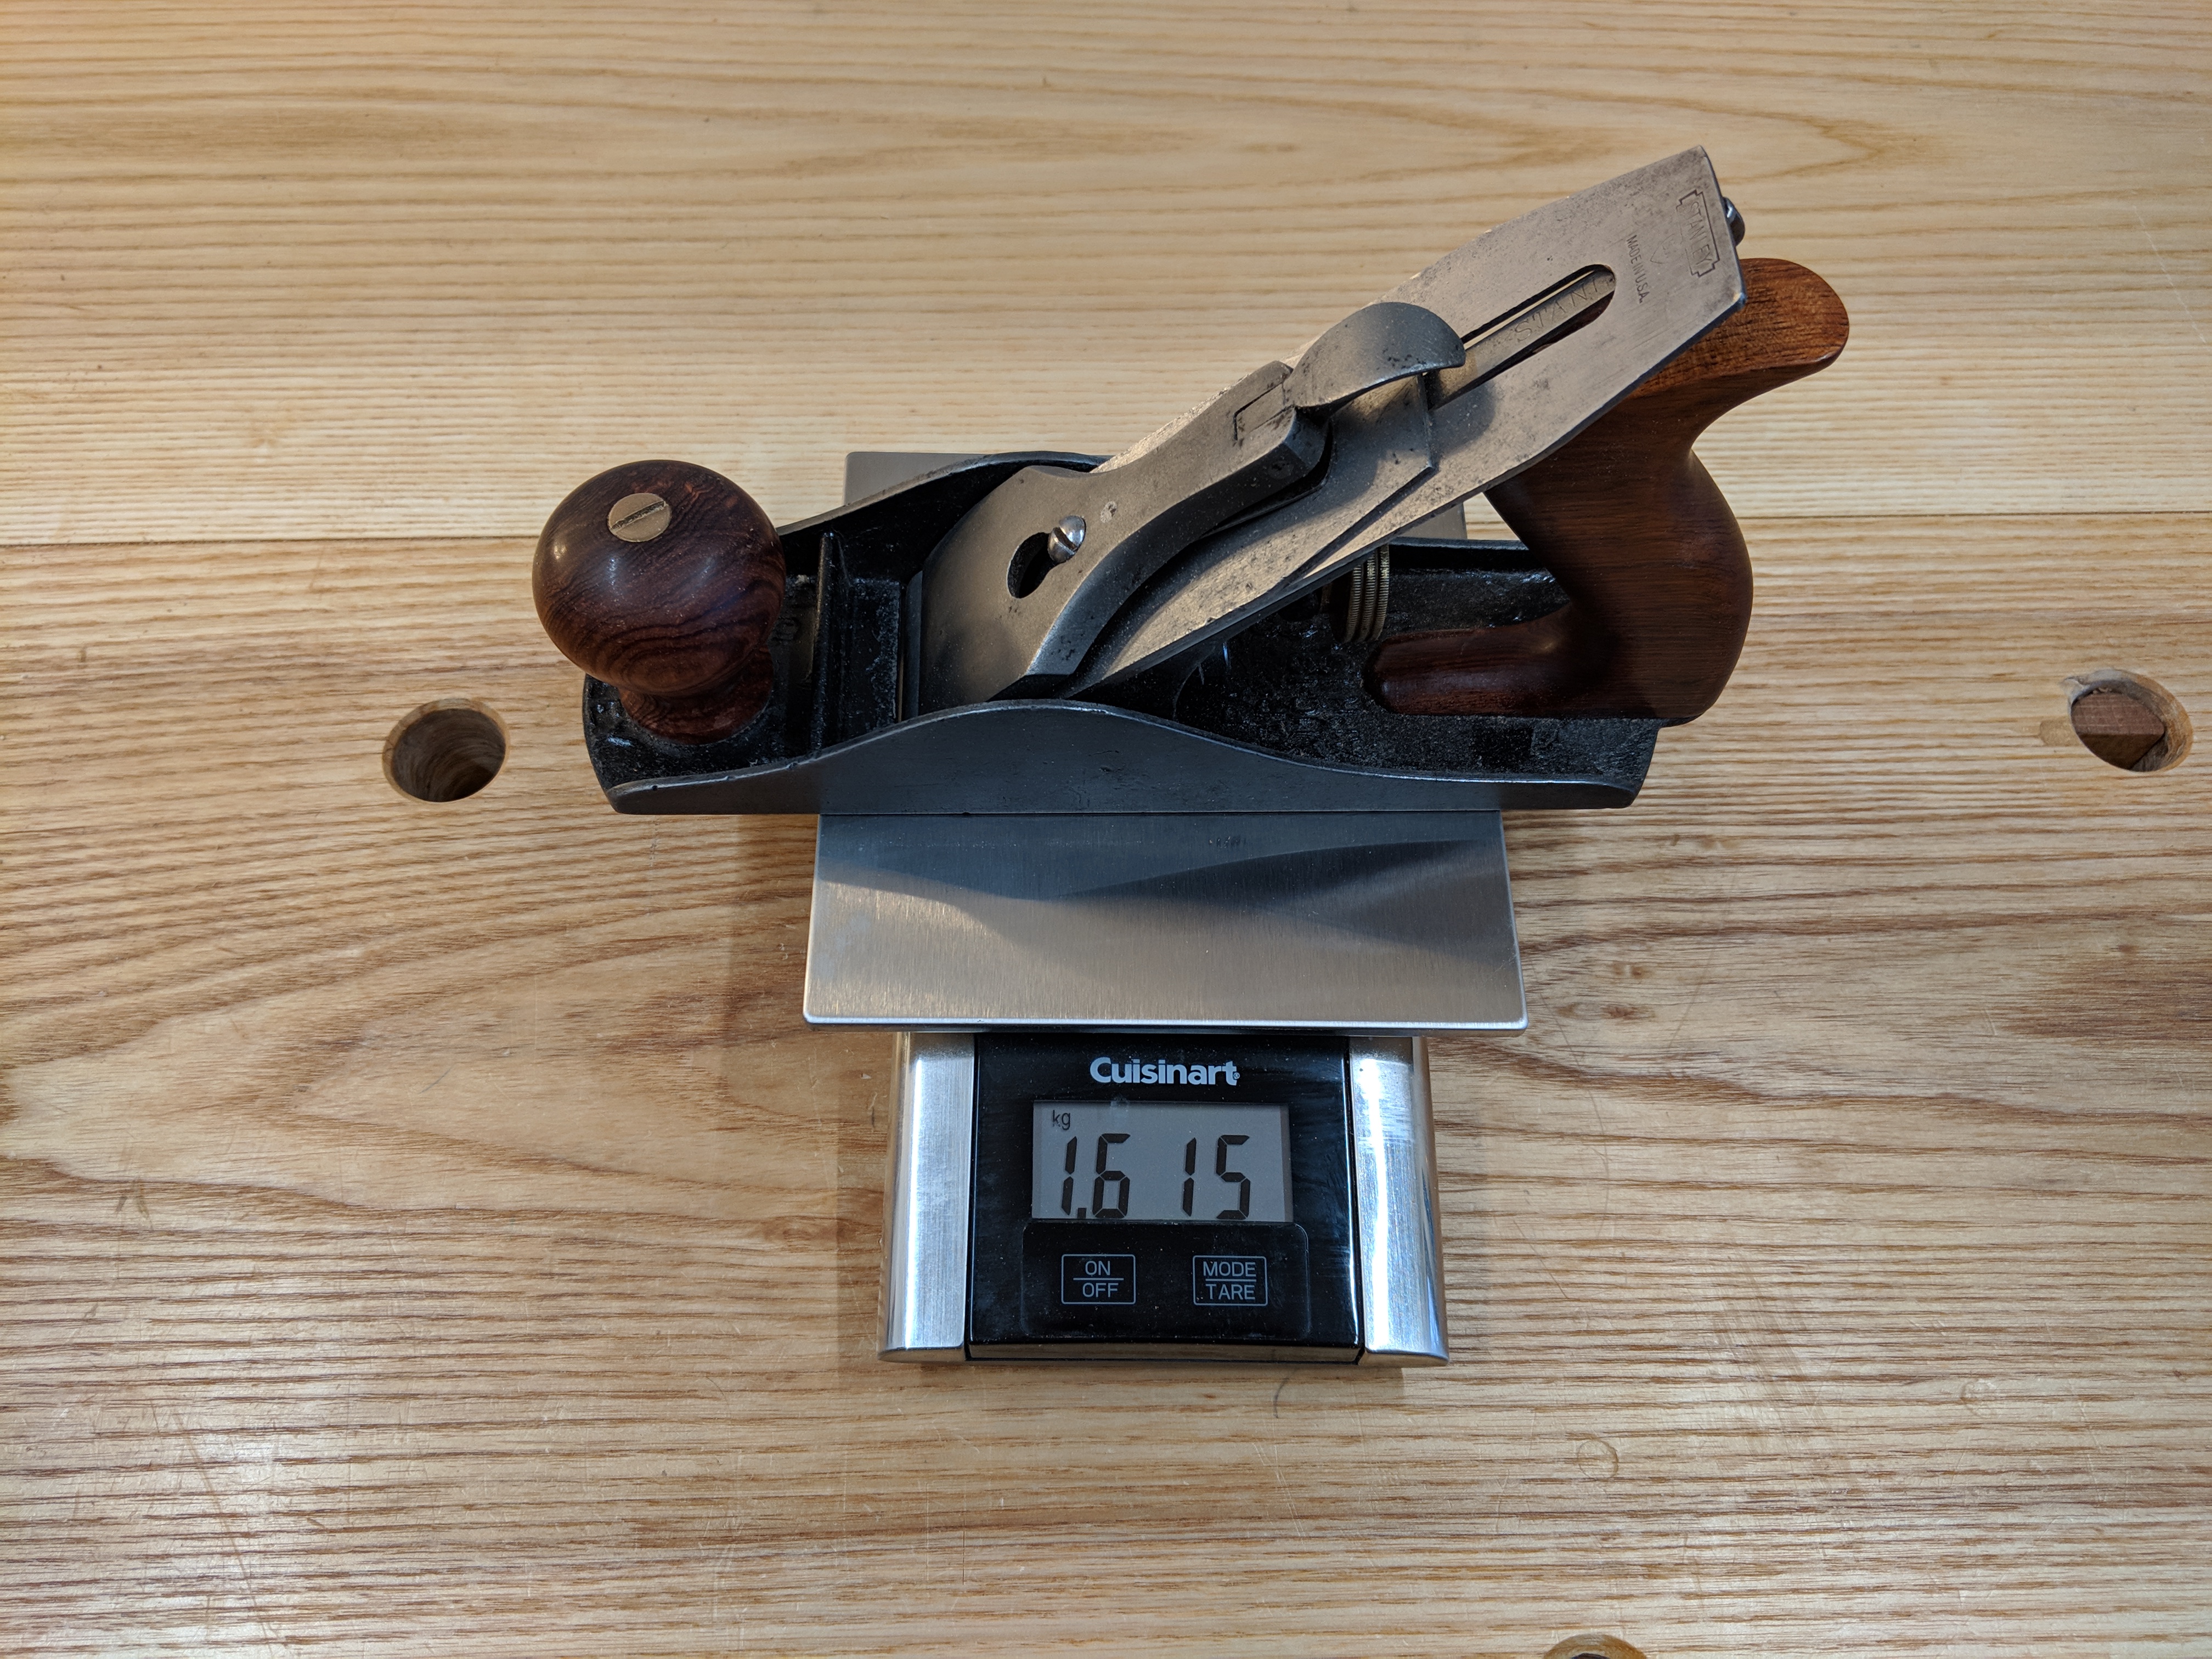
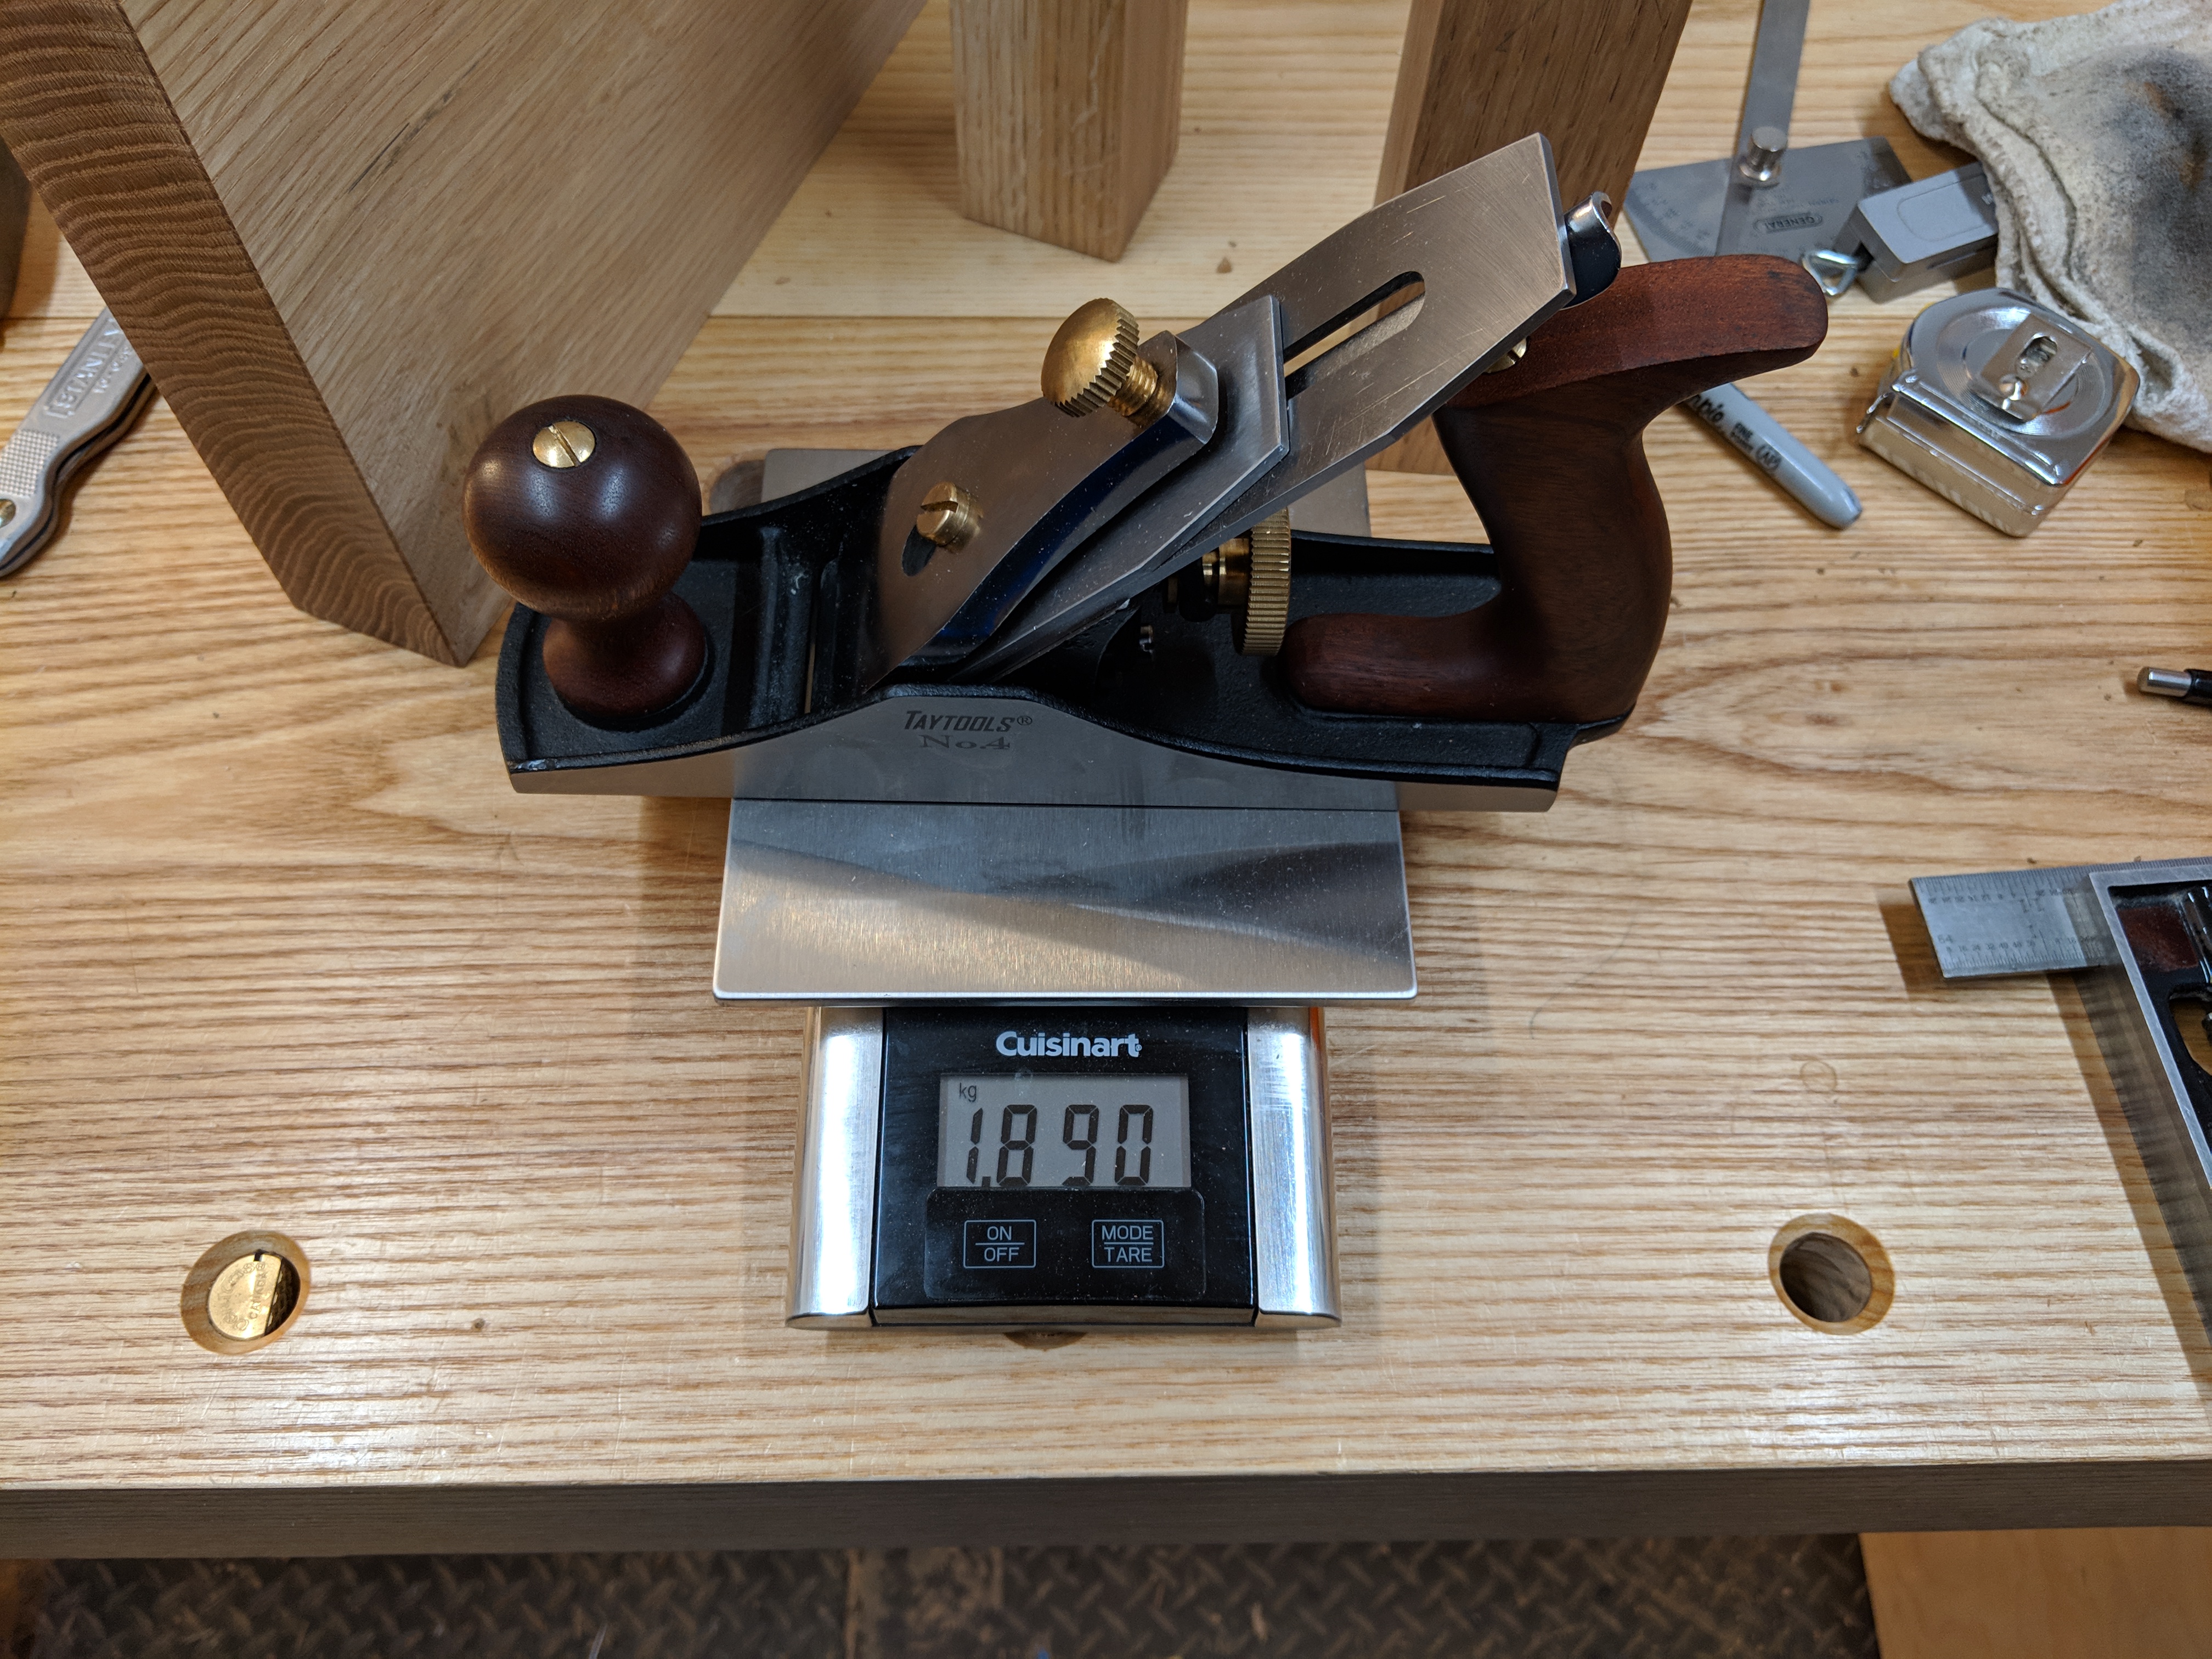
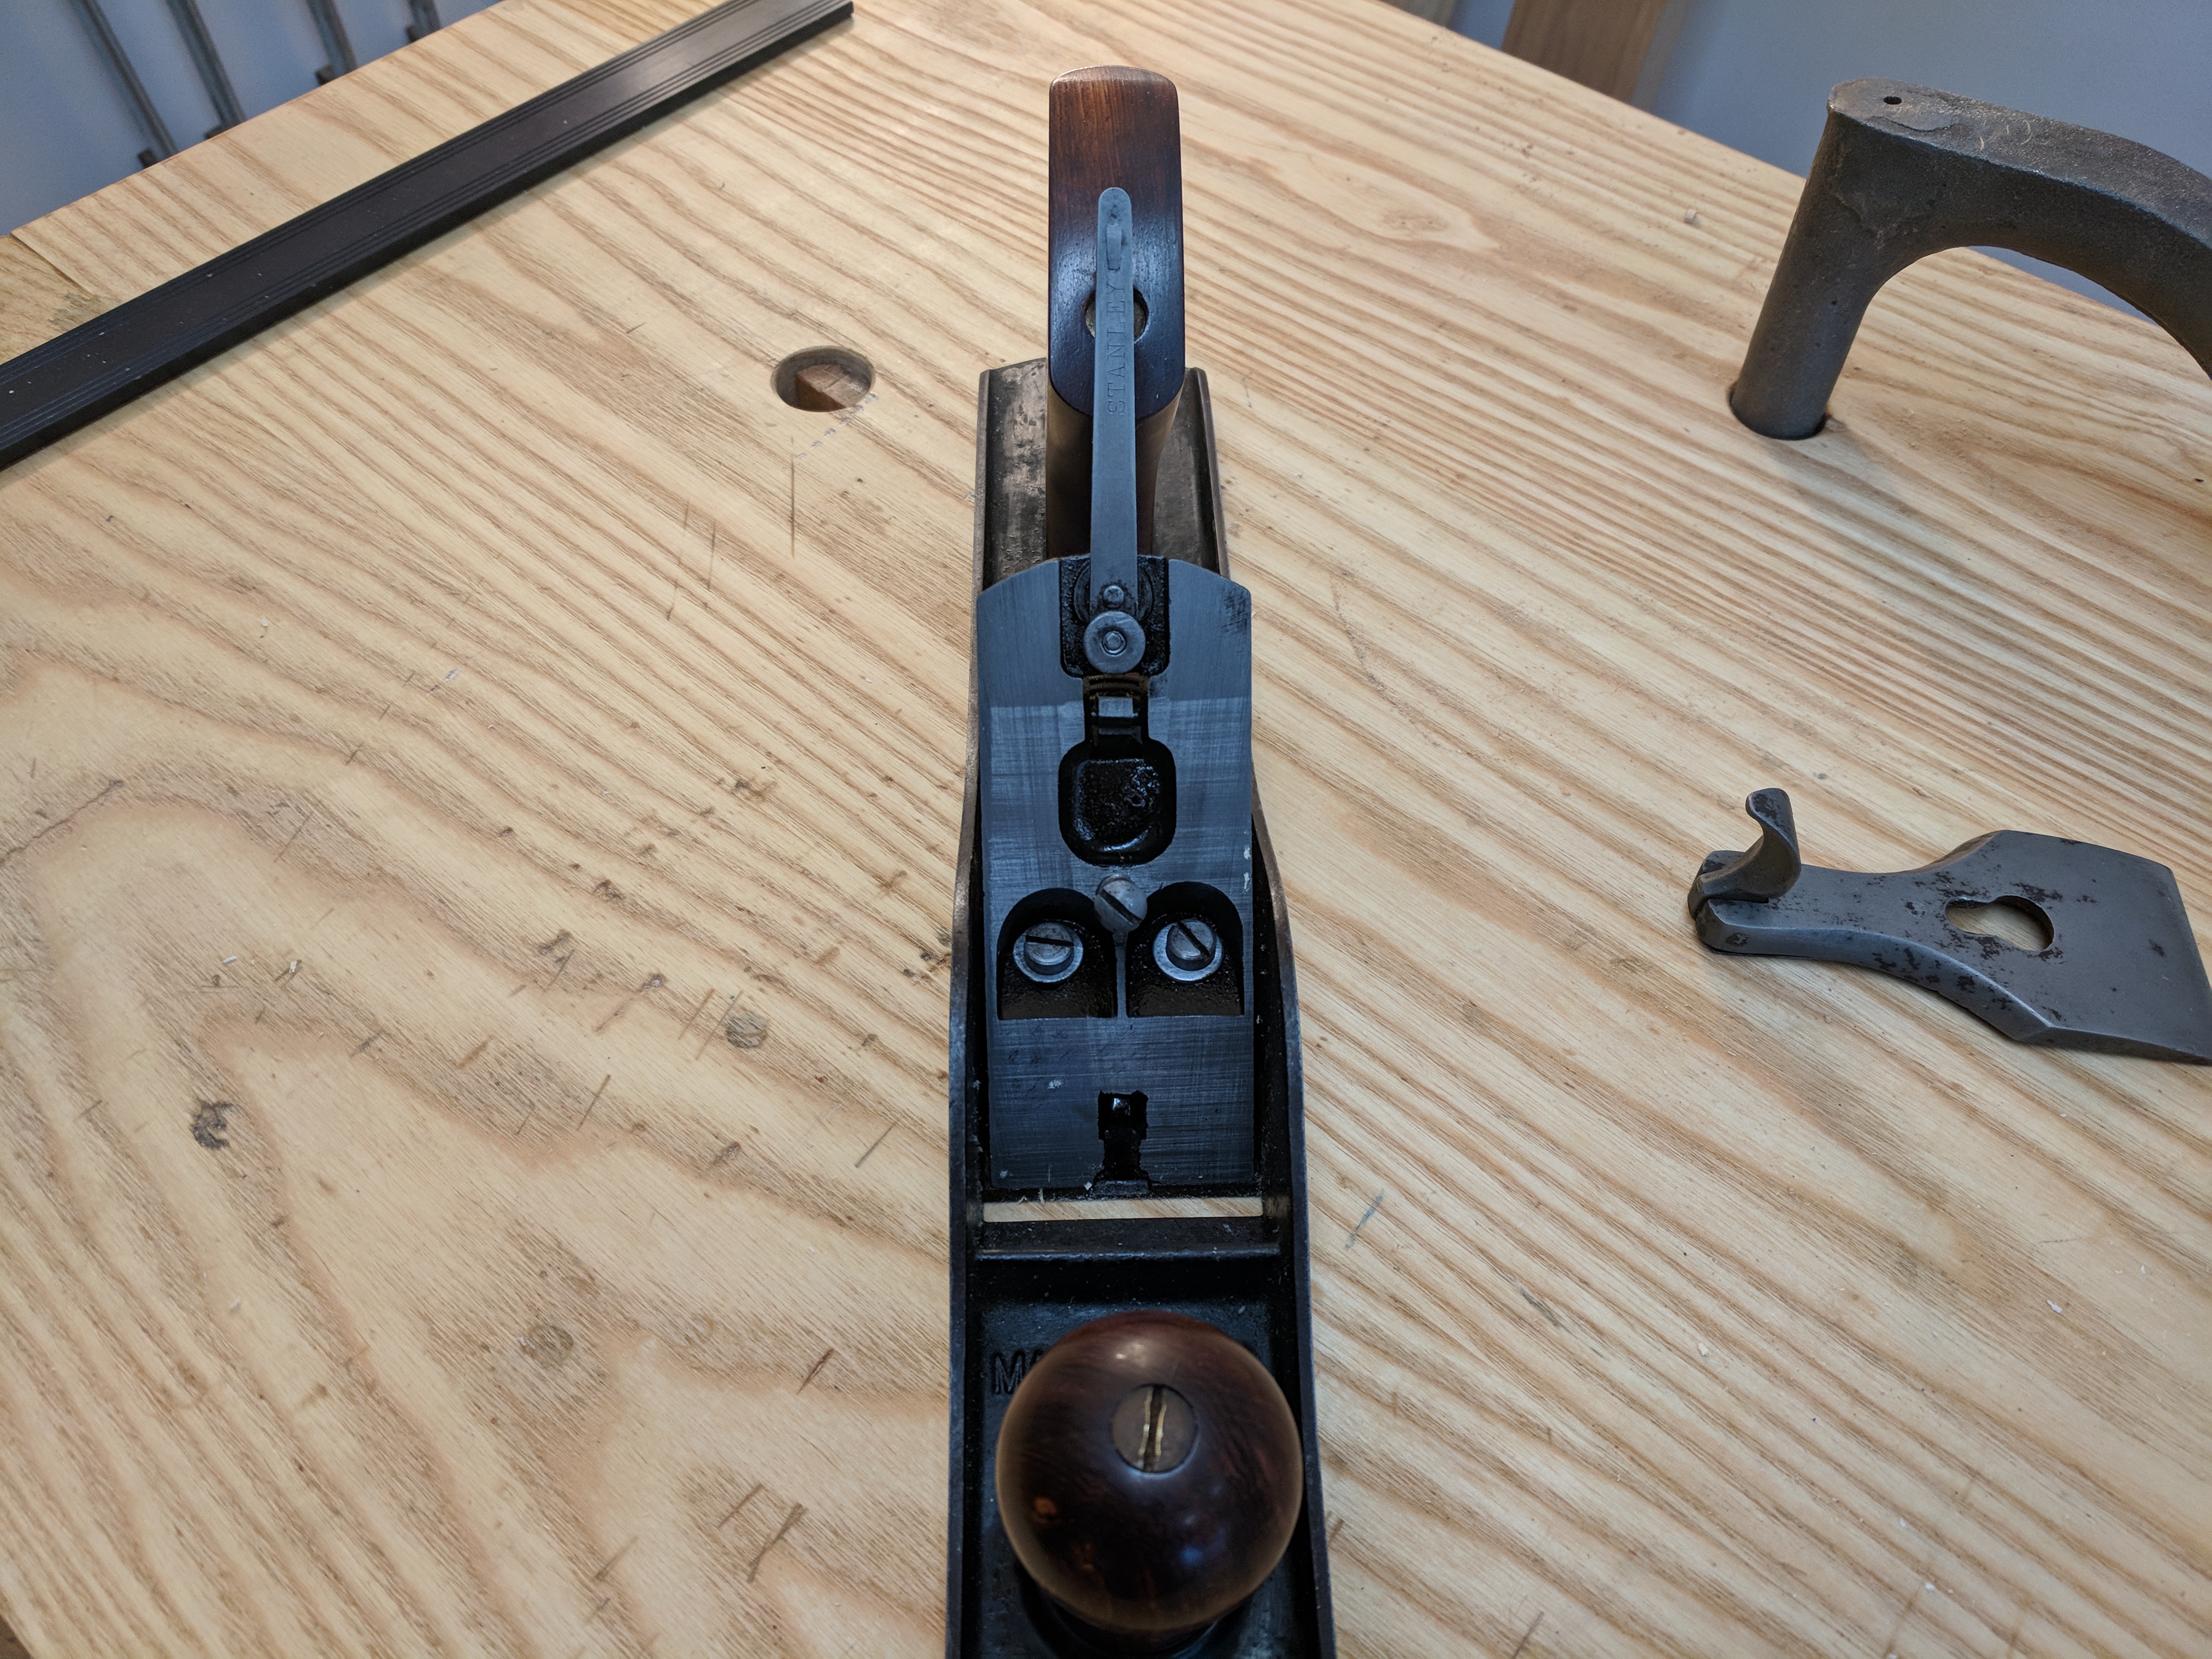
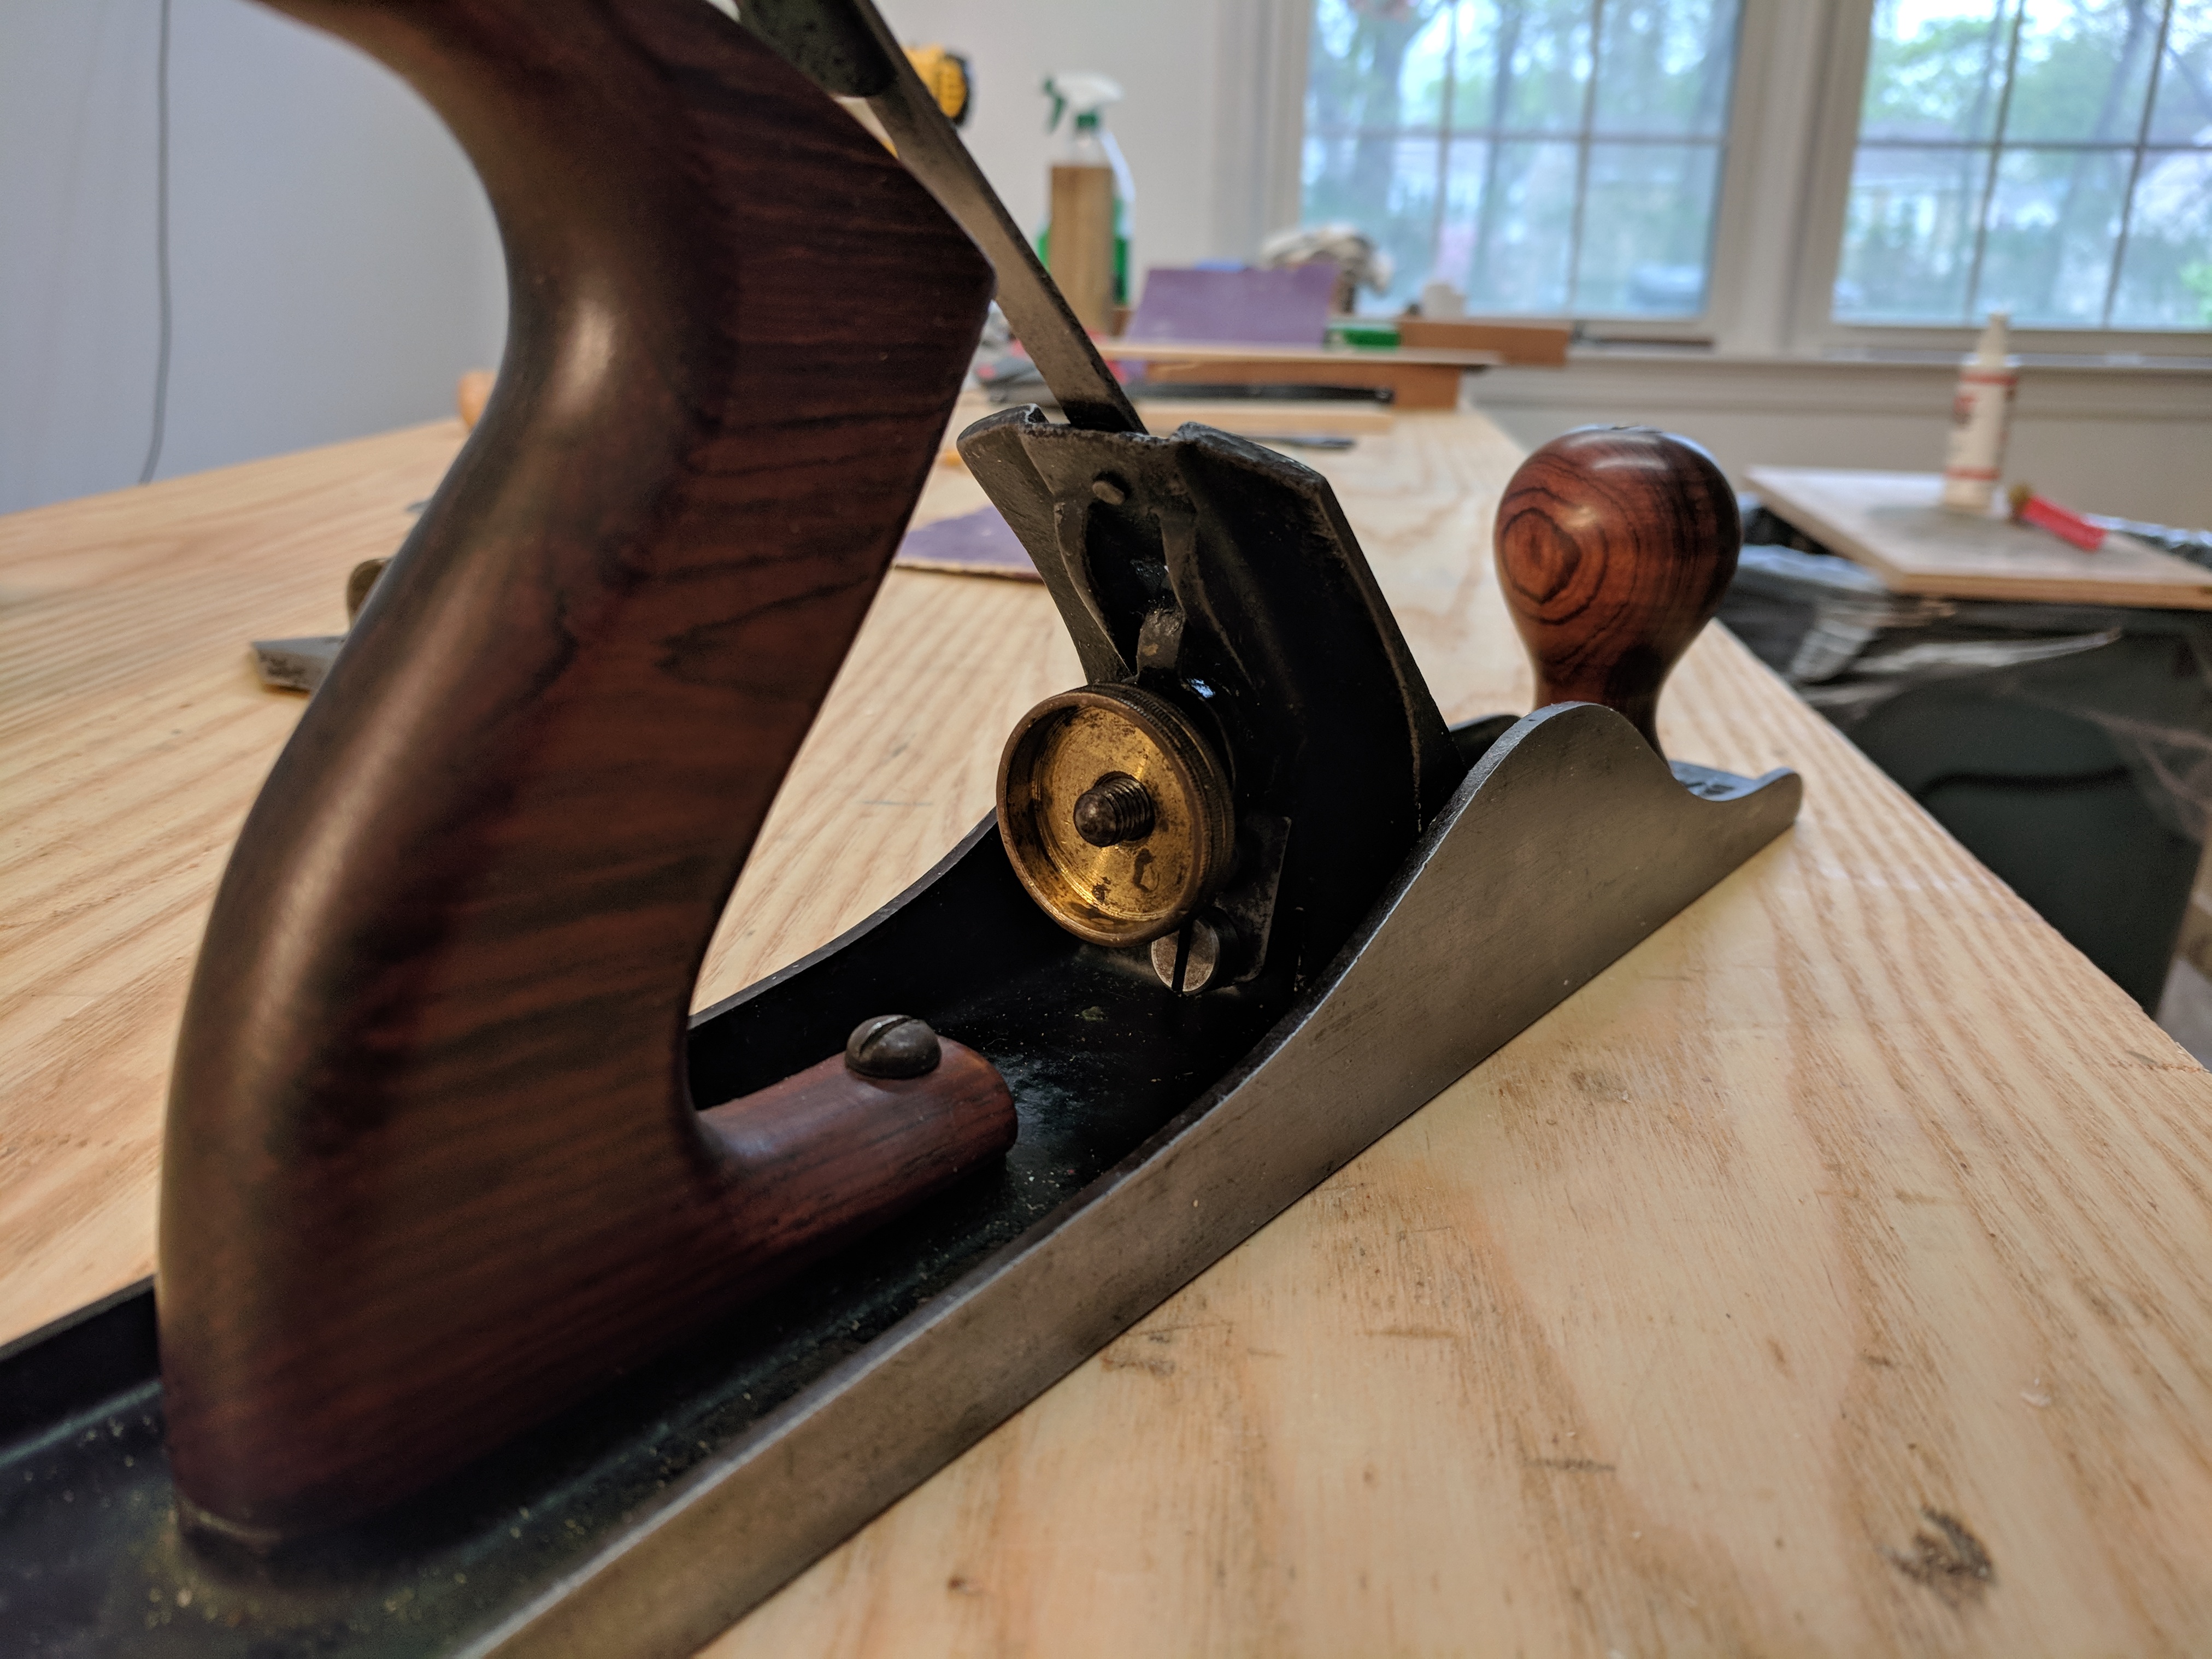
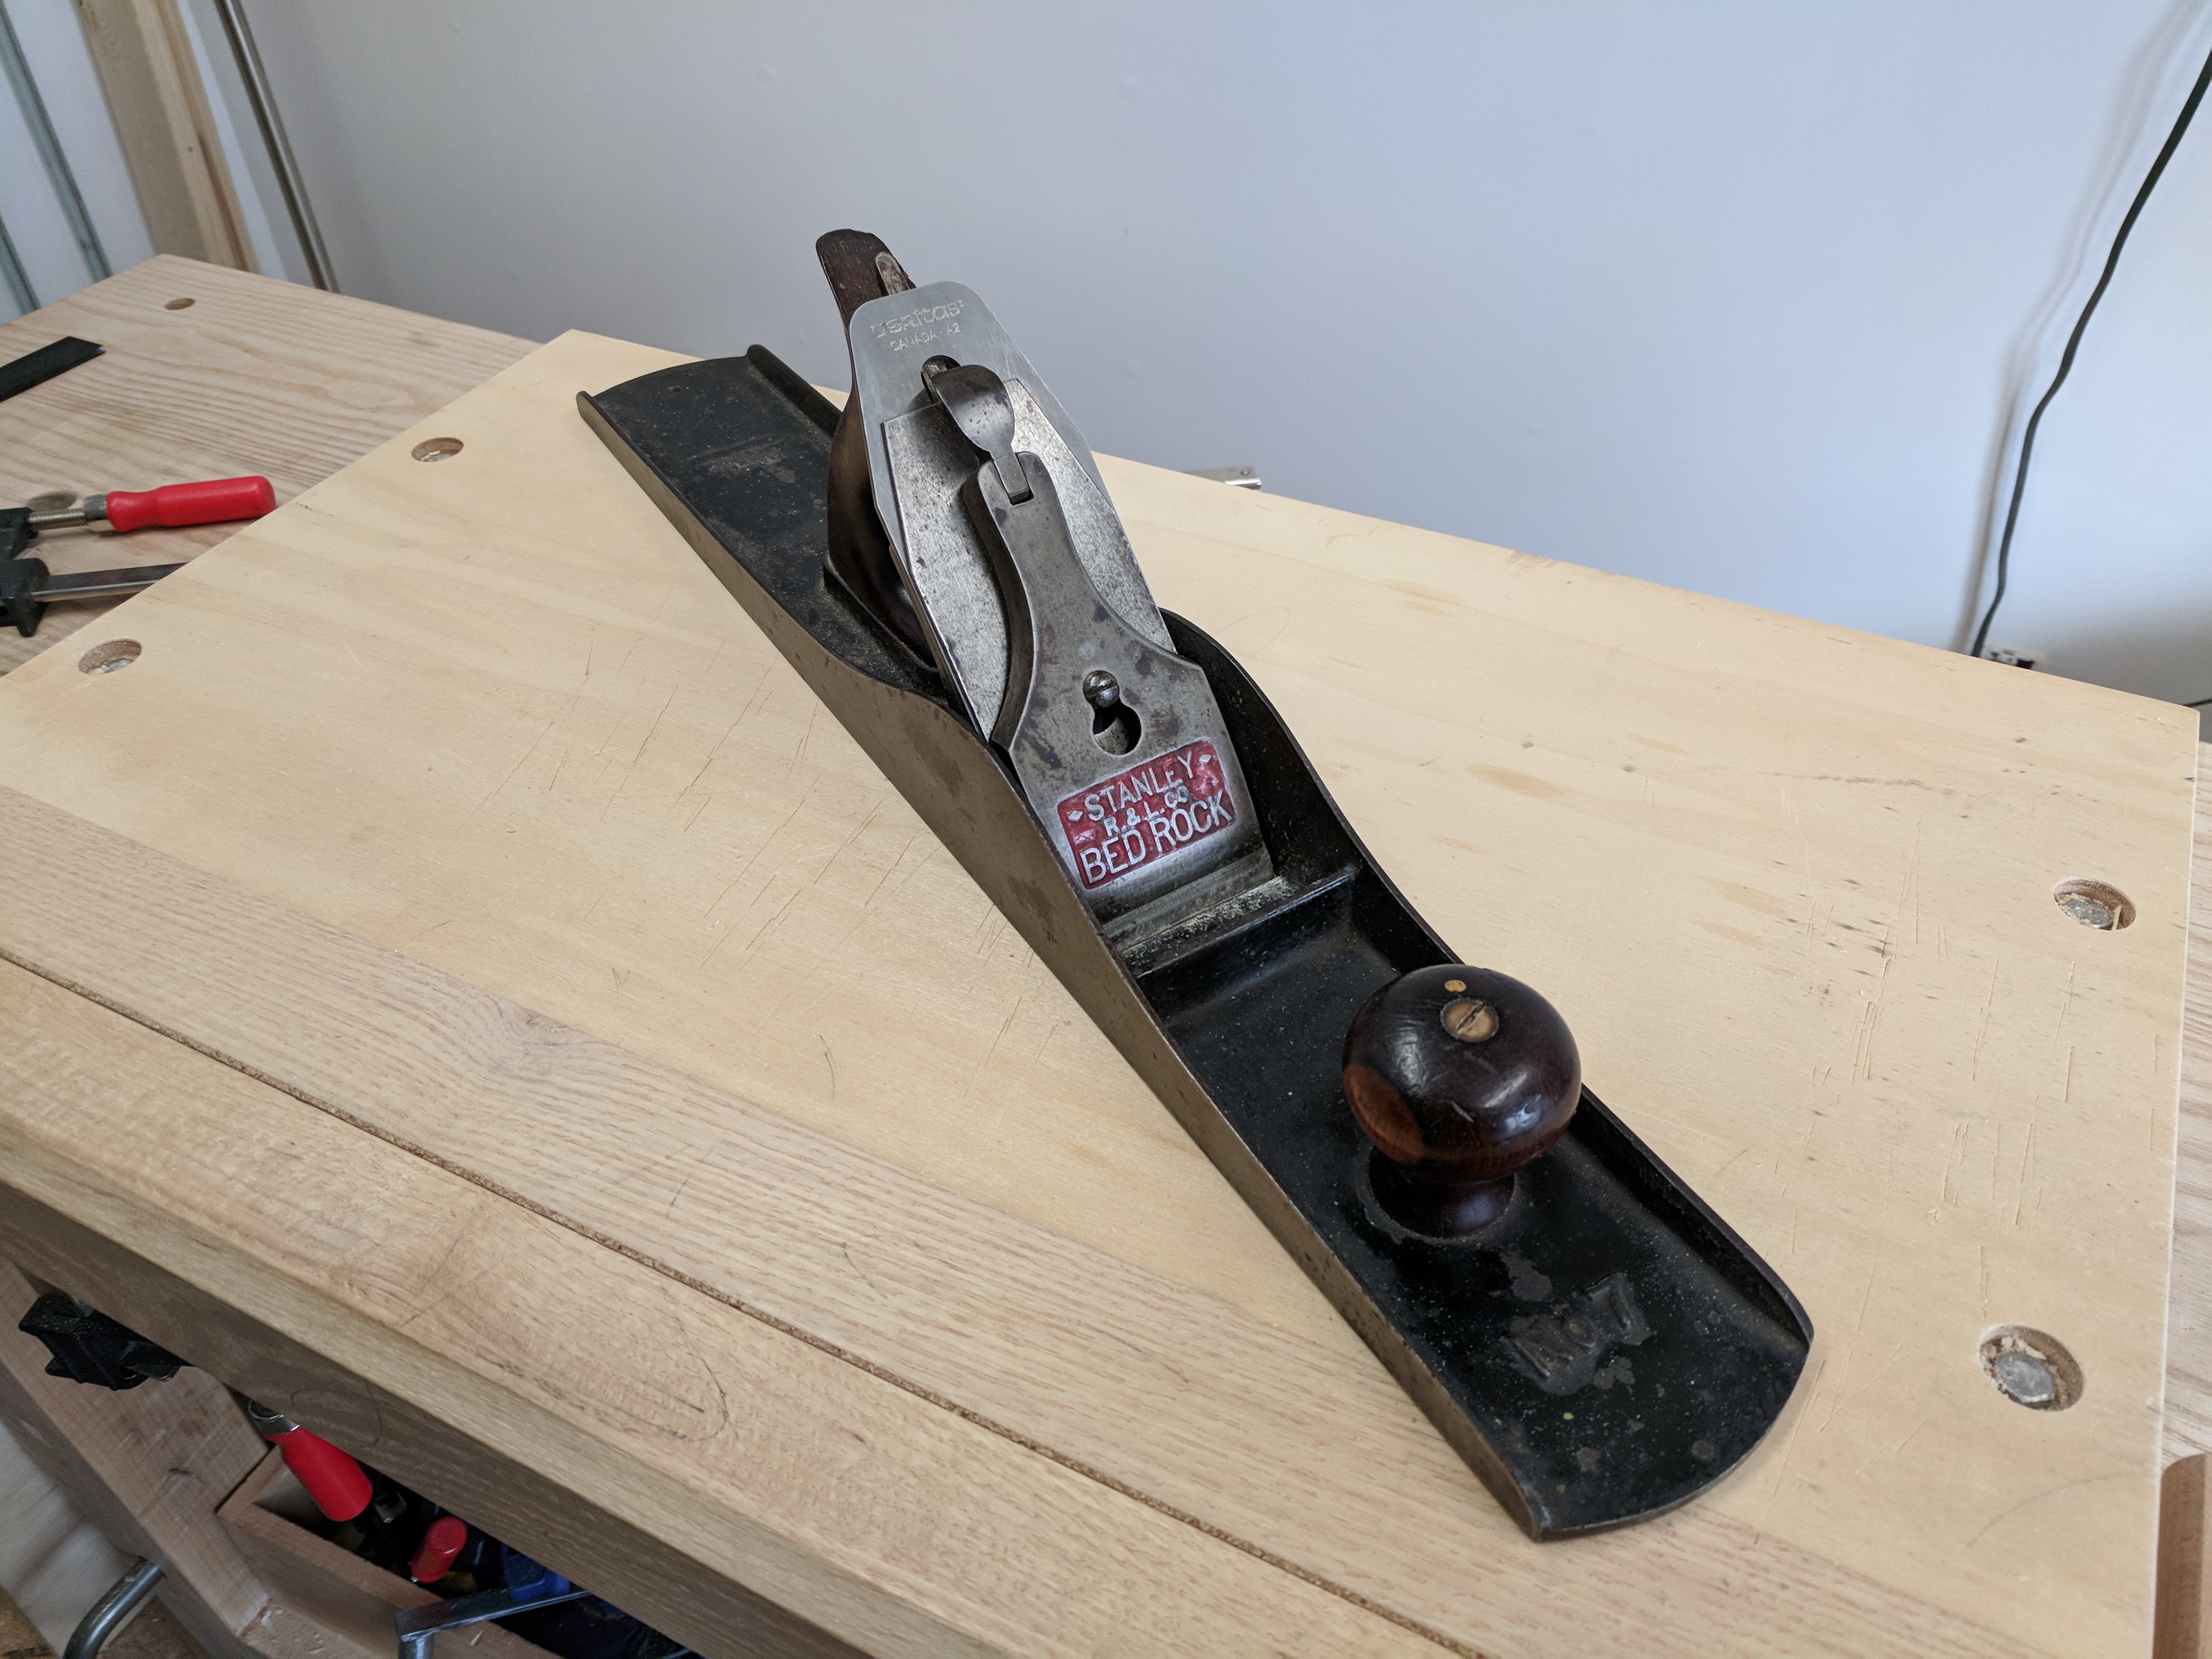
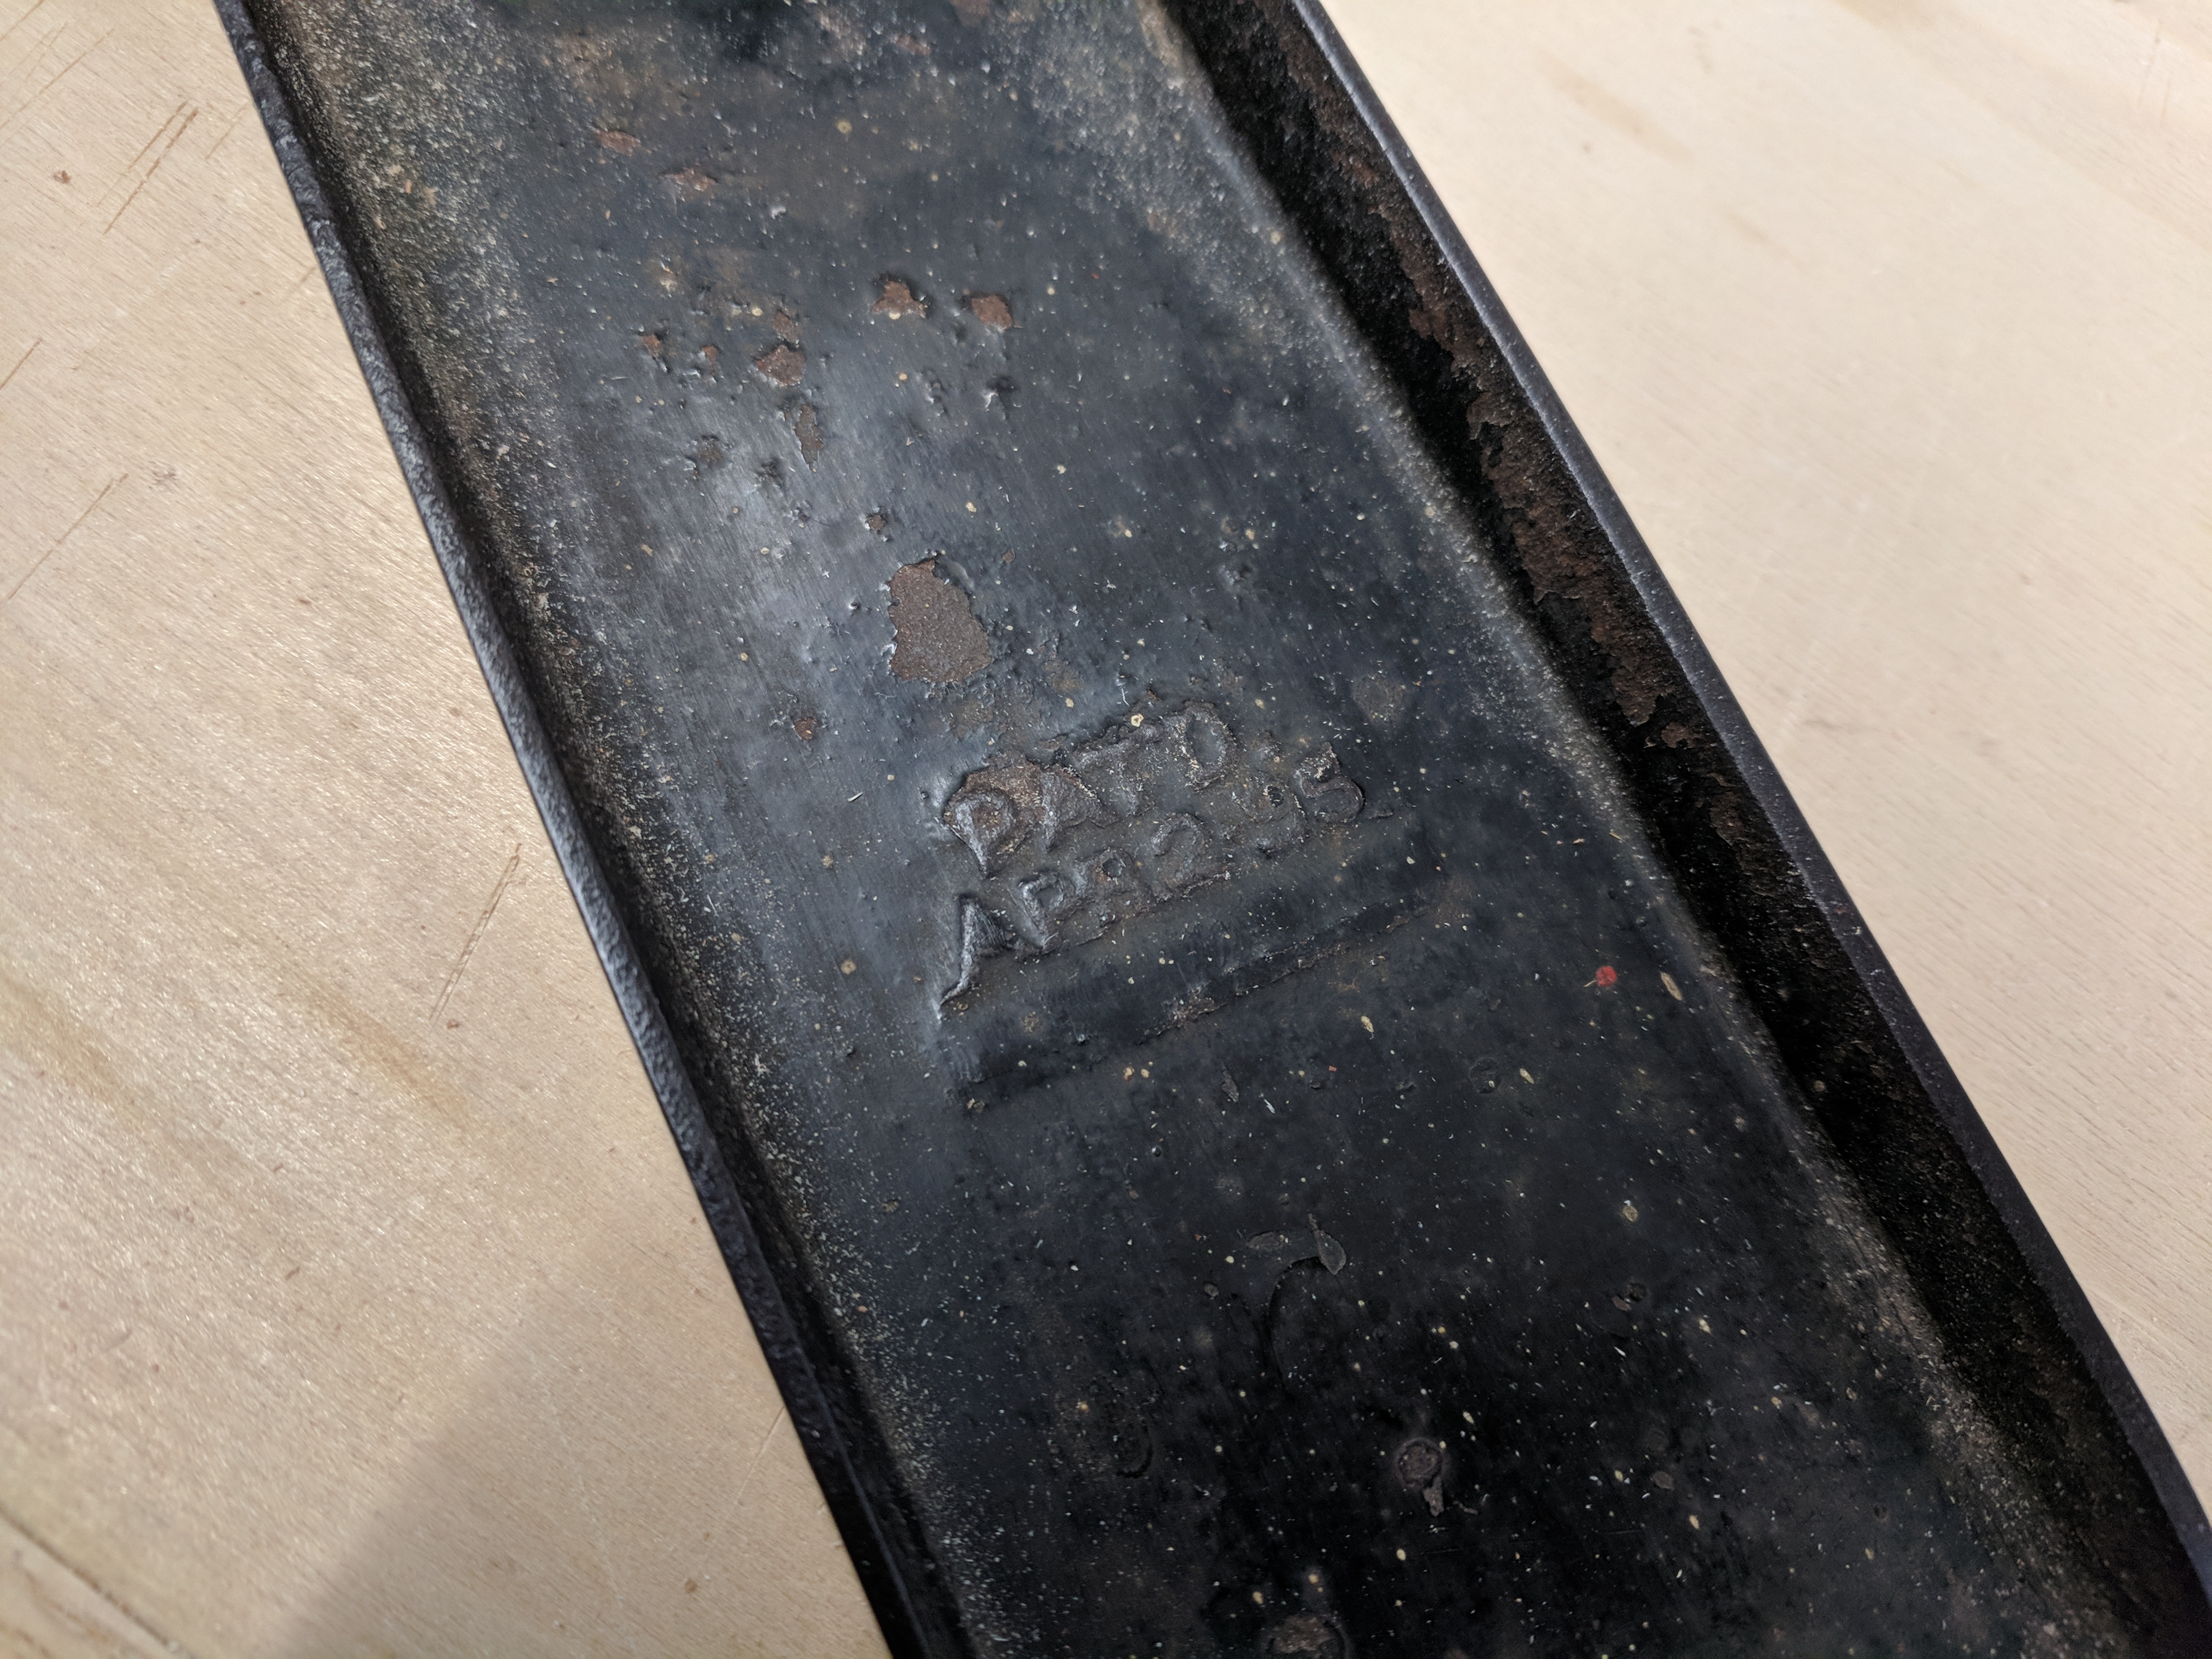
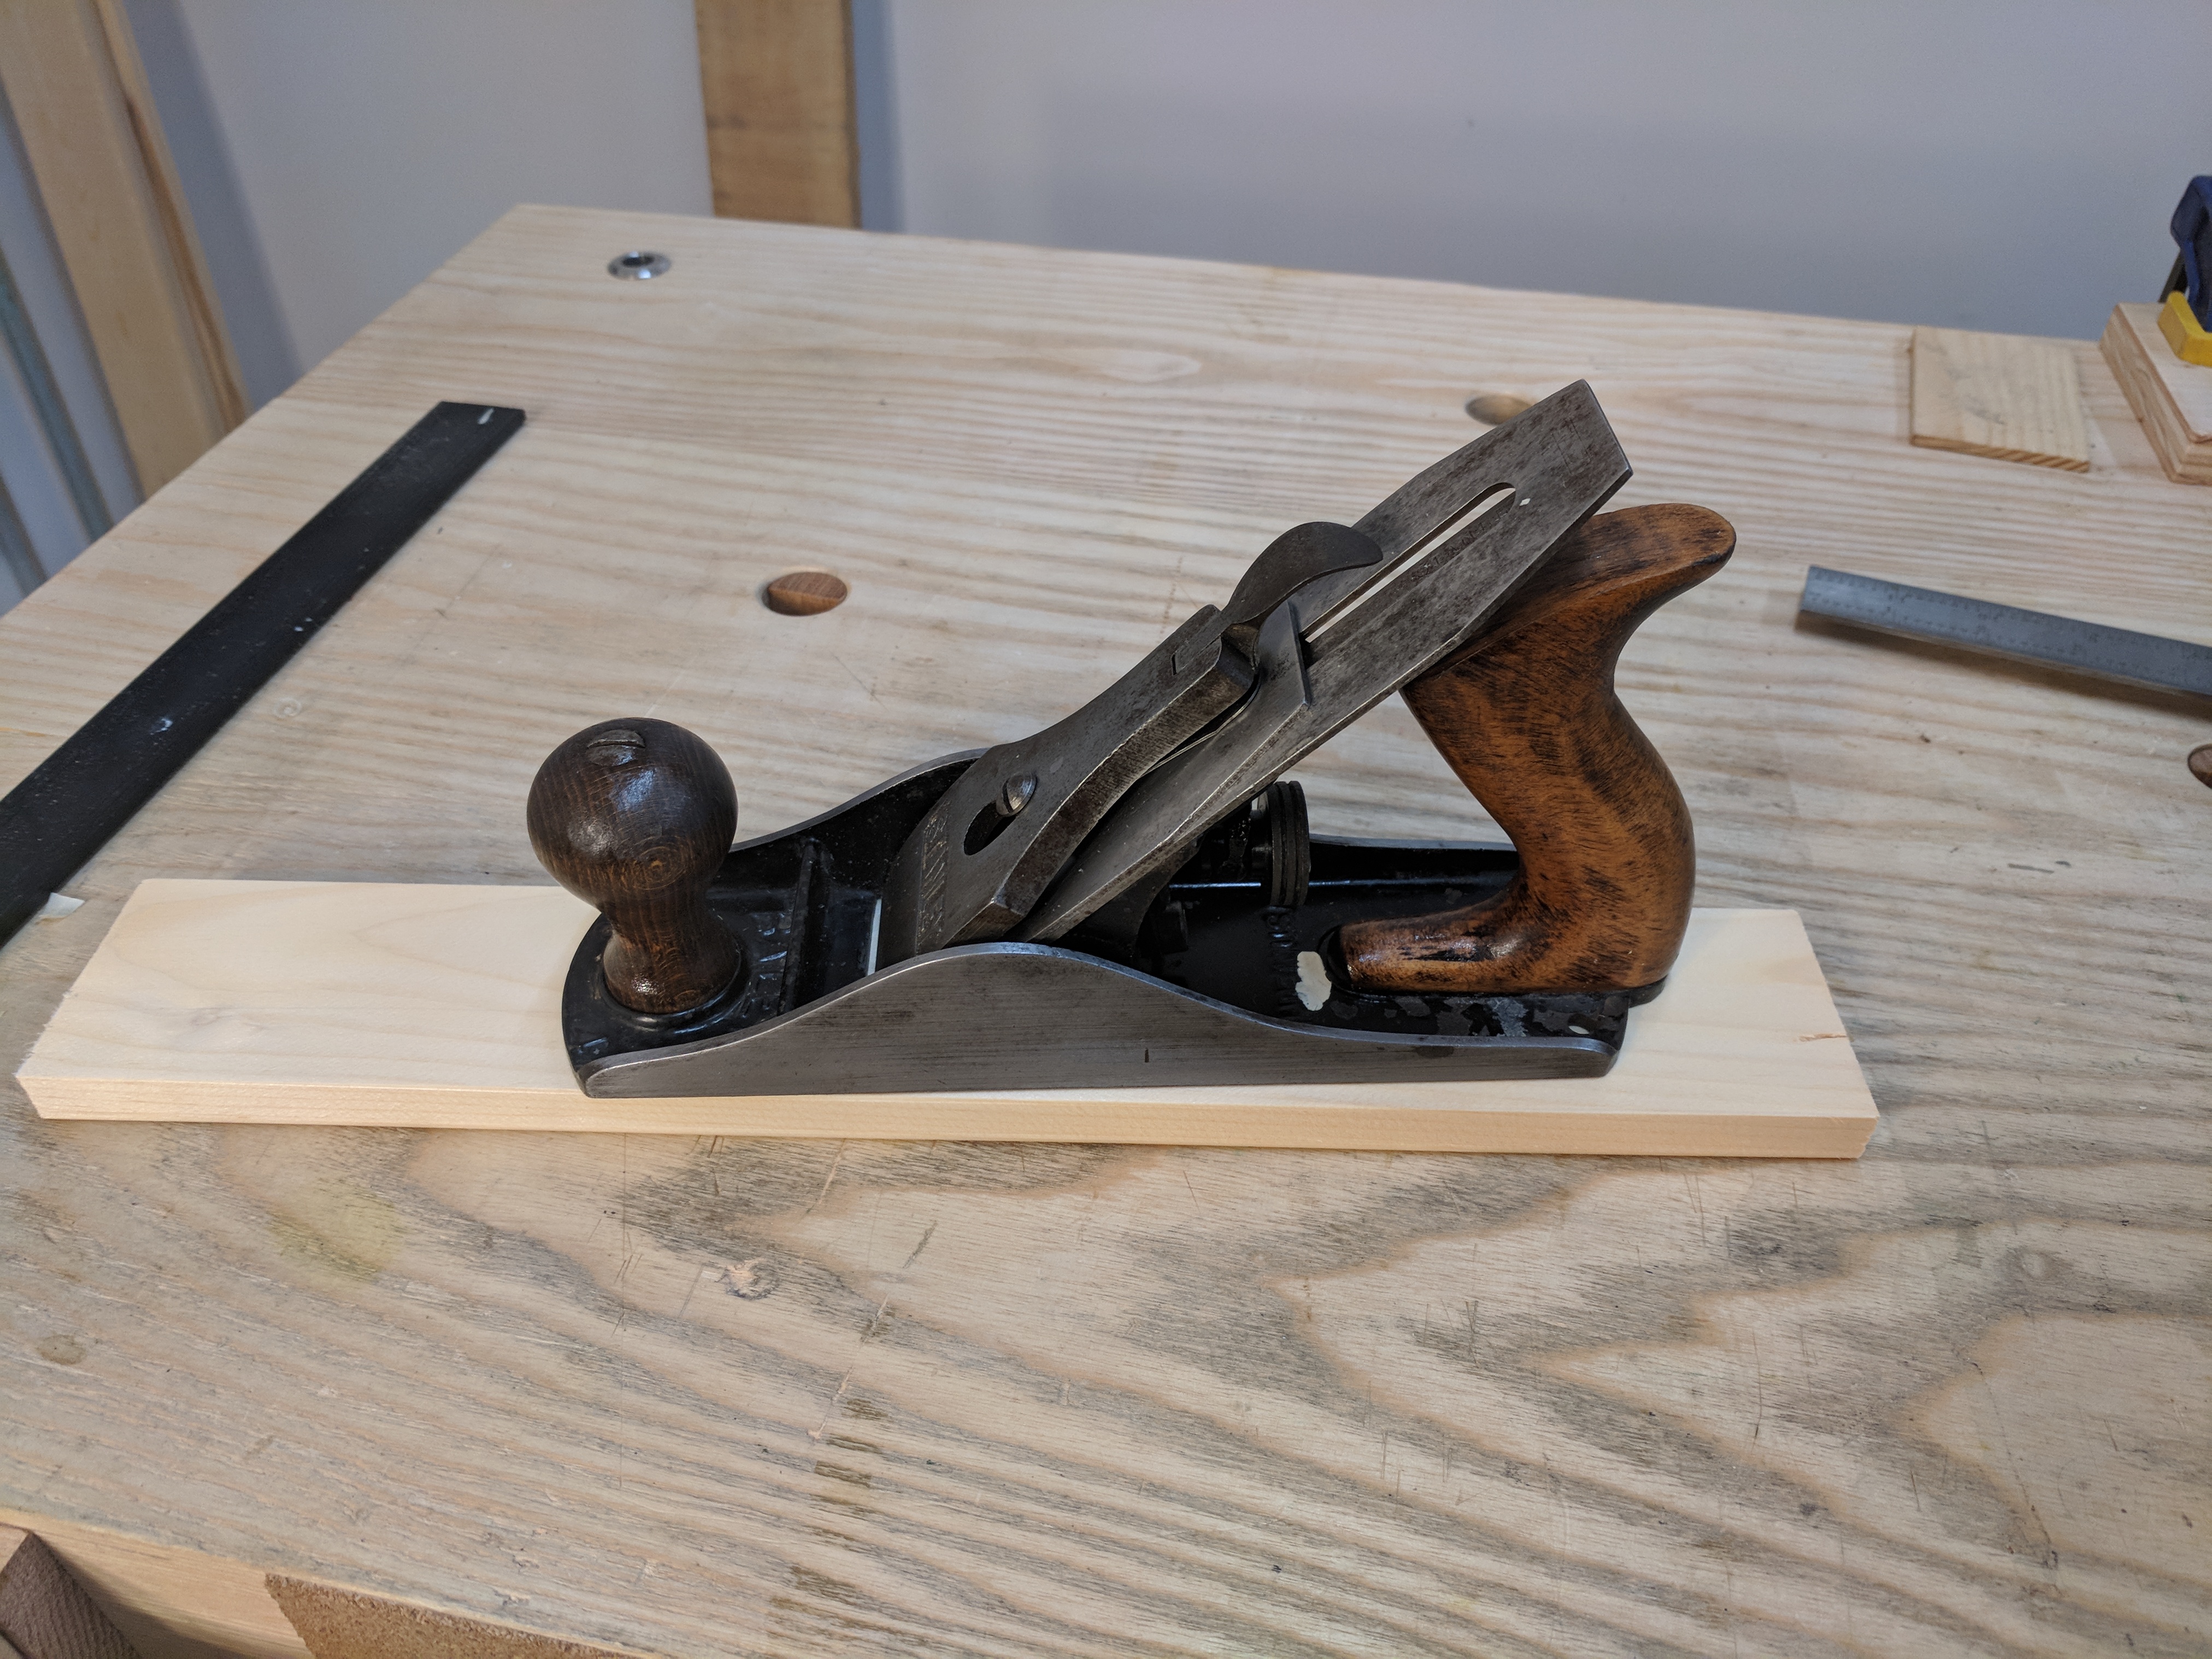
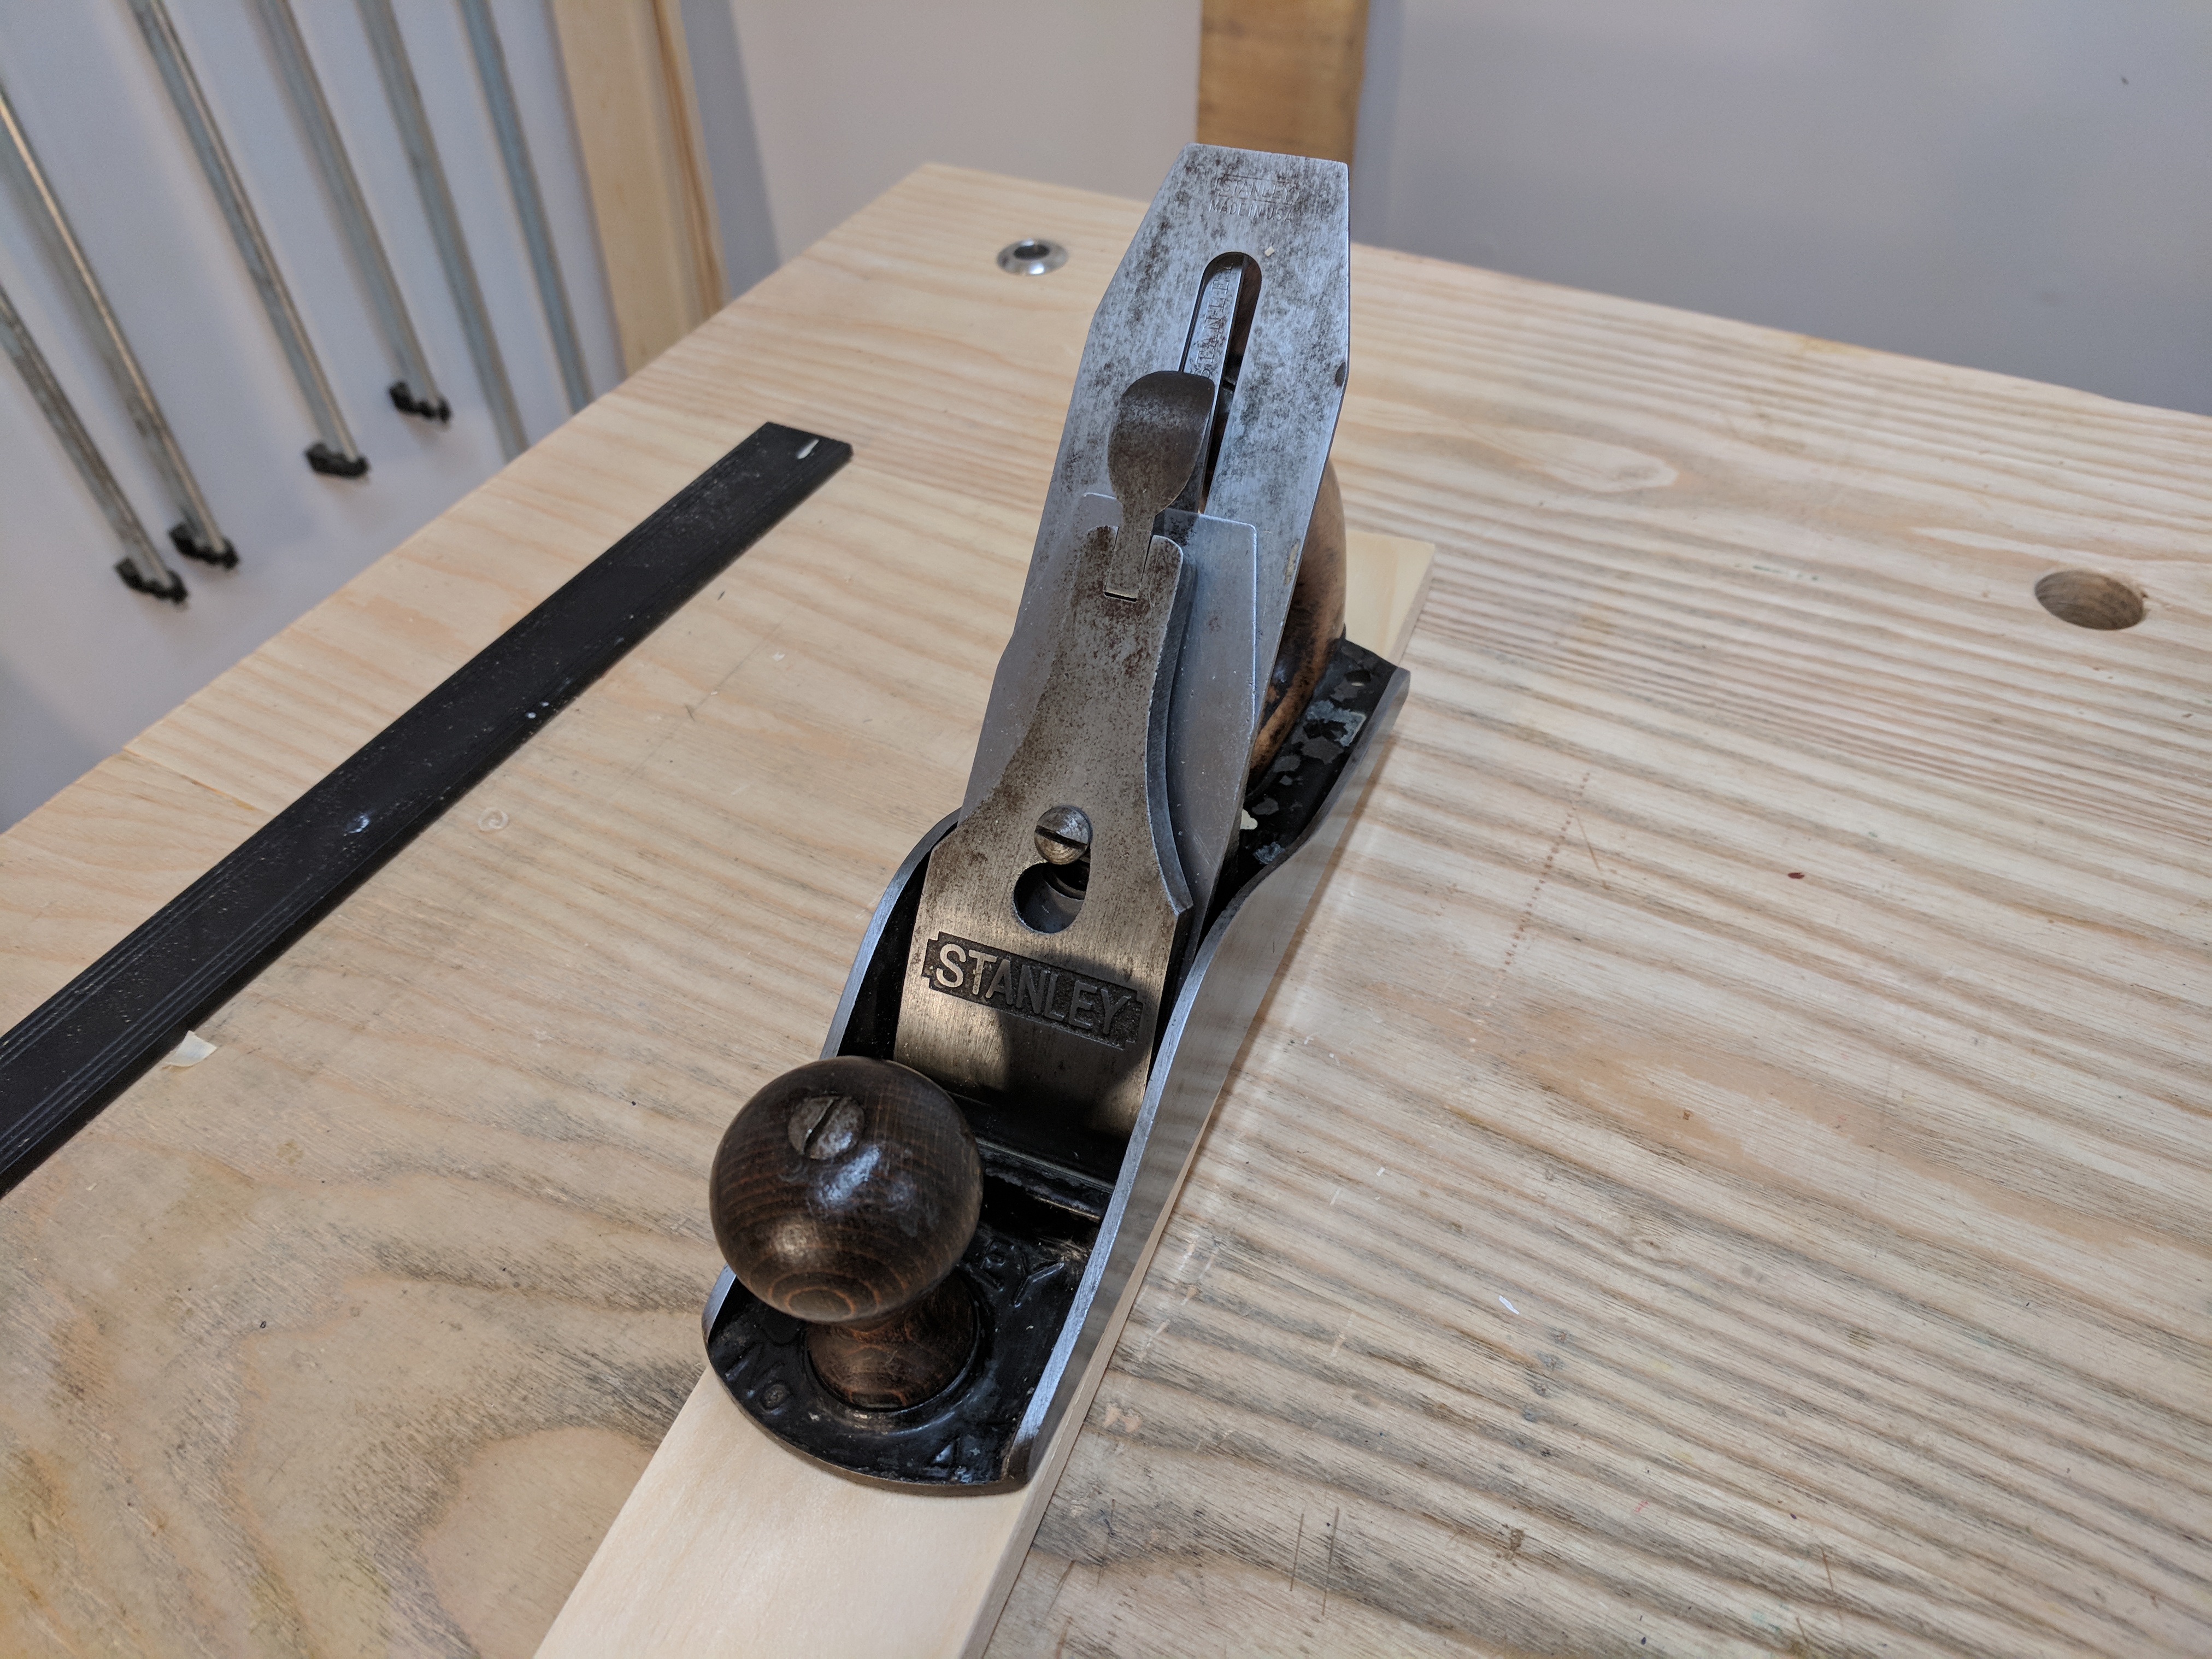
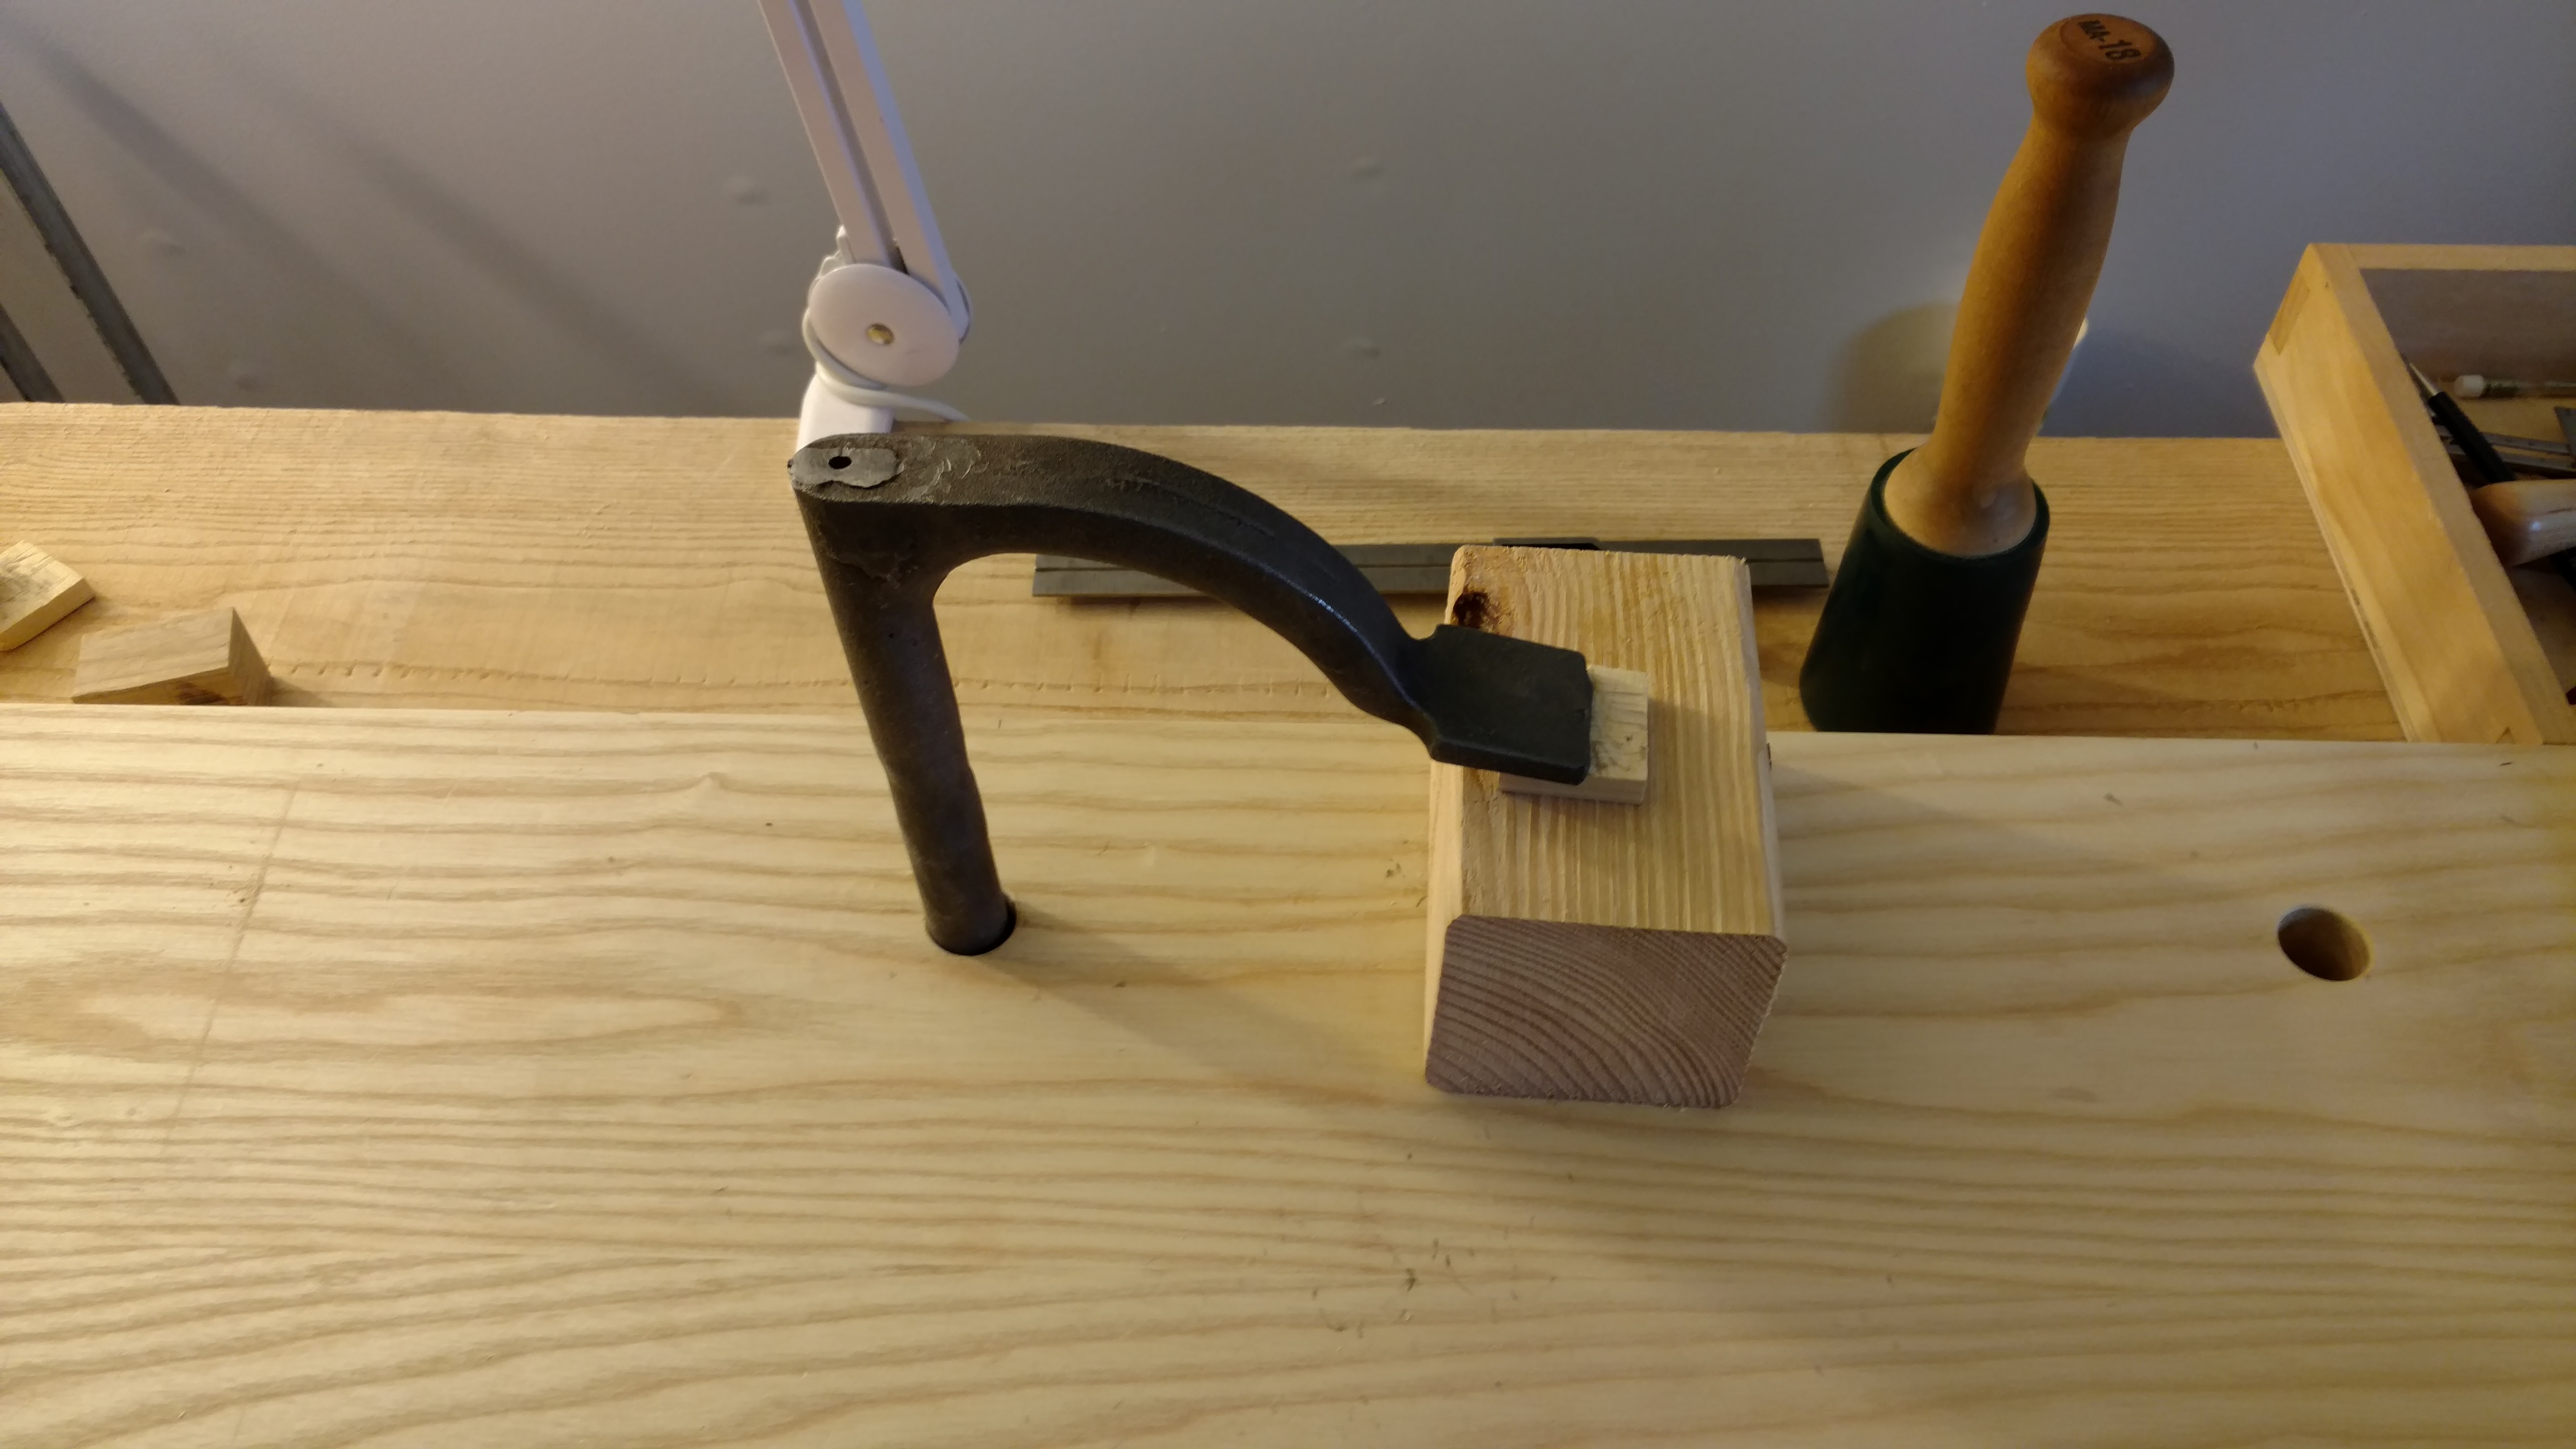
  • No. 5 Stanley Bailey pattern Hand Plane (Patrick Leach at http://www.supertool.com/ can get you a good worker that won’t take much to restore; sign up for his monthly tool list so you can build your kit with good vintage stuff if you want to go forward)
  • Stanley 10-049 folding utility knife (Paul Sellers swears by this knife and so do I; get it from Amazon)
  • Thorex double face mallet (both Paul Sellers and Richard Maguire use one and so do I; get it from Amazon)
  • 12′ tape measure (the Starrett “exact” one is pretty great, and cheap, from Amazon)
  • 12″ combination square (I use a Starrett, but Lee Valley sells a 12″ in a set with a 6″; they are pretty accurate for the price)
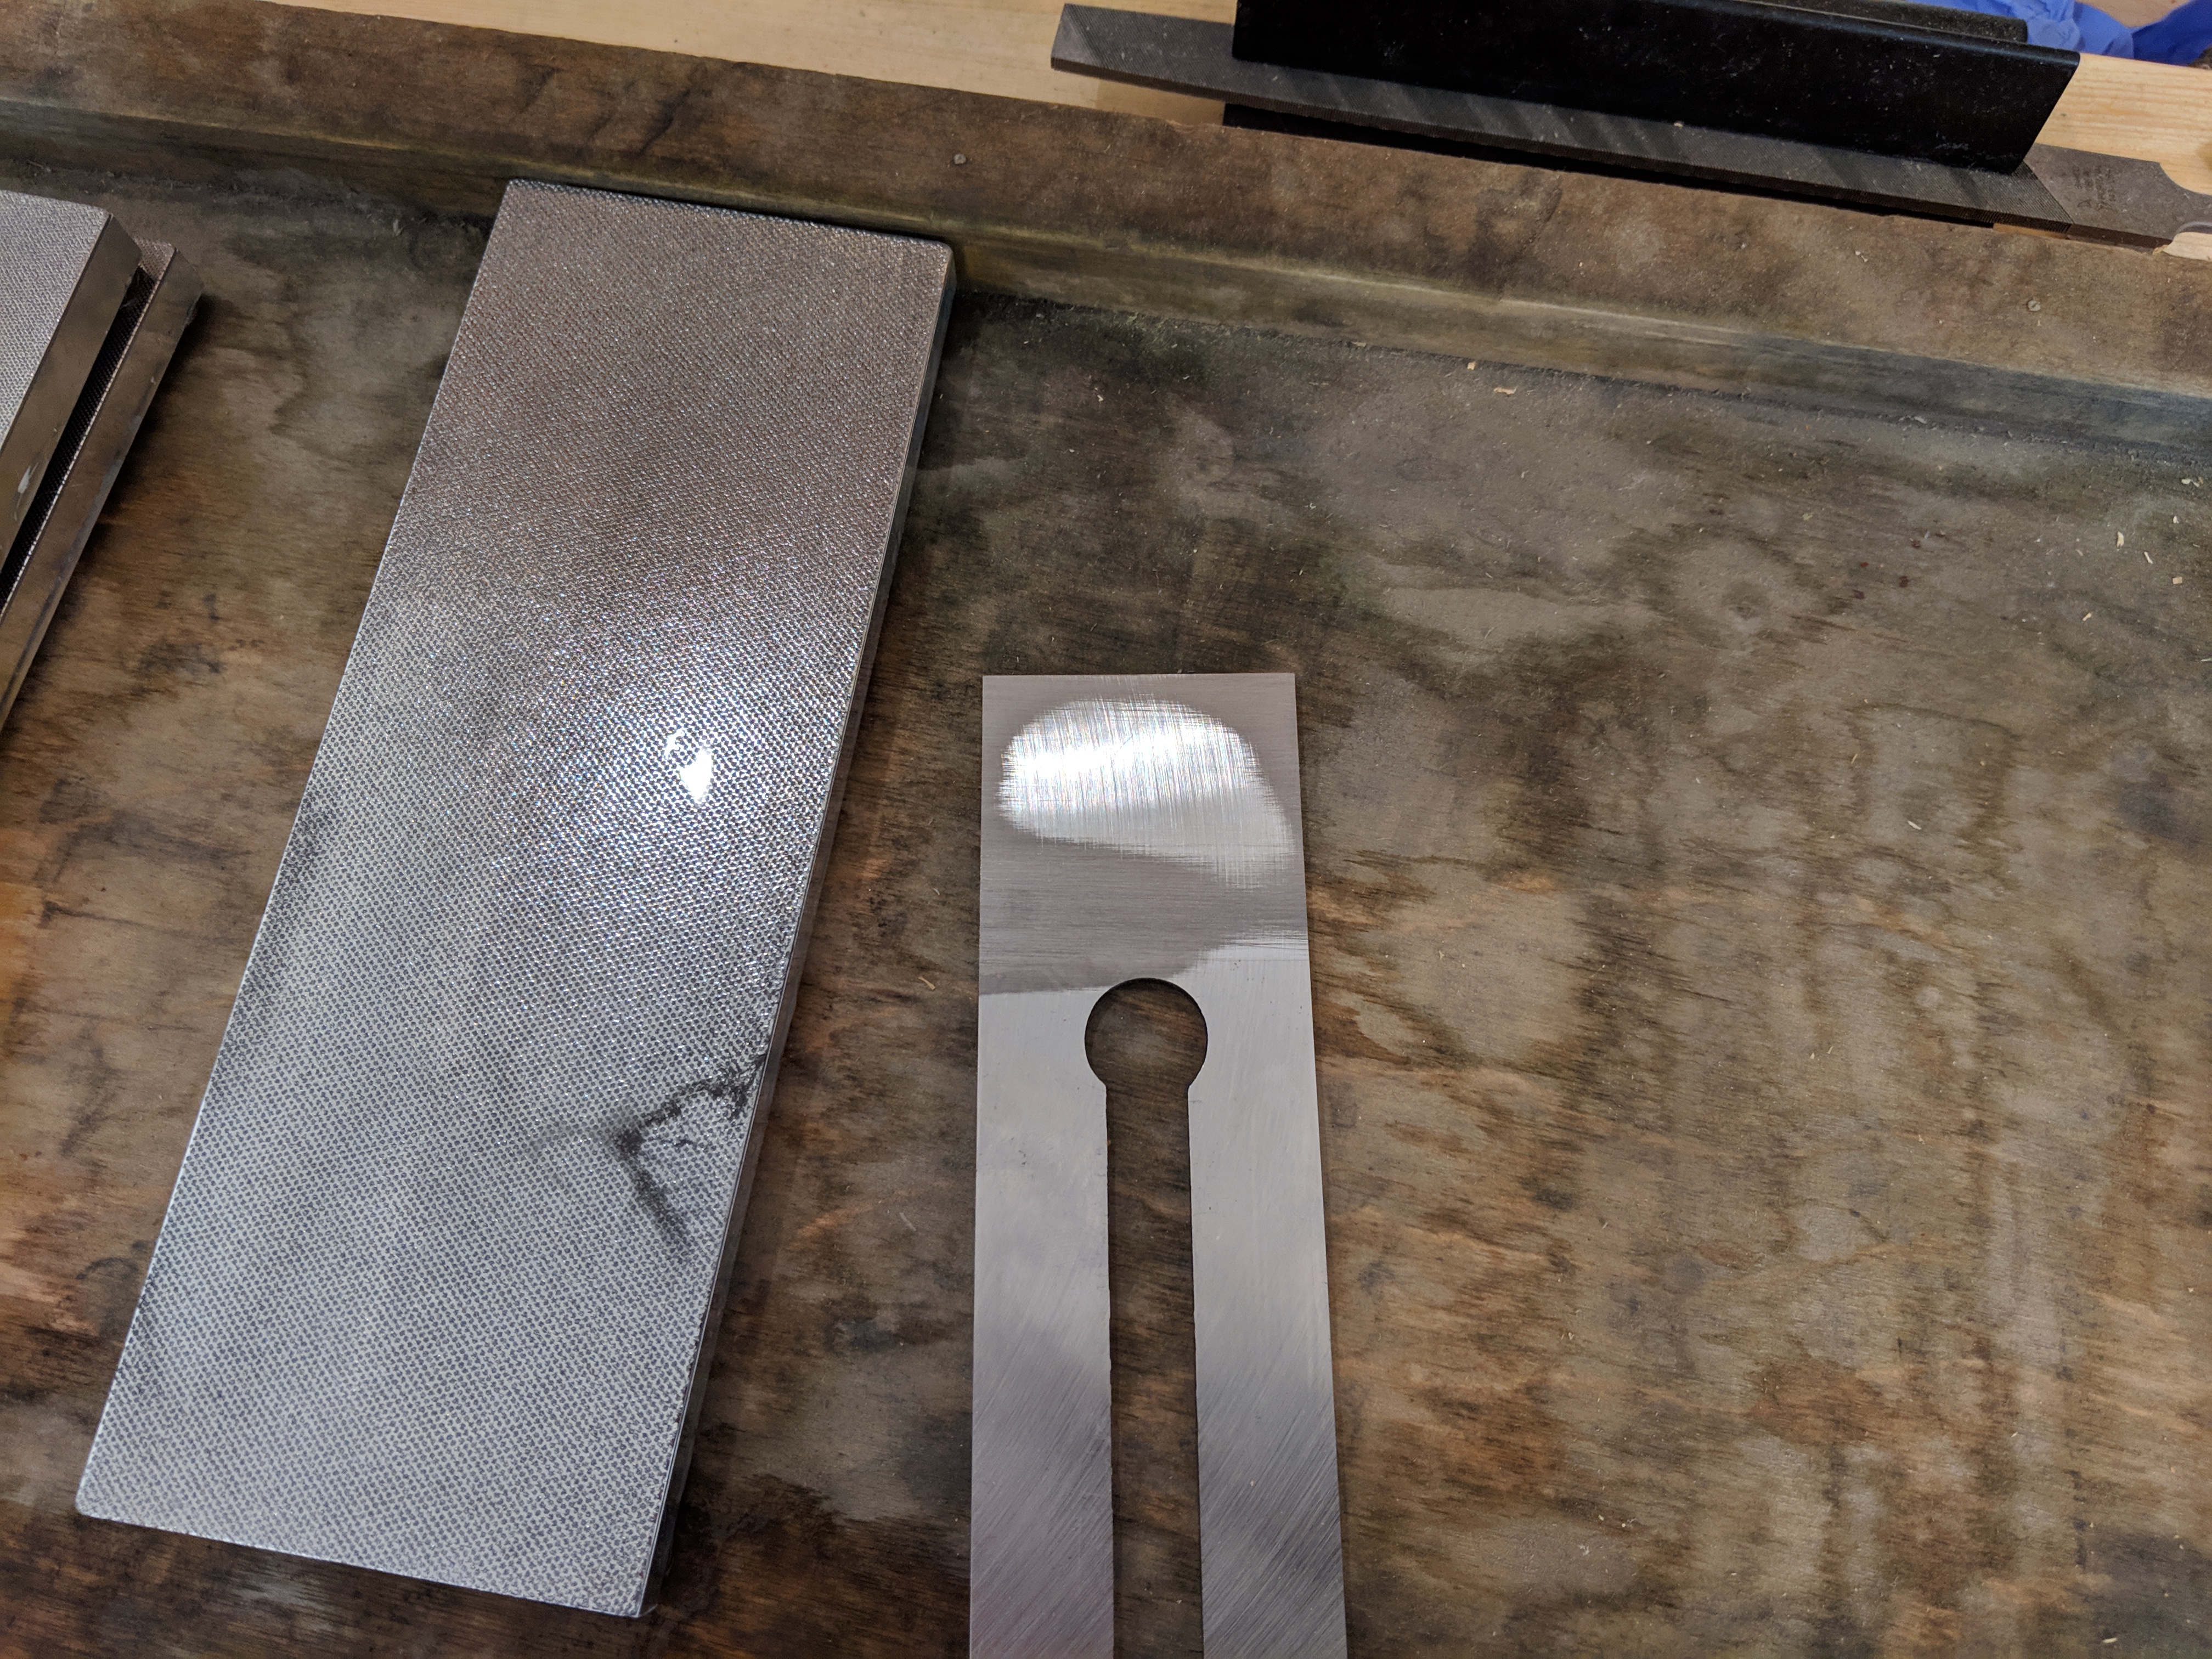
  • Taytools double sided diamond plate sharpening stone (these are pretty good for the price, Amazon available, but also get a sharpening stone holder from powertec or peachtree and some 3 in 1 oil)
  • Vise type honing guide for plane and chisel sharpening (I like the eclipse-style one you can get from Lee Valley, but make sure to make a stop block system for repeatable angles)
  • Cordless drill driver (let’s face it, you probably have one already)

And that’s it. Don’t forget the glue and the mechanical pencil.
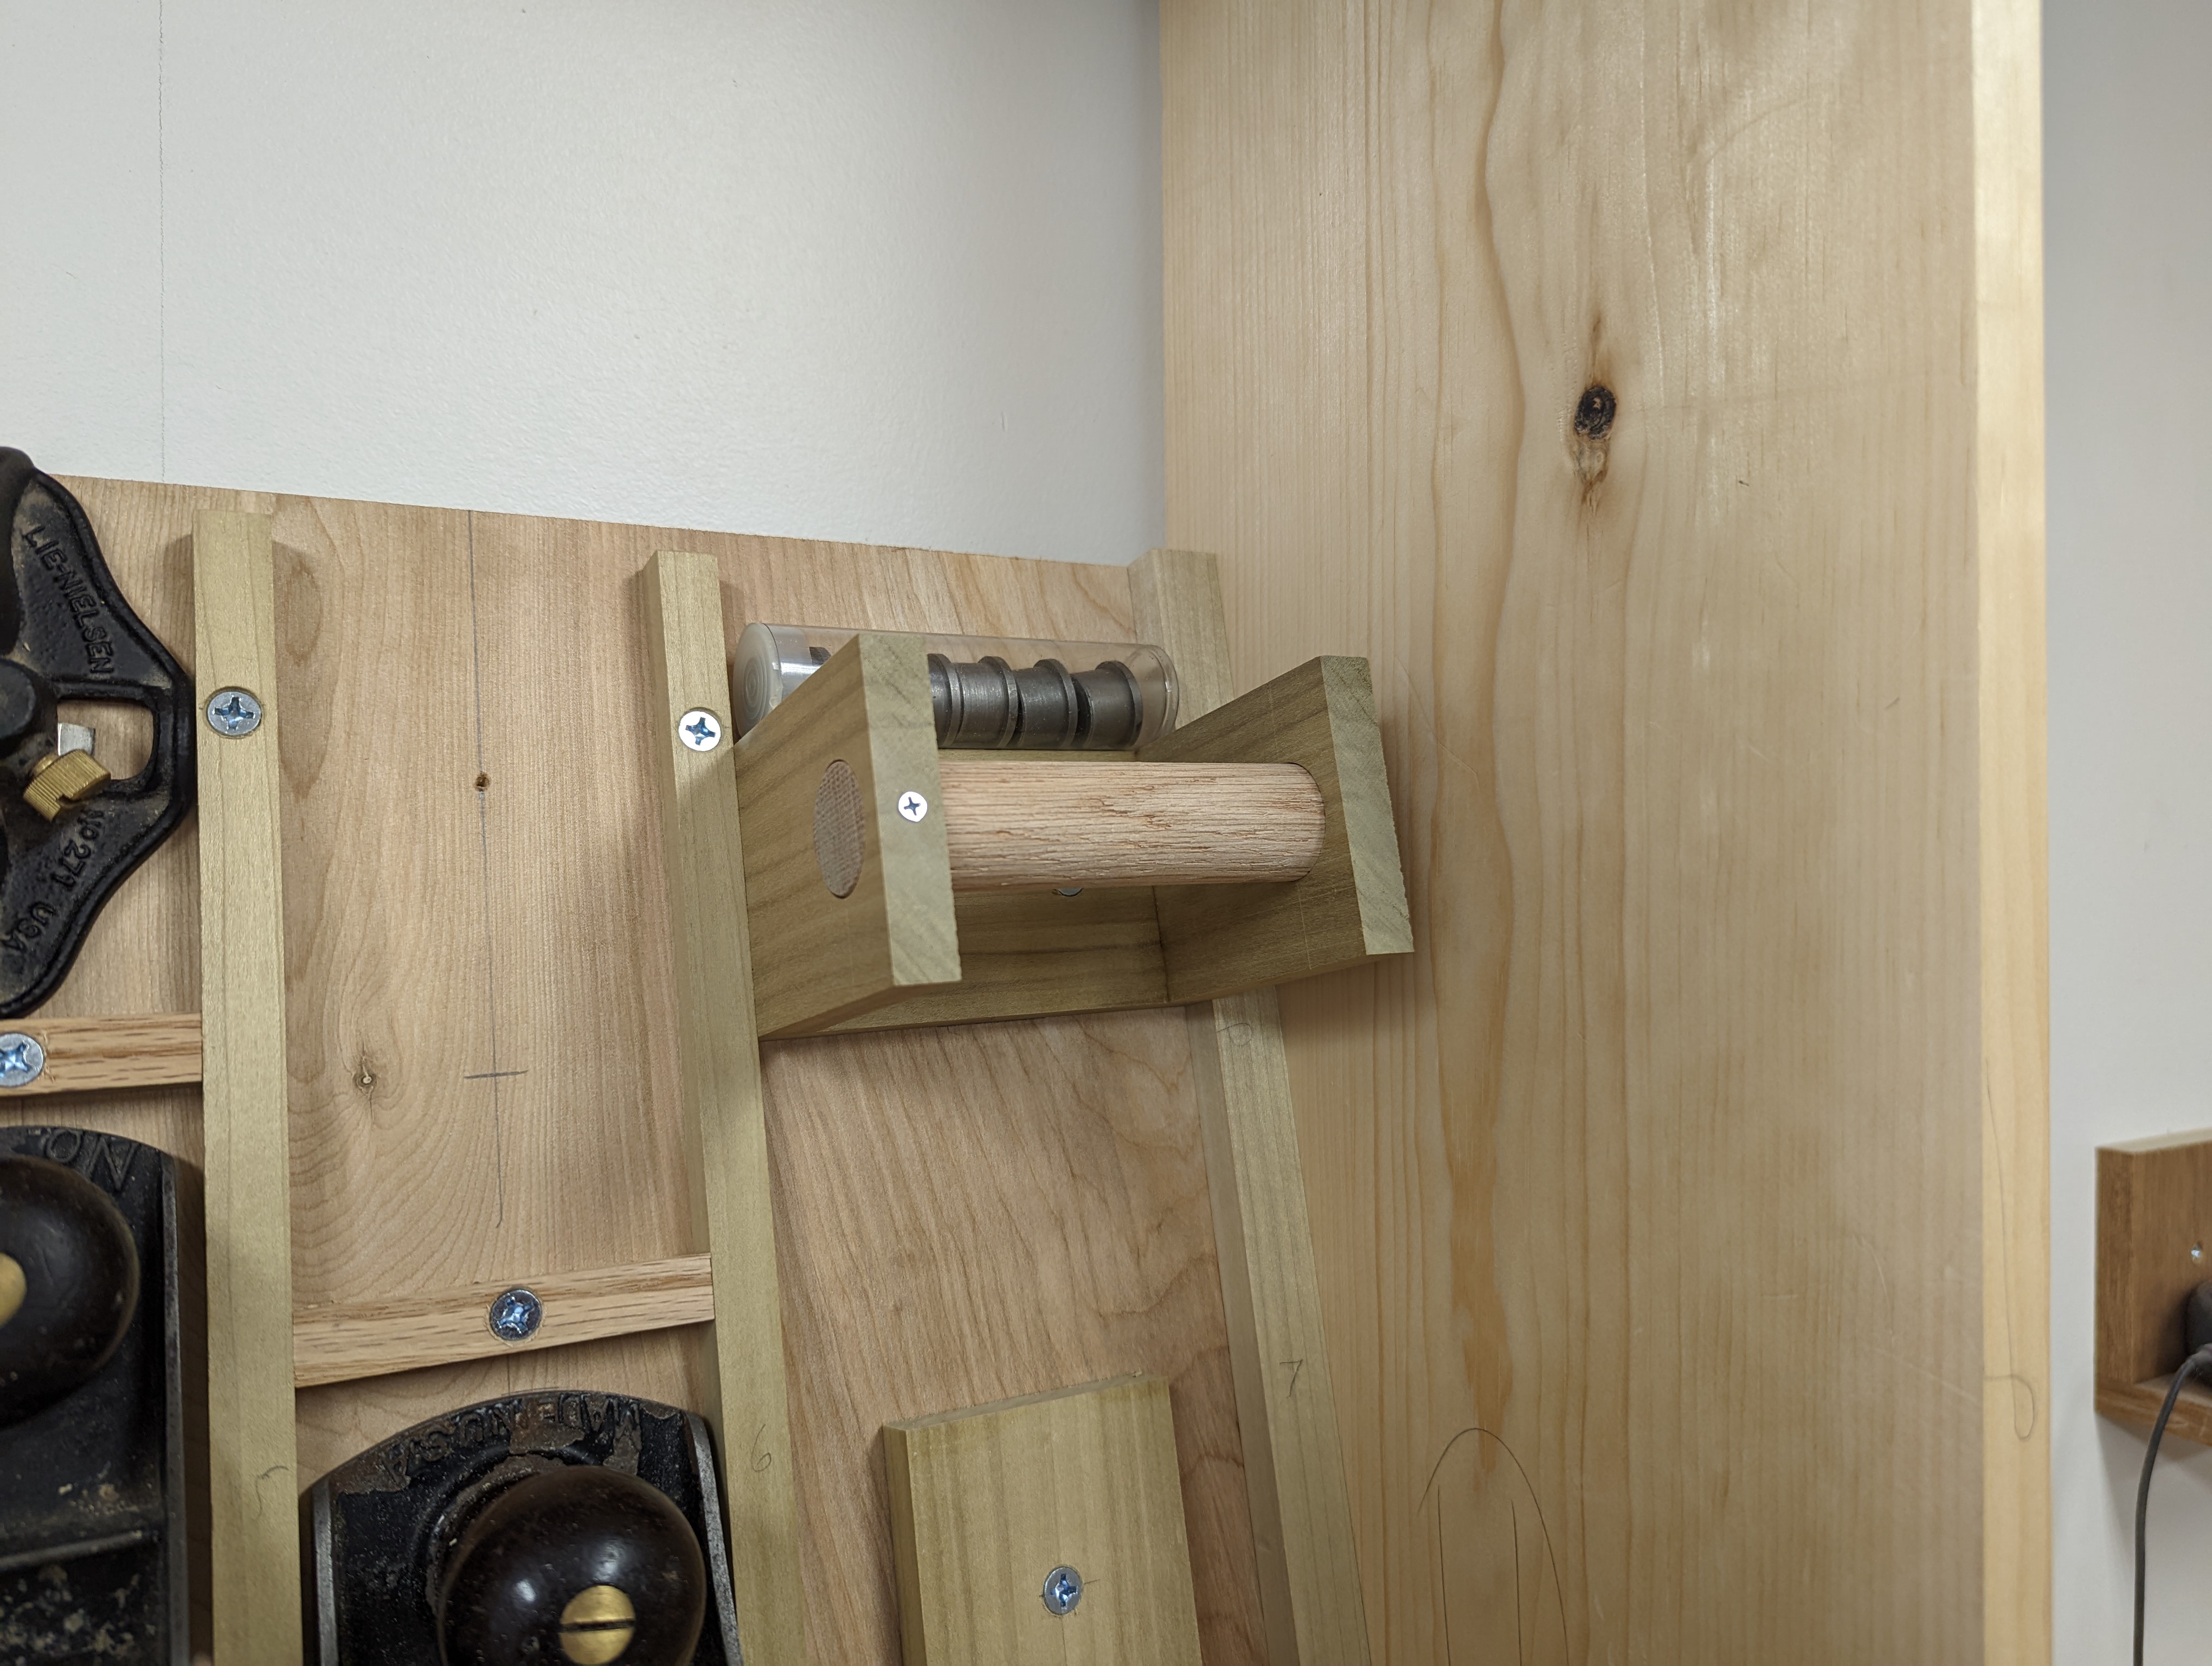
You can probably get away with a speed square from the home center instead of a combination square.

Workbenches

I currently work on a Moravian-style knock down workbench based on Will Myers’ excellent video series. And Christopher Schwarz of Lost Art Press is the modern authority on workbenches of all styles. His Ingenious Mechanicks book changed my life.

But for my money, I would check out either The Naked Woodworker workbench, which can be built with just dimensional framing lumber from the home center and the tool kit described above. Or check out Rex Krueger on YouTube and his “Joiners Workbench“, which is similar but arguably easier to build with the same kit.

Or just find a thick plank and make that Grandpa Amu low workbench, which I love.

I’ve built a few of those Chinese-style low benches, two of which are shown in this one picture.

I’m going to stop it there for now. I could otherwise go on forever.

Btw, I’m not on twitter anymore. I have a strict “no social media owned by delusional man child” policy (I’ve been off facebook for several years for the same reason and never had an instagram).

JPG

Dutch Tool Chest for Sale

When I start something, I nearly always finish it. So when I set out to make a wall mounted cabinet for my workshop, it was clear the old tool storage solution (the aforementioned Dutch Tool Chest) had to go.

So it’s for sale, $750 cash, and you have to pick it up (I’m in lower Fairfield County, Connecticut).

The stickers are gratis!

The case is made with usual DTC construction: through dovetails at the lower corners, shelves are dado’d and nailed into the sides of the case. The face boards are screwed on. Lamp Black milk paint on all external faces.

This DTC is a bit larger than standard varieties. In addition to being the large version at 30″ tall (with two shelved compartments AND a sliding tray), it’s 30″ wide (up from the usual 27″). This means it’s wide enough to hold a No. 7 and a full size block plane left to right (it also holds a No. 5, No. 4 and a general compartment for tape measures.

In addition, the storage area is 13″ deep (instead of the usual 11.25″). I made it this way to accommodate a No. 10 (jack rabbet) plane and some larger tool rolls, all of which can be fitted front to back instead of being piled in lengthwise. The drawer runners are just nailed on so the drawer can be easily removed if not desired.

The lid has a till for two panel saws and the tool well, in addition to being french fit for the planes described above, has a saw till that will fit dovetail, carcass and tenon saws plus two combination squares (or one with an extra beam). All of this stuff is just tack nailed in, so you can remove it easily.

The tool rack on the back wall has holes on 1.5″ centers and is screwed in from both directions. Totally modular.

Some more pictures for your reference (tools not included, obviously).

Before some additional painting; showing the orientation of the various tools in the racks/tills.
Detail of the tool well. Lots of room for more french fitting.

As with everything else, please email for more details. I’ll even throw in a couple of saw bucks to elevate it off the floor.

JPG

Reclaiming Some Space

The last few months, I have been [very] slowly making a wall-hung tool cabinet. While my dutch tool chest holds all of the tools I could ever need (and quite a few I don’t), I have recently added a No. 6 to my everyday kit and there was no room in the DTC for the new plane. I have also gone back to using a No. 4 1/2 smoothing plane (instead of a No. 4) and, similarly, the DTC didn’t have room for it. Even with the No. 4 back in storage.

Bench planes from left to right: 7, 6, 5, 10 (jack rabbet), and 4 1/2.

It also started to feel cramped in the workshop. The DTC lived on the left wall of the shop, near the leg vise. The chest (and the platform it sat on) took up significant floor space that I couldn’t get back. The area below the cabinet is now free for a saw bench that is otherwise blocking my sharpening station at times.

I have never built a wall-mounted tool cabinet before. So this is just a prototype of white pine, poplar and cheap birch plywood; the usual materials for figuring thing out. And I have in fact figured a few things out in this project so that. If I ever make a better one out of my nice, reclaimed genuine mahogany, it will be better.

What I struggled with the most was the saw till. The backing board for the plane till is pretty steep (to accommodate the 9″ case sides) and therefore a regular saw till didn’t do the trick. The saws just fell out of them. And, unlike with the planes, there is no quick fix with rare earth magets.

I thought for a while and realized that my three back saws are all of the same make and therefore the totes should all be roughly the same shape. I could hook them onto something (like a 1″ dowel) and then use a till block to keep the plates aligned and safe.

Like so.

I started with dovetailing together a U-shape out of some 1/2″ poplar. The sides each took a 1″ hole to accommodate the dowel, which was screwed (but not glued) into place so I could easily get to the screws attaching the hook to the backer board.

I ultimately changed out the oak dowel for a pine one, which will be easier on the saw totes.

I then located a till block (with a 1/2″ thick tongue on it for ease of attaching to the backer board) so it supported the saw plates without breaking the plane of the carcass. The kerfs in the till block (which is 5/4 material) which hold the saw plates are cut with a fine panel saw. I wish I had left more meat below the ends of the kerfs. But poplar doesn’t split like pine or oak, so it should be okay. I will report back if it ever splits apart.

The tongue is lapped and screwed into the till block for a strong joint. Not that it takes any great strain.

The overall saw till assembly has usable space around it. I’m no Henry Studley, but I was able to fit some tools into the available crevices. My 3/4″ dowel centers, which I use quite a bit for bench-making to reuse existing benchtops that attach via pegs, sit above the hook. Under the saws are a few machinist squares I don’t use often and also some brass calipers. My pinchrods hang off the side of the saw till between it and the case wall. And a 12-1 tool rests in a free nook.

As you can see, there is an unused area at the top of the case. I’m not 100% sure what to do here. I’ll hang another panel to the right of the main cabinet with racks for chisels, screwdrivers, gouges, raps, and other handled tools. So that just leaves my panel saws, a mallet, a hammer, and the boring tools (braces, auger bits, etc.). I could hang a shelf up there and pile the boring tools in (like with the middle compartment of the DTC). That feels a little like cheating.

Let let me think on it some more and revert.

JPG

Fixgasm (Part II)

Speaking of fixgasms, I finally got around to installing the Veritas Inset Vise in my Moravian Workbench. It’s not quite a revelation, but I’m glad I did it and it officially completes the workbench.

Works like a charm.

For those who aren’t familiar, it’s a compact, easy to install, and well made tail vise option for benchtops of pretty much any thickness of 1.5″ (38mm or so). It’s really a carriage vise or wagon vise that’s easily retrofittable into any benchtop of sufficient thickness. HNT Gordon makes a similar option, but I’ve never used one of those.

I’ve had this inset vise for a while (which was a Christmas present from my parents few years ago). It used to live in another workbench before I gave that away. Veritas/Lee Valley is not a sponsor btw (no one is, lol). They just make great tools, especially bench appliances.

Maximum capacity of 68.5 inches (1740mm or so). More if I use a clamp on the far end to gain another inch or so.

To use a tail vise of any sort, you’ll need a row of bench dog holes in line with the movable jaw on the tail vise (see above). Pinch a board on its face or edge between the dog in the bench and the dog in the tail vise and it stays put. For planing in any direction (especially traversing across the grain or at a diagonal). For mortising or other detail work on the face of the board. If the line of dog holes is close enough to the front edge of the bench, you can use it like a sticking board for use with fenced joinery planes (like a rabbeting or fillister plane).

I like a good tail vise, although series of pegs or a holdfast and doe’s foot are just as good in my book. I wasn’t sure I’d ever install the inset vise into this particular bench, but when laying out the overall size of the undercarriage. I’d gotten by just fine with those other options, but it was time to finish this off.

So now that it’s finished, I would imagine I’ll immediate move on to another workbench.

LOL. Just kidding. Not really. Maybe?

JPG

A Valiant Effort

I too read that recent Popular Woodworking online article about Taytools hand planes. I’m not much of a tool collector (I have a spare Stanley No. 5 for my out and about toolbox and a cadaver of an extra Stanley No. 4 to scavenge parts if necessary), but I couldn’t help myself at the Amazon price for a No. 4.  I’ve wasted far more money on other tools, after all.

IMG_20190403_071828.jpg

The No. 5 was sold out and, besides, I have a No. 5 I love already.

Let me start by saying that, for the price, this seems like a pretty good tool.  I paid US$65 and got something that felt solid in my hand.  Would I recommend it for a new woodworker with limited space to work in?  Very probably.  I think it’s a valiant effort, all told.  But let’s explore a bit further.

I’ve restored between 5-10 antique Stanley planes and setting this thing up for relatively refined work took about an hour.  The most work went into the cap iron (about 20 minutes), which started out a bit rustic.  I also had to grind a bevel onto it, which went slowly and carefully to avoid removing too much material.  The cutting iron was ground hollow and only took about 10 minutes to flatten and another 5 or so to sharpen and introduce the back bevel with the ruler trick.

IMG_20190402_055305.jpg

I’ve seen worse.  Much worse.

The plane’s sole was also ground pretty hollow, which is fine.  I haven’t fully dressed the sole for smoothing yet, which I plan to do to 220 grit.  The manufacturer seems to have erred on the side of hollow grinding where possible.  For the record, I am 100% okay with this approach.

Three things about the Taytools plane stand out to me, though.

First, the mouth of the plane is cavernous.  On my Type 11 Stanley, the mouth is a smidge under 3/16, and closes up nice and tight with minimal frog advancement.

IMG_20190402_064447.jpg

The pitting doesn’t affect performance.  Stop complaining.

Compare that to the Taytools version.  The mouth is over 1/4 wide.  Now, 1/6 may not sound like a lot, but it’s noticeable (and a 33% increase!).  If I wanted this plane for general work, it’d do fine.  But as I’ve noted before, smoothing takes a tight mouth.  I had to move the frog significantly forward to close up the mouth.  Will this result in chatter?  Who knows?

IMG_20190402_064339.jpg

Notice the scratch pattern around the edges from testing the flatness.

Second, the frog adjustment mechanism is just garbage.  Novel, but garbage.  The yoke is cast into the frog itself and the tapped hole for the adjustment screw was not parallel to the bed.  This meant the frog kept binding as I turned the screw.  I eventually gave up and removed the frog adjustment screw entirely.

Finally, the plane is longer than a vintage No. 4.  Not by much, but I could see it making an incremental difference over the life of the tool.

IMG_20190402_064059.jpg

Weird, right?

I would be remiss if I didn’t weigh them both.  I prefer the lighter Stanley No. 4 Bailey pattern plane to the modern Bedrock copies for smoothing tasks.  My current smoother clocks in at a manageable 1615 grams.

IMG_20190328_080631.jpg

That’s 57 oz or 3 lbs 9 oz for the imperial types.

Surprisingly, the Taytools No. 4 is only 1890 grams (aka, 67 oz or 4 lbs 3 oz).  A bit over half a pound heavier than my Type 11 No. 4.  Not bad – and a far cry from the advertised 5 lbs. of some modern Bedrock copy No. 4’s.

IMG_20190402_063815.jpg

It lost a couple of grams when I ground the cap iron, in fairness.

So, again, is this I tool I would gift to a beginner woodworker interested in apartment woodworking on a budget?  Yes.  But that “yes” assumes the beginner has basic knowledge of how to prepare and sharpen a plane iron.  I don’t think the rustic cap iron would be much more of a nuisance when shavings got clogged.  And everything else seemed in relatively-good working order (apprentice marks and all).

And setting this tool up would be a hell of a lot less effort than fully restoring a swap meet piece.

JPG

Harlequin Baby

Warning: DO NOT image search the namesake of this blog post.

For a while now, I’ve been rehabilitating a Type 15 Stanley No. 5 smooth bottom bench plane. After a couple of hours of work, it’s as pretty as I’m going to make it.

Other than my Veritas scrub plane, there are officially no modern bench planes in my tool chest anymore.  I really like the lighter weight of the antique planes (as compared to their modern counterparts).  If one of the modern makers made new versions of these lighter planes to the precision specs they do for their Bedrock copies, I would be all over it.

Even after scrubbing, there is some of the patina on the sides.

This No. 5 is intended to be a worker and, suffice to say, it’s a bit of a harlequin. The sole and frog are original. As is the cap iron. The blade, however, is salvaged from my Type 17 Stanley No. 4 smoothing plane (which now has a Veritas replacement blade and is my main smoothing plane).

It’s not a pretty grind, but the frog is perfectly flat.  And it’s a bedrock frog!

The lever cap (seen above) is scrounged from another Stanley No. 4 (a Type 10, I think). The lever cap that goes with this Type 15 exists, I just haven’t cleaned it up yet.  It has a chip at one corner so I’m in no rush to expend that much elbow grease.

The knob and tote are replacements as well. I source wooden replacement parts for planes from Greg Droz.  He does a great job and his prices are very reasonable. They both fit first try without any fettling.

Honduran rosewood, which is beautiful enough for a worker.

The sole of the plane is in very good shape and didn’t take long to de-rust or flatten. This is a jack plane so I didn’t obsessed too much. In fact, I only took it to 80 grit (which, admittedly, had worn to probably 120 grit by the end) on the granite slab.  There is a very slight hollow around the mouth that can be seen below. If the spirit ever moves me, I may dress the sole a bit more. Maybe to 220 grit and perfectly square on the shooting side.

I’m pretty sure this plane was well-used before it came to me

But I now have no place in my tool chest for my well-loved WoodRiver bench planes (No. 4No. 4 1/2 and No. 5 1/2).  They have served me well but I’d be happy to part with the No. 4 for $100 and the No. 4 1/2 and No. 5 1/2 for $125 each.  UPDATE:  ALL THREE PLANES SOLD.

If interested, shoot me an email at theapartmentwoodworker@gmail.com and I can send pictures.  They are all in used but otherwise perfect condition.

This is the first of a few sets of extra tools that I plan to sell off.  I am not a tool collector, per se.  But I do have some extra tools, which are pretty much only good for cluttering the shop and procrastinating when it’s time to sharpen.

JPG

Surprises at Every Turn

One of the most (if perhaps not the most) treasured tool in my tool chest is my vintage Stanley Bedrock No. 7.  I’ve had it for a bit less than year and I love it more and more every day.  It was a gift from my late godfather, and it is a joy to use.

IMG_20180127_133841.jpg

No idea if the red paint is original.

I’m generally familiar with the dating criteria for ordinary Stanley planes.  But I hadn’t looked into the history of the Bedrock variants.  Until last night.  Turns out, my No. 7 is a Type 2, built between 1898-1899.  It’s not my oldest tool (that probably goes to the firmer paring chisel I recently restored), but it’s still in great shape for its age.

IMG_20180127_133925.jpg

One patent here.  One patent on the lateral adjustment lever.

Despite hanging on a basement wall for however many decades (it has a hanging hole), the plane had minimal rust (no pitting) and the sole was still very flat.  It merely required a wipe down with mineral spirits, a replacement iron (Veritas A2 from Lee Valley), a quick re-peening of the lateral adjustment lever, and a few passes on the granite slab with 220 grit sandpaper to be fully functional.

I don’t know how much use it got originally, but it gets used every day I’m in my shop.  If it came down to it, I am 100% certain that it’s the only bench plane I would keep.  They really don’t make ’em like they used to.

And, for the record, I sharpen my No. 7 with a slight camber.

JPG

Pluses and Minuses

I almost never buy tools off eBay.  Not used ones, anyway.  I usually stick to the “New Old Stock” variety.  So it was particularly out of character for me to take a leap of faith on a random Stanley No. 4.

IMG_20171118_093626.jpg

I think it came out okay.

The tool in question is almost certainly a Type 17 from 1942-1945.  It has a hardwood knob/tote and a steel depth adjustment knob, plus a heavier casting.  Its heft feels more like a modern Bedrock copy than a vintage Stanley.  I’m willing to bet this plane helped defeat the Nazis.

IMG_20171118_071152.jpg

You can really see the thickness of the walls in this shot.

The tool was either (i) well-loved and cared for in its former life or (ii) used a little bit and then squirreled away.  My vote is for well-loved and cared for.  There was a hanging hole in the heel of the sole.  All the arrises were carefully broken with a file.  The lateral adjustment lever showed signs of re-peening.  The depth adjustment knob was caked with sawdust. All the signs of a craftsman’s tool.

My only reservation is that the iron seems off.  There is just so much steel left.  It could be a replacement iron.  And the shape of the cutting edge was strange, with a very slight hollow along the width.  Not a hollow grind on the bevel.  The cutting edge itself had the opposite shape of a smoothing plane camber.  If it had been sharp, you could have beaded with the plane when it arrived in the mail.  Perhaps the skilled craftsman was two owners ago.

IMG_20171118_093657.jpg

Easily fixed in the honing process, though.

Also a surprise: the sole was very flat to begin with.  It took less than 30 seconds with 120 grit on the granite slab to get it as flat as it ever needs to be.  This is not exaggeration.  20 or so passes and it was flatter than most new planes.  And the sides were very square to the sole.  Another 30 seconds on the granite slab with a squaring block and it was good to go for shooting.

IMG_20171118_063255.jpg

Strange place for a hollow.  But completely harmless on a smoothing plane.

I was pleasantly surprised at every turn.  In fact, tuning was going so well, I developed the intention of making this one of my main worker planes.  But then, after all the scrubbing and sanding and honing, I moved the frog forward and extended the blade to take a thin shaving and what did I see?  Wood.  Lots of it.

It was like looking under the hood of an old car and seeing asphalt.  My heart sank.

IMG_20171118_093709.jpg

Tearout will always be a problem with this plane.

On a hand plane, the blade, in its cutting motion, lifts under the wood fibers.  As I understand it, the leading edge of the mouth presses down on the fibers while the blade cuts.  The wider the mouth, the more likely the fibers will lift and split ahead of the blade edge.  This is called tearout.

On a smoothing plane, you want the narrowest mouth possible.  The opening between blade and sole should be barely wider than the shaving taken.  A perfectly tuned and set smoothing plane can take a tearout-free shaving in any direction on even the most figured or swirling grain because of this narrow opening.  That is, the leading edge of the mouth applies downward pressure so close to the cutting edge that there is no opportunity for fibers to lift and split as the cut progresses.  No opportunity for tearout.

But with a mouth this size, this particular plane would eat figured food.  Literally tear it up and spit it out.  So, with a heavy heart, I have put this plane in the reserve bin (i.e., my Craftsman Top Chest).  But I will name it James, Jr., for it has a mouth so big that it ruins everything it comes in contact with.

Perhaps it will one day find life as a scrub plane.  It certainly has the mouth for heavy shavings.

JPG

This One Goes to Eleven

No, not really.  It actually only goes to 15/16, but that’s okay.  I finished the moving fillister plane.  I’m super proud of the result.

IMG_20171104_161524.jpg

I have since added a coat of BLO and some furniture wax.

You may have noticed the black racing stripe.  In addition to texture for a better grip, the blank paint hides some nasty tearout from the grip recess.  Dammit, why do I always reveal my secrets?  At least no one will ever mistake my plane for theirs.

I should note that this version is in every way superior to my first attempt, unless you count a slightly too wide throat.  But with the skewed iron and a more refined escapement, it shouldn’t be a big deal.  After quite a few tests, regular shavings eject consistently, whether across- or with- the grain.  Fine, cross-grain shavings bind a little bit, but it’s nothing that can’t be cleared occasionally with a mechanical pencil.

IMG_20171104_113829.jpg

The angle is right, but it’s a little wide.

Other than the skew iron, there are a few improvements since the first iteration.  The scoring spur extends a bit further this time.  In fact, both the scoring spur and the iron are ever so slightly proud of the body.  This (I learned from Roy Underhill) is the key to a crisp and plumb shoulder on the rabbet.  The screws for the fence are also flush with the fence itself.

IMG_20171104_161359.jpg

I will eventually reinforce the slots with brass, like the version I copied.

I do not plan to add a depth stop to this plane.  I’ll just mark the depth and clean everything up with a router plane after.  That’s how I’ve been doing it for a while, and I find the traditional depth stop is not that reliable.  And a full-length depth stop may interfere with the escapement.

IMG_20171104_161349.jpg

So there you have it!

It’s still TBD whether I caught the planemaking bug.  I do have another 6 feet or so of quartersawn hard maple and I just picked up a bench grinder, so who knows what the future holds?

Rabbets.  The future holds rabbets.

JPG

After Further Review

A funny thing happened today when I woke up and went into the shop. Calipers in hand, ready to measure for the plug I was going to make, I decided to give it one more shot. I positioned the holdfast to the left over a scrap of wood, and whacked it with a sledge. Nothing.

Undeterred, I gave it another whack, this time holding the shaft steady as I drove it in. It felt like it seated a bit. After a third whack, it felt like it was grabbing. The fourth whack, it set tightly. Hmm.

wp-1485635194551.jpg

It’s a poor craftsman who blames his tools.

And it works pointed right as well.

wp-1485635198054.jpg

This is not a political metaphor (yet).

I guess the trick is to hold the shaft steady as you drive it in. So, much less sad than yesterday, I bought a corded drill and made a plumb jig to bore the remaining holes (seen above).

wp-1485635460638.jpg

Much like ‘Murica itself, this drill was assembled here with foreign components.

It’s always good to sleep on it.

JPG