tips and tricks

Most Important Woodworking Website

There is a website I go to (almost) every day when I’m in the shop. A website with the most important and useful woodworking insights. Truly, it is an indispensable resource for my woodworking needs.

That website: http://www.carbidedepot.com/formulas-trigright.asp

A trigonometry calculator.

Angles are everywhere; make sure you know how long to rough cut a board.

This is not a joke. Imagine rough cutting a board too short and only learning it after you’re trying to level the legs.

A travesty, for sure.

JPG

New Year’s Day, 2022

Another year has passed. As is my heathen wont, I went to bed early last night, stone sober and well hydrated, and hit the shop early this morning. I like to begin each year on my own terms. And then ride out the downhill trajectory from there.

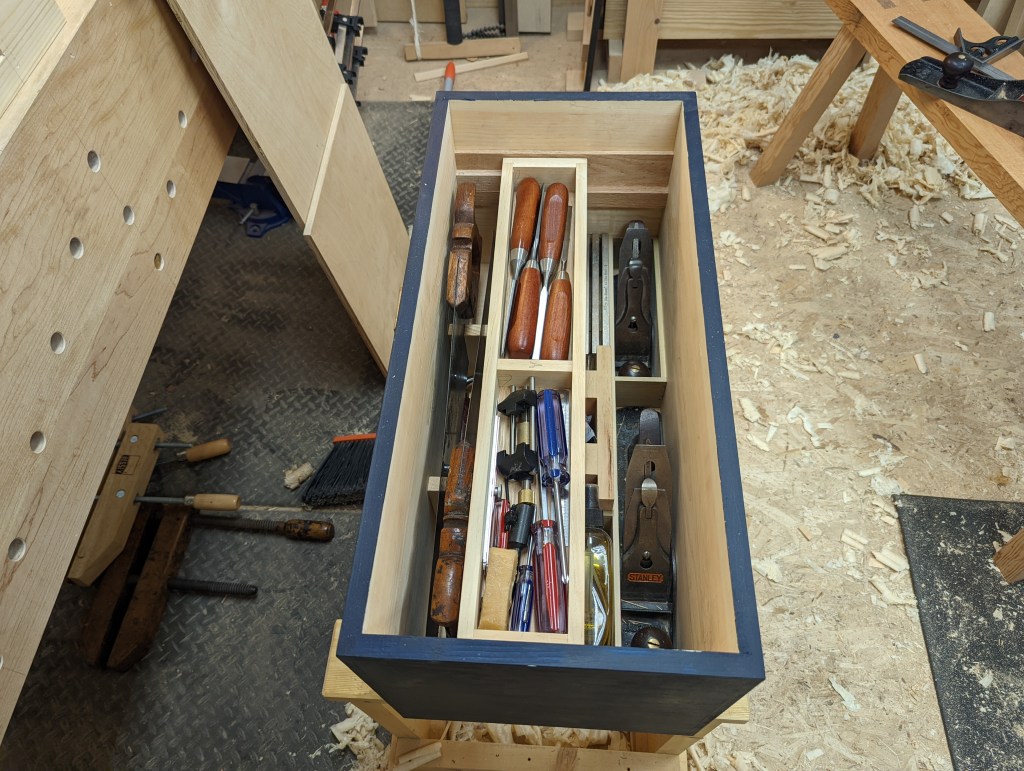
In advance of my regular January vacation, I’ve been making a “gentleman’s tool chest” for a core set of hand tools. Now I’m no gentleman (or so I’ve been told), but as I understand it, the “gentleman” refers simultaneously to (x) a non-professional woodworker and (y) the smaller set of tools a non-professional joiner or cabinetmaker would have in their chest. So maybe I am a gentleman.

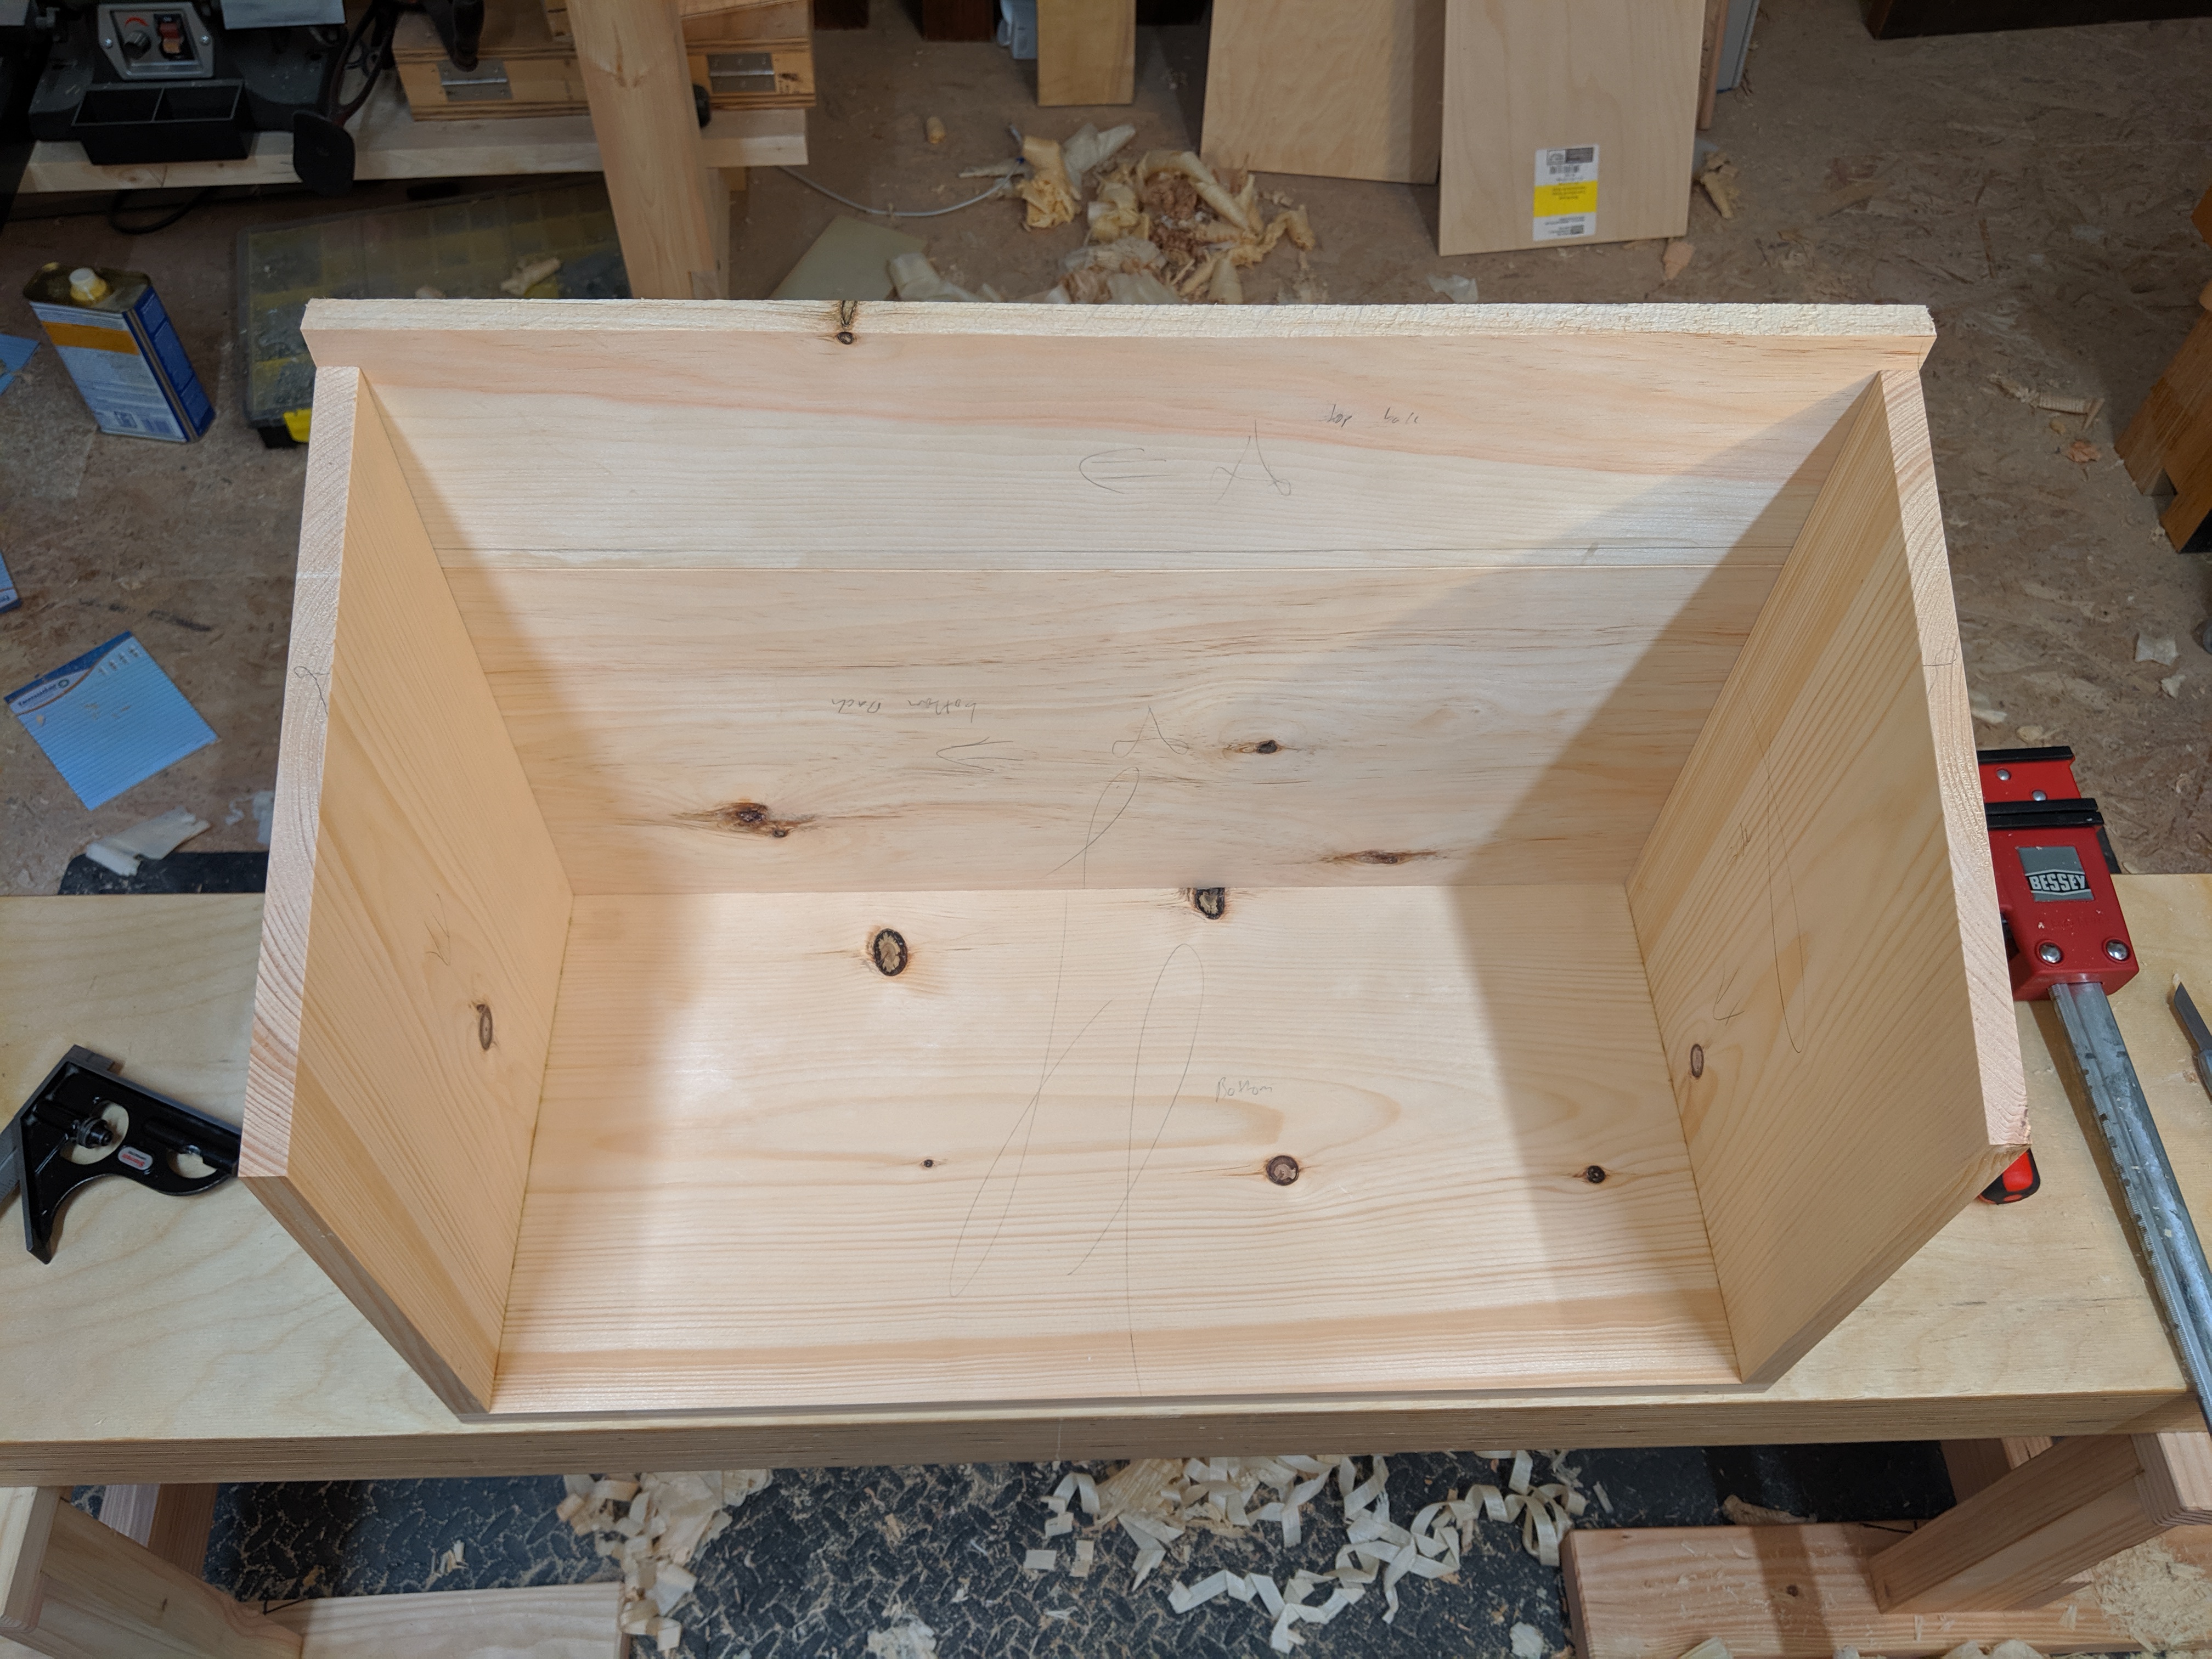
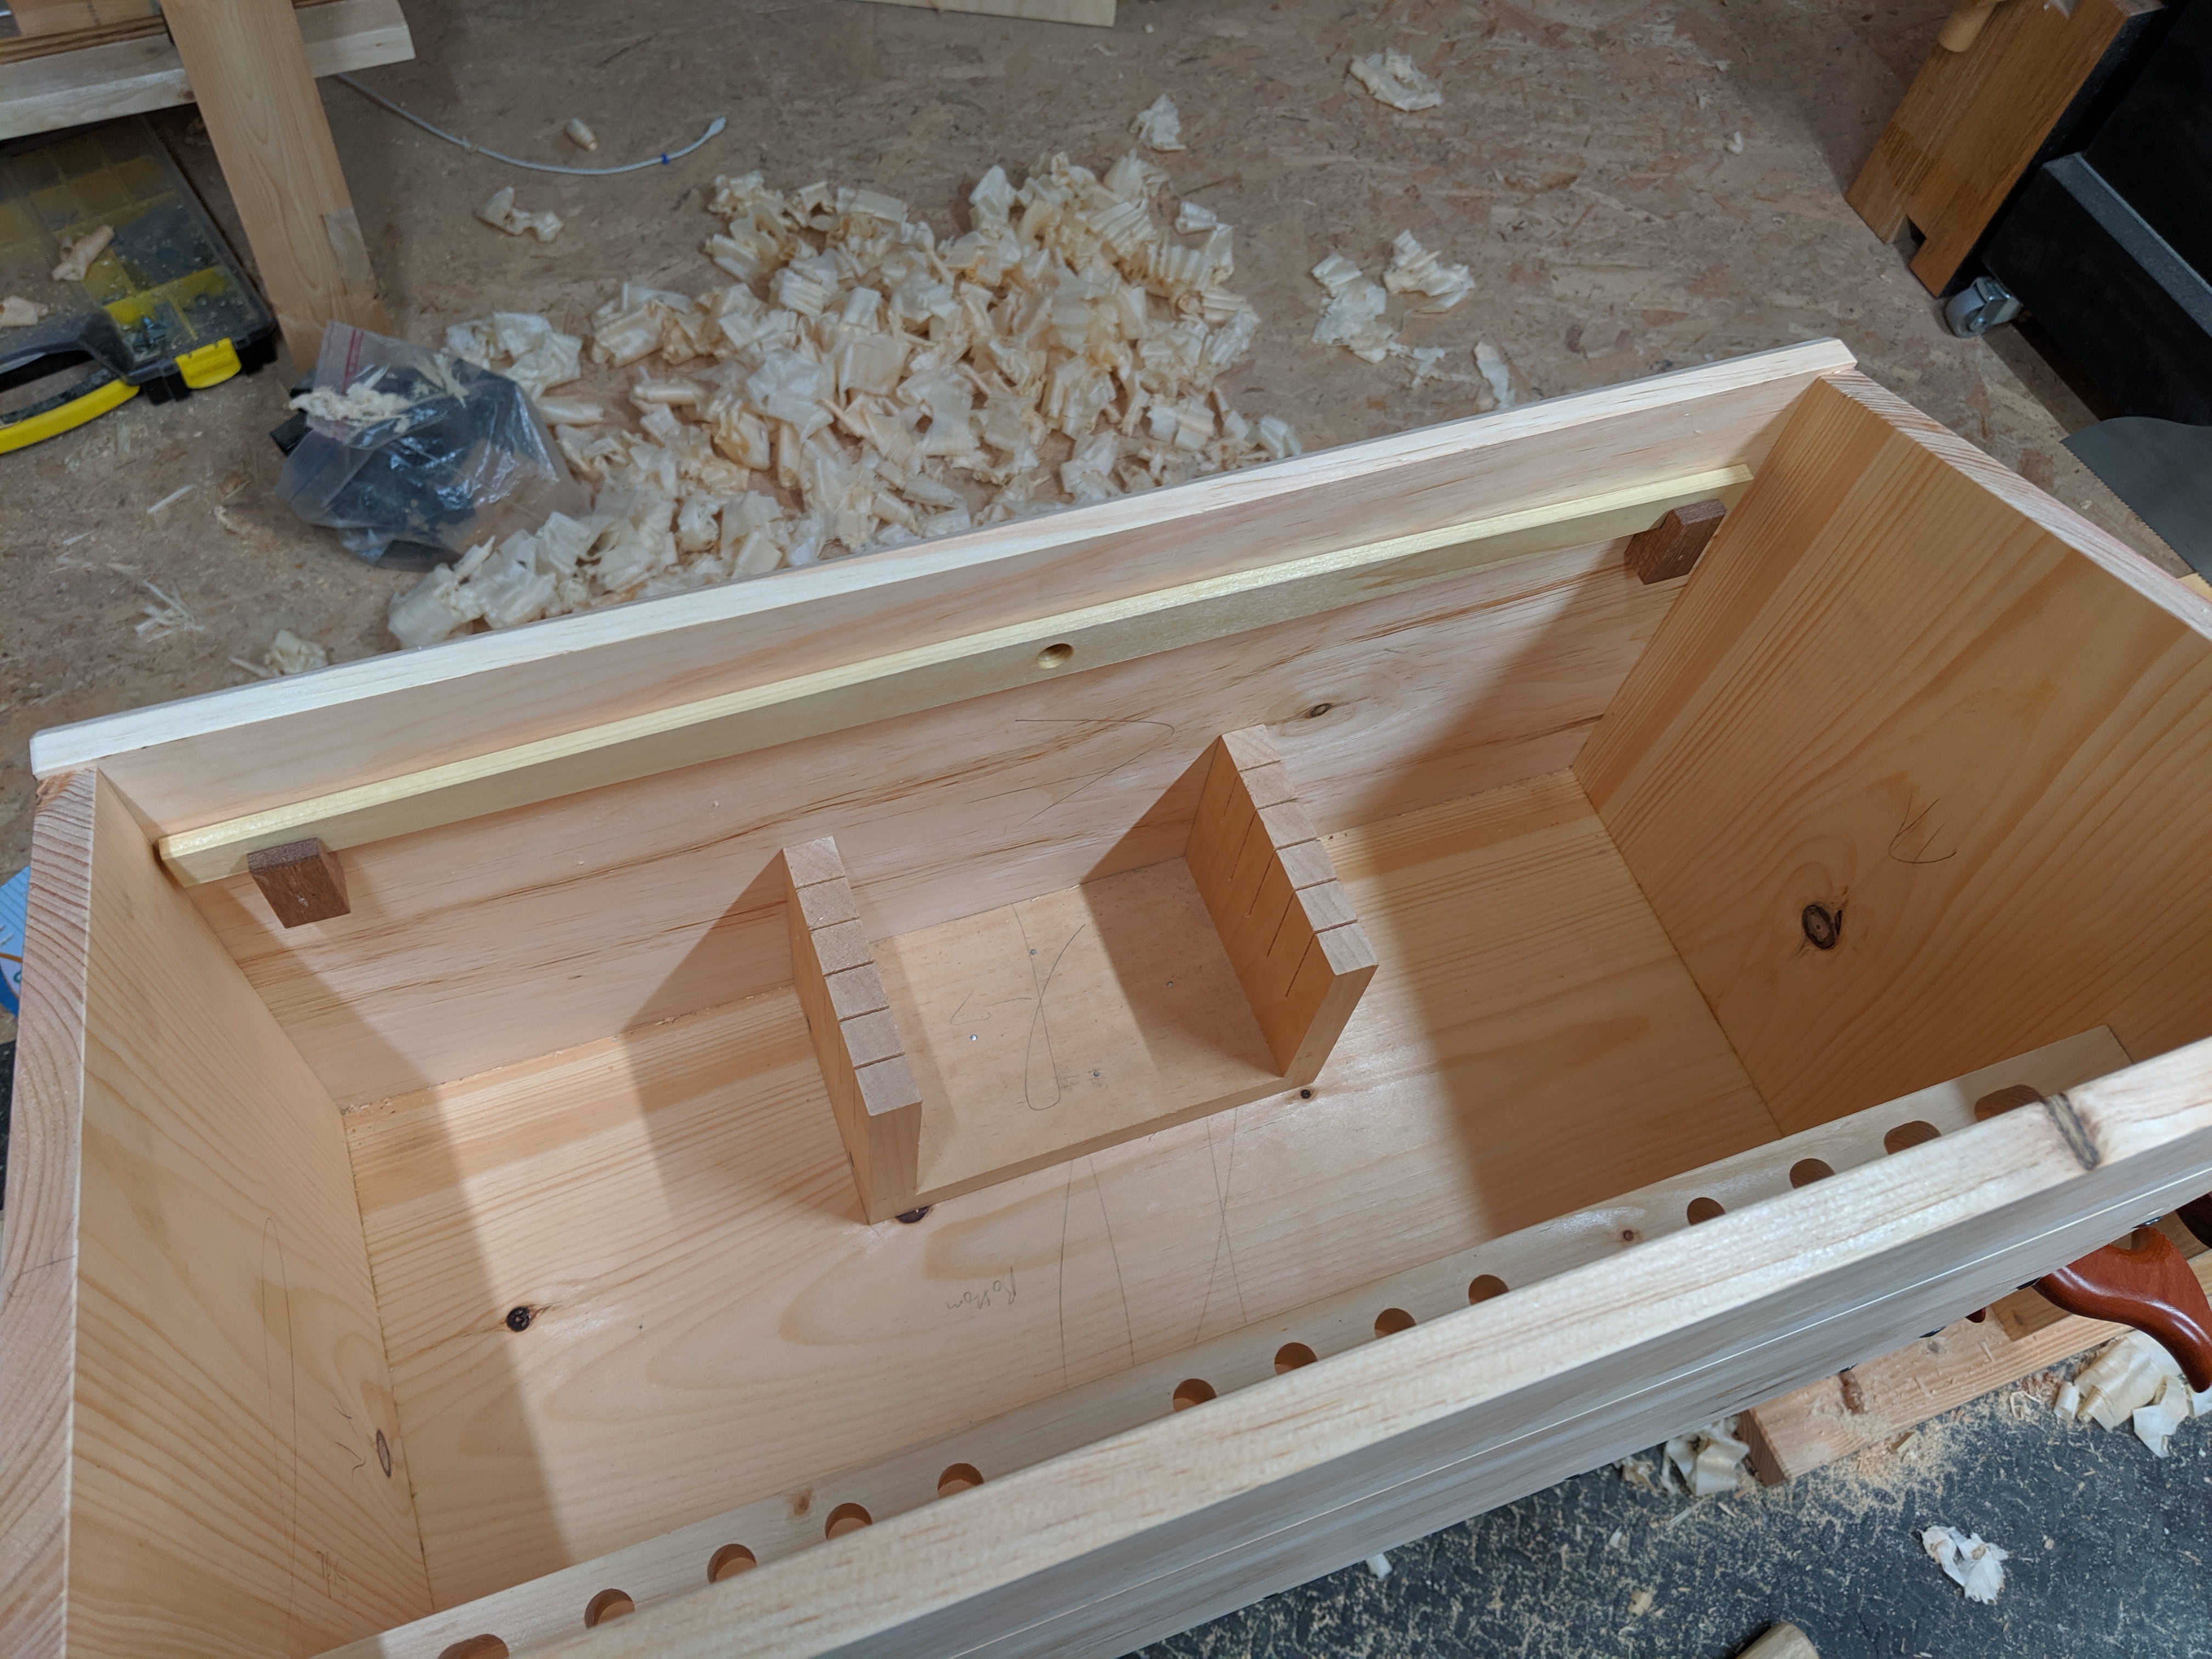
This particular tool chest is a modest 25″ long, 11″ deep and 11″ high and will have 2 sliding tills. The planes and sharpening gear are french fit into the tool well and there won’t be too much lose gear rattling around. It’s also intended to be a general around-the-house toolbox holding my nicest spare tools so it will move around a fair bit.

Still one more sliding till to make.

In any tool storage build, like in life, there are compromises. For example, there is not any room for joinery saws in this chest, but I have modified a 10 tpi rip saw (it crosscuts too) and a 6 tpi rip saw to have shorter plates. I say modified; I cutoff about 5 inches from the toe of each saw with an angle grinder and filed off the burrs. The shorter plates are stiff enough for precise sawing as needed (and everything gets cleaned up with chisel or router plane anyway).

It’s also rabbeted and nailed, not dovetailed. Cauls help keep everything flat when nailing together.

The full kit this holds is as follows:

  • Planes: No. 5 jack plane, No. 3 smoothing plane, Low-angle block plane, small router plane
  • Saws: 10 tpi rip cut panel saw (18″ plate): 6 tpi rip cut panel saw (18″ plate)
  • Chisels: 1/4, 1/2, 3/4, 1 inch bench chisels, carver’s mallet
  • Marking and measuring: 12″ combination square, 8″ machinist square, wheel marking gauge, 12 foot tape measure, folding marking knife, mechanical pencils
  • Boring: Two jaw, short sweep brace, plus hex adapter, large diameter adjustable auger bit, drill bit set, hand countersink
  • Sharpening: 120, 220, 1200 grit diamond plates, side clamp honing guide and setup block, plus glass cleaner and jojoba oil
  • Miscellaneous: Warrington-pattern hammer, slotted and phillips screwdrivers, cork sanding block, foam ear plugs (lots of these)

I’m sure there is something I’m forgetting (I can supplement this later), but I find the above set of tools is everything one needs for general woodworking projects that aren’t intended to be the finest furniture. I can take rough lumber to dimension with these tools and do crisp joinery by hand without too much fuss. I will likely make or purchase a medium router plane to fit this chest, as well as a set of wooden winding sticks and a wooden straightedge.

As I write this, the second till is glued and nailed and drying in the shop. So that means only one thing: it’s lid time.

And that’s the point at which every tool chest build starts to get tedious.

Happy New Year, everyone!

JPG

Thought Experiment

Where we last left off, I had just about made a functional workbench for the cost of seven Douglas Fir 2×4’s and some construction screws.  Before I knew it, I had a sturdy surface that (although a bit narrow, in retrospect) was ready for some serious woodworking.  There was just one problem: I had cheated and not even realized it.

IMG_20200512_160454.jpg

Nice looking bench, if I say so myself.

You may have noticed the Veritas low profile planing stop shown above.  They are easy to install (you just drill a couple of 3/4″ holes) and super functional and I swear by them.  But there is no 3/4″ bit in my basic tool kit yet.  Since I’m not yet ready to compromise this intellectual exercise, the planing stop has to go.  Some West Systems epoxy does the trick filling the holes.
IMG_20200513_093018.jpg

Faces in things.

3/4″ drill bit aside, I definitely have a regular set of drill bits and a hammer.  So instead of a commercially-available planing stop, let’s instead make a palm, which is a different type of planing stop that’s useful for restraining boards both on the their faces and on their edges.

For those unfamiliar, it’s literally just two 1/2″ boards, nailed on at 45 degrees to the length of the bench and 90 degrees to each other. I used 6d die-forged nails with the heads counter-bored a bit so I don’t accidentally ding a plane sole on thinner stock.  Narrow boards (and boards on edge) wedge themselves into the palm (a bit like a crochet), and wider boards but up against the points (like a straight planing stop).

IMG_20200514_101714.jpg

Not sure what additional wisdom you’re looking for here.

I think that’s all the workholding I’ll need for now.  That said, the list of tools has expanded a bit.  The current list of all tools I used for building the bench is as follows:

  • No. 5 Jack Plane
  • Chisels: 1/2″ and 1″
  • Panel saw
  • Double-faced mallet (not pictured)
  • Claw hammer (not pictured)
  • 12″ combination square
  • 4″ try square
  • 36″ straightedge
  • 12′ tape measure (not pictured)
  • Folding marking knife
  • Wheel marking gauge
  • Small folding bevel gauge
  • Birdcage (square) awl
  • Mechanical pencil, etc.
  • Medium cut straight file
  • Cordless drill driver with standard drill bits and driver bits (bits not pictured)

But I think it’s fair to say that if the entire tool kit for making a workbench fit on the top of that workbench, then it qualifies as an apartment woodworking bench.

IMG_20200511_194329.jpg

I plan to immediately add a large router plane, also.  I can live without it; I just choose not to.

Up to this point, I’ve just been keeping track of the tools used and putting them back in my floor chest as I go.  But a full size floor chest is not exactly within reach for most small space woodworkers.  To be honest, my full size floor chest (40x24x24, not including the casters) is probably too large for my 12×13 bedroom workshop shop.  So it’s time to make some tool storage that’s more appropriate for a small shop.

I think a tool chest in the Dutch style popularized by Christopher Schwarz and Megan Fitzpatrick is the best option here.  I’ve built two of them before (one large that was gifted to a friend, one extra small with just the angled compartment that is just a residential toolbox) and in my experience they can be built with minimal tools.  I’m not bold enough to cut dovetails pins first on a low workbench, so I’ll stick to rabbets and nails/screws for this one.  Should be plenty strong for something that will live on a saw bench up against the wall.

But here are the rules going forward for this experiment:

Rule #1A: before I can pull a tool from my floor chest, I have to first do the operation (if possible) using one of the simple tools listed above.  For example, when making the workbench, after I cleaned up one of the leg mortises entirely with chisel, I could have swapped in a large router plane to do the same job (I actually did this for one where the grain was particularly unruly).  Another example: once I hand crosscut and square a board the first time, I can thereafter use my chop saw to move things along on the rest of the cuts.

Rule #1B: if the operation cannot be comfortably (or safely) done on the low workbench with a simpler tool, I can pull the correct tool as long as it can will in the Dutch tool chest.  If the correct tool will not fit in the Dutch tool chest and the operation is not comfortable (or safe) to do on the low workbench, I cannot perform that operation and must use a different joint/feature.

Rule #2: No vises, but clamping boards to the workbench is fair game.  I have access to my full set of clamps, in fact.  I’m not that much of a masochist.

Rule #3: I have access to my existing shooting board and can do the operation on my high workbench.  I can certainly make another shooting board that will fit better on the low workbench (I’ve done it before).  However, this same shooting board used to live on my kitchen island and I see no reason to change things up now.  And shooting while standing is far easier on the back and shoulders.

Rule #4: I’m also allowed to use my benchtop drill press for the chisel rack that goes in the chest.  Yes, I could do it by hand.  But I’m not getting into this argument with you.

As of the writing of this post, I’m almost finished with the main part of the Dutch tool chest.  Here is the full tool kit to date (not counting parallel jaw clamps and the aforementioned benchtop drill press):

IMG_20200517_080658.jpg

Still no 3/4″ auger and bit, though.

This has been a long one, so I’m leaving it at that for now.

JPG

Version 2.0

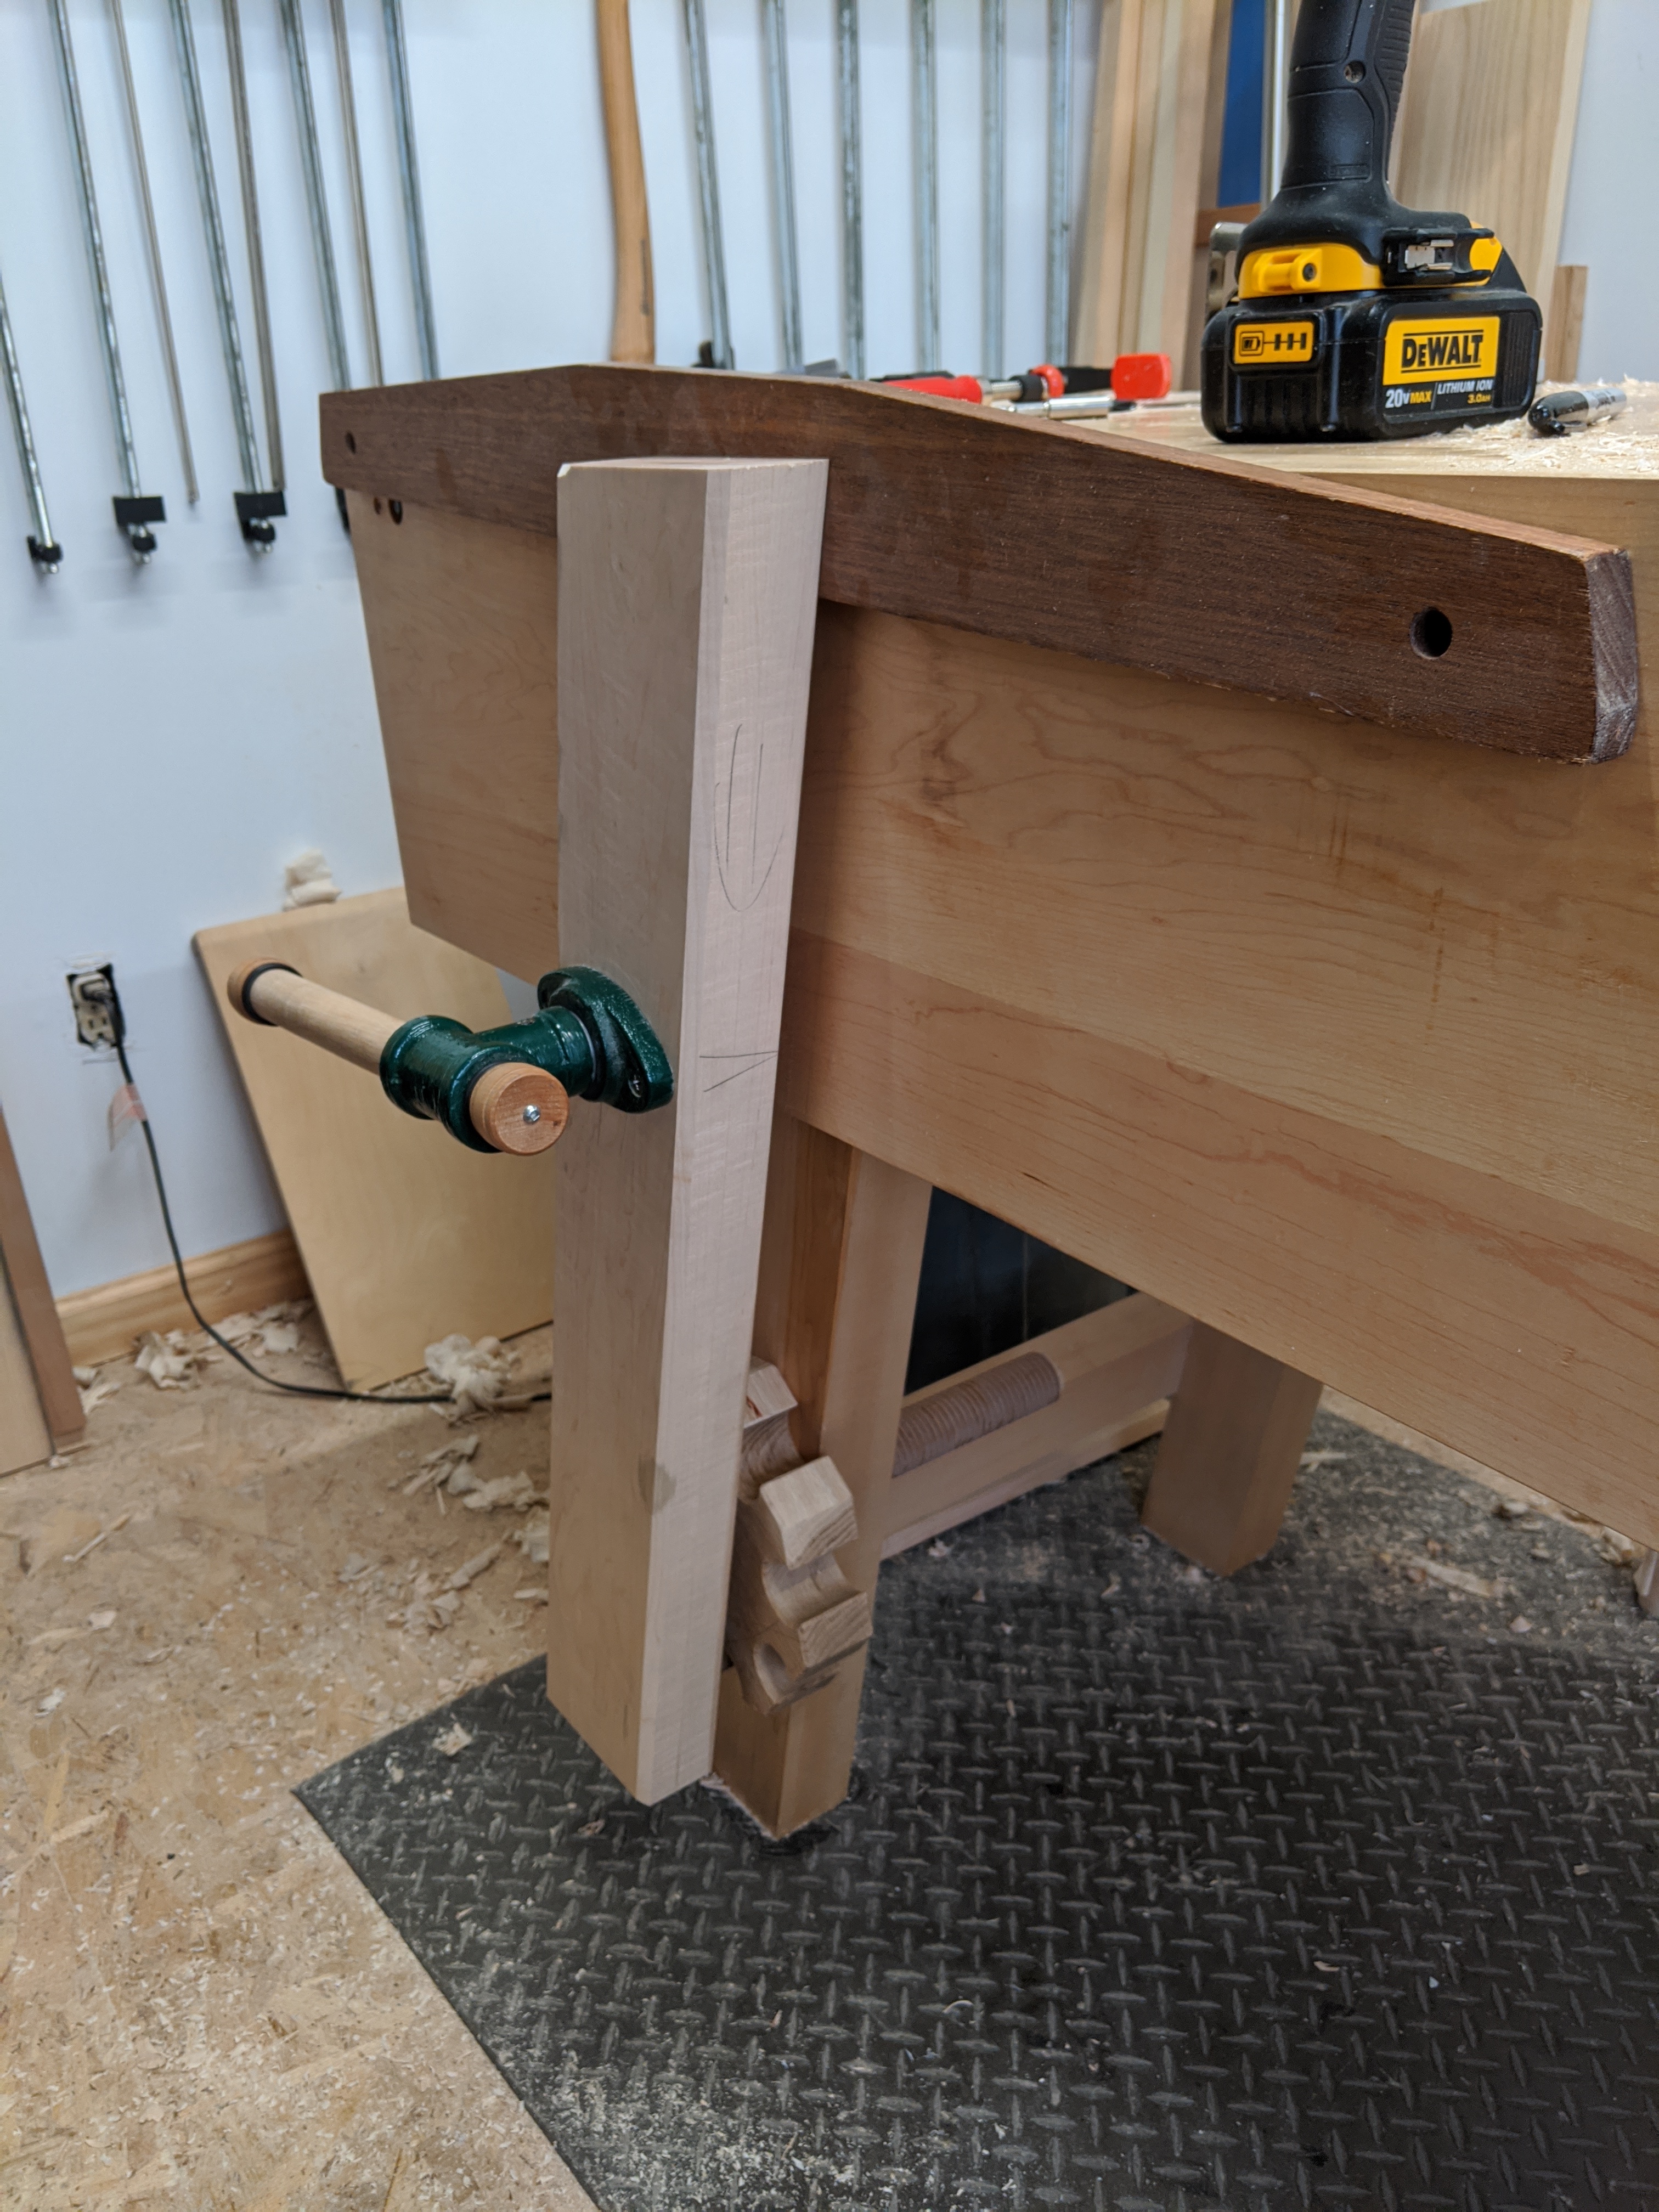
Once upon a time, I made a leg vise with a cog on a wooden screw instead of a pin board.  I worked with it for about four months and can definitively say that I prefer it to a pin board.  But 1.25″ for the wooden screw is a bit thin, in my opinion.  So when it came to install a leg vise on the new workbench, I took the chance to perfect the form and use a full 1.5″ screw and a beefier cog.

IMG_20200417_141108.jpg

Still need to shape the vise chop a bit.

The main screw for this leg vise is scavenged from the prior leg vise.  It’s just one of those European screws marketed as a “tail vise” screw.  I had intended to make a new wooden screw with my JJ Beall Big Threader, but none of my 1.5″ dowel stock is straight enough along.  So I scavenged the screw from the leg vise on the reclaimed maple console table, which has over 12″ of thread.

The cog is 8/4 quartersawn white oak.  It’s dense and stable and was honestly the only 8″+ wide stock I had already milled.  What matters is it’s large enough that the teeth of the cog will protrude beyond the edges of the chop, so it is easily worked with your feet.

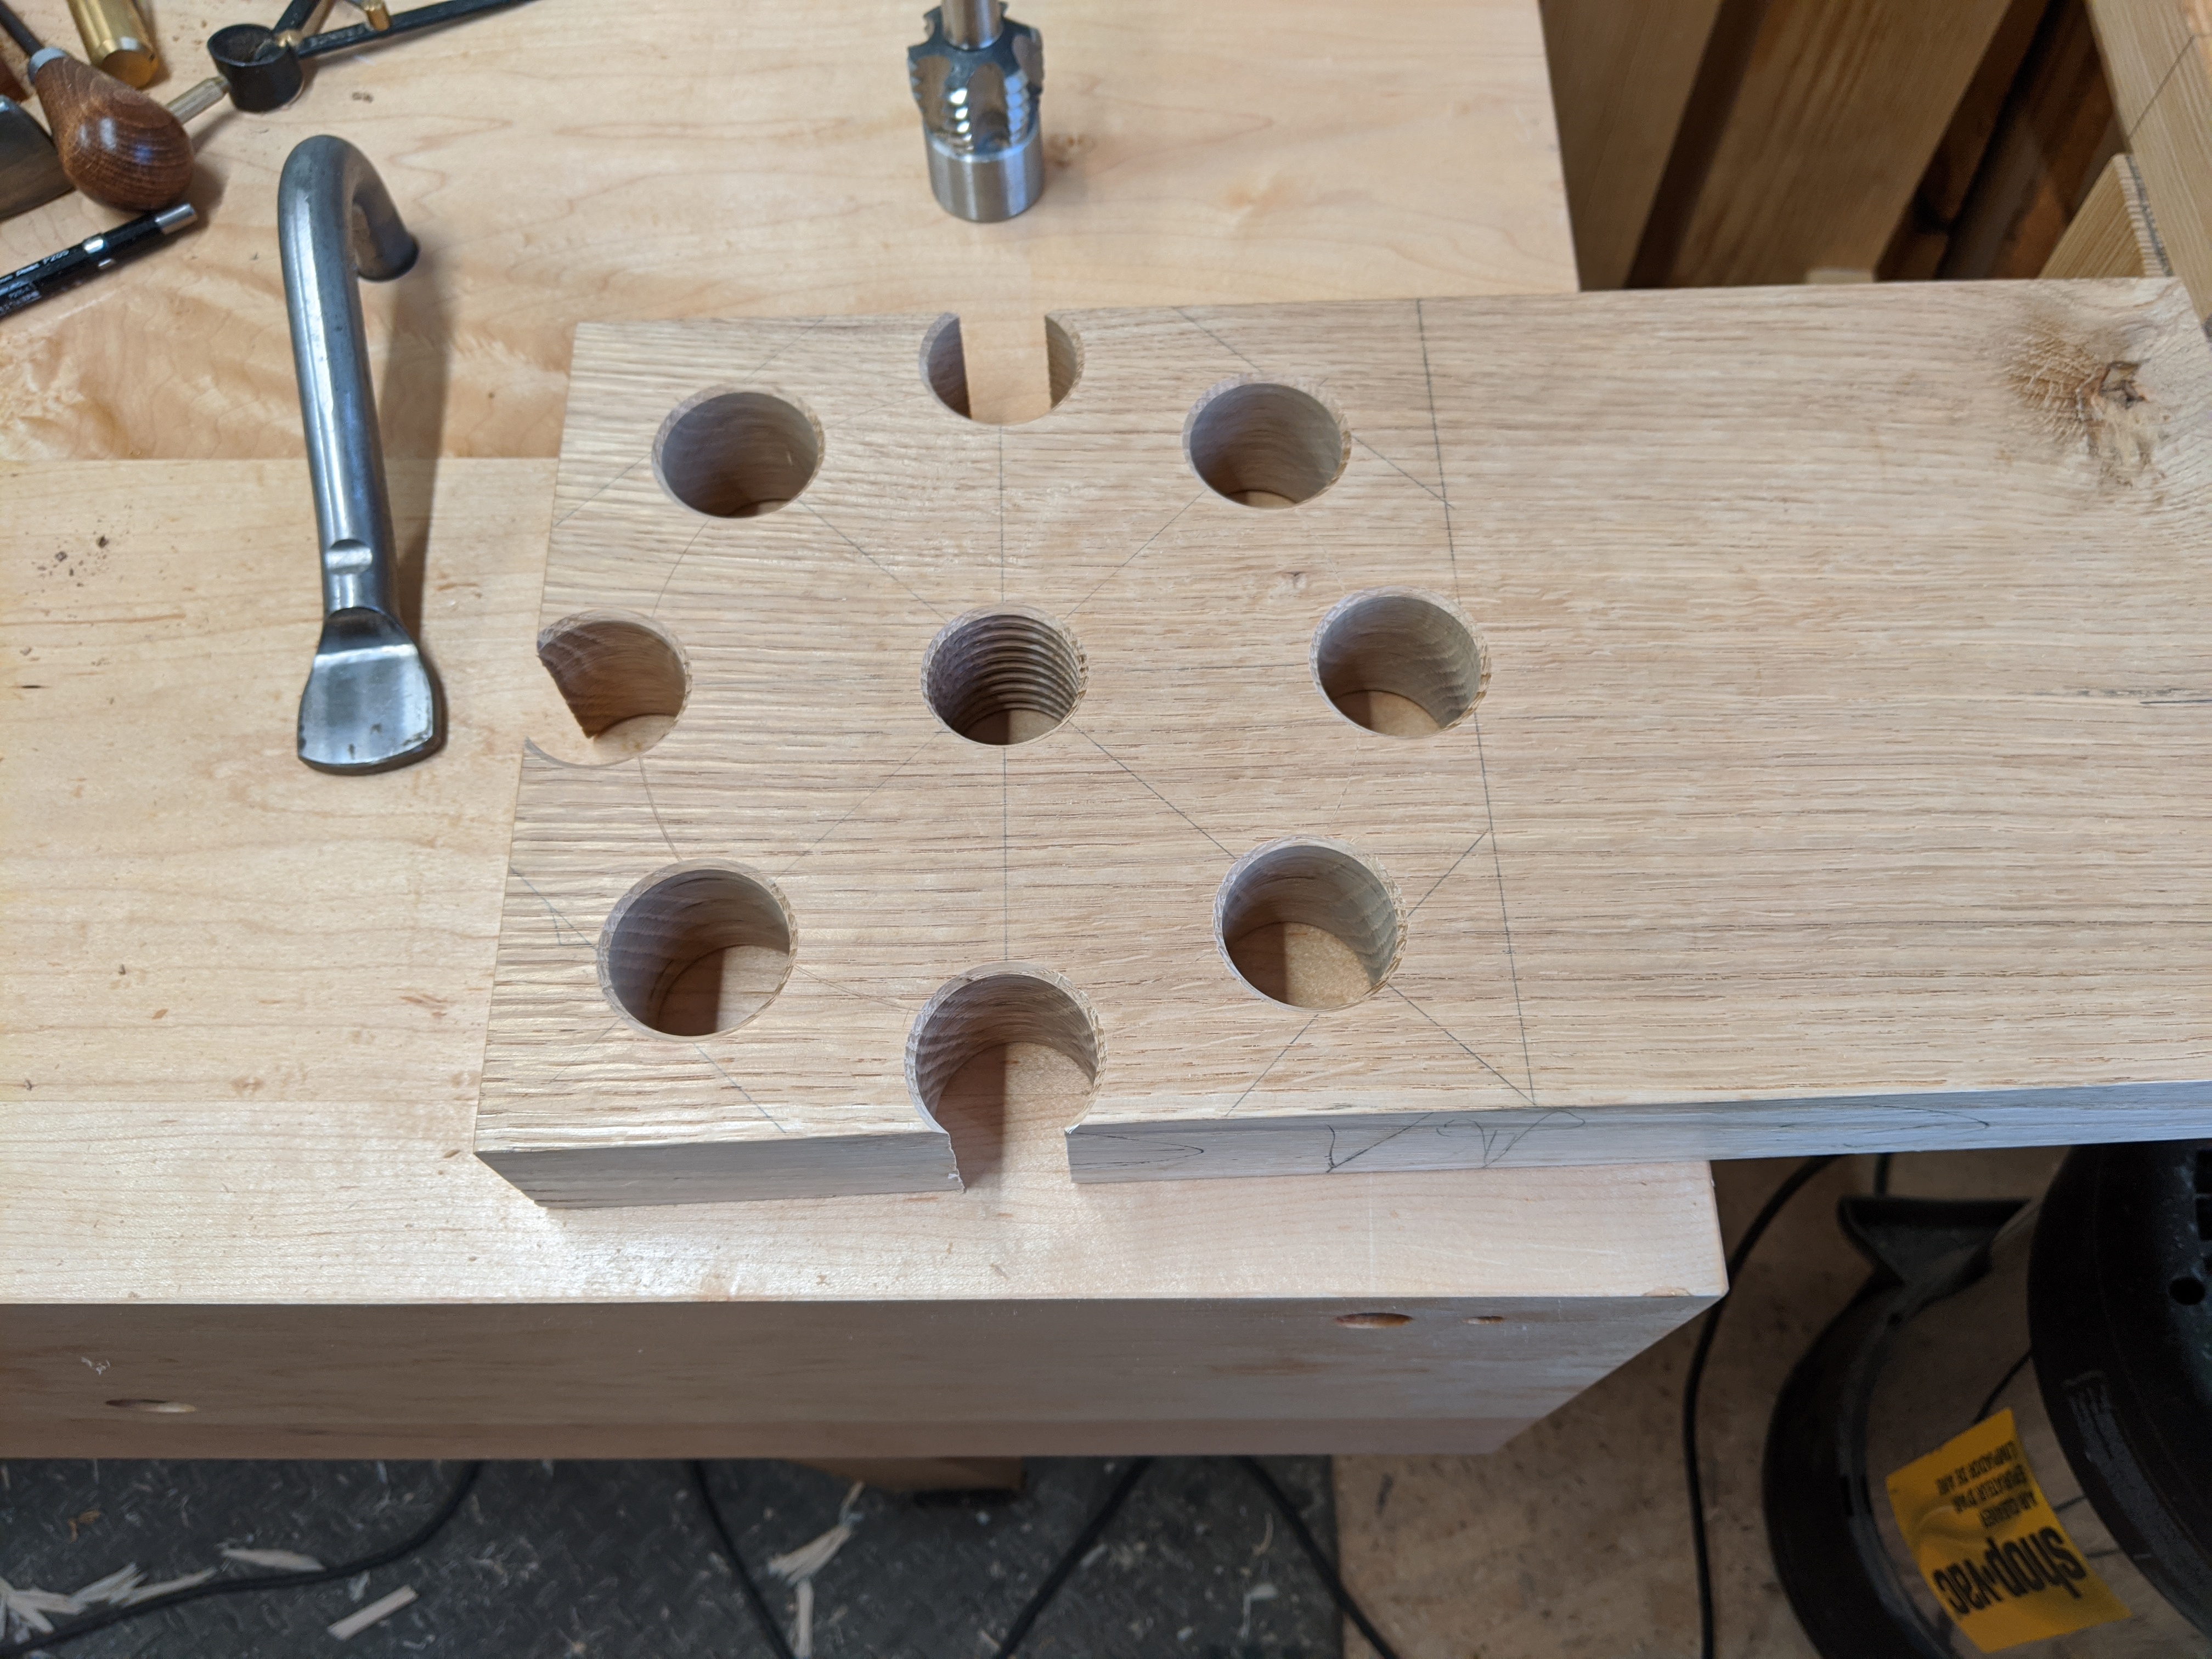
The cog is pretty easy to make, if you take it in steps.  I began my marking and drilling out on the drill press the 1 3/8″ center hole for tapping, and eight 1.5″ holes to form the teeth.  Eight teeth is plenty.  Everything gets a light chamfer with a trim router.

IMG_20200417_095140.jpg

I find it’s easier to do the boring when it’s part of the larger board.

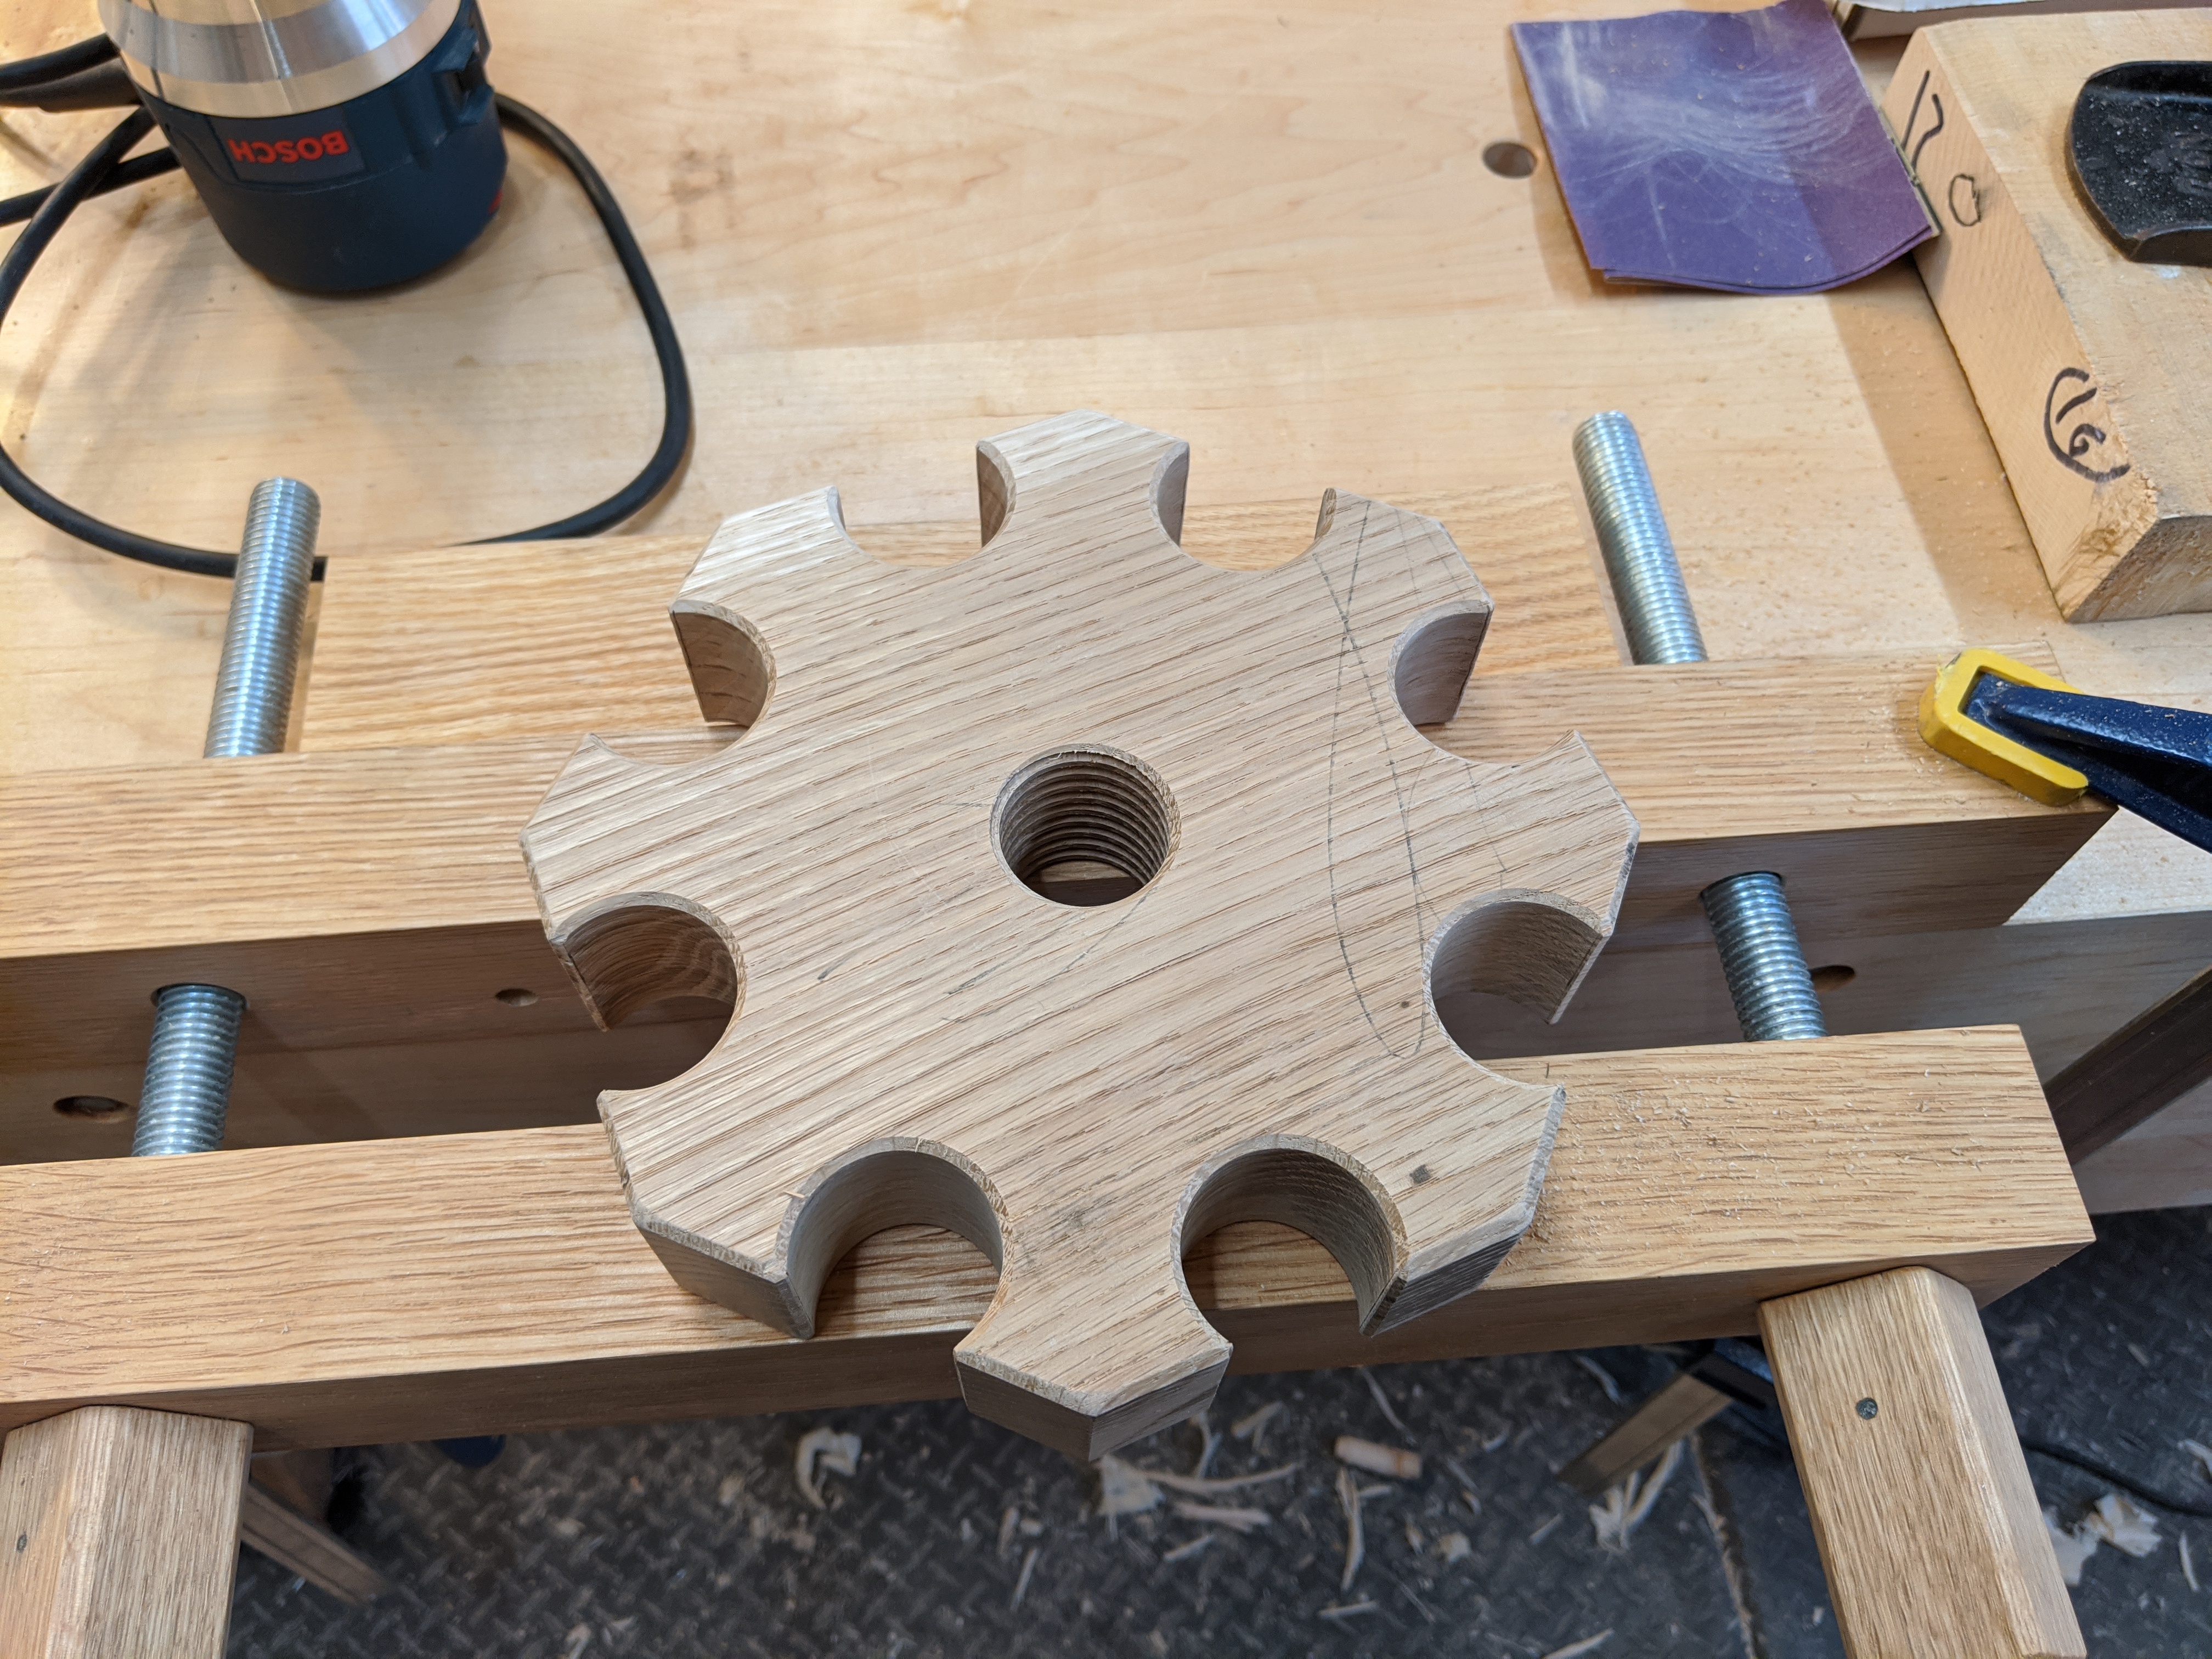
It’s then trimmed to final size, first cut to square, then the corners taken off at 45 degrees.  I ended up taking another 1/8″ or so off each side, so the teeth of the cog weren’t quite as sharp.   Everything gets one more set of chamfers and hand sanding to break any more sharp edges.

IMG_20200417_100958.jpg

The flat face points inward, where it contacts the leg.

All that’s left is to bore the hole in the chop for the cog screw.  Don’t bore it too deep.  You need at least 1/2″ of wood for the screw to press again.  Otherwise, it might blow out if you’re really cranking down.  I just use wood glue (although epoxy would work too) and I make sure the screw is perfectly perpendicular to the vise chop.  You could angle it slightly upward (to create natural toe-in alignment), but I don’t think it’s necessary if your main screw is otherwise perpendicular.

IMG_20200417_133708.jpg

Keep track of your reference surfaces and alignment is a breeze.

This cog has some real heft to it.  A decent spin with the foot and the cog spins under its own momentum.  A real improvement over the 1′ hard maple cog on the last workbench.  I will say the angled chop makes it a slightly harder to get at on the right side (the tightening side).  But it’s not too much effort.

Is this method more economical than a criss-cross or a pin board?  Not really.  But it works great and I highly recommend it.  Just remember to ream the hole in the leg vertically.  Otherwise, the cog screw will bind if it’s not perfectly in alignment with the main screw.

JPG
Keeping it Together

Fair warning: this post is actually a “how to” on a method for reinforcing a joint where you’re joining two boards at a right angle by screwing through the face grain of one board into the end-grain of the mating board.  If that interests you, please proceed.

I recently built a “The Naked Woodworker” workbench, partly for the intellectual exercise of it and partly because my brother needed a workbench for his recently-expanded garage.  I have mostly good things to say about the design and the ease of construction.  I was able to put the entire bench together in less than 12 hours time of shop time stretched over two days (one long, one short).  Had I let the wood acclimate a bit more before construction, I bet could have done the whole thing in a single day.

IMG_20200209_151433.jpg

This was about 6 total shop hours in.

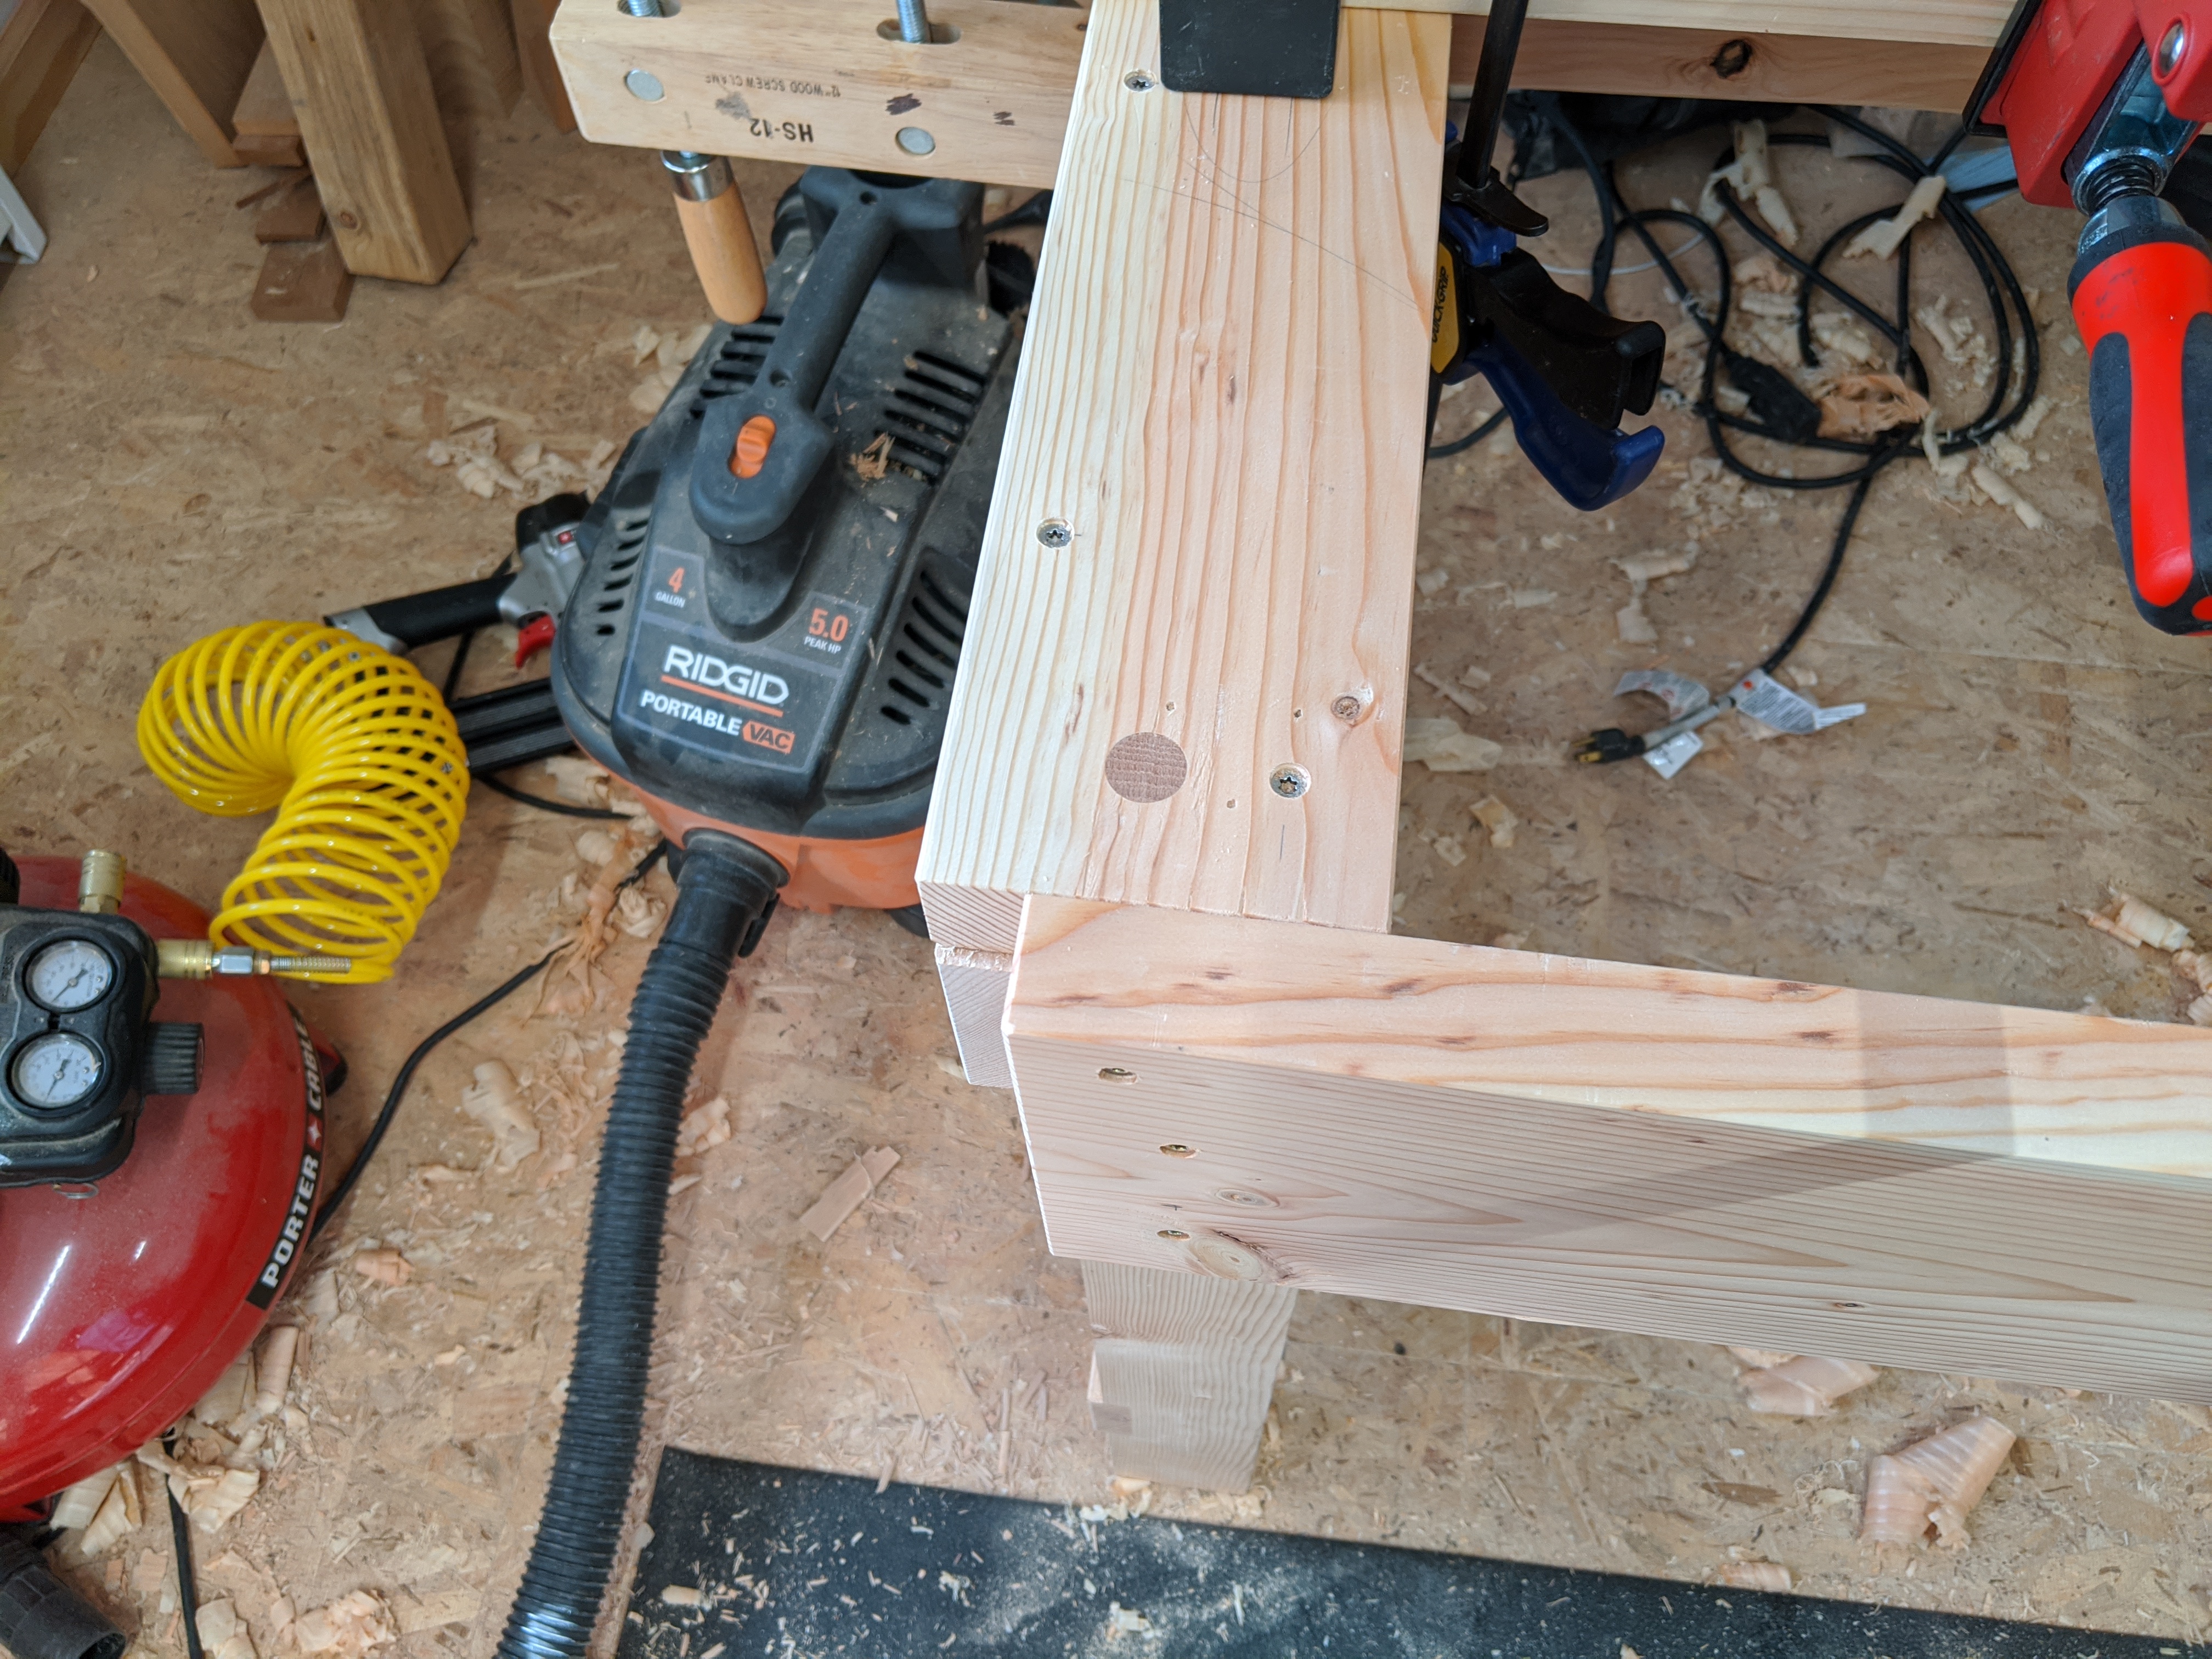
The bench is mostly glued and screwed together, but there are two joints where boards are joined at right angles with just screws through the face grain of one board into the end grain of the mating board.  One such place is the top rails of the leg assemblies (seen above).  The other is the number of bearers stretched between the aprons to which the top is eventually screwed down.

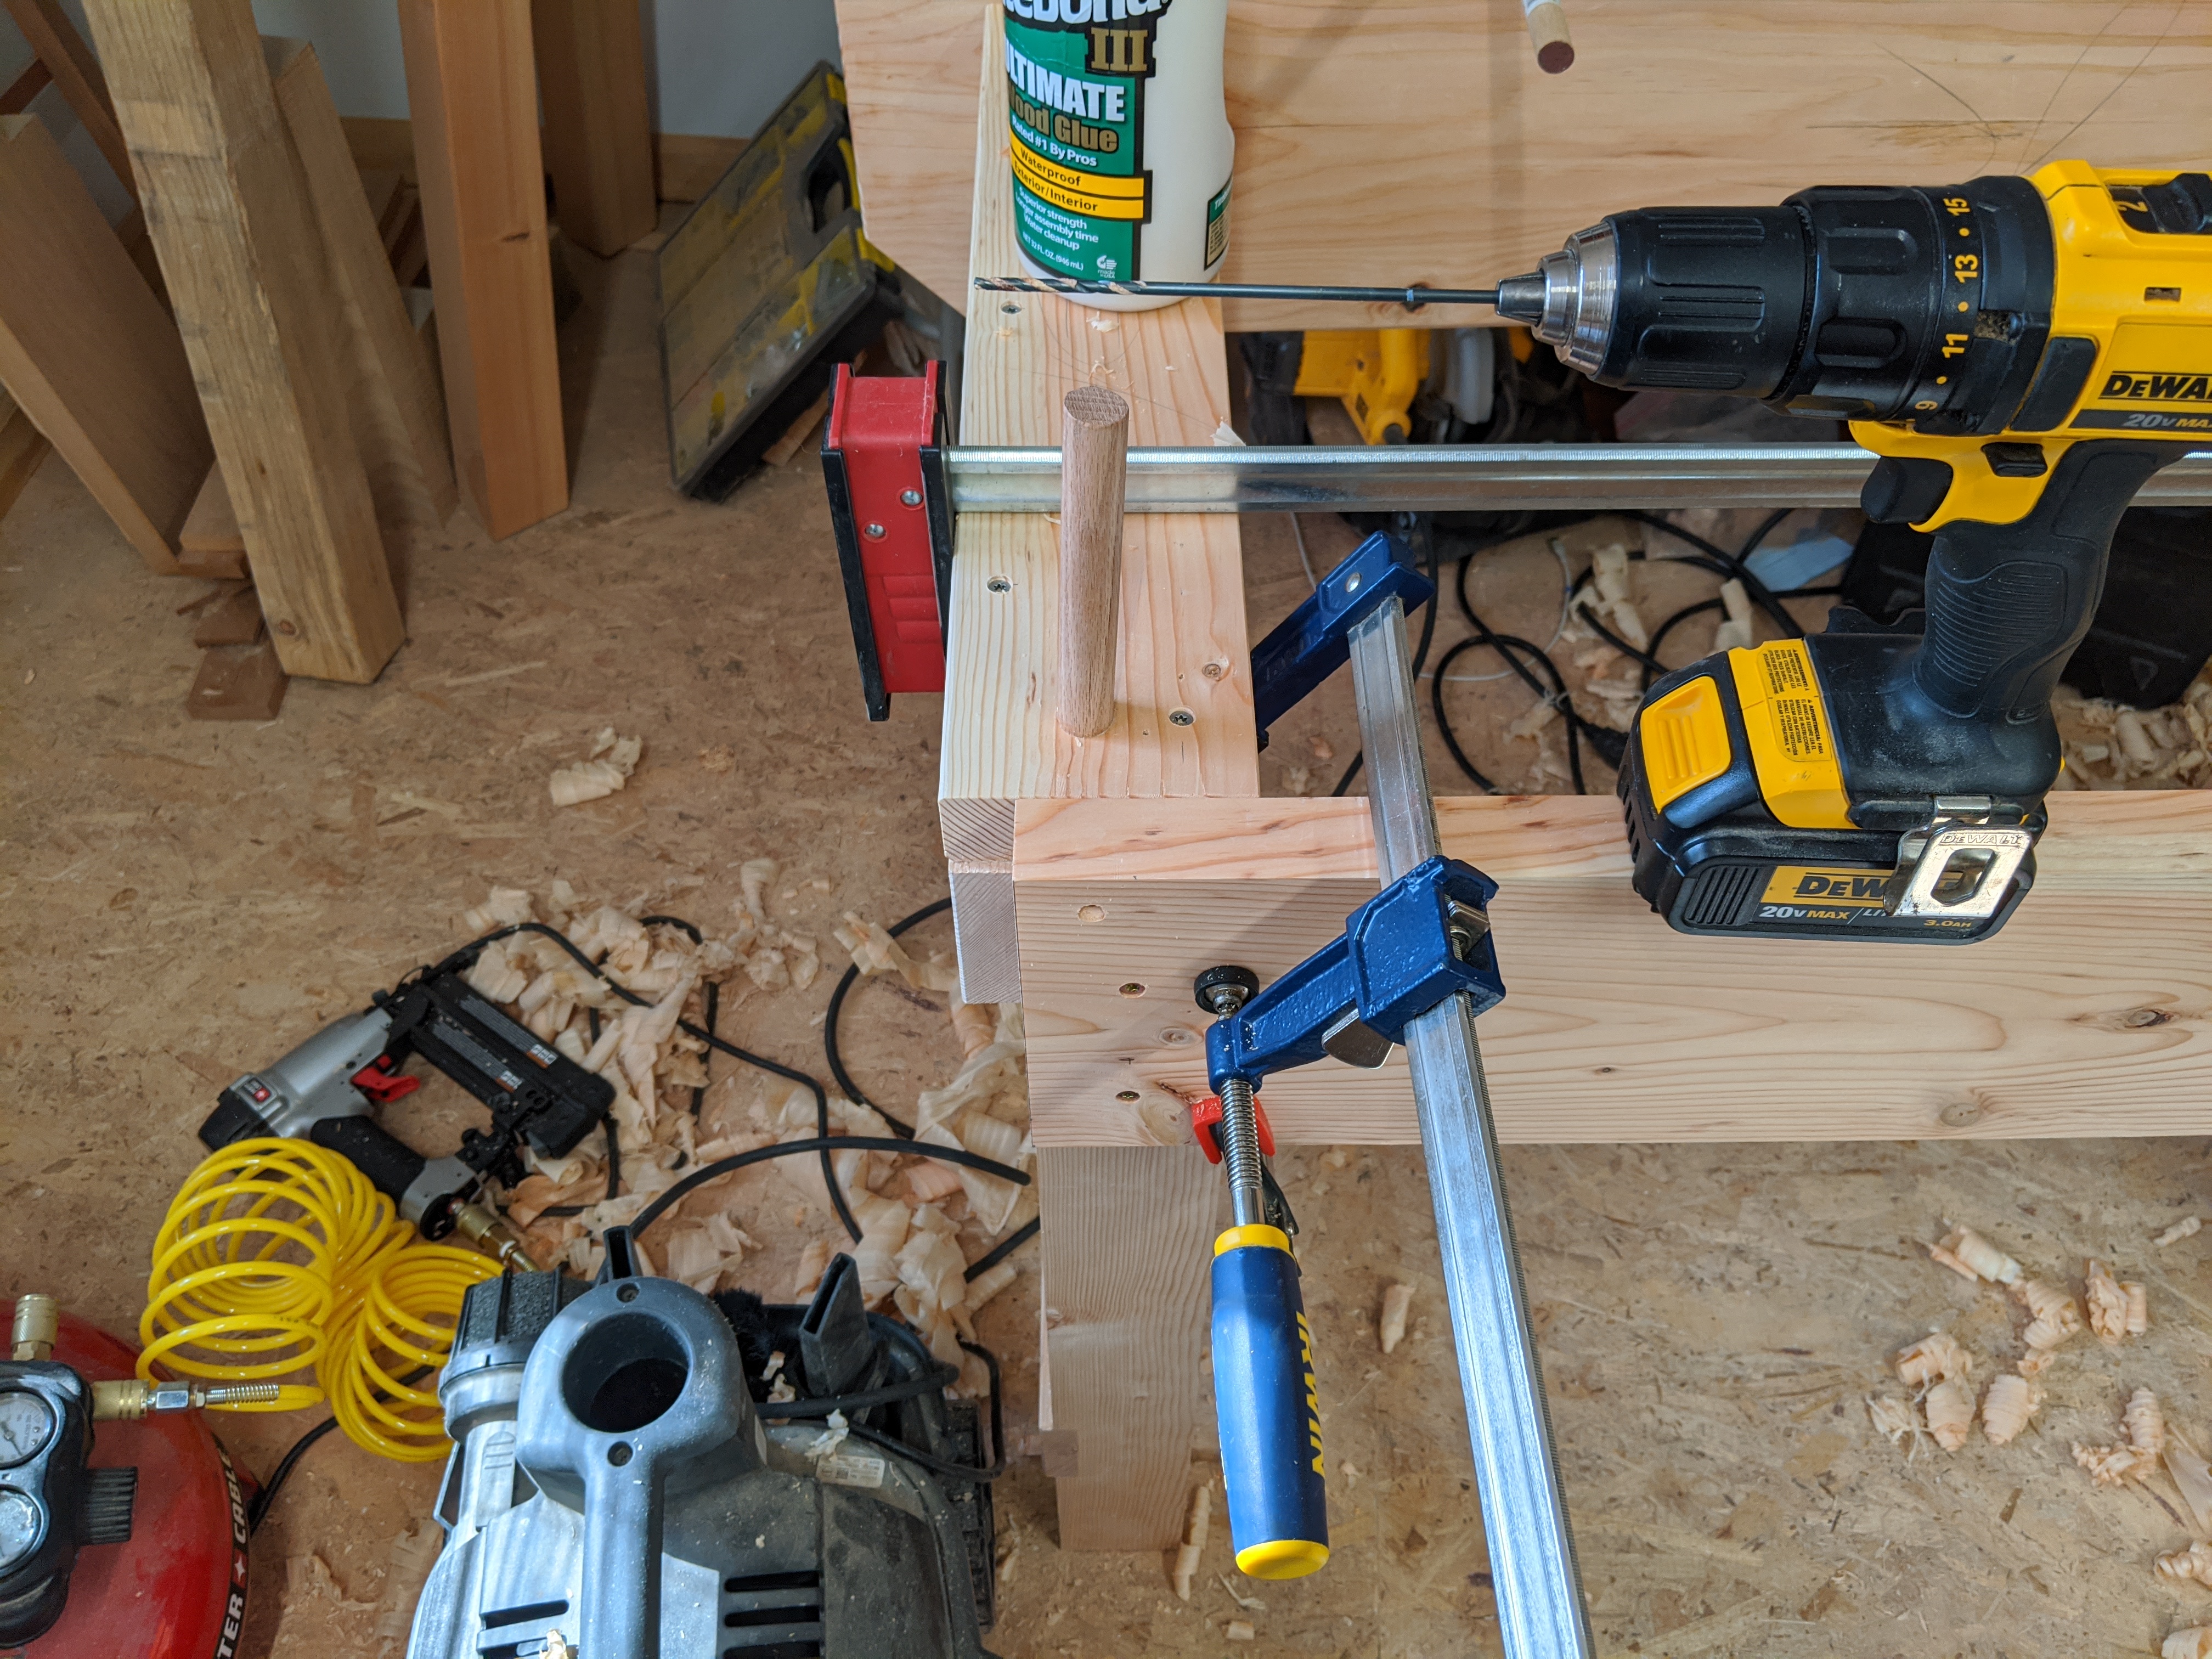
Screws into end grain, especially late growth softwood, is not the strongest joint.  In an abundance of caution, I sized all the end grain and glued it as best I could.  But it was still a bit shaky in places.  So when using up the last bits of construction lumber to make a shop fixture, there were a couple of places where screws into end-grain just wouldn’t cut it.  Instead, I utilized a 3/4″ oak dowel like a bench bolt to give something for the screw to bite into.

IMG_20200223_125615.jpg

I’ve been using my 18 gauge brad nailer more, these days.

Please note, I cannot take credit for this technique.  I learned it from a Popular Woodworking video on making a quick and dirty first workbench.  It shows up in the first half of the linked video.

First, bore a hole to match the dowel (3/4″ in this case) and glue it in place with the rings perpendicular to the direction the screw will penetrate.  While not critical, this will reduce the likelihood of the dowel splitting and weakening the joint.  Anything over 1″ is probably enough.  I went the full 1.5″ that my drill guide could handle.

This hole is 1 5/8″ on center, meaning there is a full 1 1/4″ of material for the dowel to lock against.

IMG_20200223_120830.jpg

The boards cupped a bit after planing.  More stable stock would not have needed this screw.

Next, drill a pilot hole for the screw, all the way through the dowel.  For cleanliness, I first countersank the hole, then finished it off with a long drill bit.  Red oak is tough, even for self-drilling deck screws.  Better not to risk it.  An extra long bit lets you sight to ensure the pilot hole passes through the dowel.

IMG_20200223_121142.jpg

Luckily, this extra long bit (the only one I own) was perfect for the screws in use.

Finally, drive the screw and flush up the dowel.  I use a flush trim saw and either a chisel or a plane, depending on how much material remains after sawing.

IMG_20200223_125615.jpg

Never to be seen again once the top is attached.

If done right, this joint is tremendously strong (at least compared to screwing into end grain alone).  Bench bolts are not terribly expensive, but oak dowel and screws are undoubtedly cheaper.  And, to be fair, this method requires less prep and fuss.

And less prep and fuss is what shop fixtures are all about.

JPG
Rethinking my Life Choices

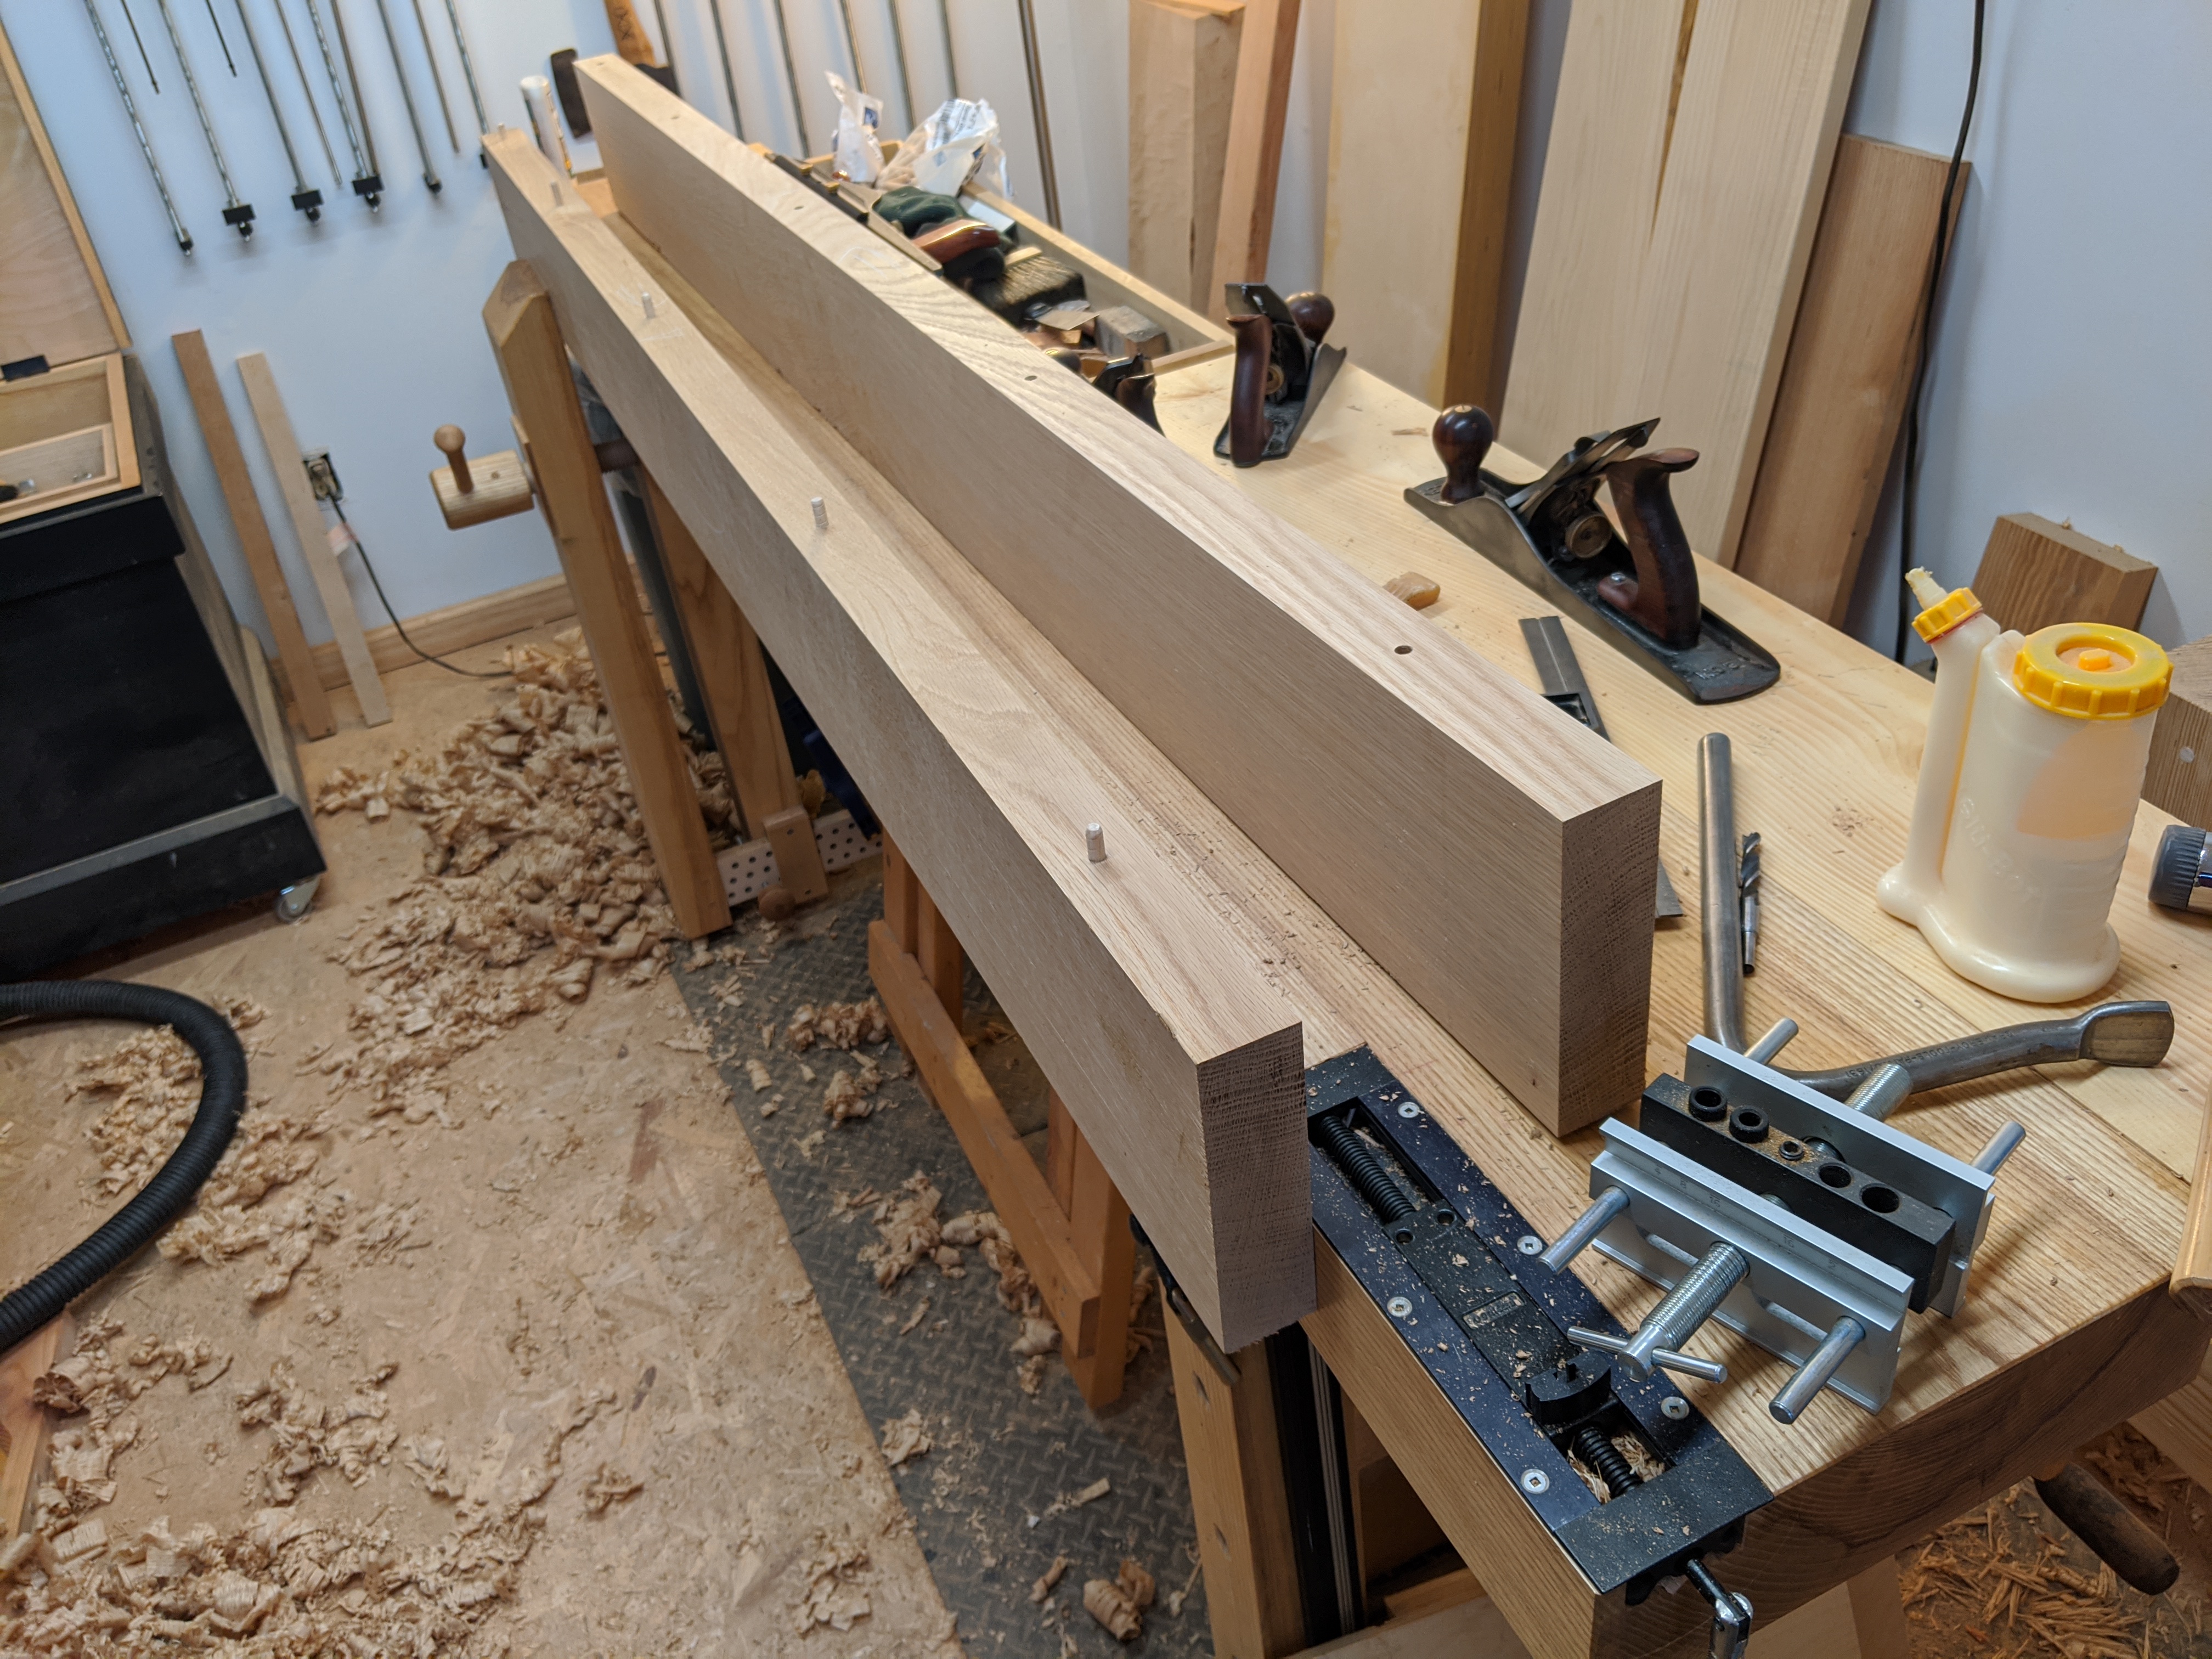
A funny thing happened on the way to the workshop the other day.  I had four, 8/4 White Oak boards to laminate into a tabletop for the new compact Nicholson Workbench.  At over 20″ wide, the lamination would be far too wide for my lunchbox thickness planer.  And I needed as much thickness as possible for the final lamination so the workbench top would be as stout as possible.  So keeping everything aligned through the various glue-ups was paramount.

So I turned to something that cannot by any stretch be classified as a hand tool.  A self-centering dowel jig.

IMG_20191126_081545.jpg

I absolutely adore this thing.

Using dowels for alignment actually serves two purposes.  First, it does the aforementioned aligning so any minor bowing along the length of a single board does not otherwise ruin the straightness of the glue-up.  Second, it reinforces the glue joint so if the glue fails, the entire thing doesn’t just fall to pieces.  It’s not as good as dominoes, obviously, but it’s also way cheaper.

Now I like to think that with a jointer plane and some car I can have a joint that will never fail.  And it probably won’t.  But the peace of mind of the reinforcing dowels is nice to have.  It matters more for larger timbers, though.

IMG_20191126_081607-1.jpg

And spiral dowels are cheap.

The most important thing, though, is to make sure your dowel holes align.  This is more about keeping track of how you’re flipping the boards than anything.  Otherwise, you’ll use your extra dowels to fill in erroneously-bored holes.  And that’s no fun.

Trust me.

JPG

An Iterative Process

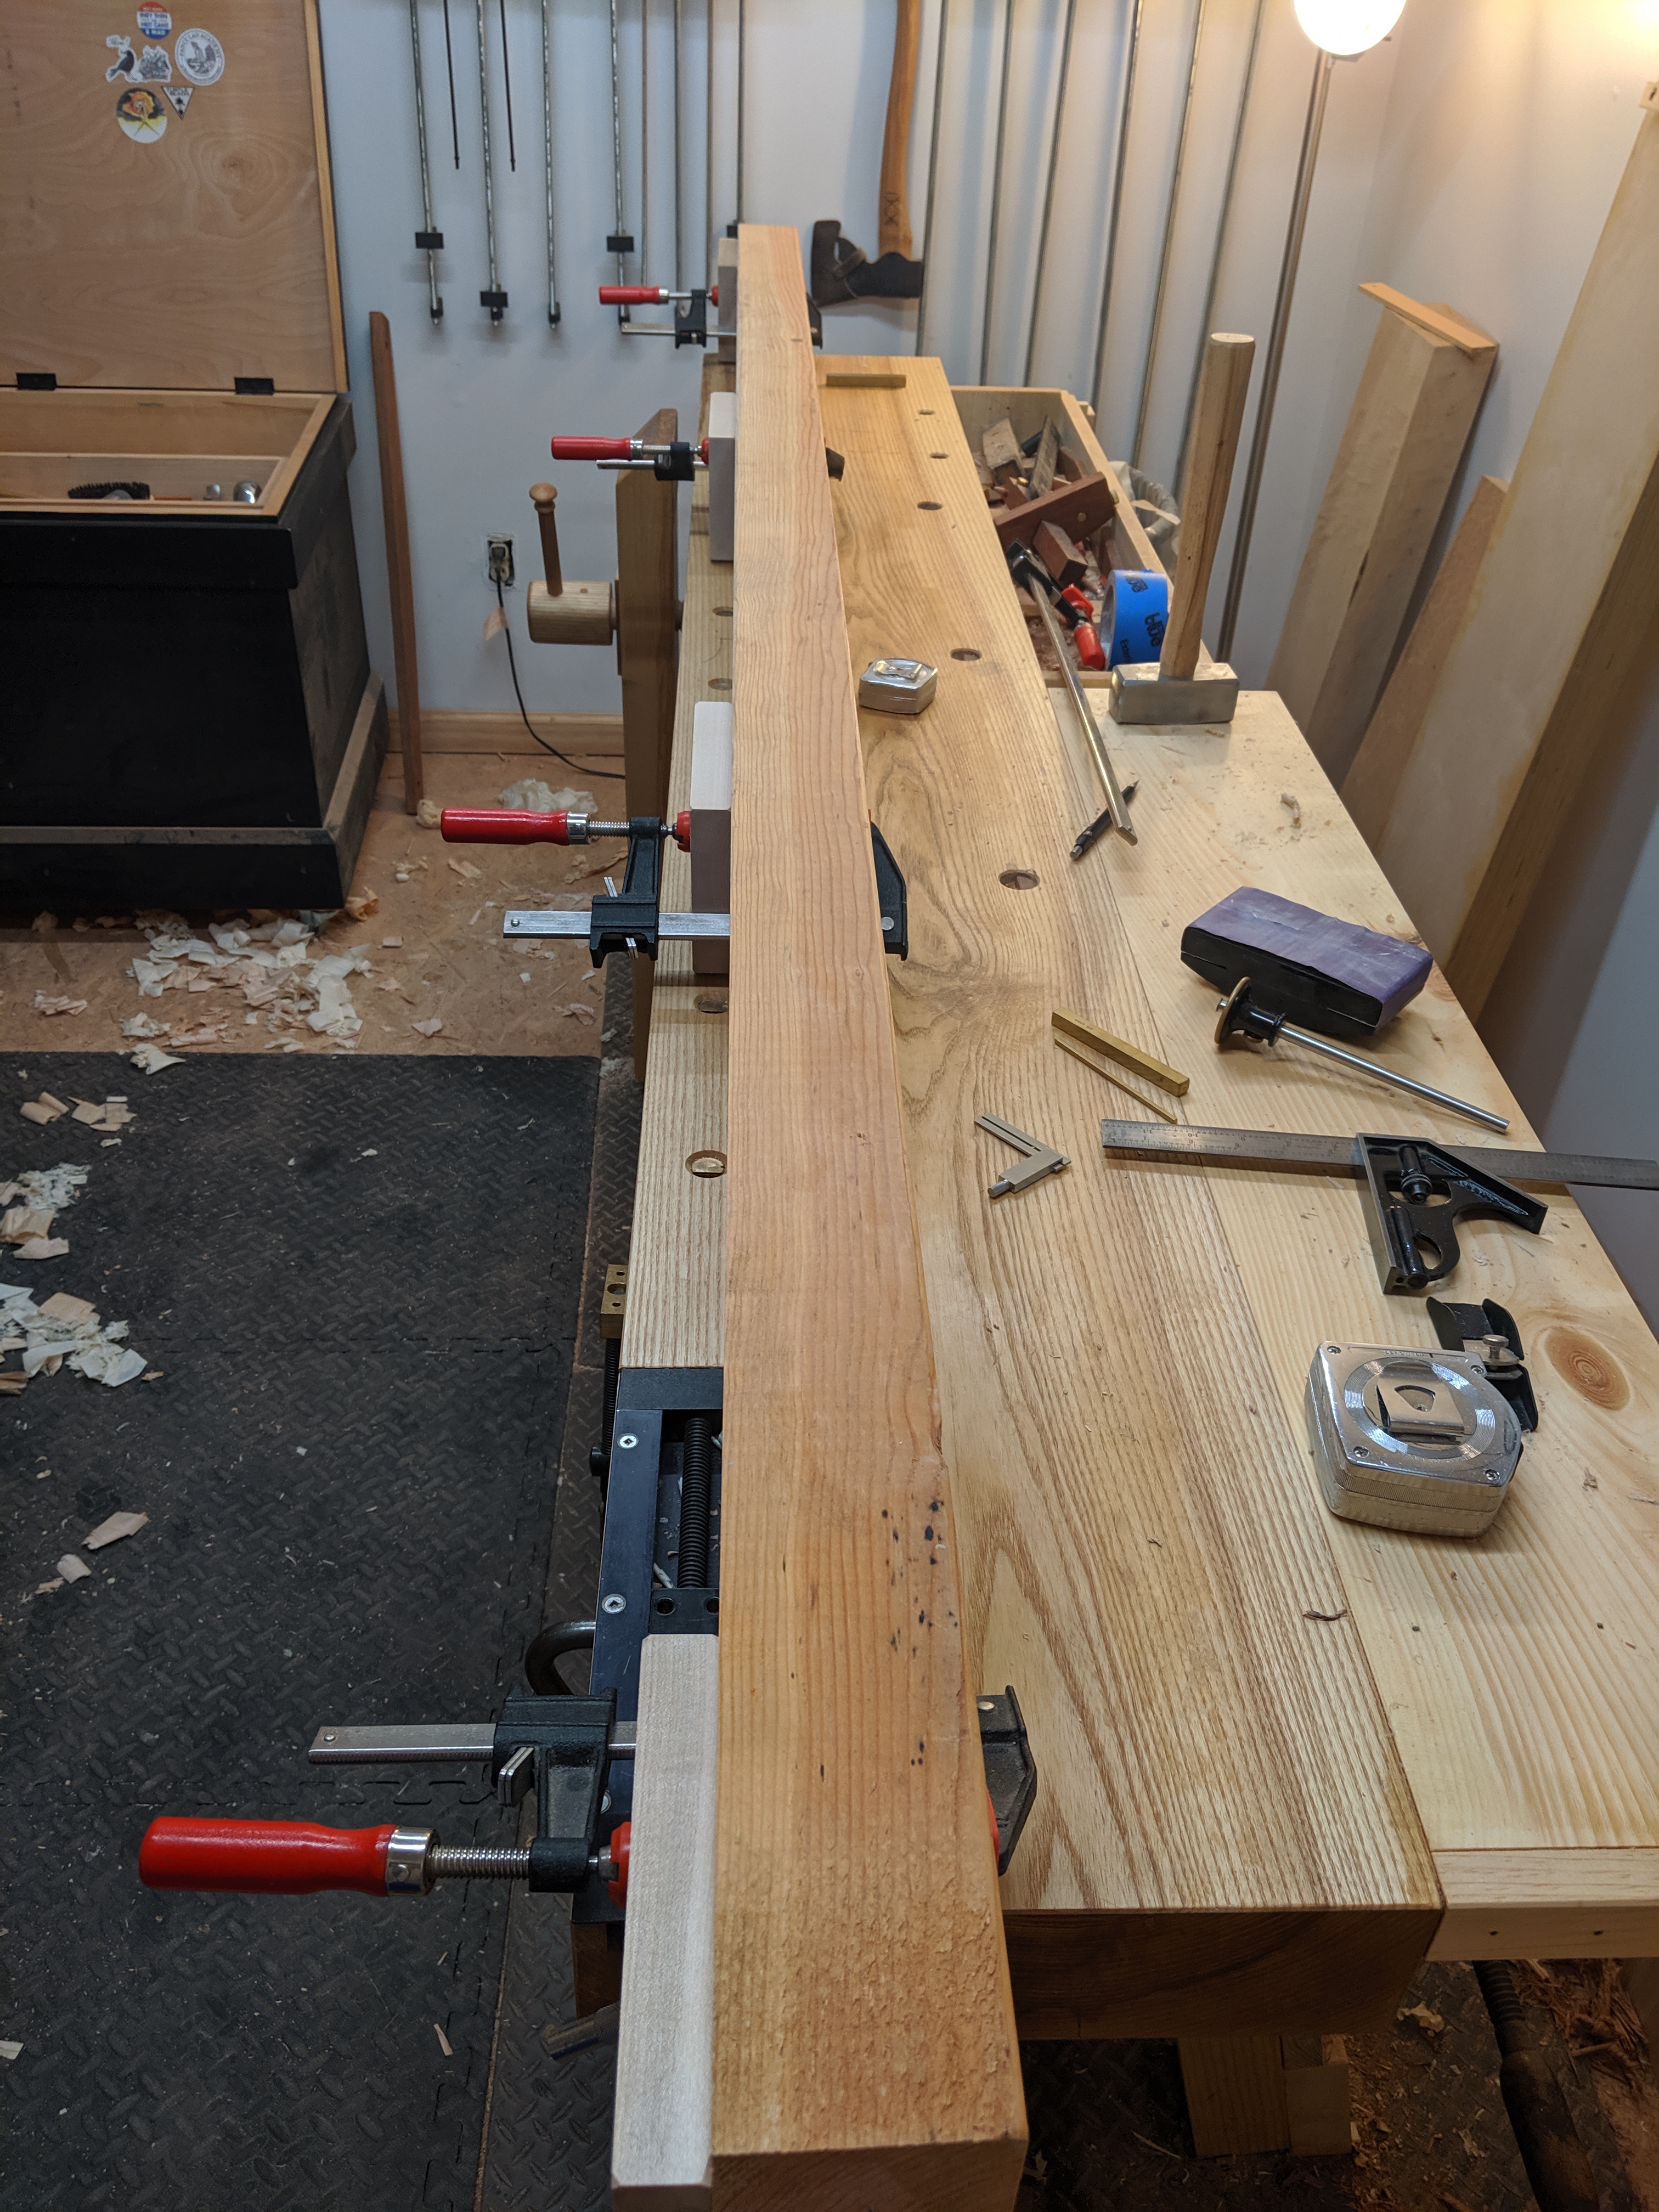
Not everything goes to plan the first attempt.  Any decent woodworker has internalized that fact.  Take, for example, a jointing sled I recently made for my thickness planer.  It’s a jig consisting of a tried and trued 2x4x96 with four boards glued and screwed at 90 degrees to the jointed edge.  And it worked okay, I guess, on the first try.

IMG_20191004_070557.jpg

Iteration 1.

See, here’s the thing: I consider myself to be a hand tool woodworker.  But after truing one face and squaring one edge of a board, bringing the other face and edge into parallel by hand starts to feel an awful lot like actual work.  That’s where a thickness planer comes in.

But for a very twisted board, even squaring that one edge to a trued face can be more of effort than I’m willing to expend.  And that’s where this jointing sled comes in.  I can clamp the trued face to the uprights with F-Clamps and send it through the thickness planer to square the edge.  A quick hand planing will address any errors and then back to the thickness planer for S4S.  Just as if I had done the donkey work of hand squaring that first edge.

IMG_20191004_070729.jpg

The clamps go the other way around.

But my prototype sled didn’t work perfectly.  Just clamping to the 90 degree uprights didn’t support the board enough.  Compression from the planer’s rollers bowed the wood and planed a big hump along the length.  I tried using brass bar stock to support the beam but they kept falling out or shifting because of vibration.

IMG_20191004_070601.jpg

And I didn’t have enough for the entire length.

In the end, I added adhesive-backed sandpaper to the uprights and used hot glue to shim under the length of the beam.  Just like a normal planing sled.  This made the whole thing quite a bit more rigid and minimized the hump, even if it did add a bit of prep time.

But it was still less pretp time than hand-planing that edge square.

JPG


Everything Old is New

They say that everything in furniture making is either a platform or a box (or both). And I say that sometimes it feels like everything my woodworking life is either a workbench or a tool chest (or both).  So let’s talk about the latest tool chest.

IMG_20190717_180954.jpg

I’m a big fan of this red color.

I’ve built a Dutch Tool Chest before. I think the form has many advantages, especially in the small home shop where the shallow profile efficiently fits into the floor plan.  I just hated squatting all the time to get at my joinery planes, which is why I switched to a proper floor chest.  But that’s not really an issue when using the plywood low workbench.  In fact, one could skip the lower compartment all together and just have the top till area.  Which I did.

IMG_20190704_063216.jpg

You’re already squatting when working on this workbench.

The great virtue of a dutch tool chest is how easily it goes together with much less material compared to a rectangular chest.  The joinery consists of dovetails on the bottom two corners and nails or screws for everything else (plus two rabbets if you build a proper one).  The entire case (which has inside dimensions of 11.25″ x 23″ x 15″) came together in an afternoon from a single ten foot pine 1×12 from the home center:

  • Two sides:  one board, 26″ long  and full width (crosscut at 20 degrees to form two boards)
  • Bottom: one board, 24″ long and full width
  • Back: two boards, one 24″ long and full width, one 24″ long and ripped to 5″, shiplapped (T&G also would have worked)
  • Front: one board, 24″ long and full width

The remainder of that first board became the tool rack and the skids on the underside.  If I had started from a twelve foot pine 1×12, I probably could have gotten the lid too from that single board.

IMG_20190706_115148.jpg

Everything is 5/8″ thick.

This tool box wouldn’t hold a full set of woodworking tools.  But it’s definitely big enough to hold everything a beginner hand-tool woodworker would own. Especially with the chisel rack and the saw till.  I even made a straightedge specifically for this tool chest.

IMG_20190717_063000.jpg

That’s a salvaged saw till from a prior tool chest.

As of today, it’s stuffed with my spare tools: both a No 5. bench plane and a No. 4 bench plane, a full set of back saws and most of a set of chisels, together with diamond plates for sharpening, a hammer, a chisel mallet, and the essential marking tools (including combination square).  A small panel saw that would fit too, but I don’t own one that small that is not one of my regular tools (at least not until I break out the angle grinder).

Even with all of that loaded in, it’s still light enough to carry around and fits easily in the back of my SUV.

This is another one of those “I wish I had known about it when I first got started woodworking” projects.  I would have made this entirely with screws and plywood, or rabbets and nails in dimensional pine.  No dovetails needed.  And it would even match the plywood low workbench.

Speaking of which, it’s time to take the plunge on boring the rest of the dog holes in the laminated slab top.  But I’m ready.

JPG

Gusset (noun)

noun
noun: gusset; plural noun: gussets
A piece of material sewn into a garment to strengthen or enlarge a part of it, such as the collar of a shirt or the crotch of an undergarment.  A bracket strengthening an angle of a structure.

IMG_20190414_103255.jpg

This is a gusset.

Joining two or more pieces together is an interesting endeavor.  Some joints, like dovetails or mortise and tenon joinery, have tremendous mechanical strength (especially when force would largely be applied in the direction of that mechanical strength).  Other joints, like rabbets and dadoes, offer greater strength than a simple butt joint, but nonetheless require some fasteners to achieve a durable connection.

But what about butt joints?  In theory, a face grain to face grain glue-up using a modern PVA glue with upwards of 3,000 psi in glue strength should do fine on its own.  Prudence dictates adding a metal fastener or two perpendicular to the mating surface to prevent the joint from sliding over time under normal force.  Forces are not uni-directional all the time, however.  And specific woods are not ideal for every application.

IMG_20190413_145622.jpg

With a 4 sq. inch mating surface, the glue theoretically asserts 12,000 lbs of force at the glue line.

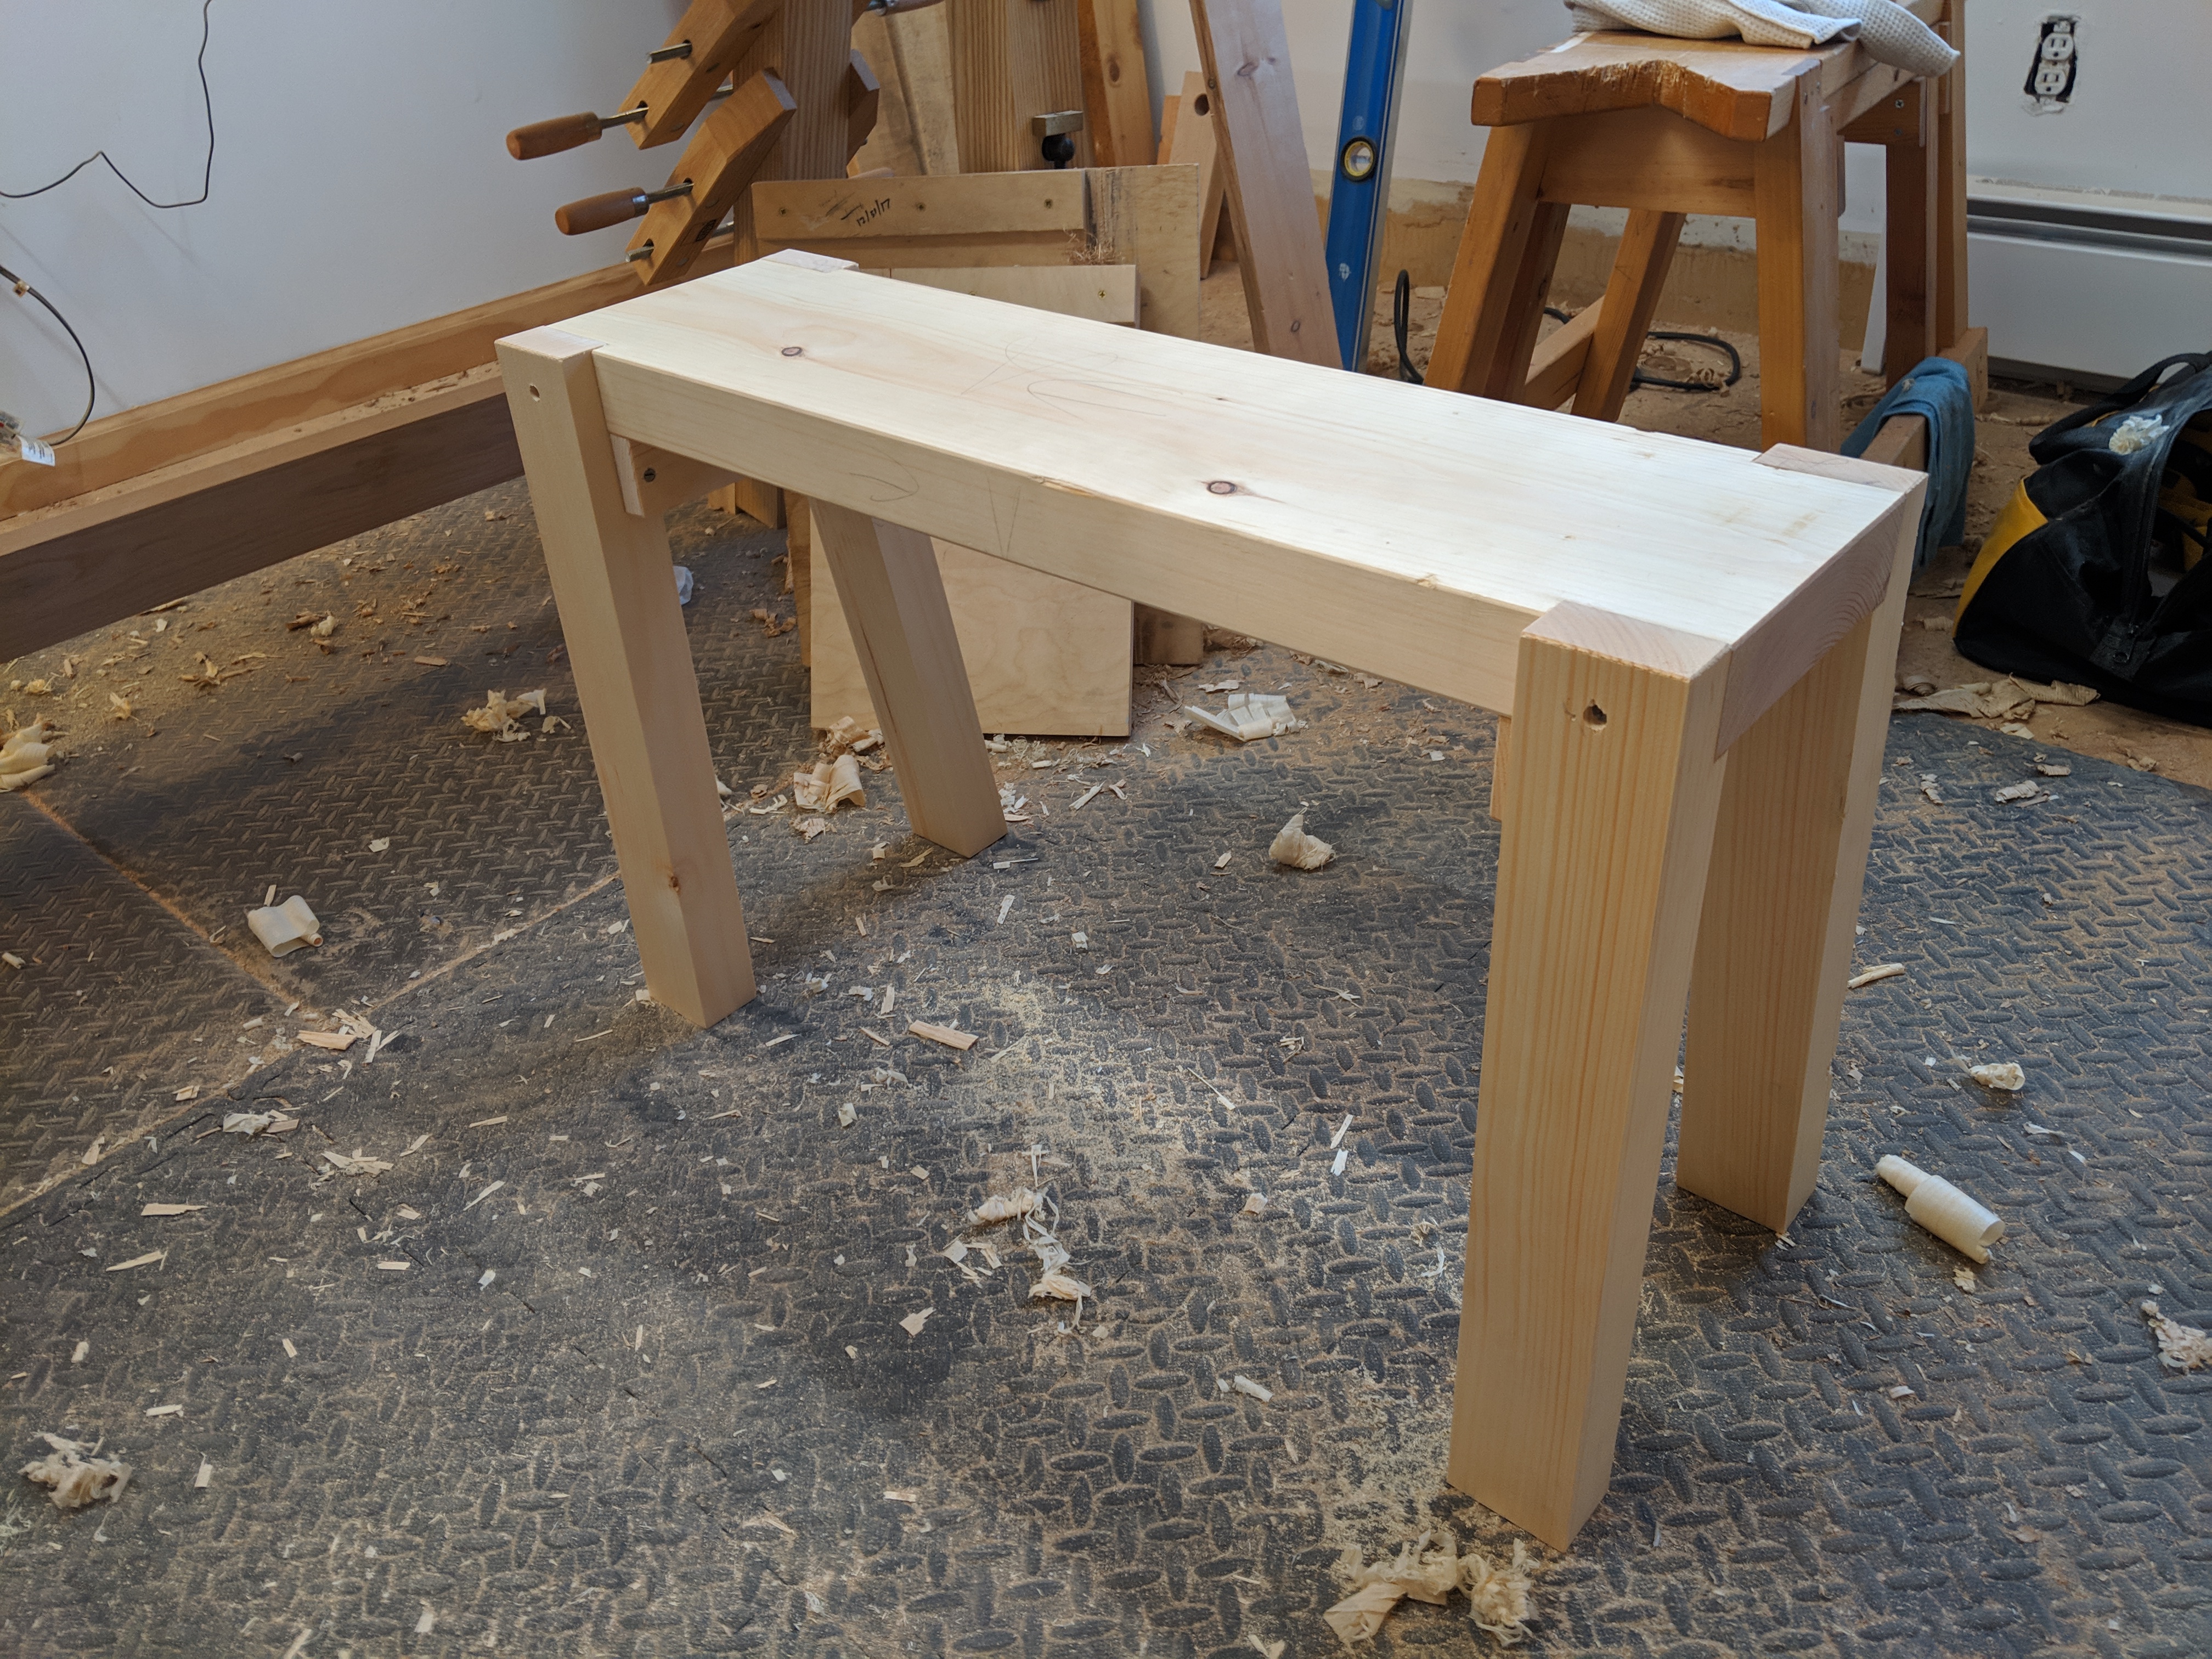
Take, for instance, the above-pictured “saw bench”.  Although patterned somewhat on the Schwarz design (plans are here), it is assuredly not a piece of shop equipment.  Made from Eastern White Pine, it’s instead a portable sitting bench for a buddy who is about have a child.  I like the design, as it’s easy to knock together in a leisurely day.  Plus, it’s so damned comfortable.

IMG_20190414_101920.jpg

A proper Schwarz saw bench in the background.

Under no circumstances can this bench collapse with a baby in the picture.  So I added some gussets to stabilize the legs laterally.  I might not have done so in another, harder material.  In fact, had this been oak or ash, I might have instead just screwed twice into the face of the joint and put a third screw in from the bottom.  But pine splits with too many fasteners per square inch (even when pre-drilled).

So next time you need to stabilize a joint from forces in a direction other than the mechanical strength of the joint, consider adding a gusset.  It might just save a baby’s life.

JPG

A Valiant Effort

I too read that recent Popular Woodworking online article about Taytools hand planes. I’m not much of a tool collector (I have a spare Stanley No. 5 for my out and about toolbox and a cadaver of an extra Stanley No. 4 to scavenge parts if necessary), but I couldn’t help myself at the Amazon price for a No. 4.  I’ve wasted far more money on other tools, after all.

IMG_20190403_071828.jpg

The No. 5 was sold out and, besides, I have a No. 5 I love already.

Let me start by saying that, for the price, this seems like a pretty good tool.  I paid US$65 and got something that felt solid in my hand.  Would I recommend it for a new woodworker with limited space to work in?  Very probably.  I think it’s a valiant effort, all told.  But let’s explore a bit further.

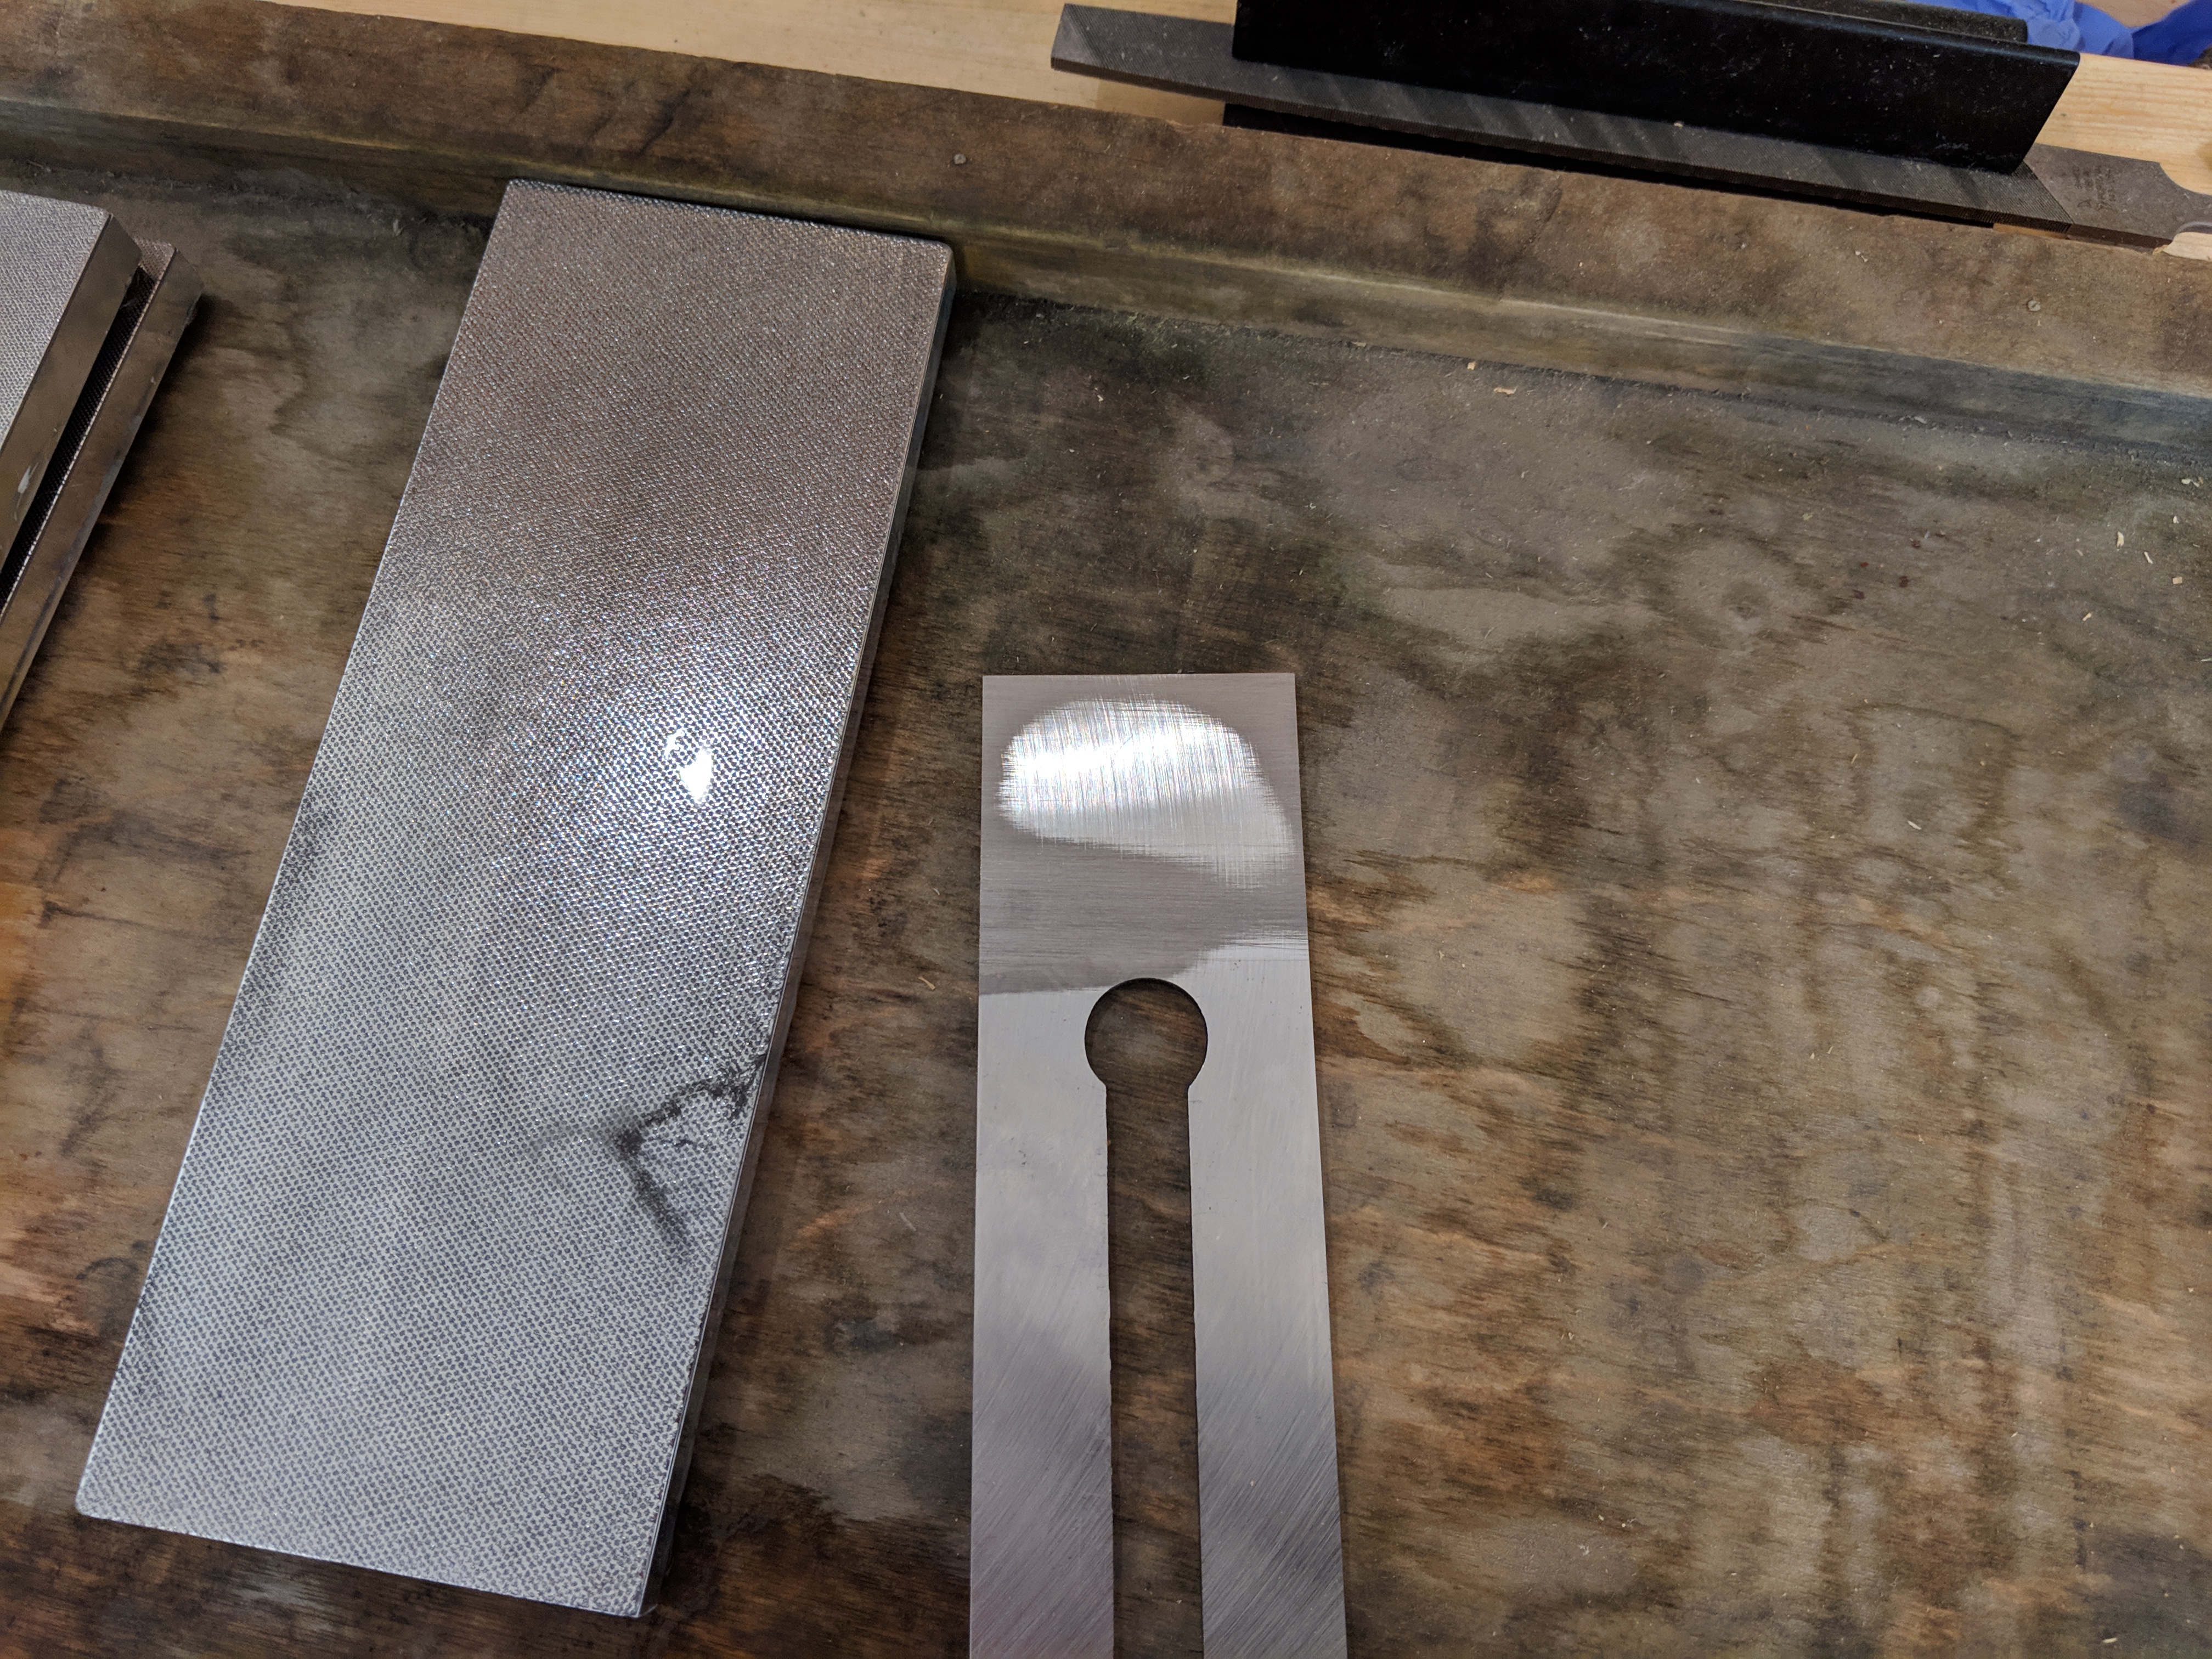
I’ve restored between 5-10 antique Stanley planes and setting this thing up for relatively refined work took about an hour.  The most work went into the cap iron (about 20 minutes), which started out a bit rustic.  I also had to grind a bevel onto it, which went slowly and carefully to avoid removing too much material.  The cutting iron was ground hollow and only took about 10 minutes to flatten and another 5 or so to sharpen and introduce the back bevel with the ruler trick.

IMG_20190402_055305.jpg

I’ve seen worse.  Much worse.

The plane’s sole was also ground pretty hollow, which is fine.  I haven’t fully dressed the sole for smoothing yet, which I plan to do to 220 grit.  The manufacturer seems to have erred on the side of hollow grinding where possible.  For the record, I am 100% okay with this approach.

Three things about the Taytools plane stand out to me, though.

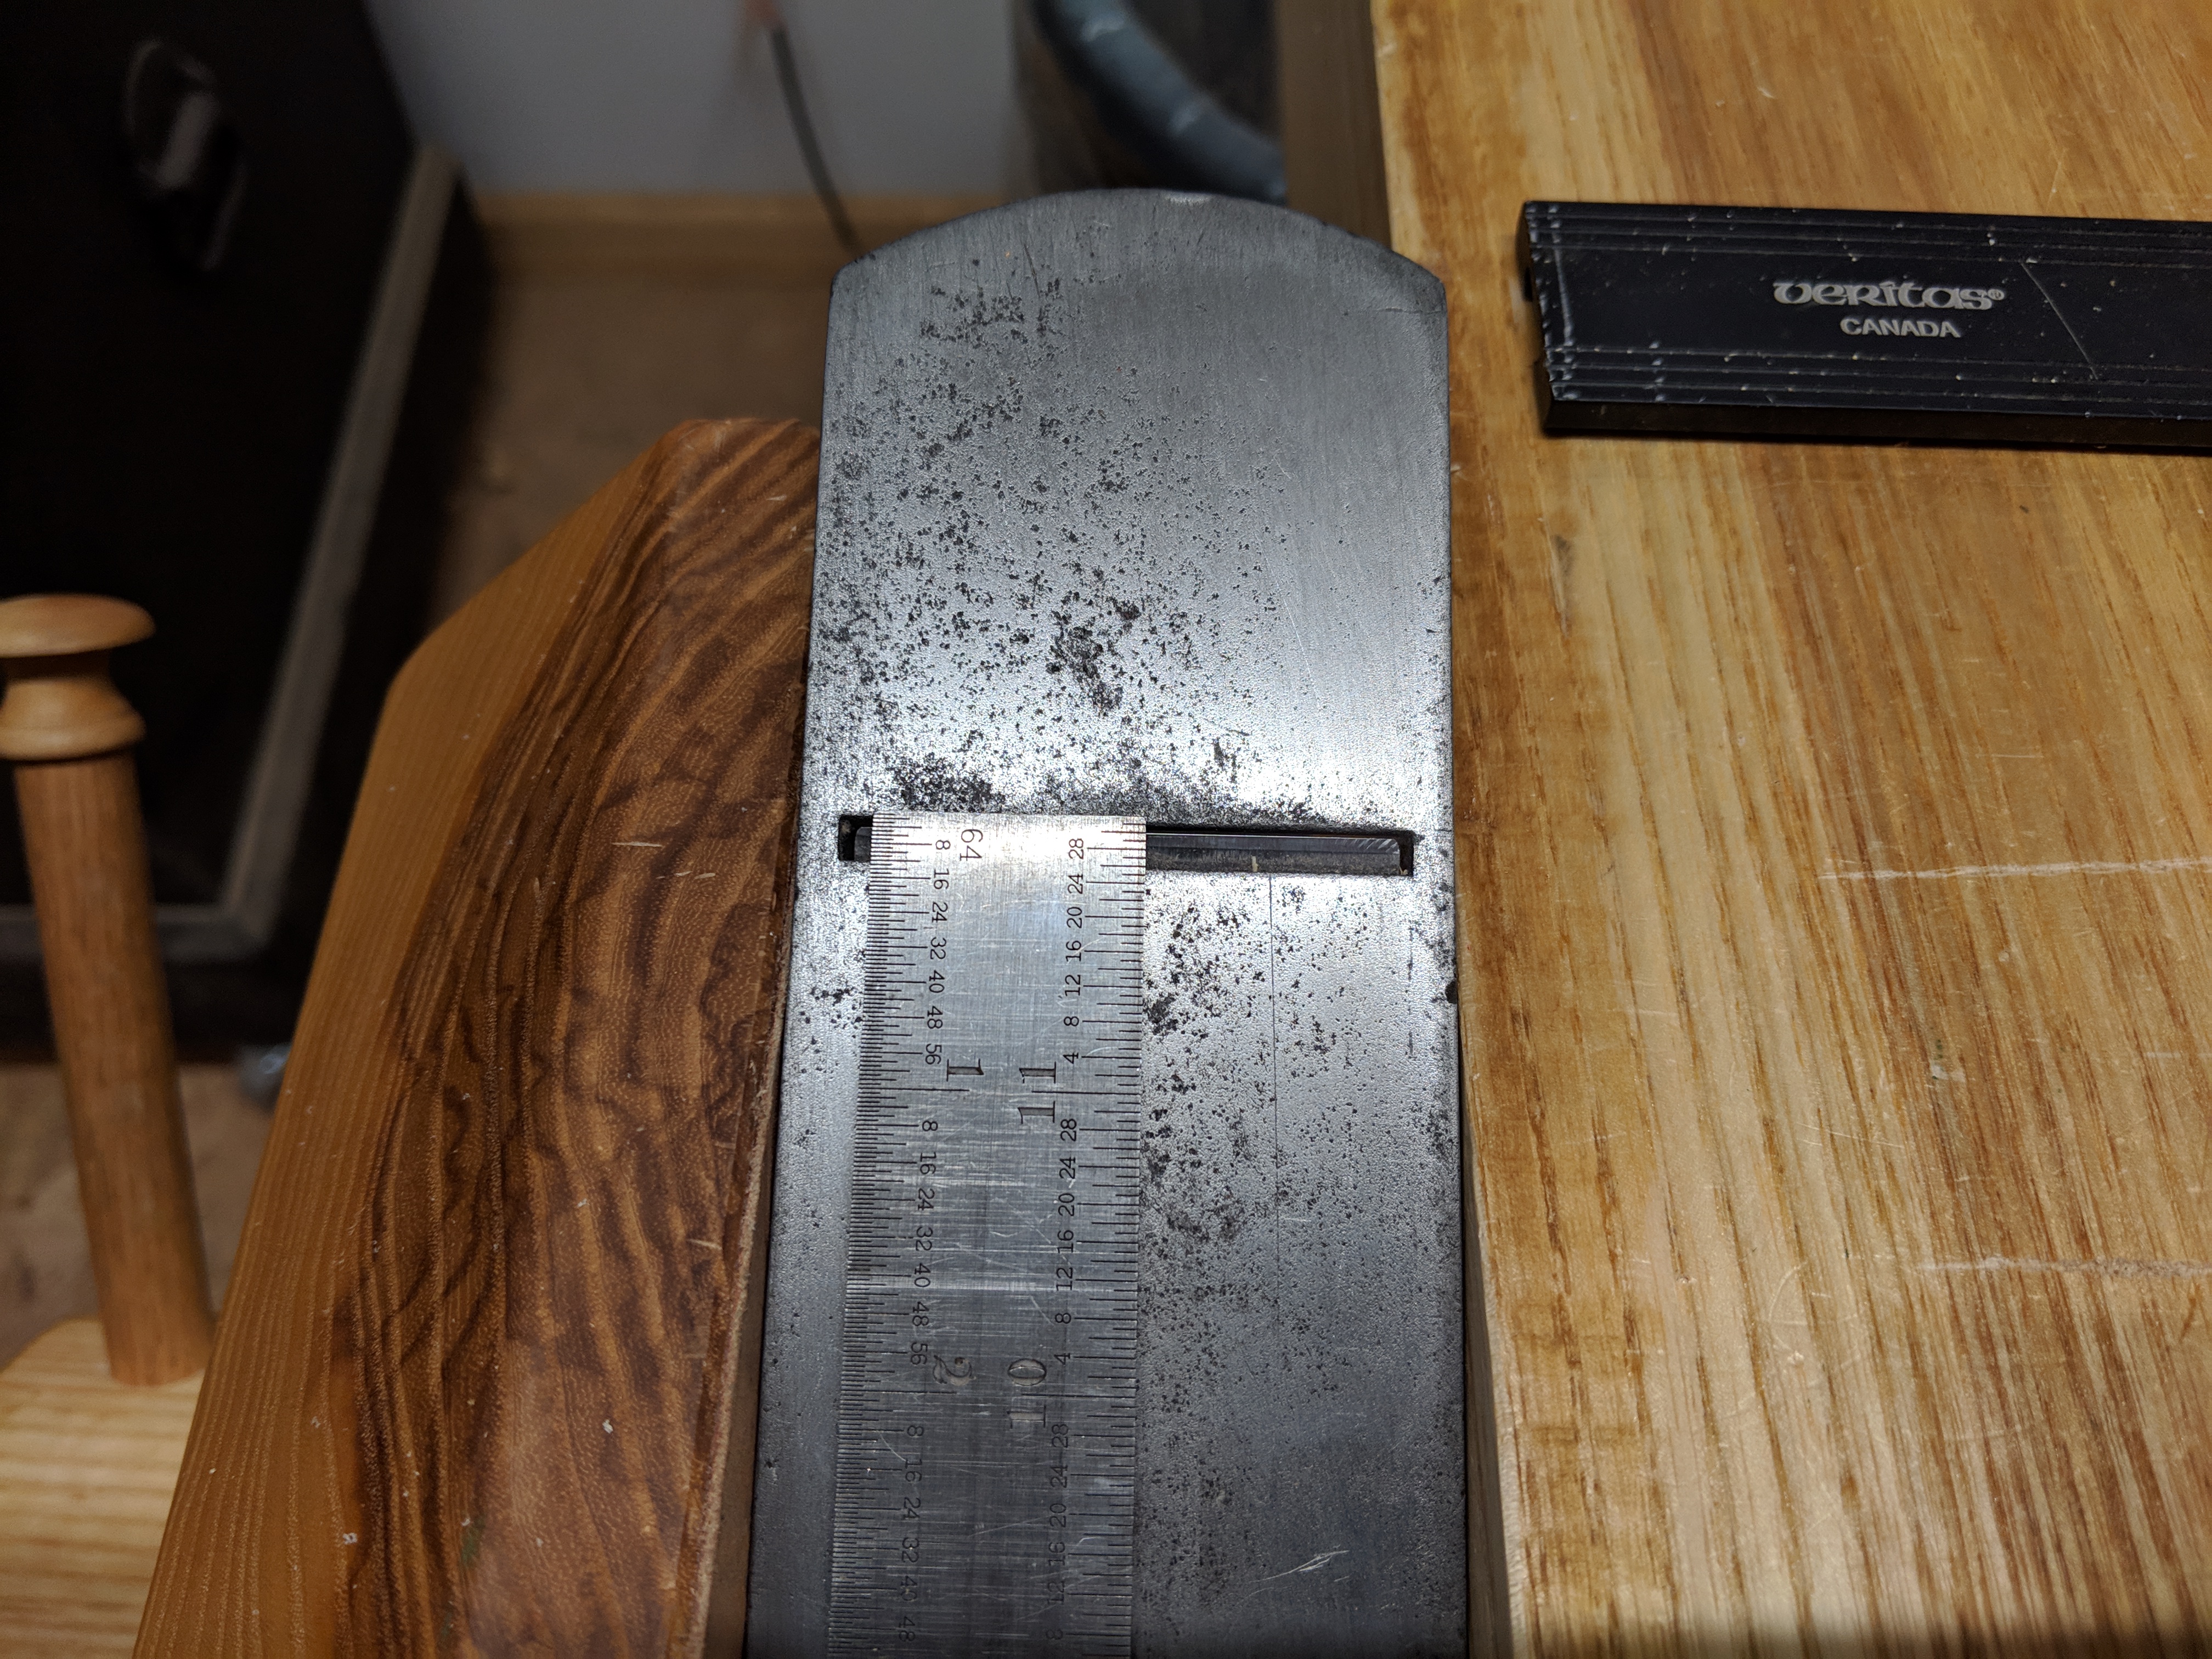
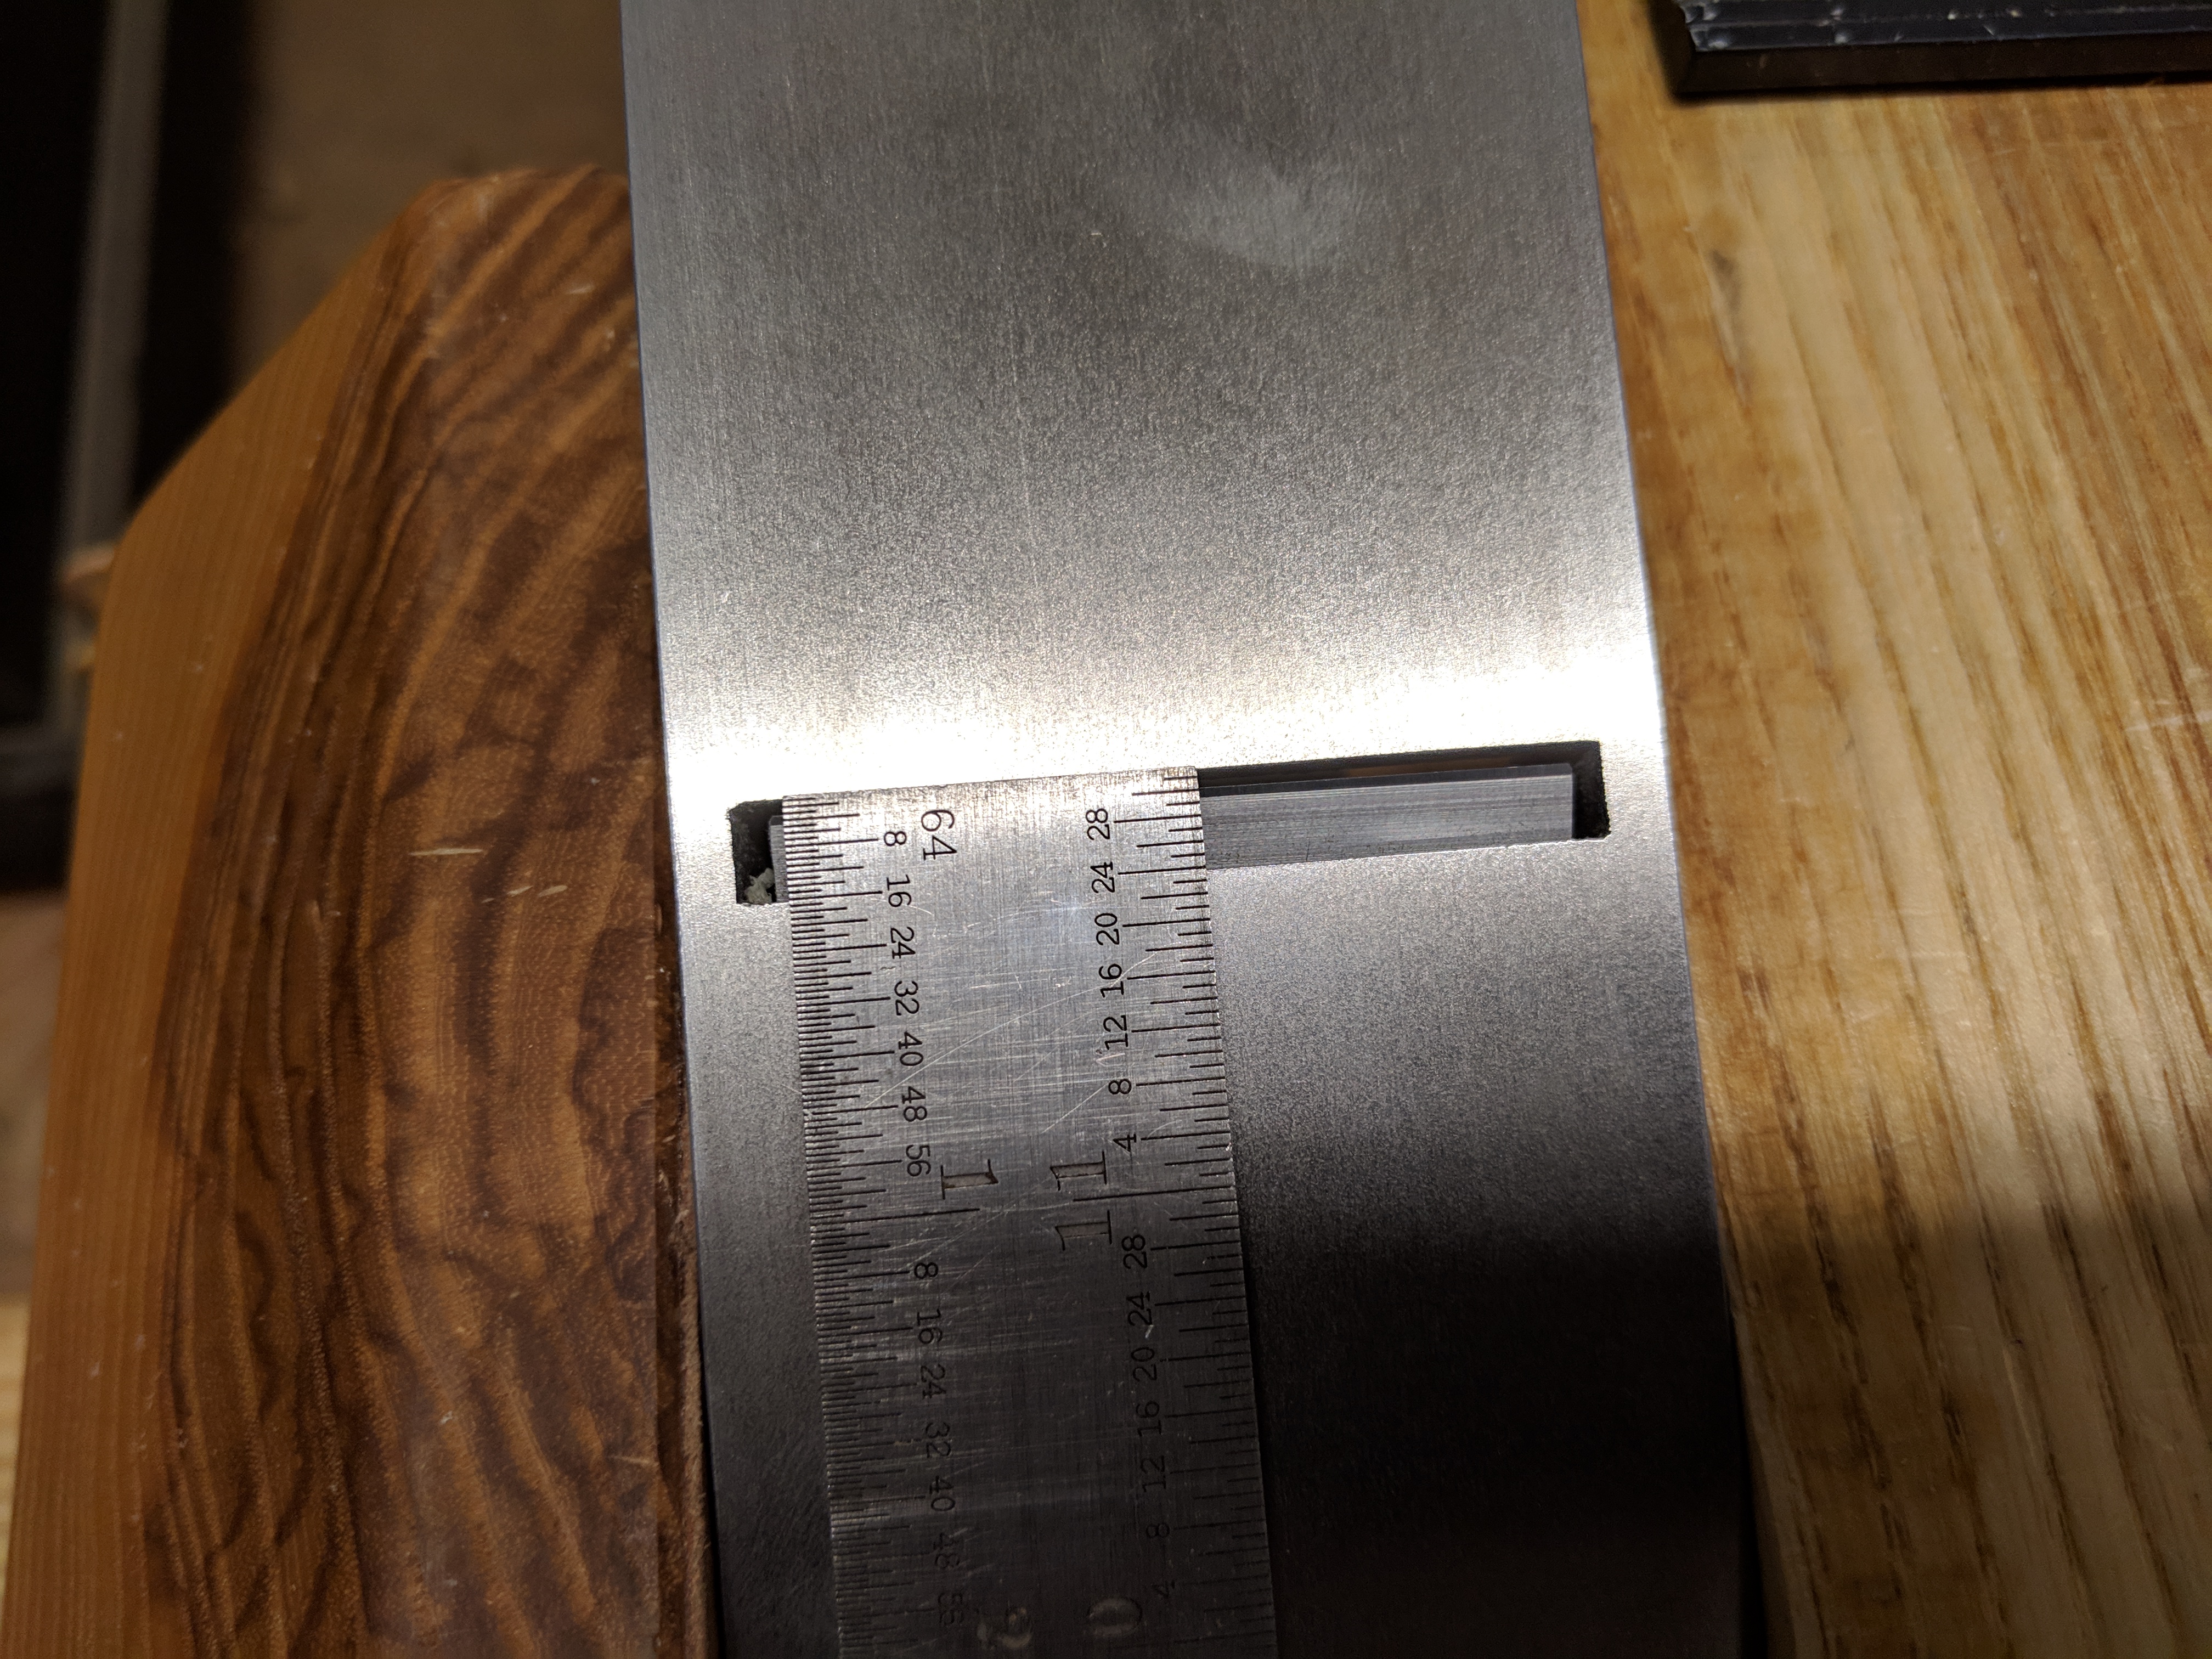
First, the mouth of the plane is cavernous.  On my Type 11 Stanley, the mouth is a smidge under 3/16, and closes up nice and tight with minimal frog advancement.

IMG_20190402_064447.jpg

The pitting doesn’t affect performance.  Stop complaining.

Compare that to the Taytools version.  The mouth is over 1/4 wide.  Now, 1/6 may not sound like a lot, but it’s noticeable (and a 33% increase!).  If I wanted this plane for general work, it’d do fine.  But as I’ve noted before, smoothing takes a tight mouth.  I had to move the frog significantly forward to close up the mouth.  Will this result in chatter?  Who knows?

IMG_20190402_064339.jpg

Notice the scratch pattern around the edges from testing the flatness.

Second, the frog adjustment mechanism is just garbage.  Novel, but garbage.  The yoke is cast into the frog itself and the tapped hole for the adjustment screw was not parallel to the bed.  This meant the frog kept binding as I turned the screw.  I eventually gave up and removed the frog adjustment screw entirely.

Finally, the plane is longer than a vintage No. 4.  Not by much, but I could see it making an incremental difference over the life of the tool.

IMG_20190402_064059.jpg

Weird, right?

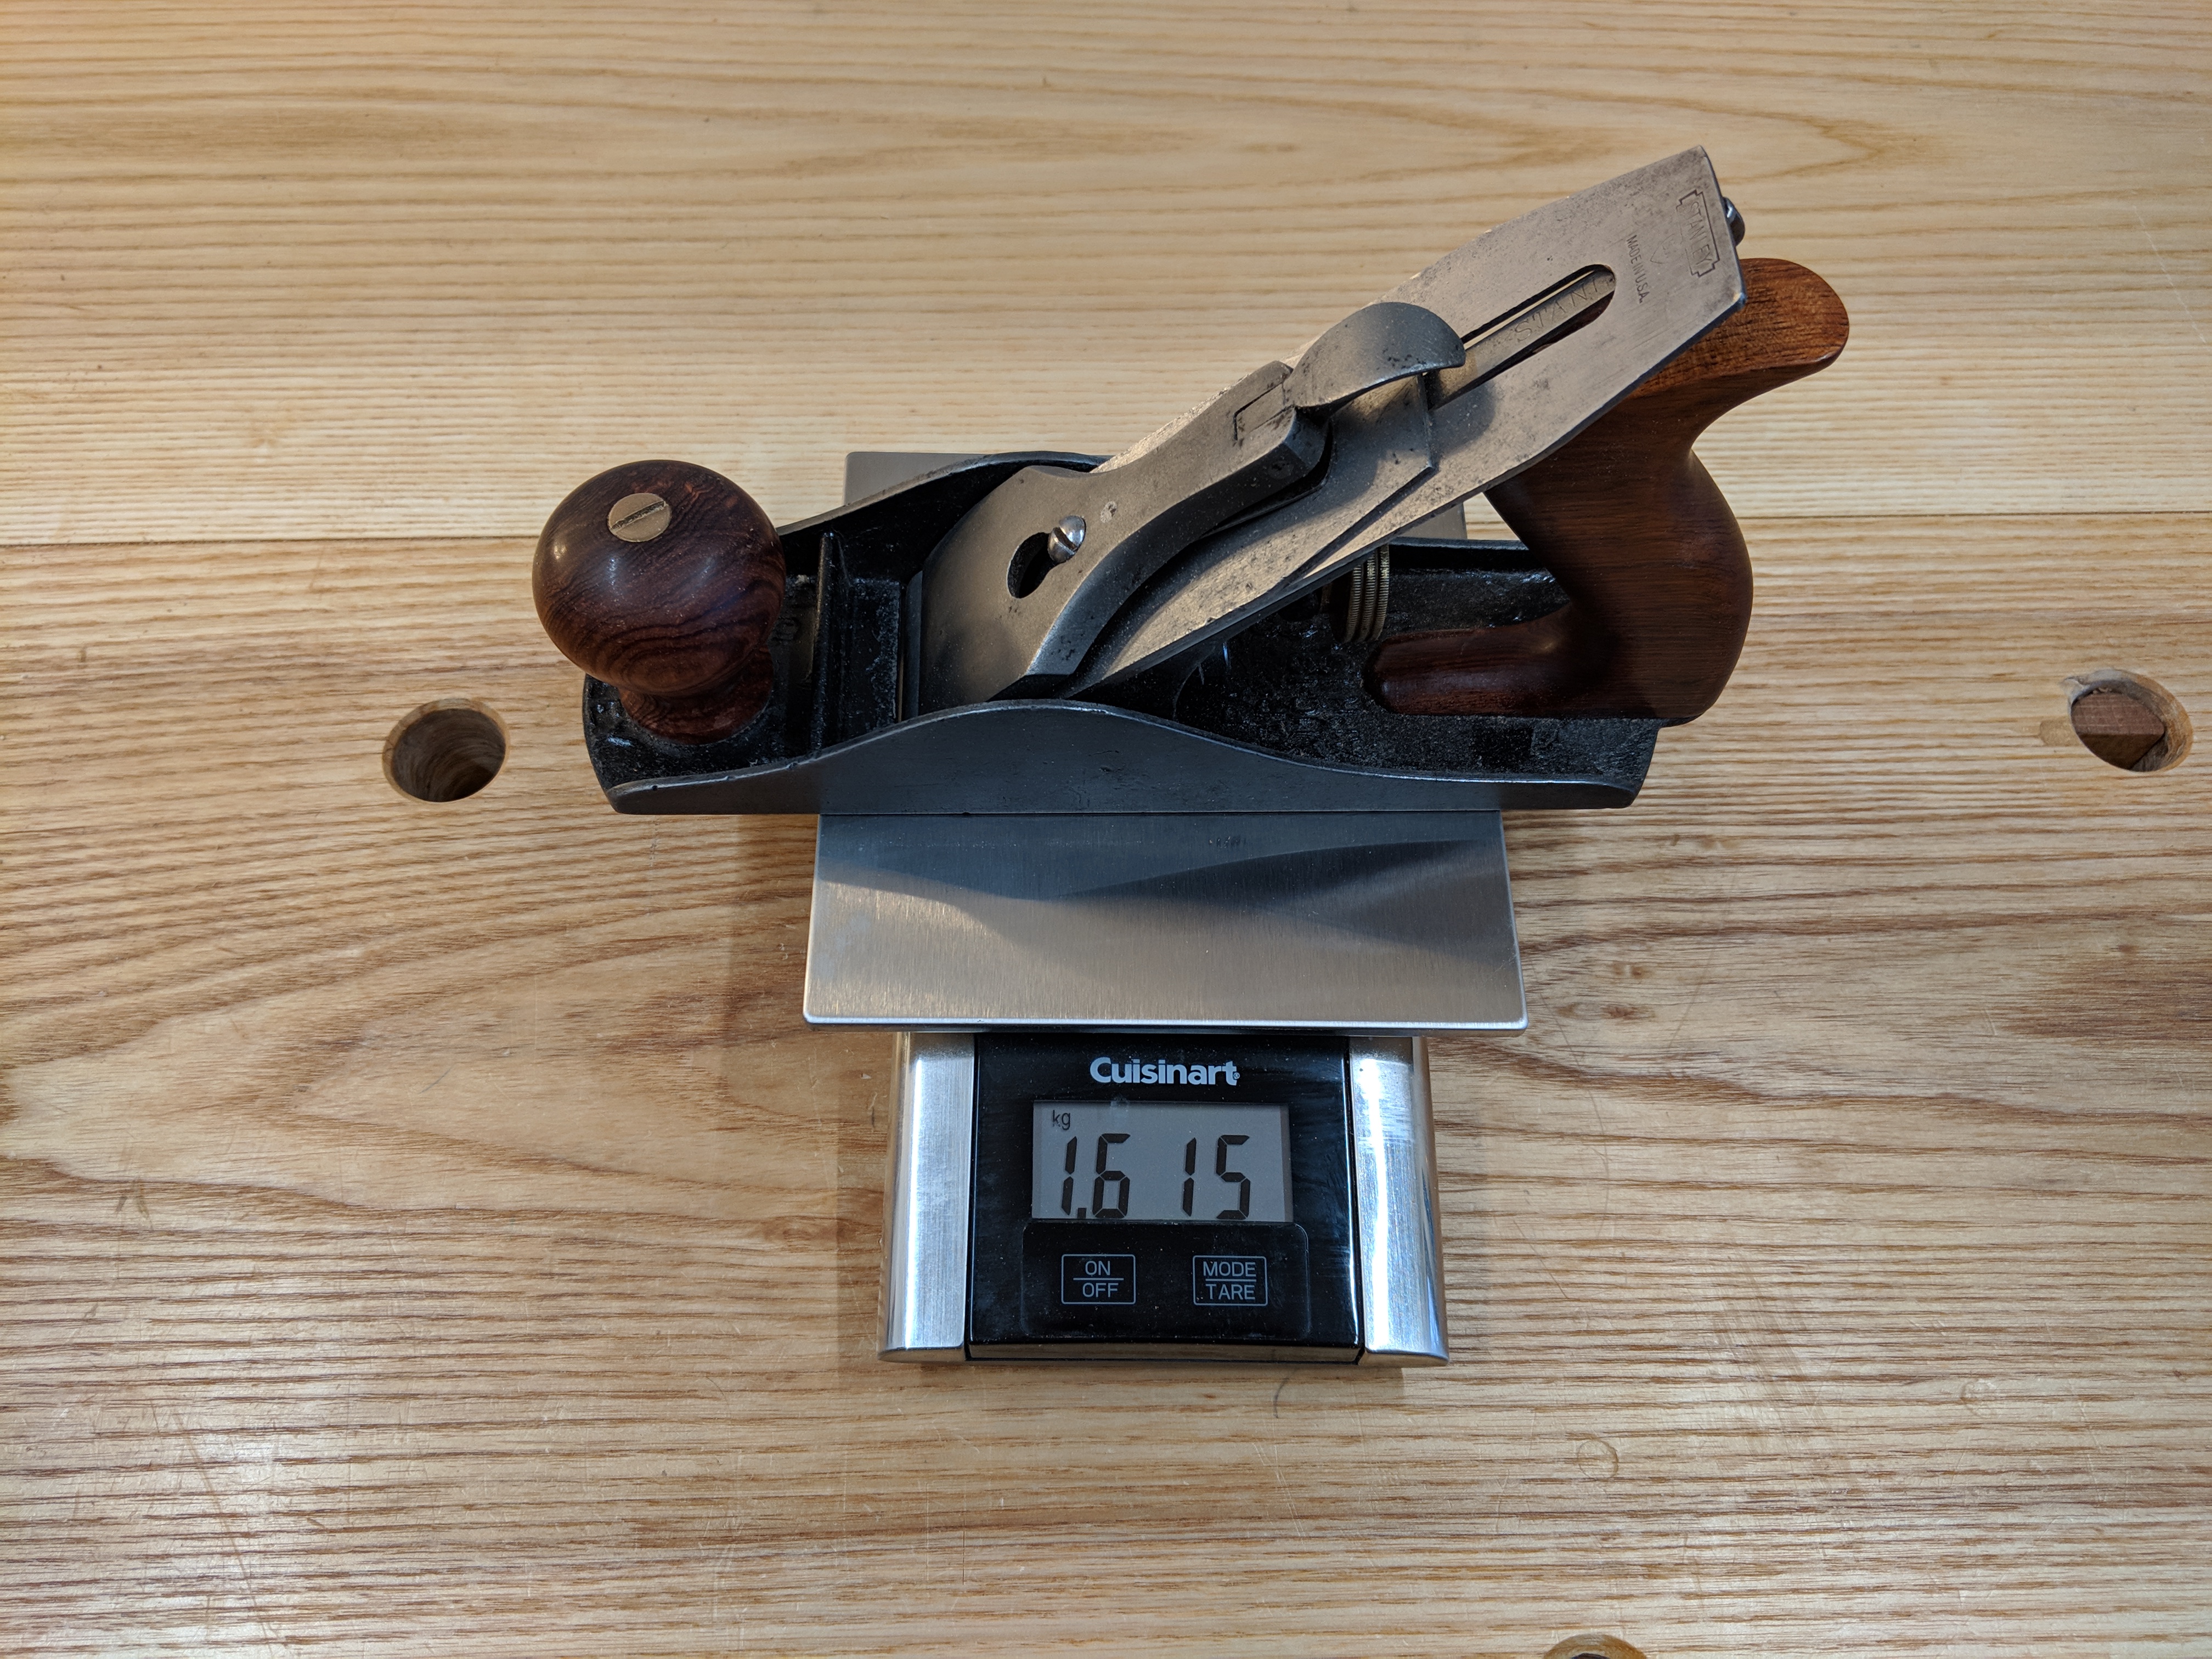
I would be remiss if I didn’t weigh them both.  I prefer the lighter Stanley No. 4 Bailey pattern plane to the modern Bedrock copies for smoothing tasks.  My current smoother clocks in at a manageable 1615 grams.

IMG_20190328_080631.jpg

That’s 57 oz or 3 lbs 9 oz for the imperial types.

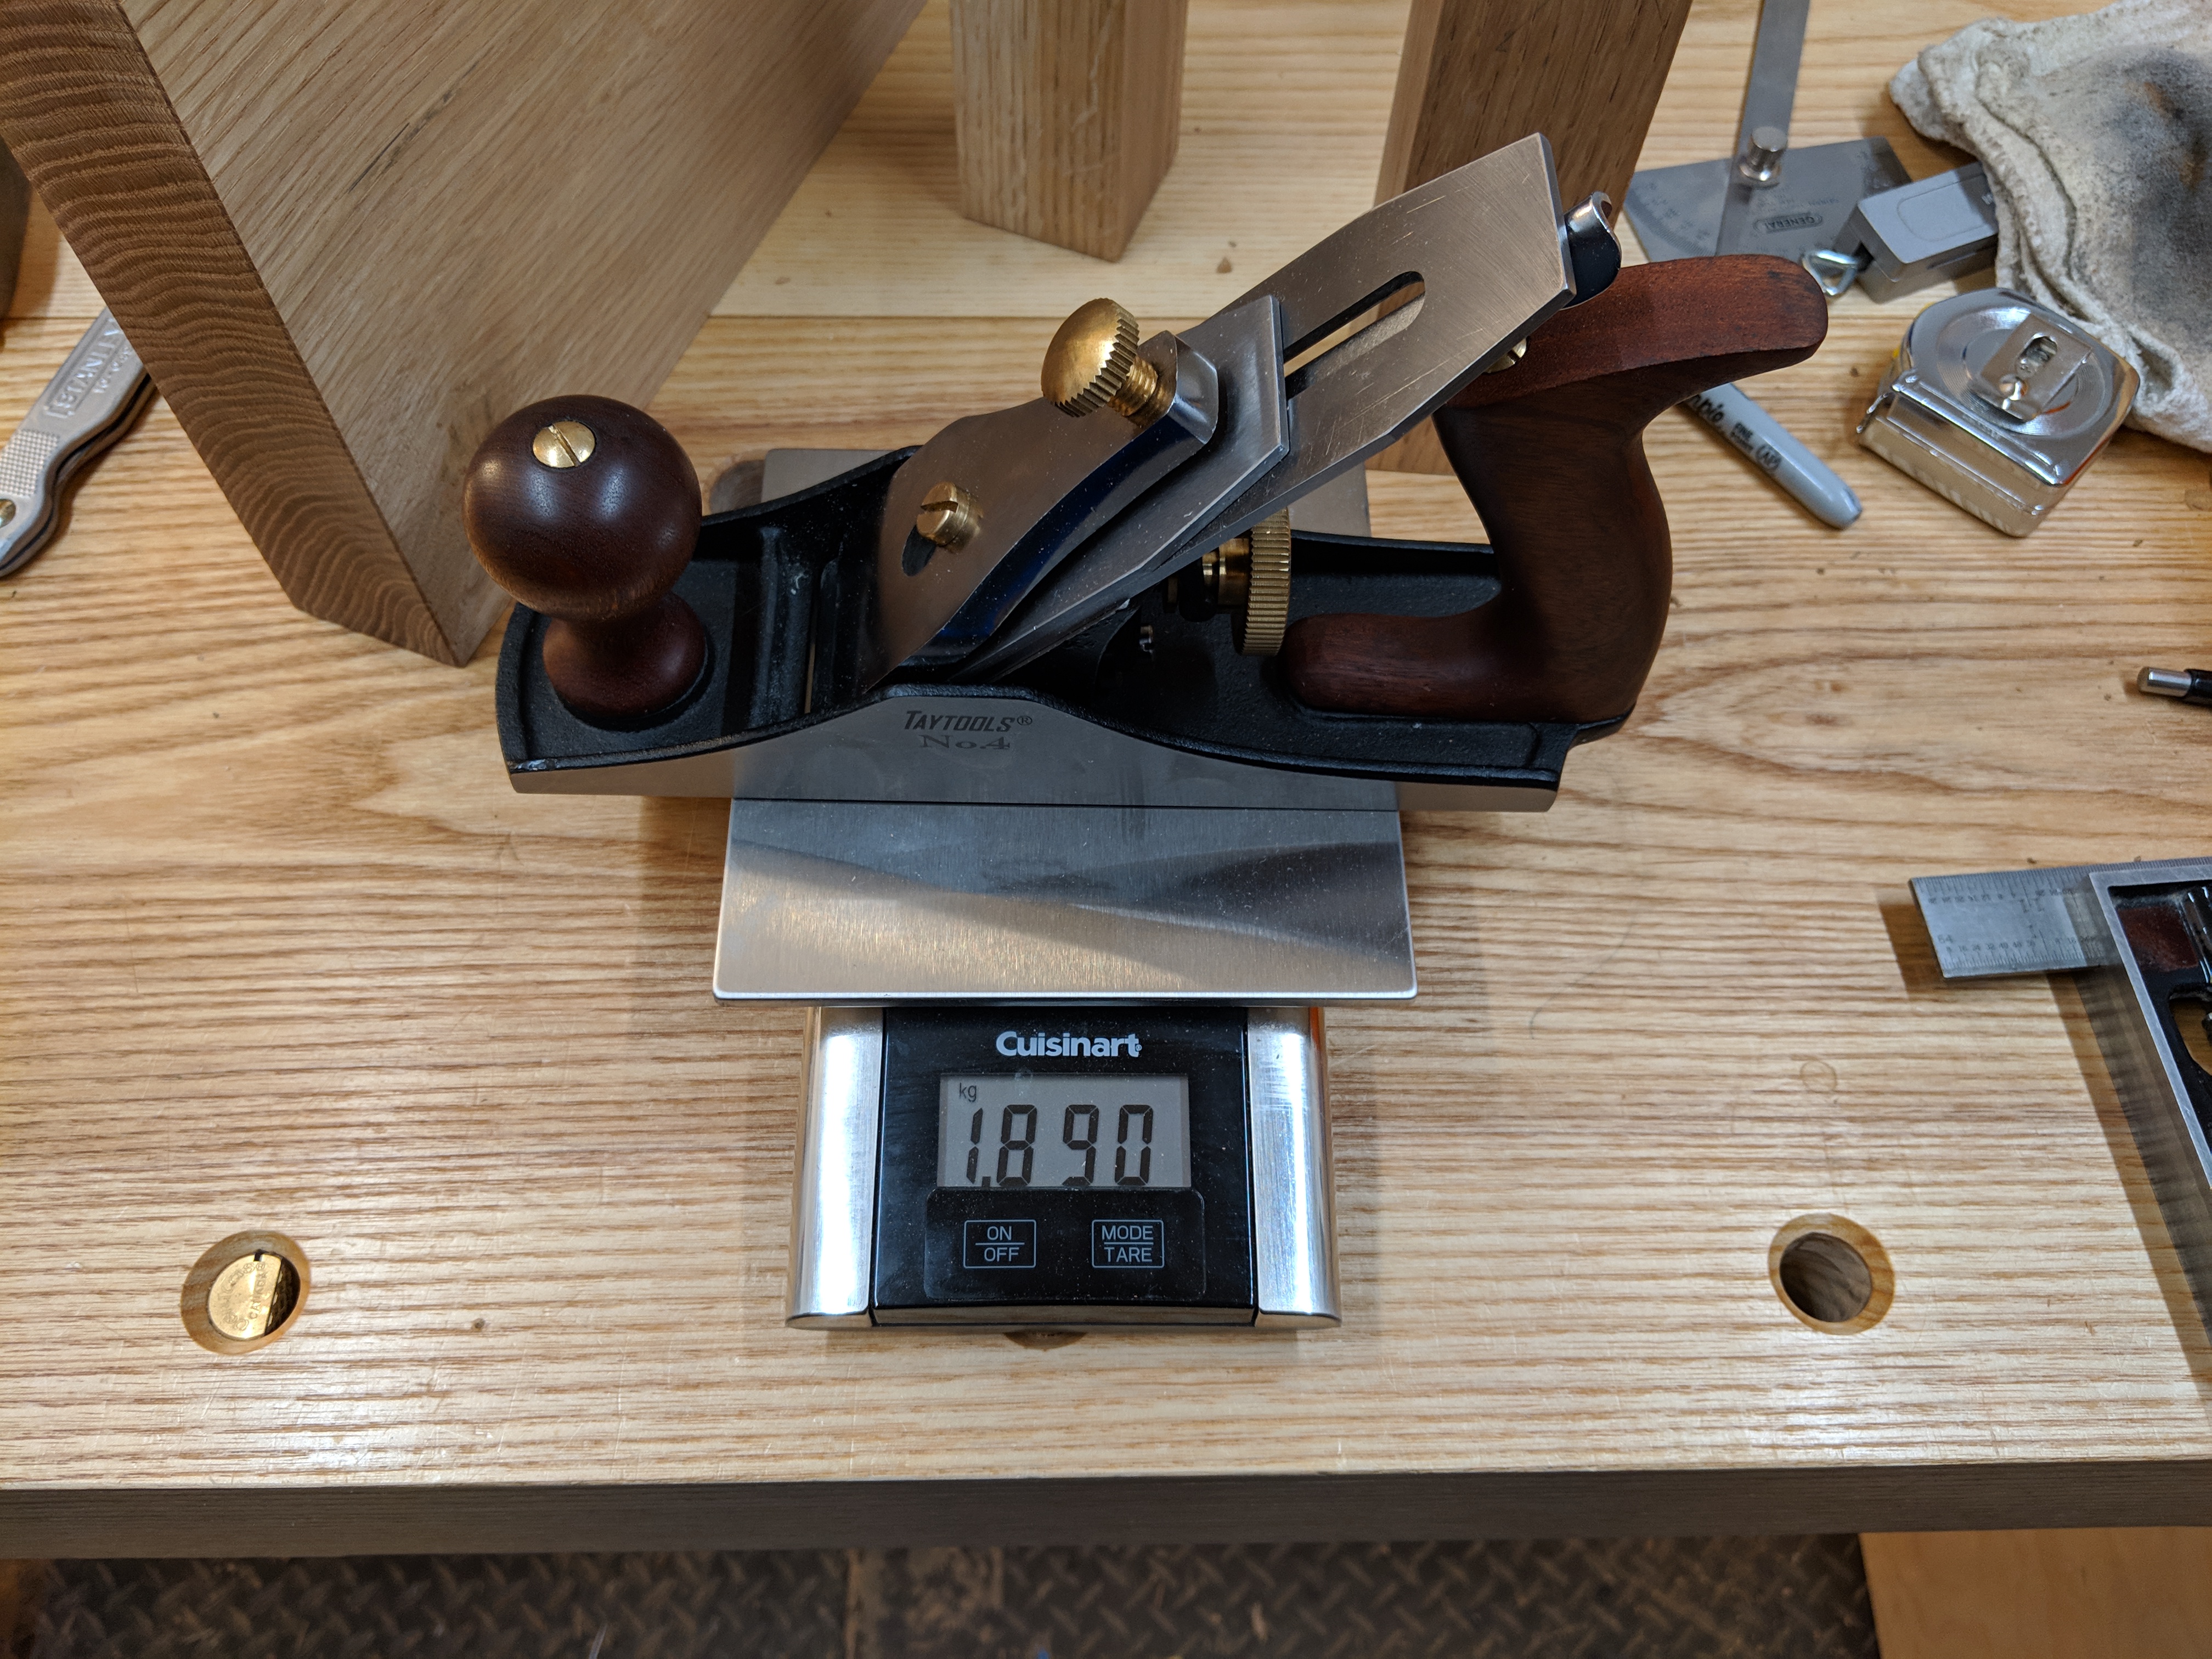
Surprisingly, the Taytools No. 4 is only 1890 grams (aka, 67 oz or 4 lbs 3 oz).  A bit over half a pound heavier than my Type 11 No. 4.  Not bad – and a far cry from the advertised 5 lbs. of some modern Bedrock copy No. 4’s.

IMG_20190402_063815.jpg

It lost a couple of grams when I ground the cap iron, in fairness.

So, again, is this I tool I would gift to a beginner woodworker interested in apartment woodworking on a budget?  Yes.  But that “yes” assumes the beginner has basic knowledge of how to prepare and sharpen a plane iron.  I don’t think the rustic cap iron would be much more of a nuisance when shavings got clogged.  And everything else seemed in relatively-good working order (apprentice marks and all).

And setting this tool up would be a hell of a lot less effort than fully restoring a swap meet piece.

JPG