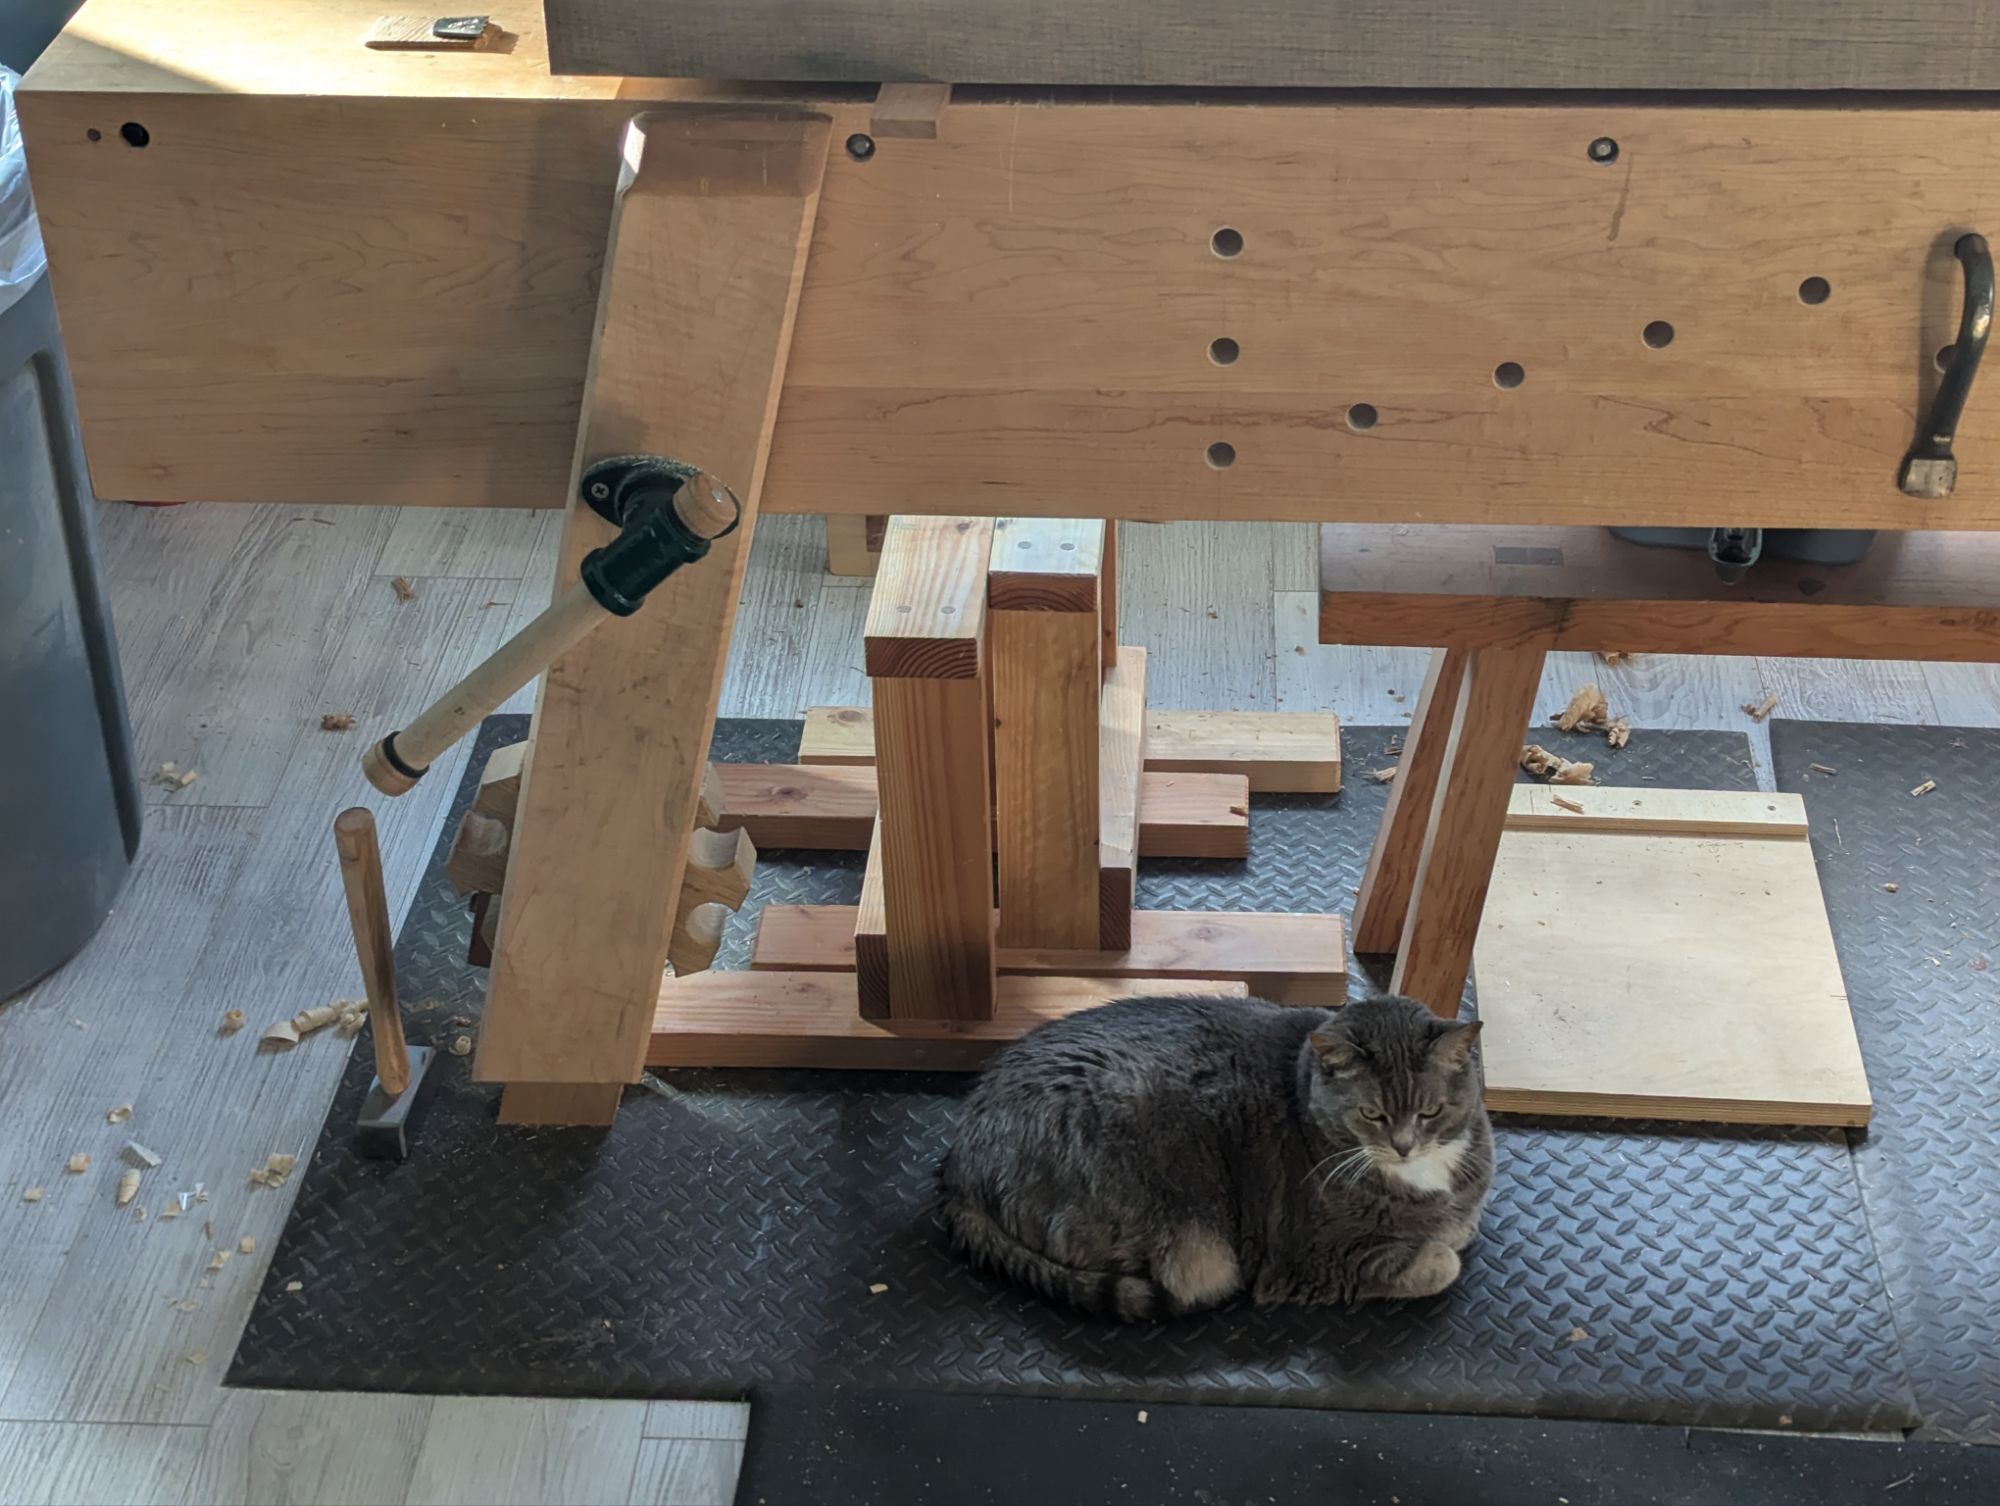
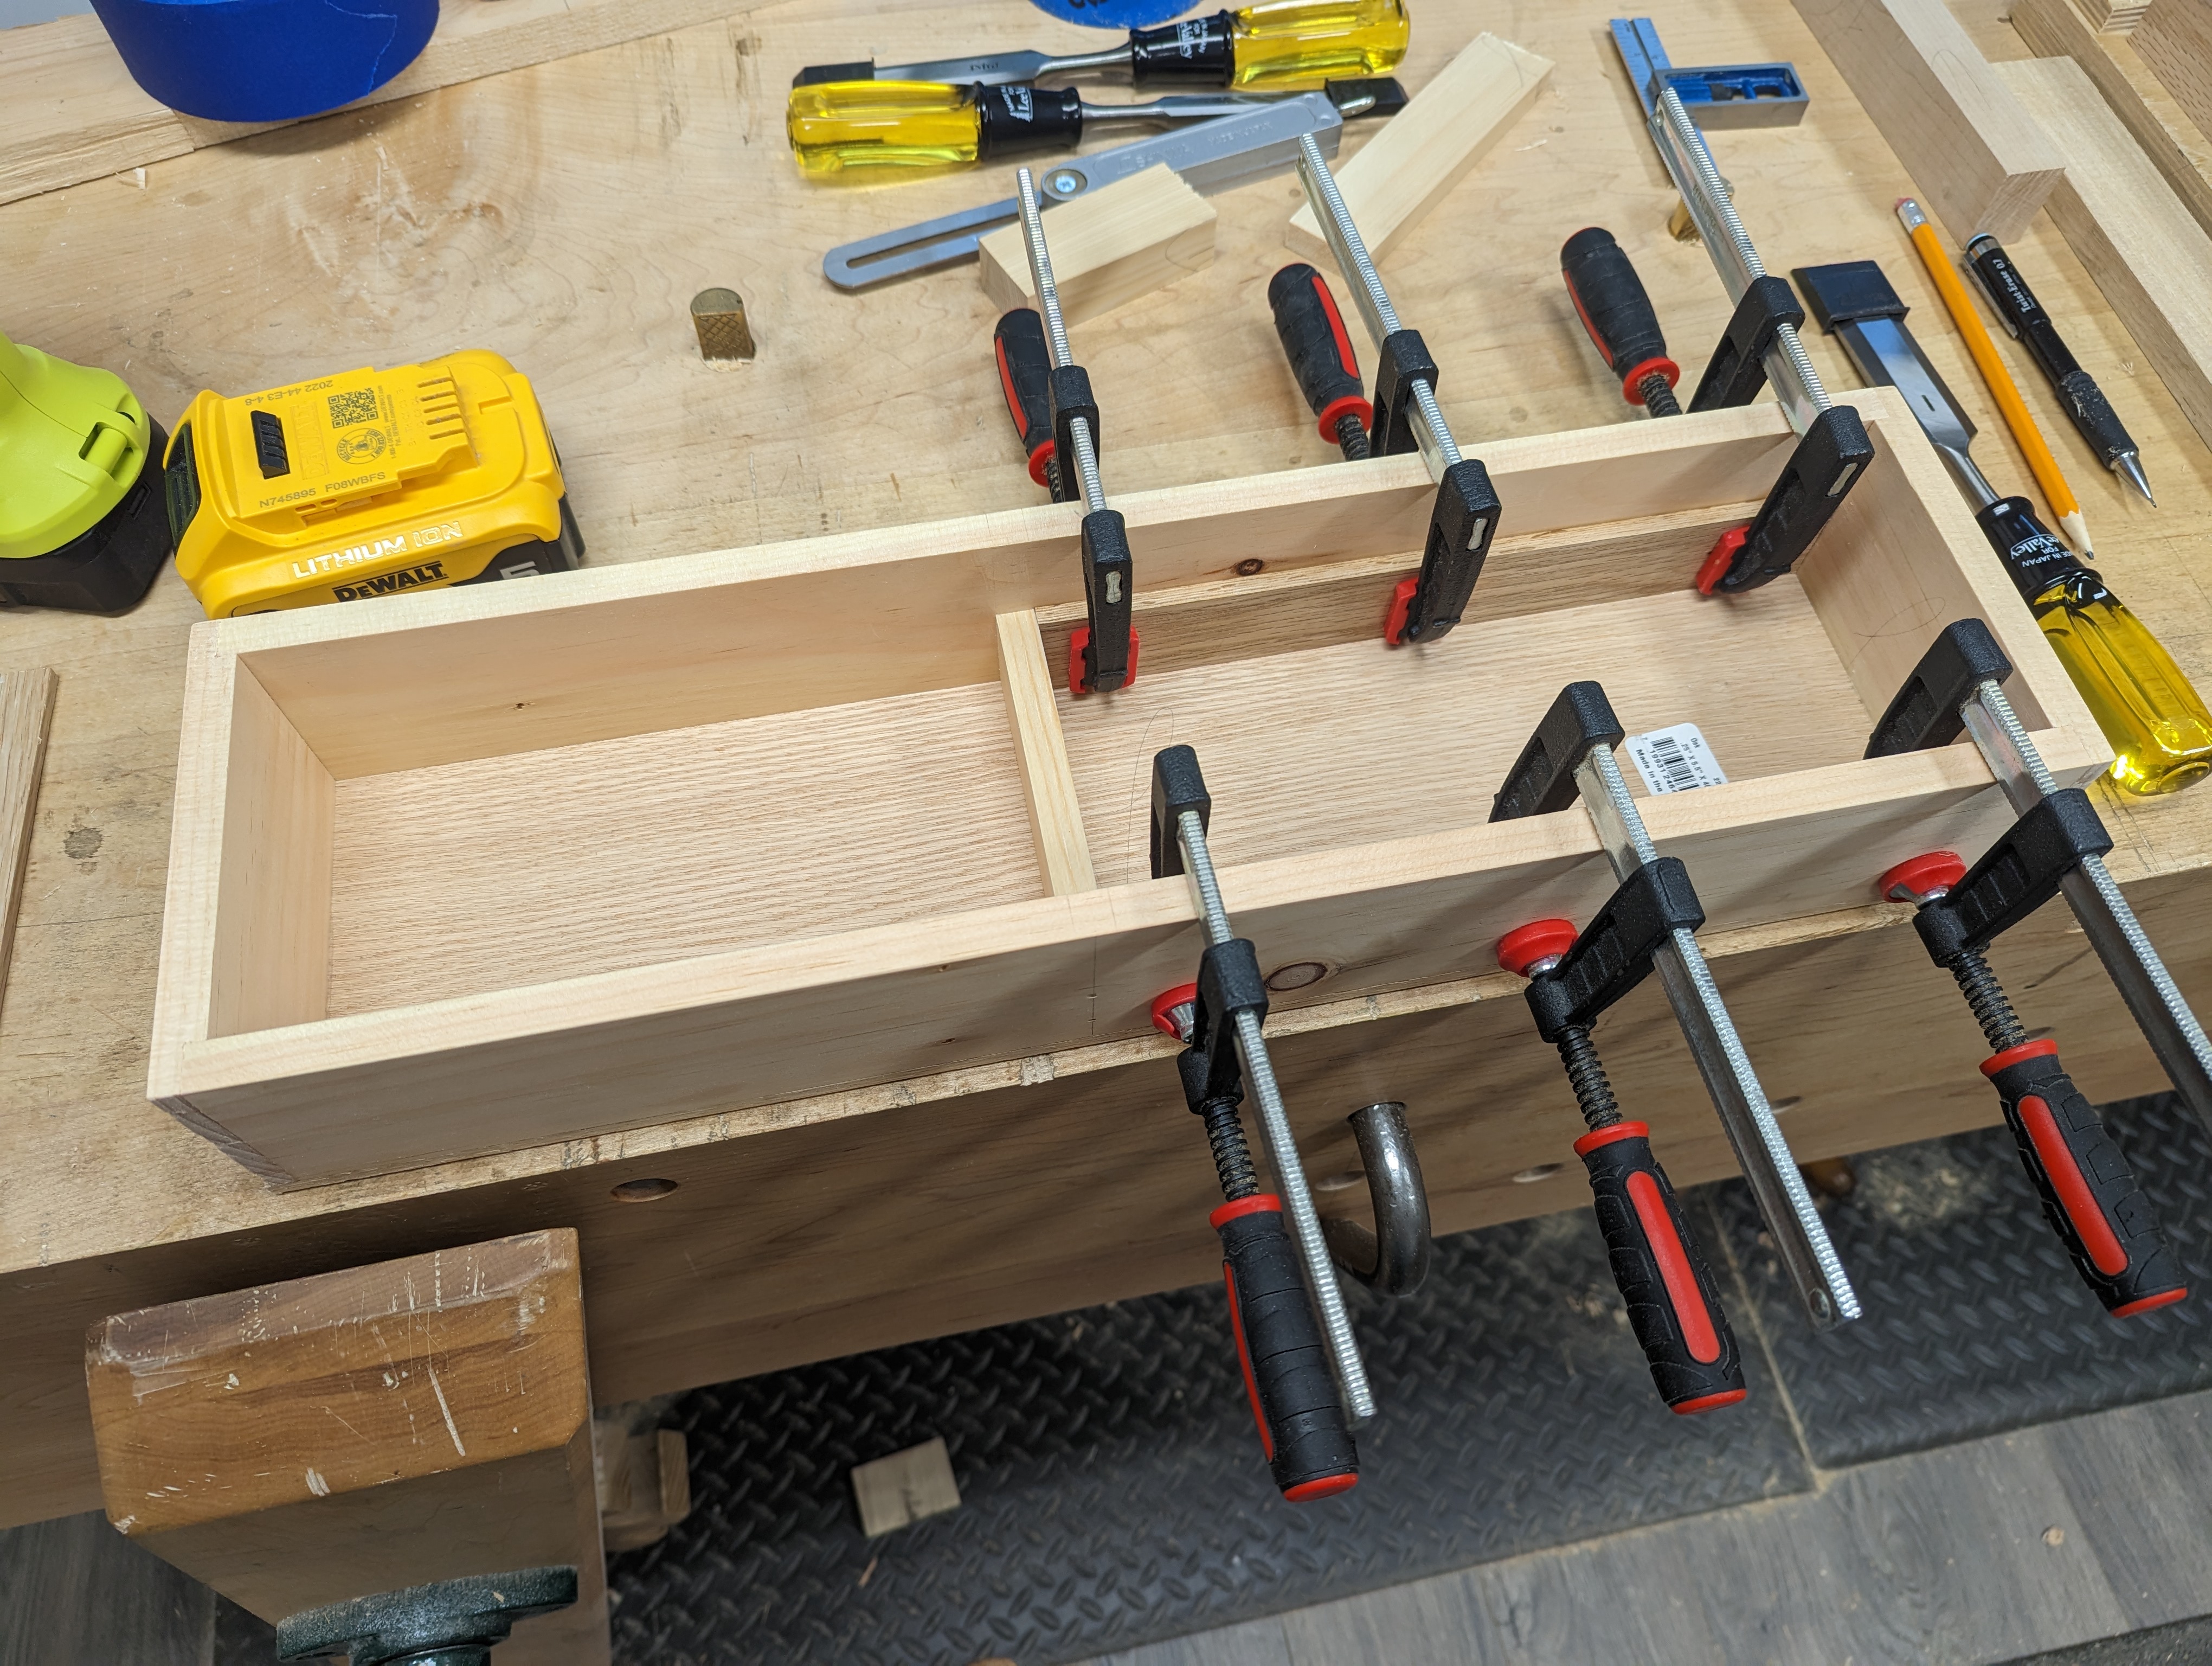
When last we spoke, I was walking through my process for laying out and cutting angled, rectilinear mortises through a slab top to make low benches and other staked leg furniture without the need for large boring bits and round tenon cutters.
At the end, I promised to discuss my process for cutting the tenons, so here we go.
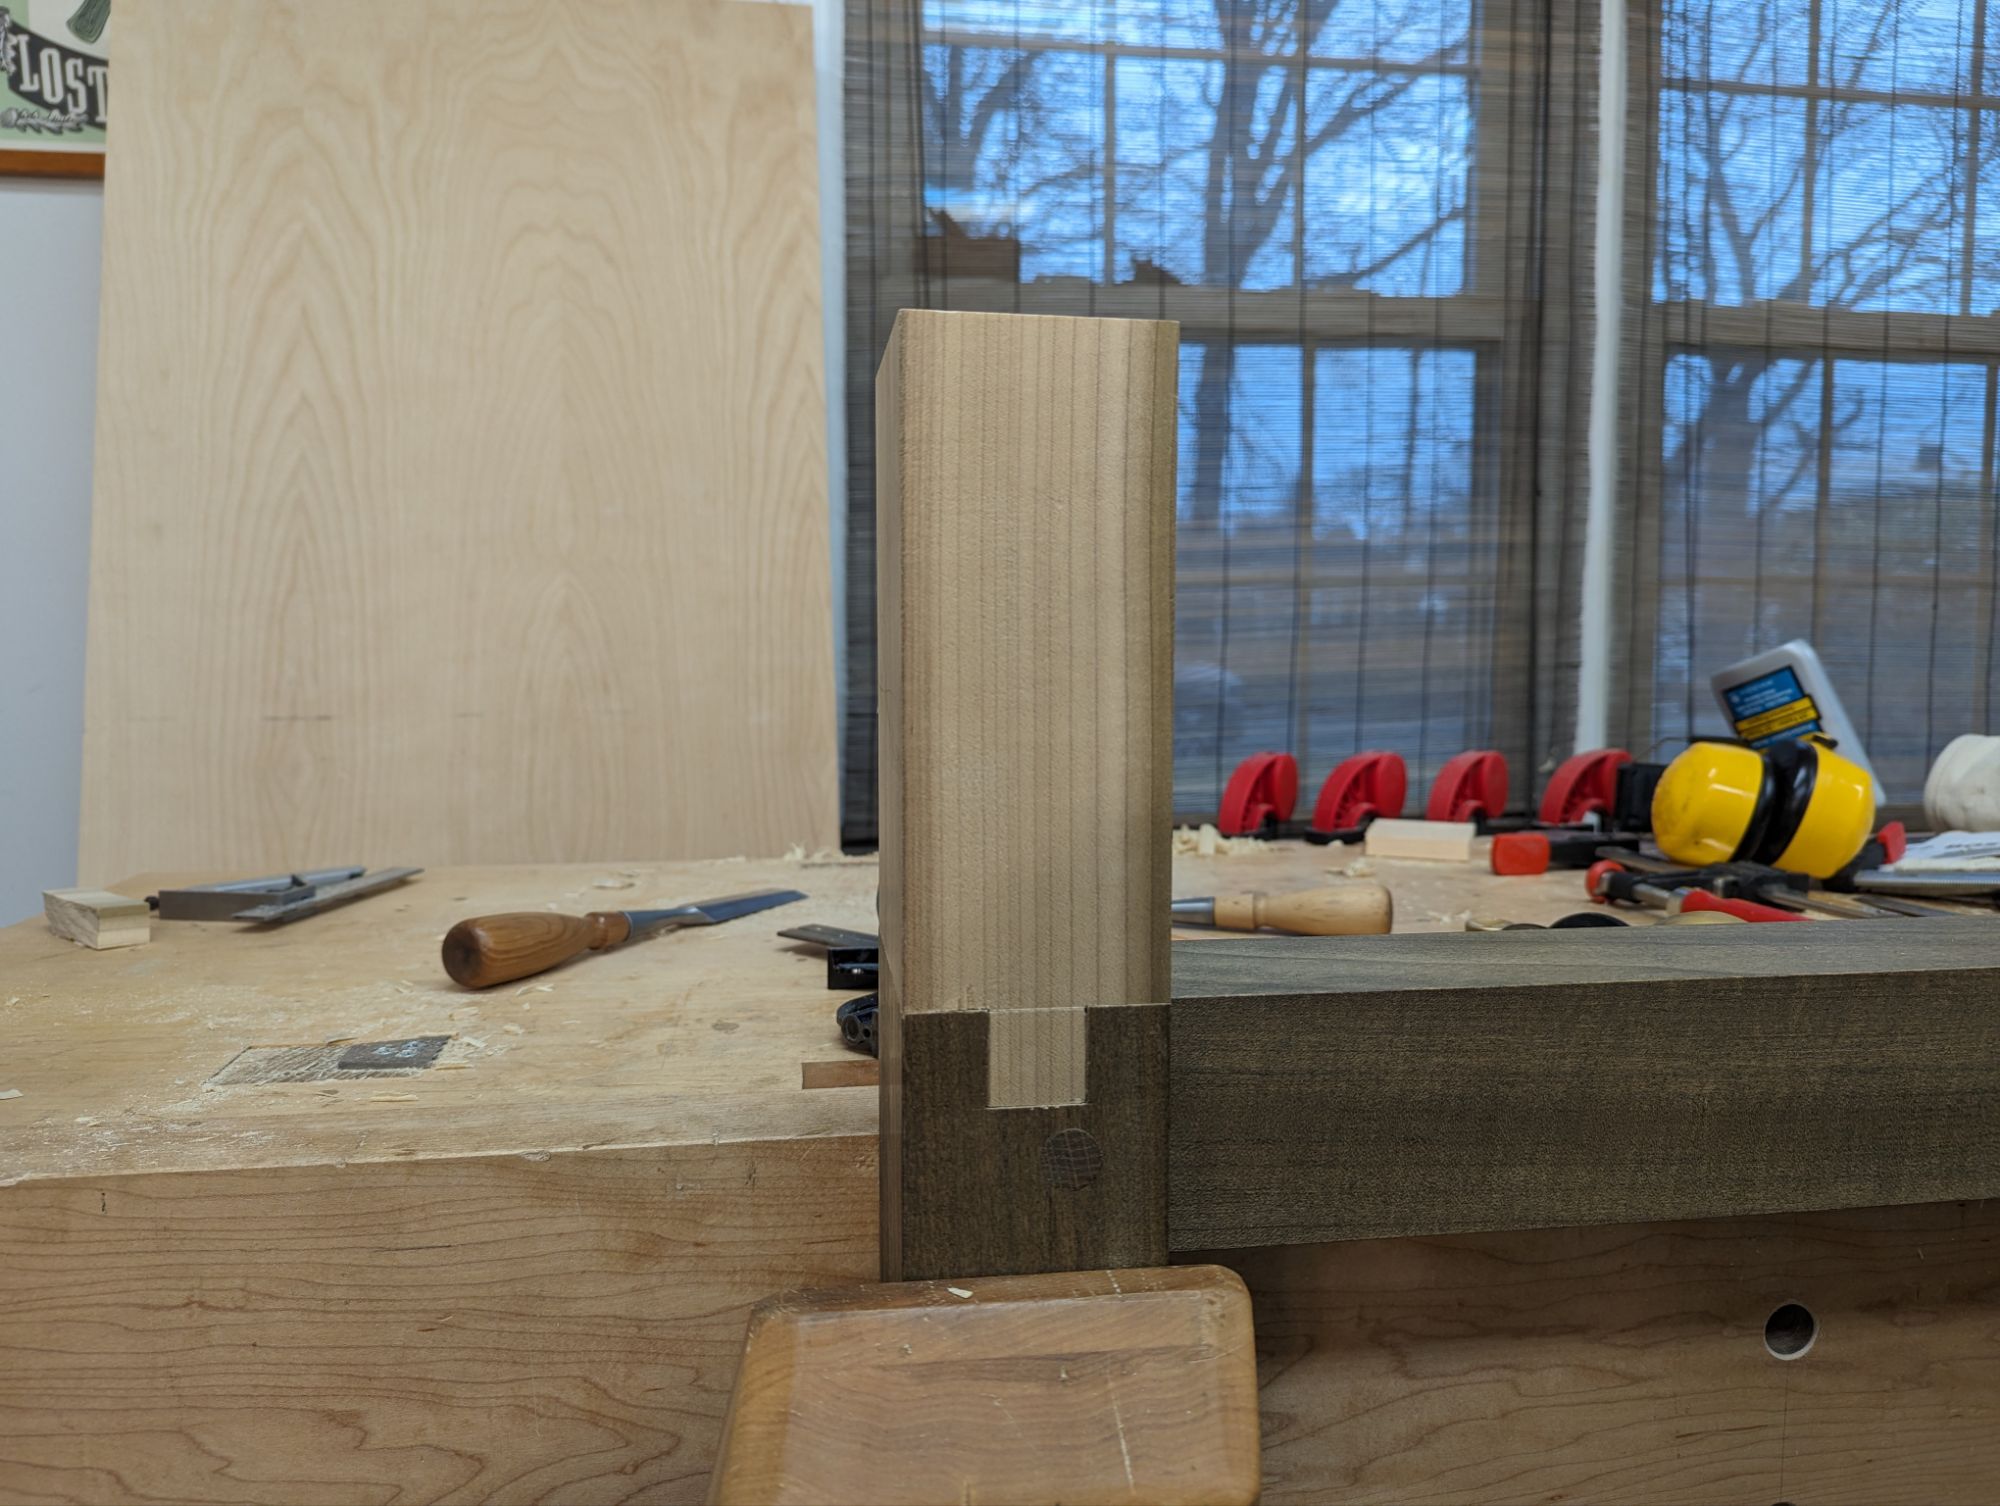
For most applications, a bare faced tenon (i.e., with one shoulder) is more than sufficient for these types of compound angled joints. The legs splay outward (sometimes as much as 10-15 degrees), so gravity is trying to spread the legs apart, especially where splay (outward angle) is greater than rake (front to back angle. This spreading puts most of the force is on a single shoulder oriented to the outside of the slab in the direction of the play. And tight fitting joint (wedged to fill any gaps lengthwise will more than carry any load in the rake direction). No need for a second shoulder.

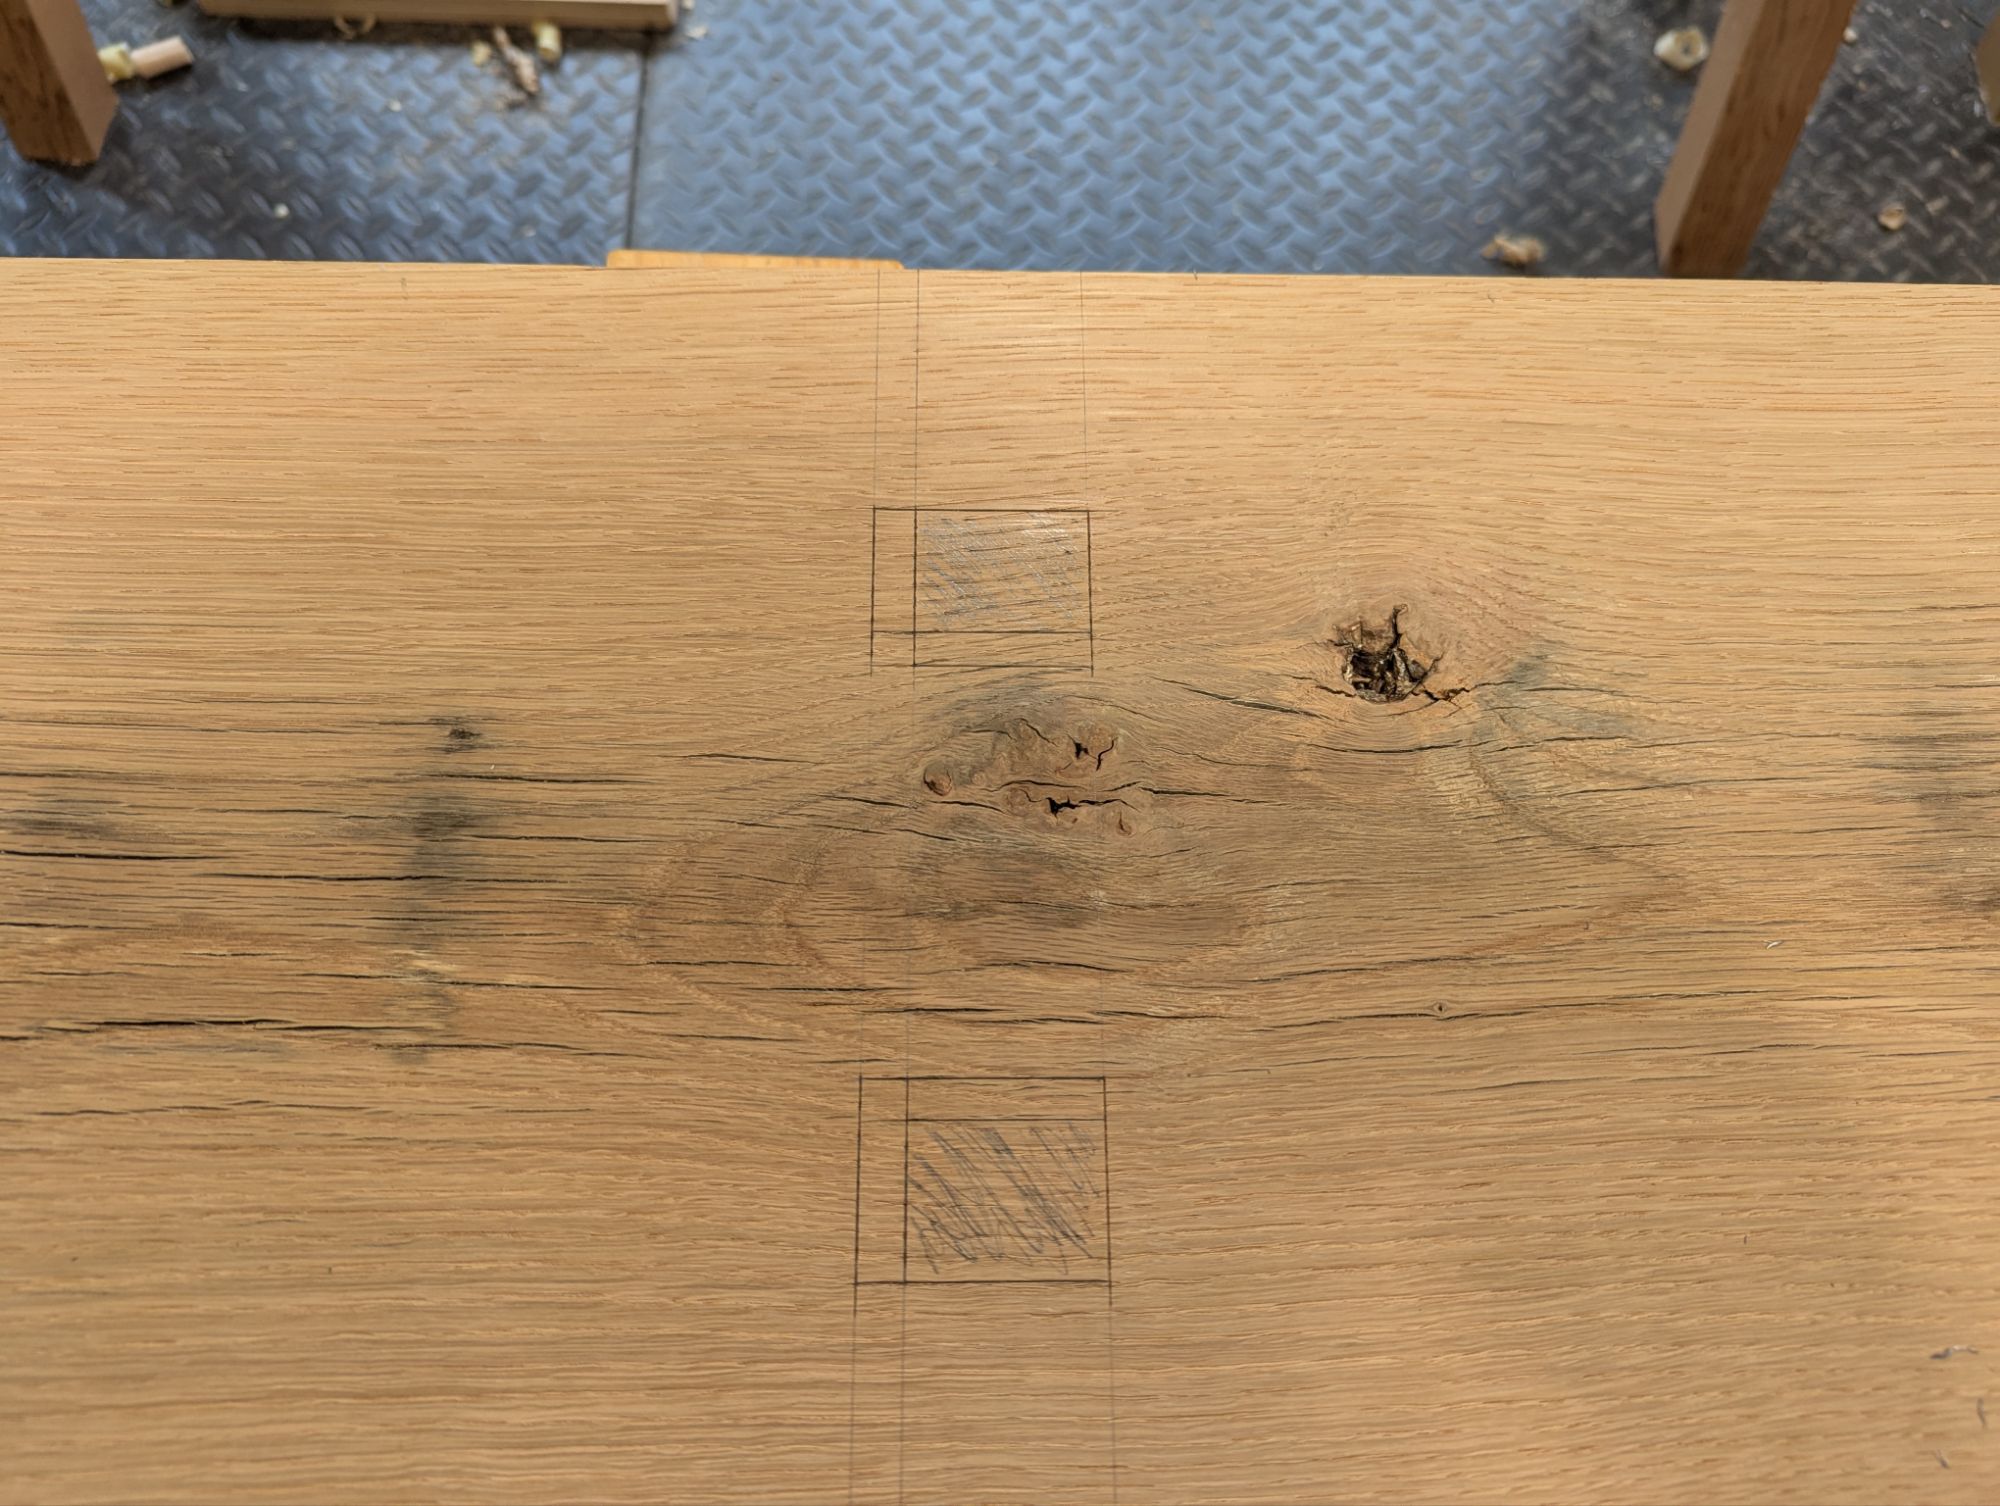
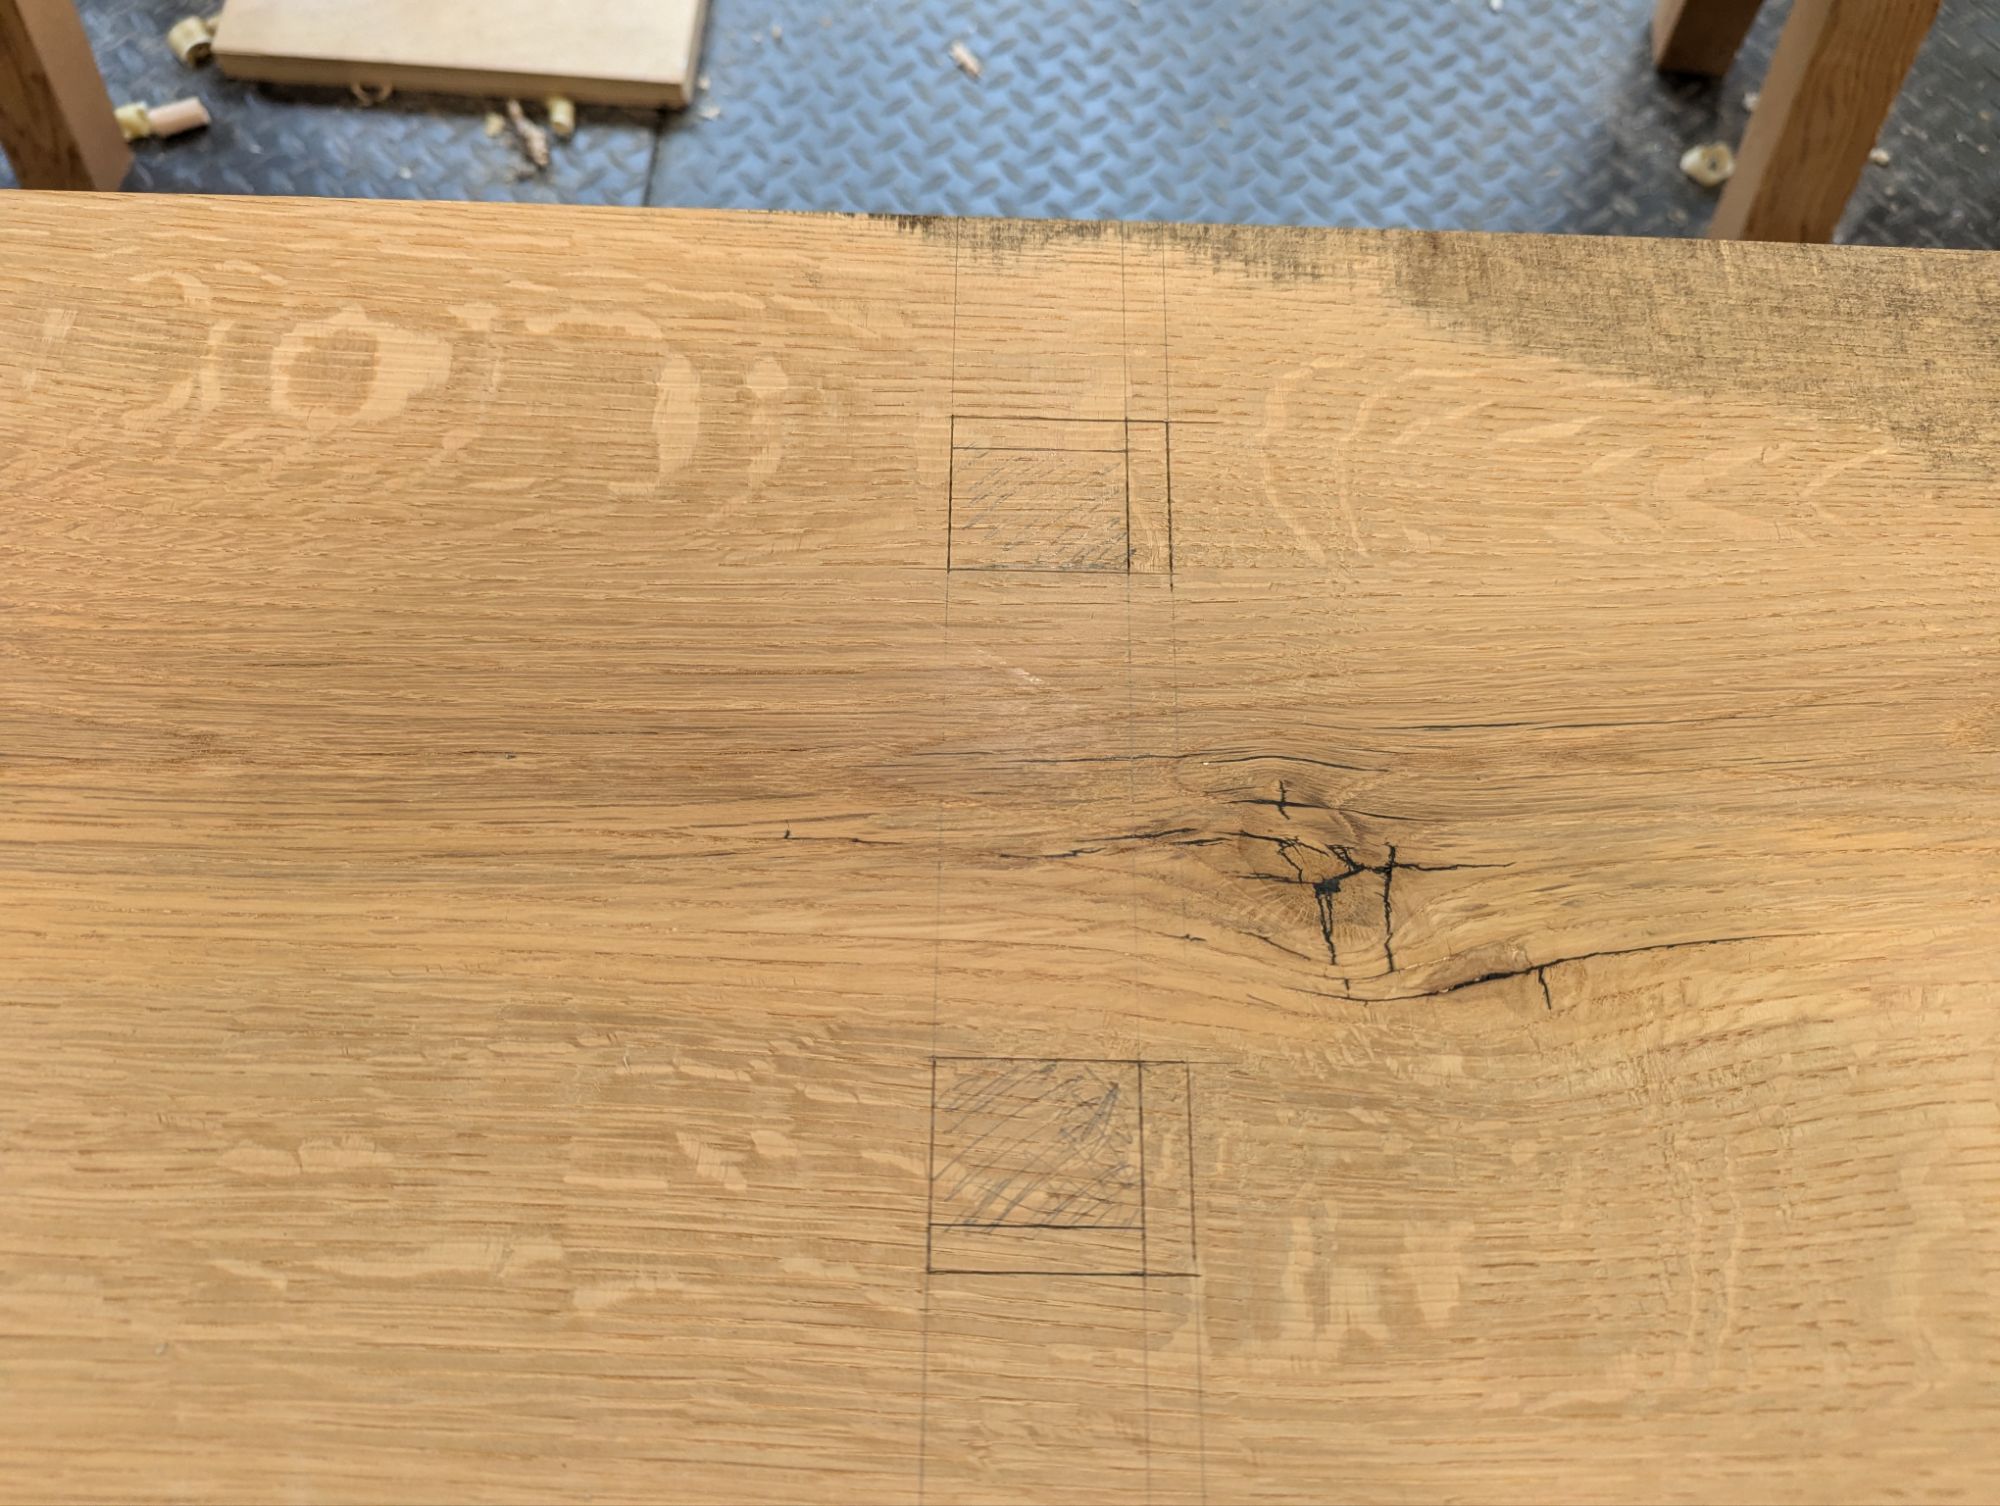
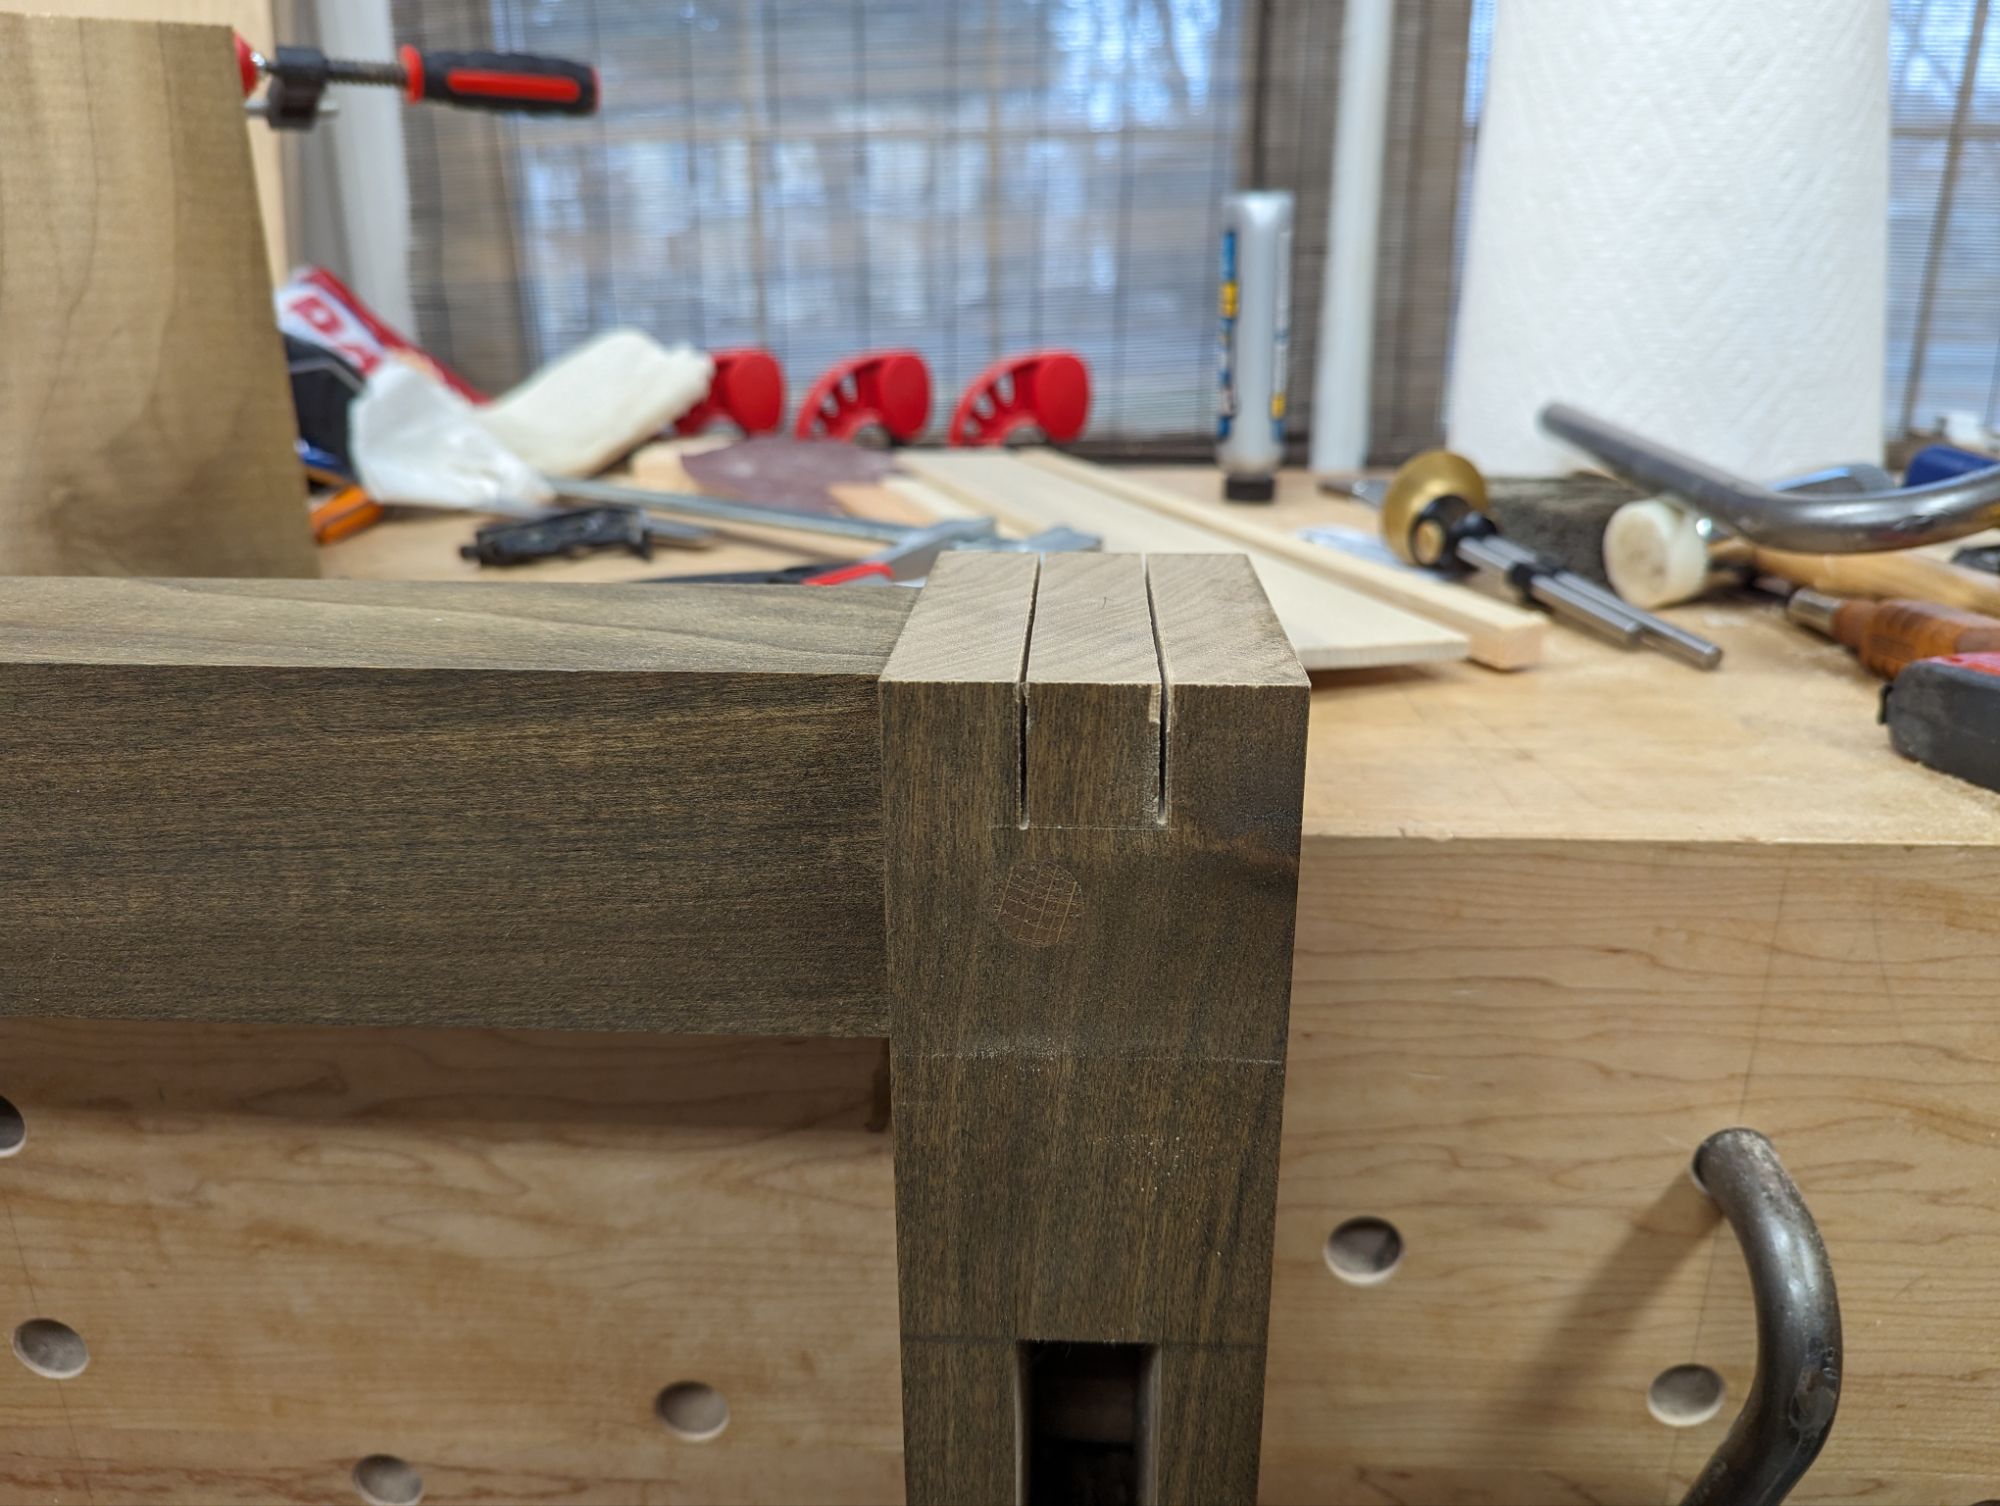
For compound angle legs, I start by measuring the overall length of the tenon I’ll need. I like to measure from the back inside corner to the front outside corner (ie, diagonally across the joint), then add 1/4 inch or so per 1 inch of tenon thickness. This leaves enough tenon proud of the top of the slab to trim it fully flush after glue up. When in doubt, add another 1/4 inch. Mark the tenon width like you would any other tenon.
Now mark the splay angle on one side of the leg using a marking knife. This is really important: the splay angle should slope downward and away from the flat of the tenon. As shown below.
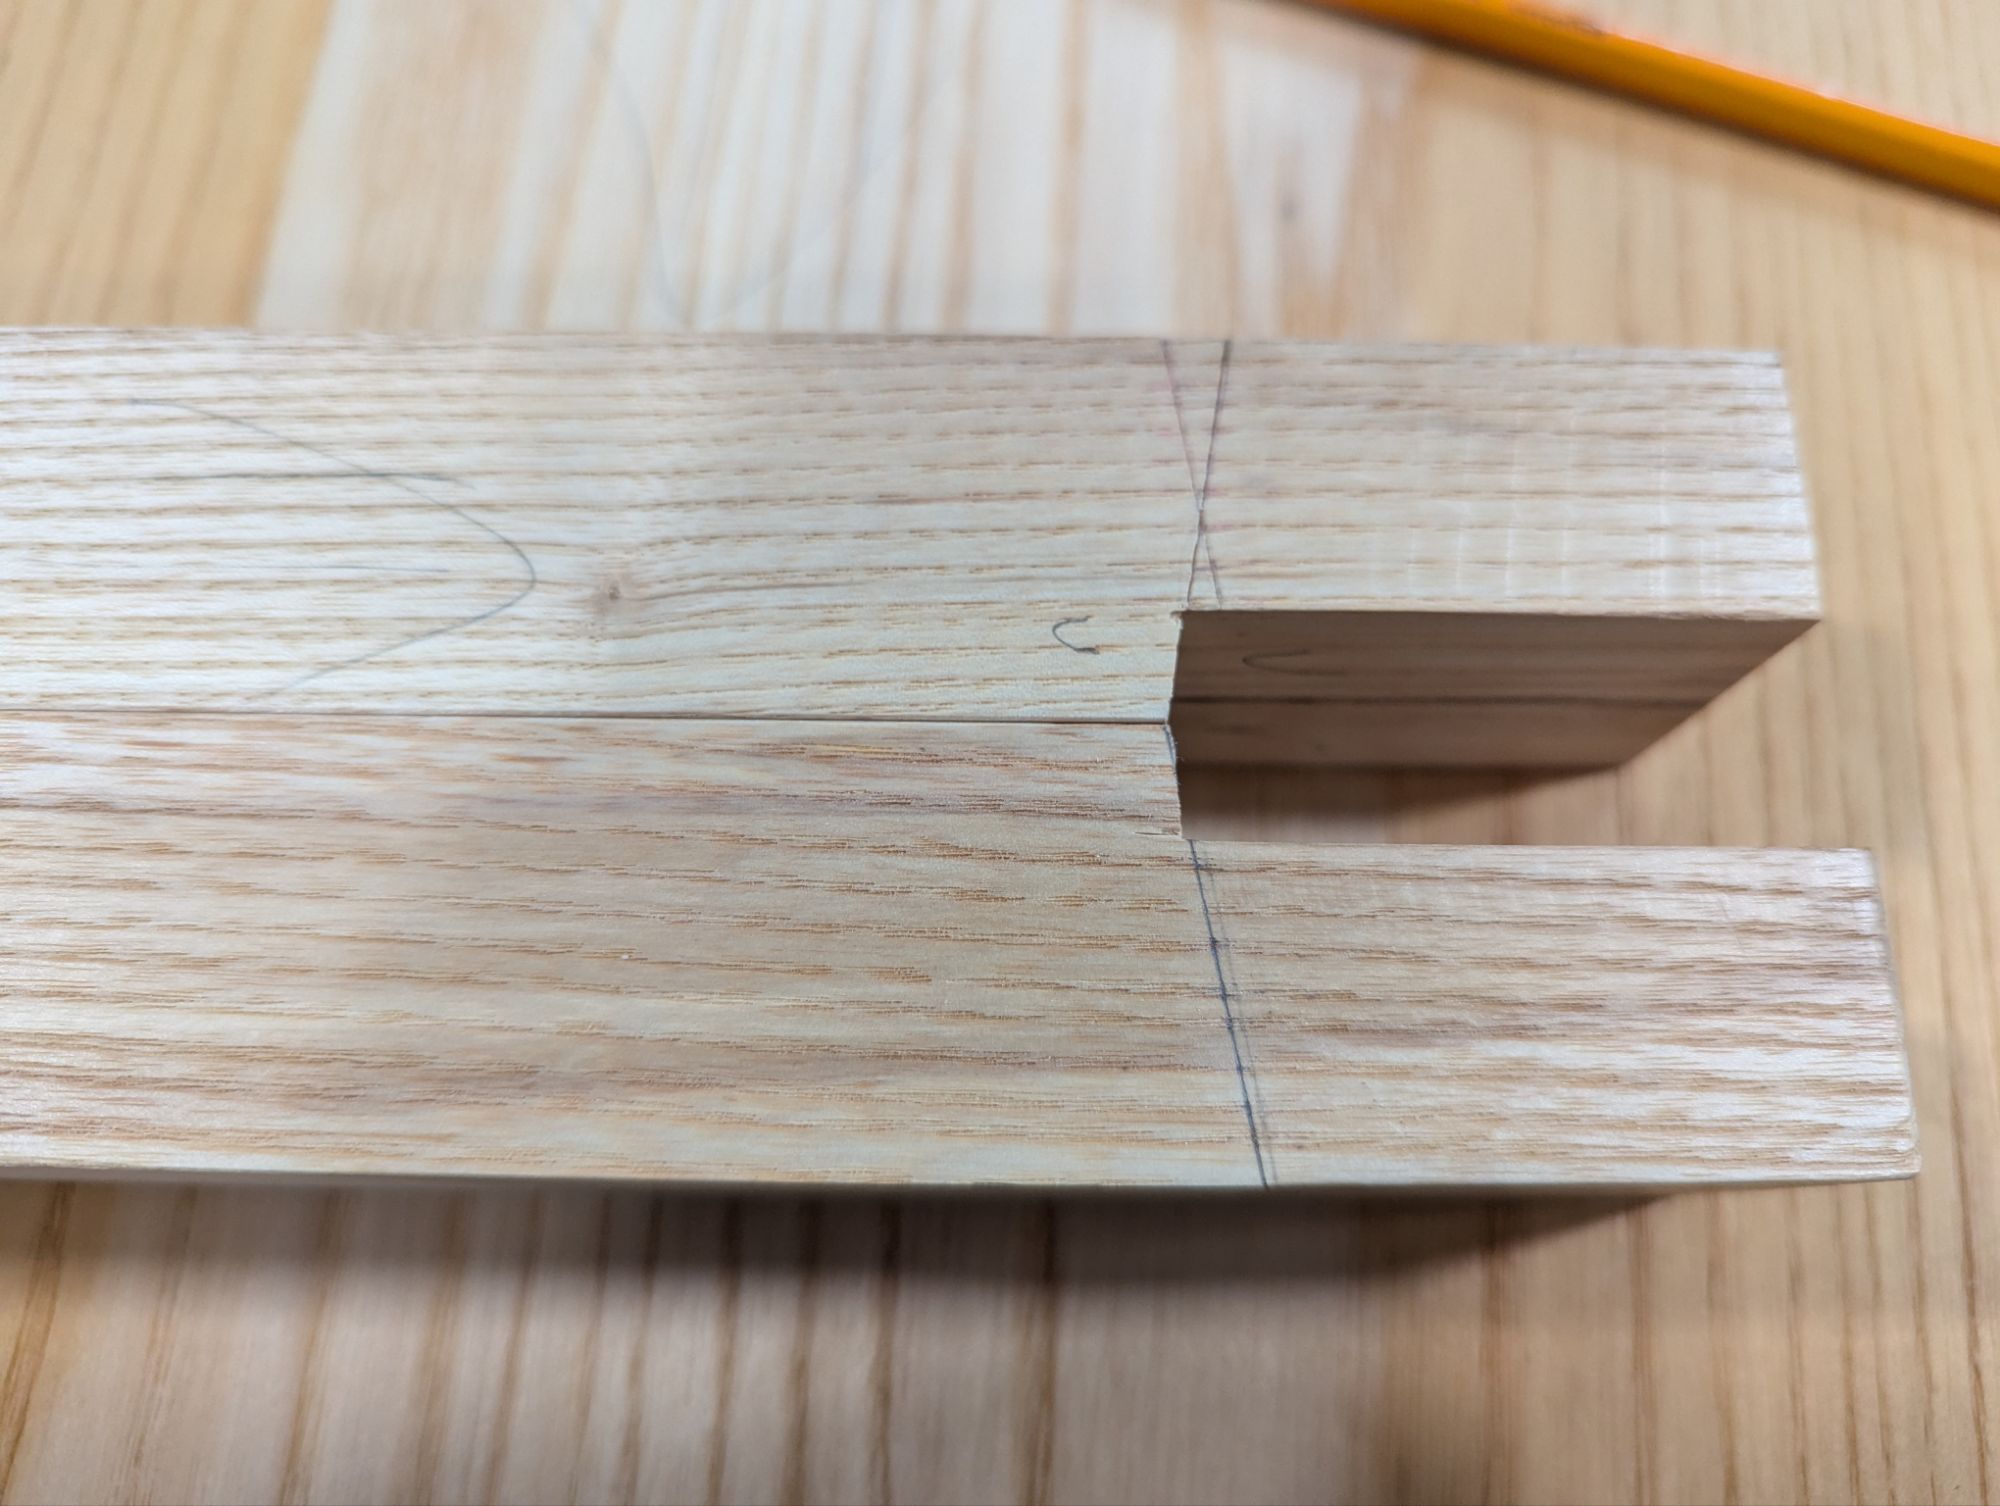
Now it’s time to mark the rake angle (if you have one). This is where having two bevel gauges really helps. The rake angle slopes downward from the side of the leg that faces the midpoint of the slab lengthwise (or, it slopes upward from the side of the leg that faces the end of the slab). If you’re having trouble visualizing it, it will be painfully clear the first time you mess it up and the corner of tenon shoulder digs into the underside of the slab top.
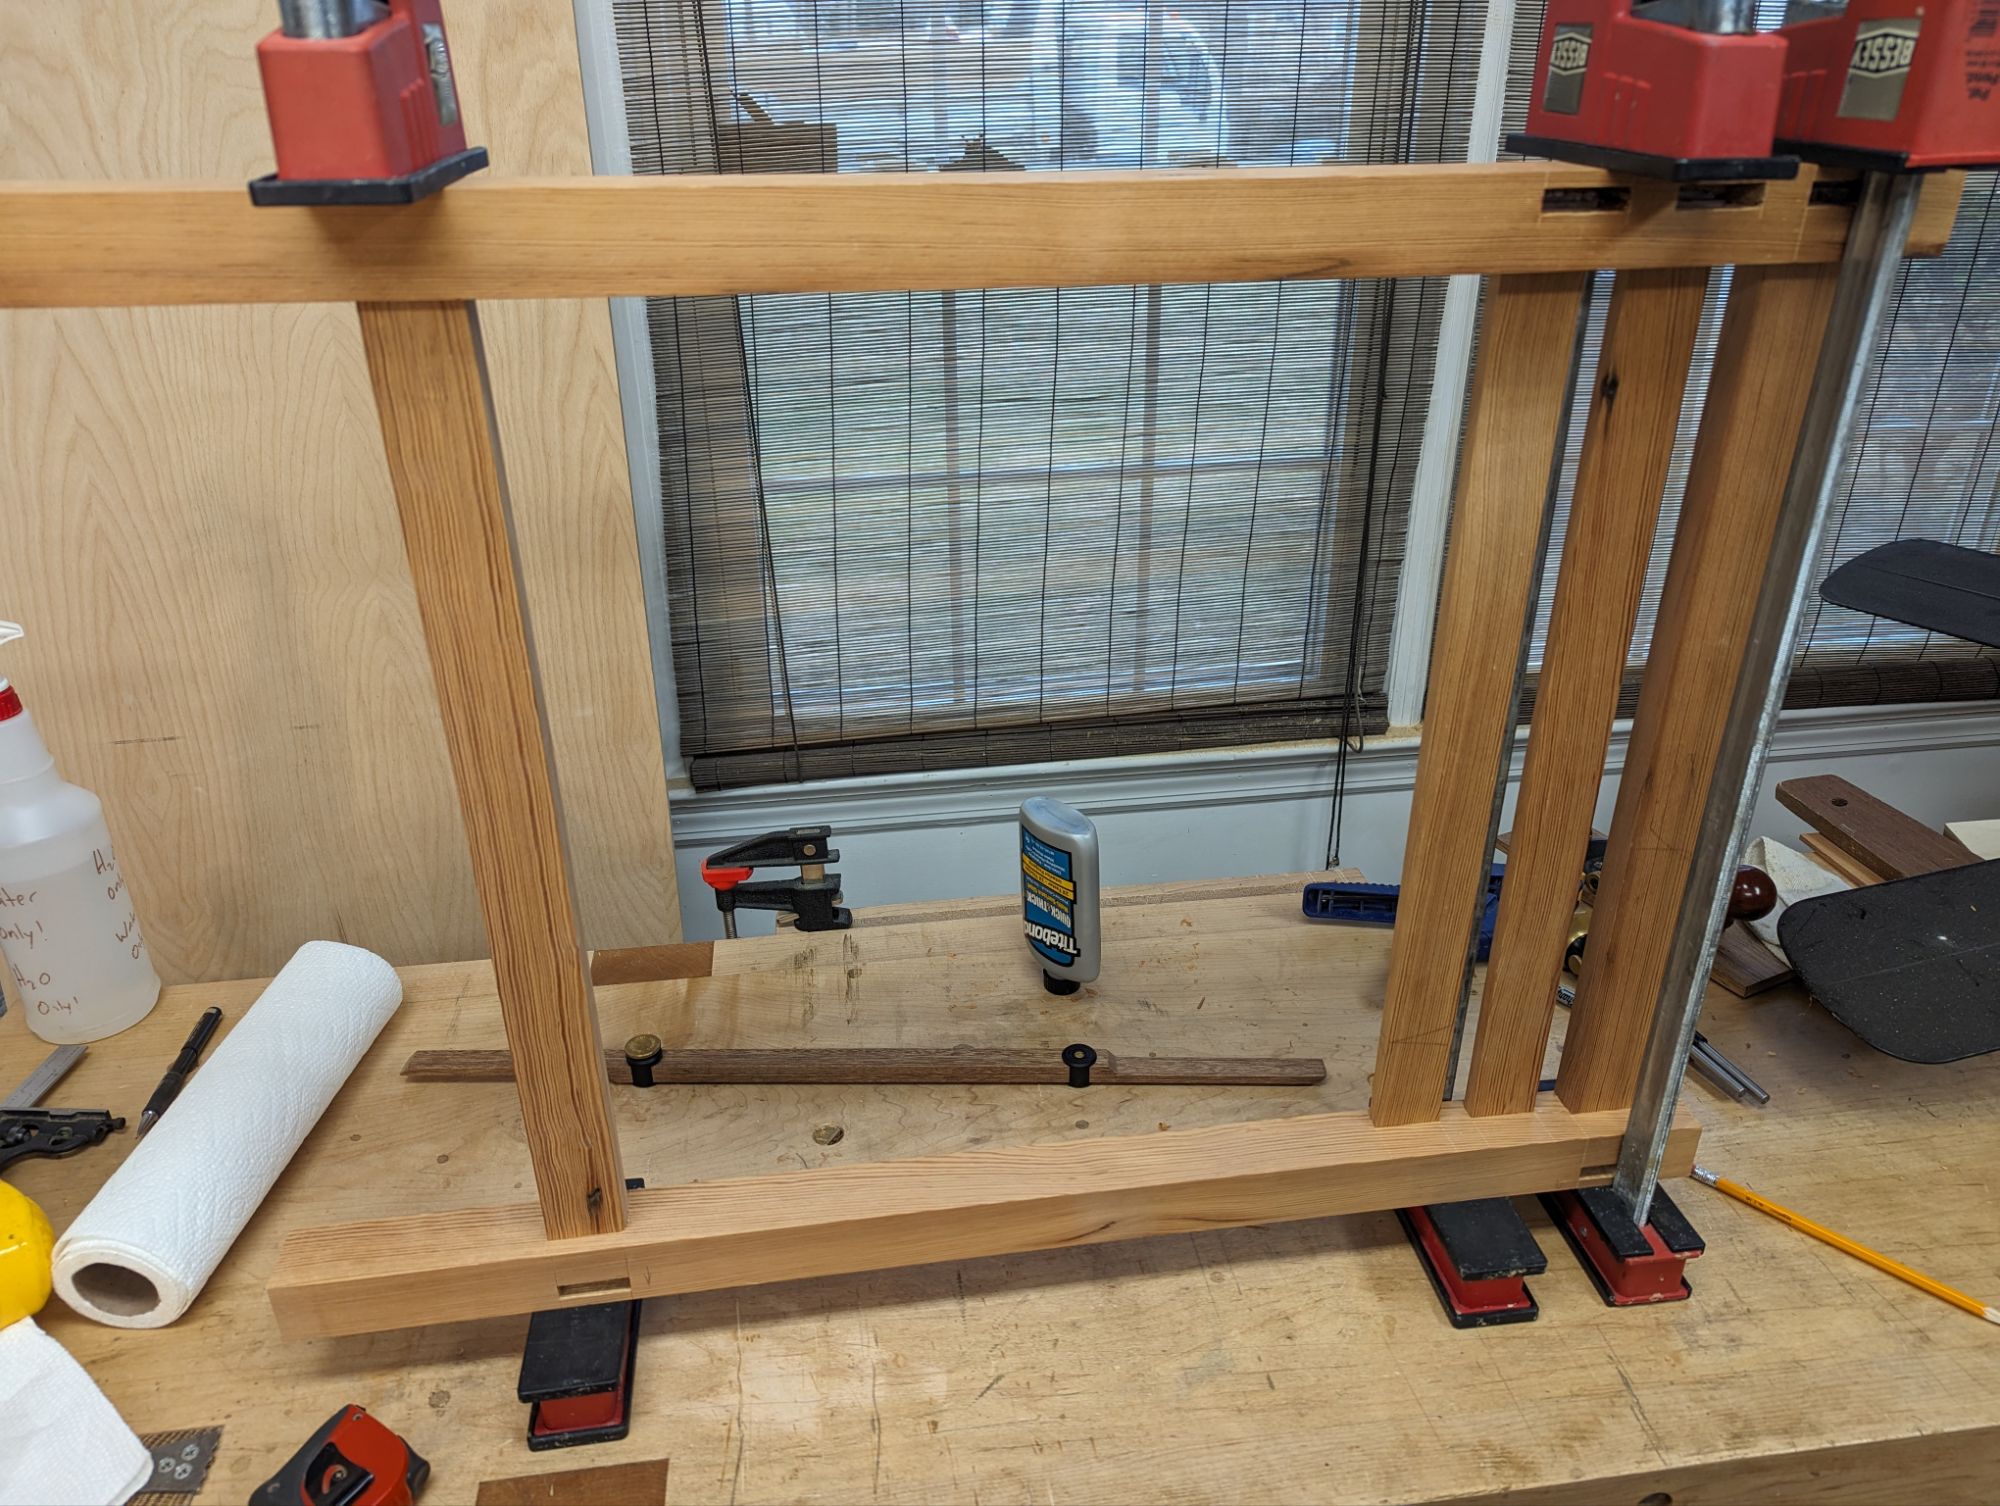
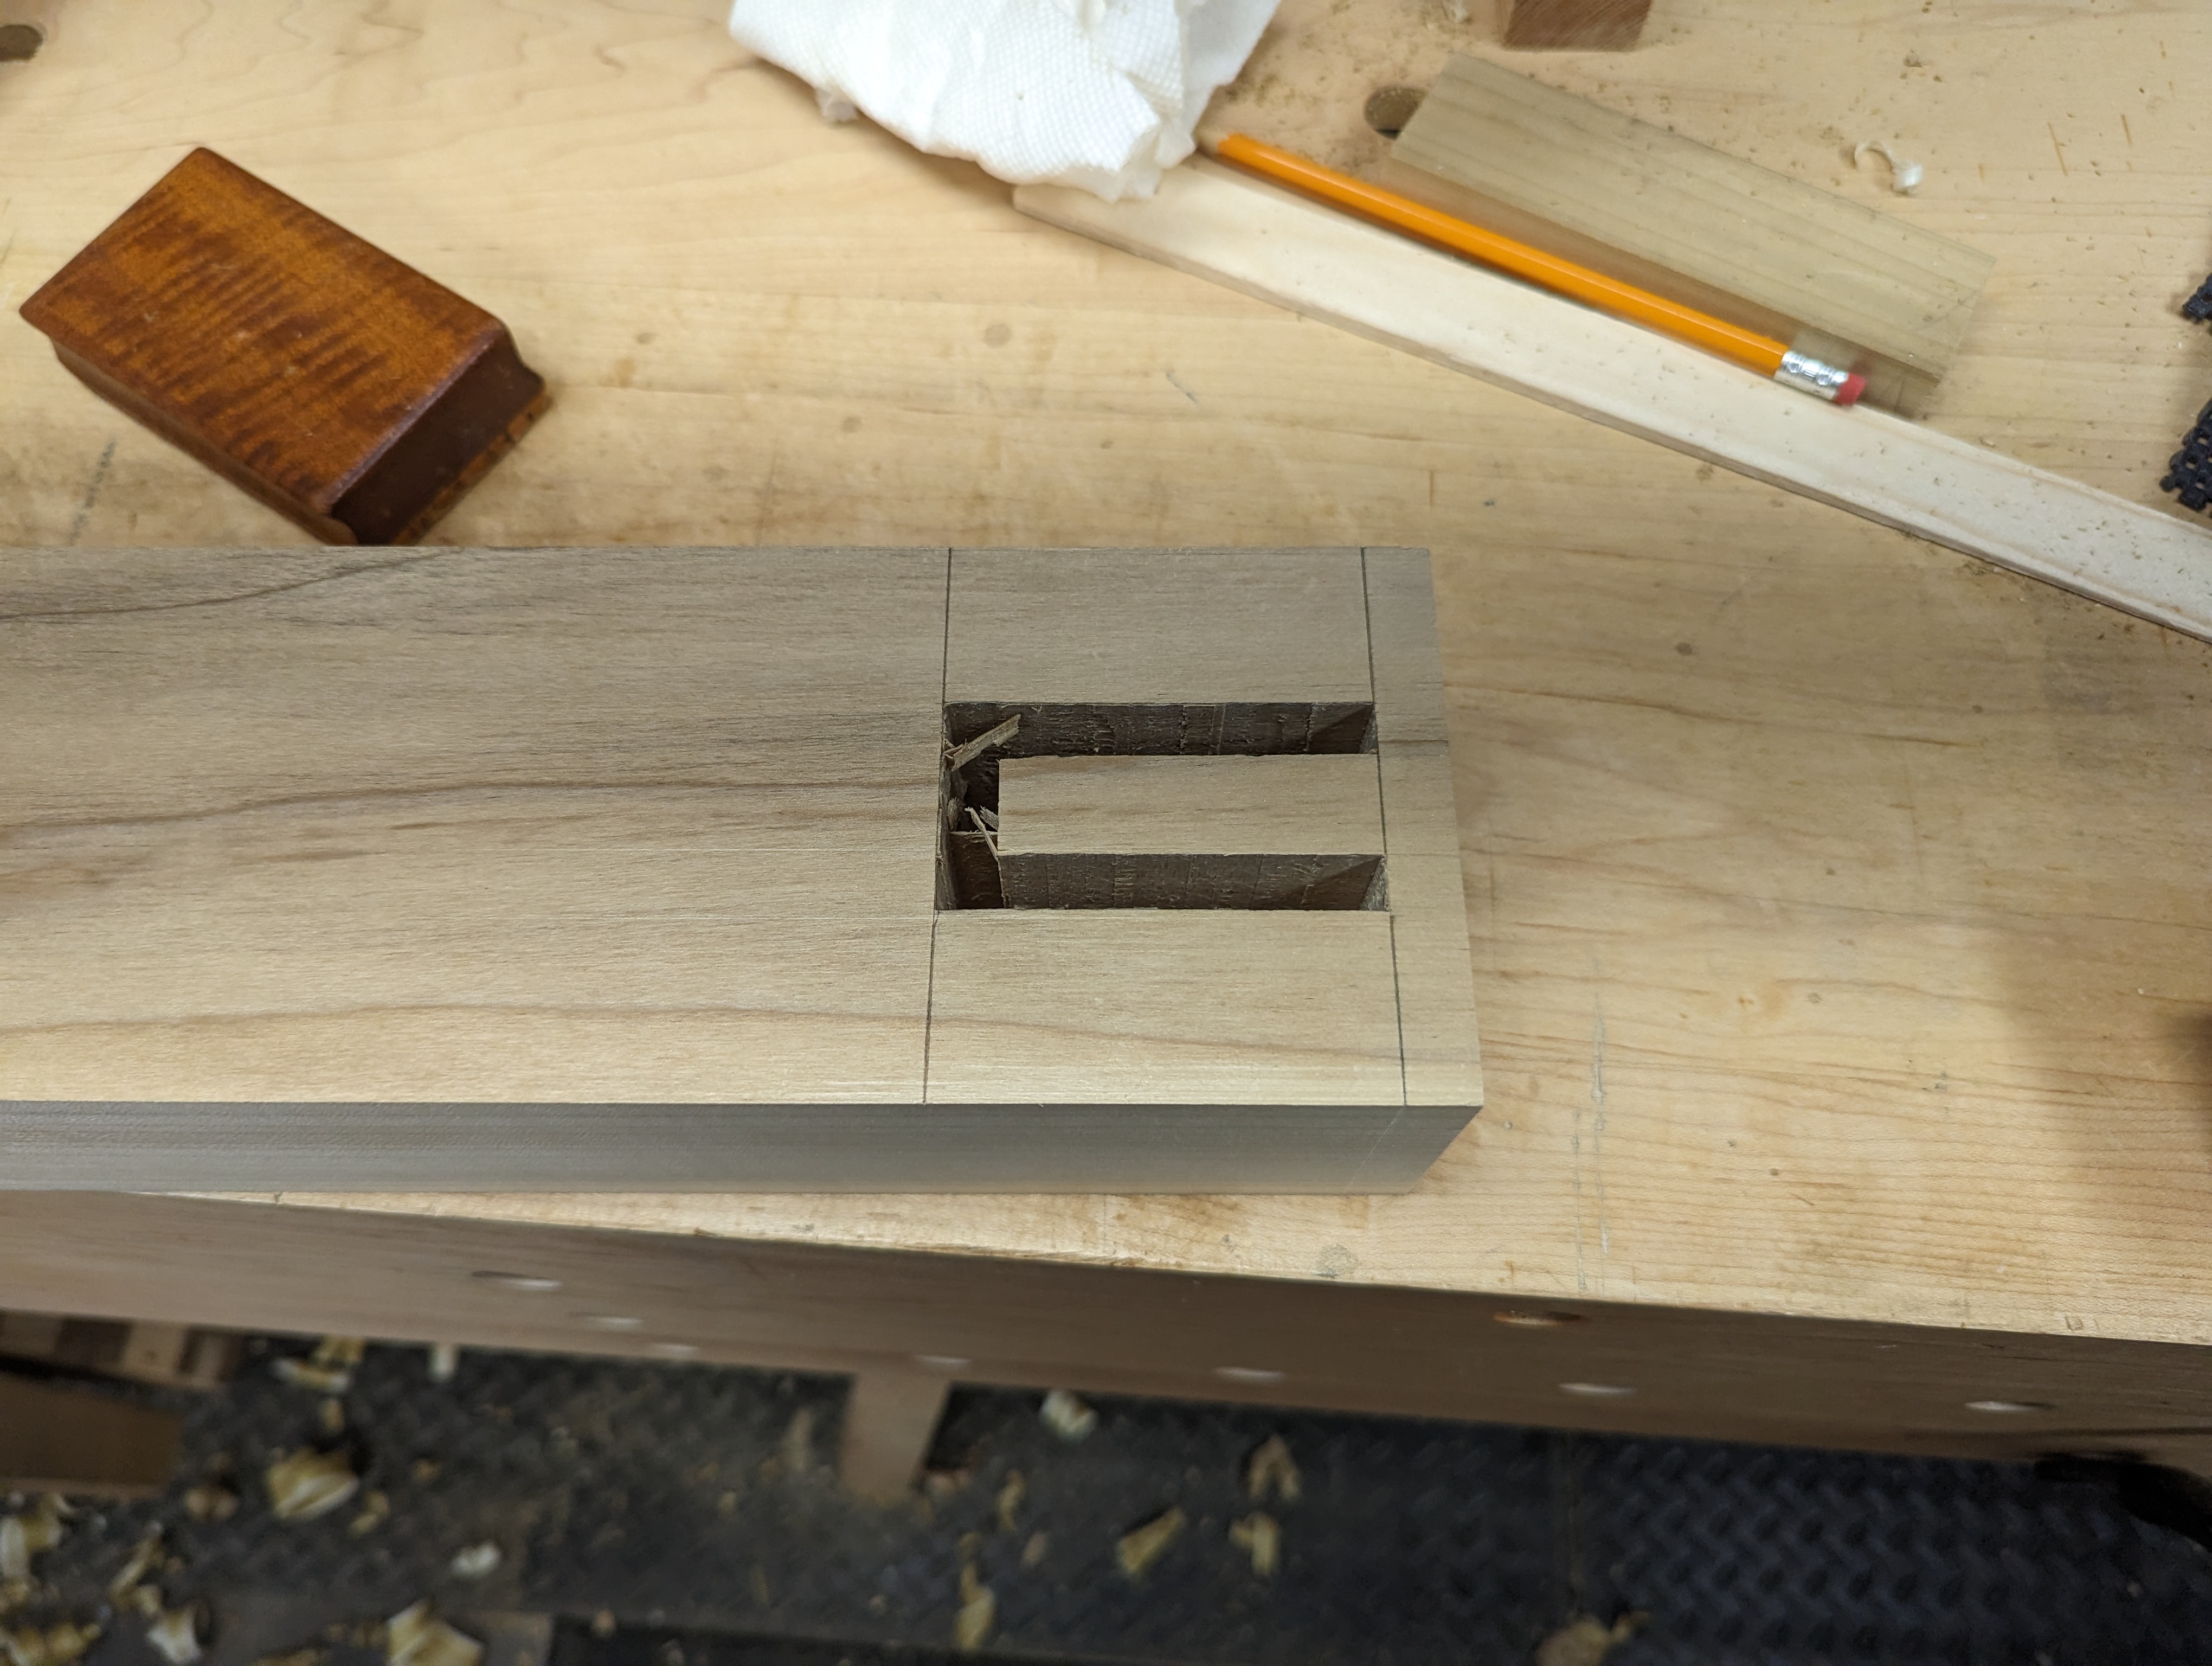
Then carry the splay angle line around the other side of the leg, being careful to orient your bevel gauge so the splay angles are parallel (even if one is lower on the leg than the other). Now it’s time to cut the mortise.
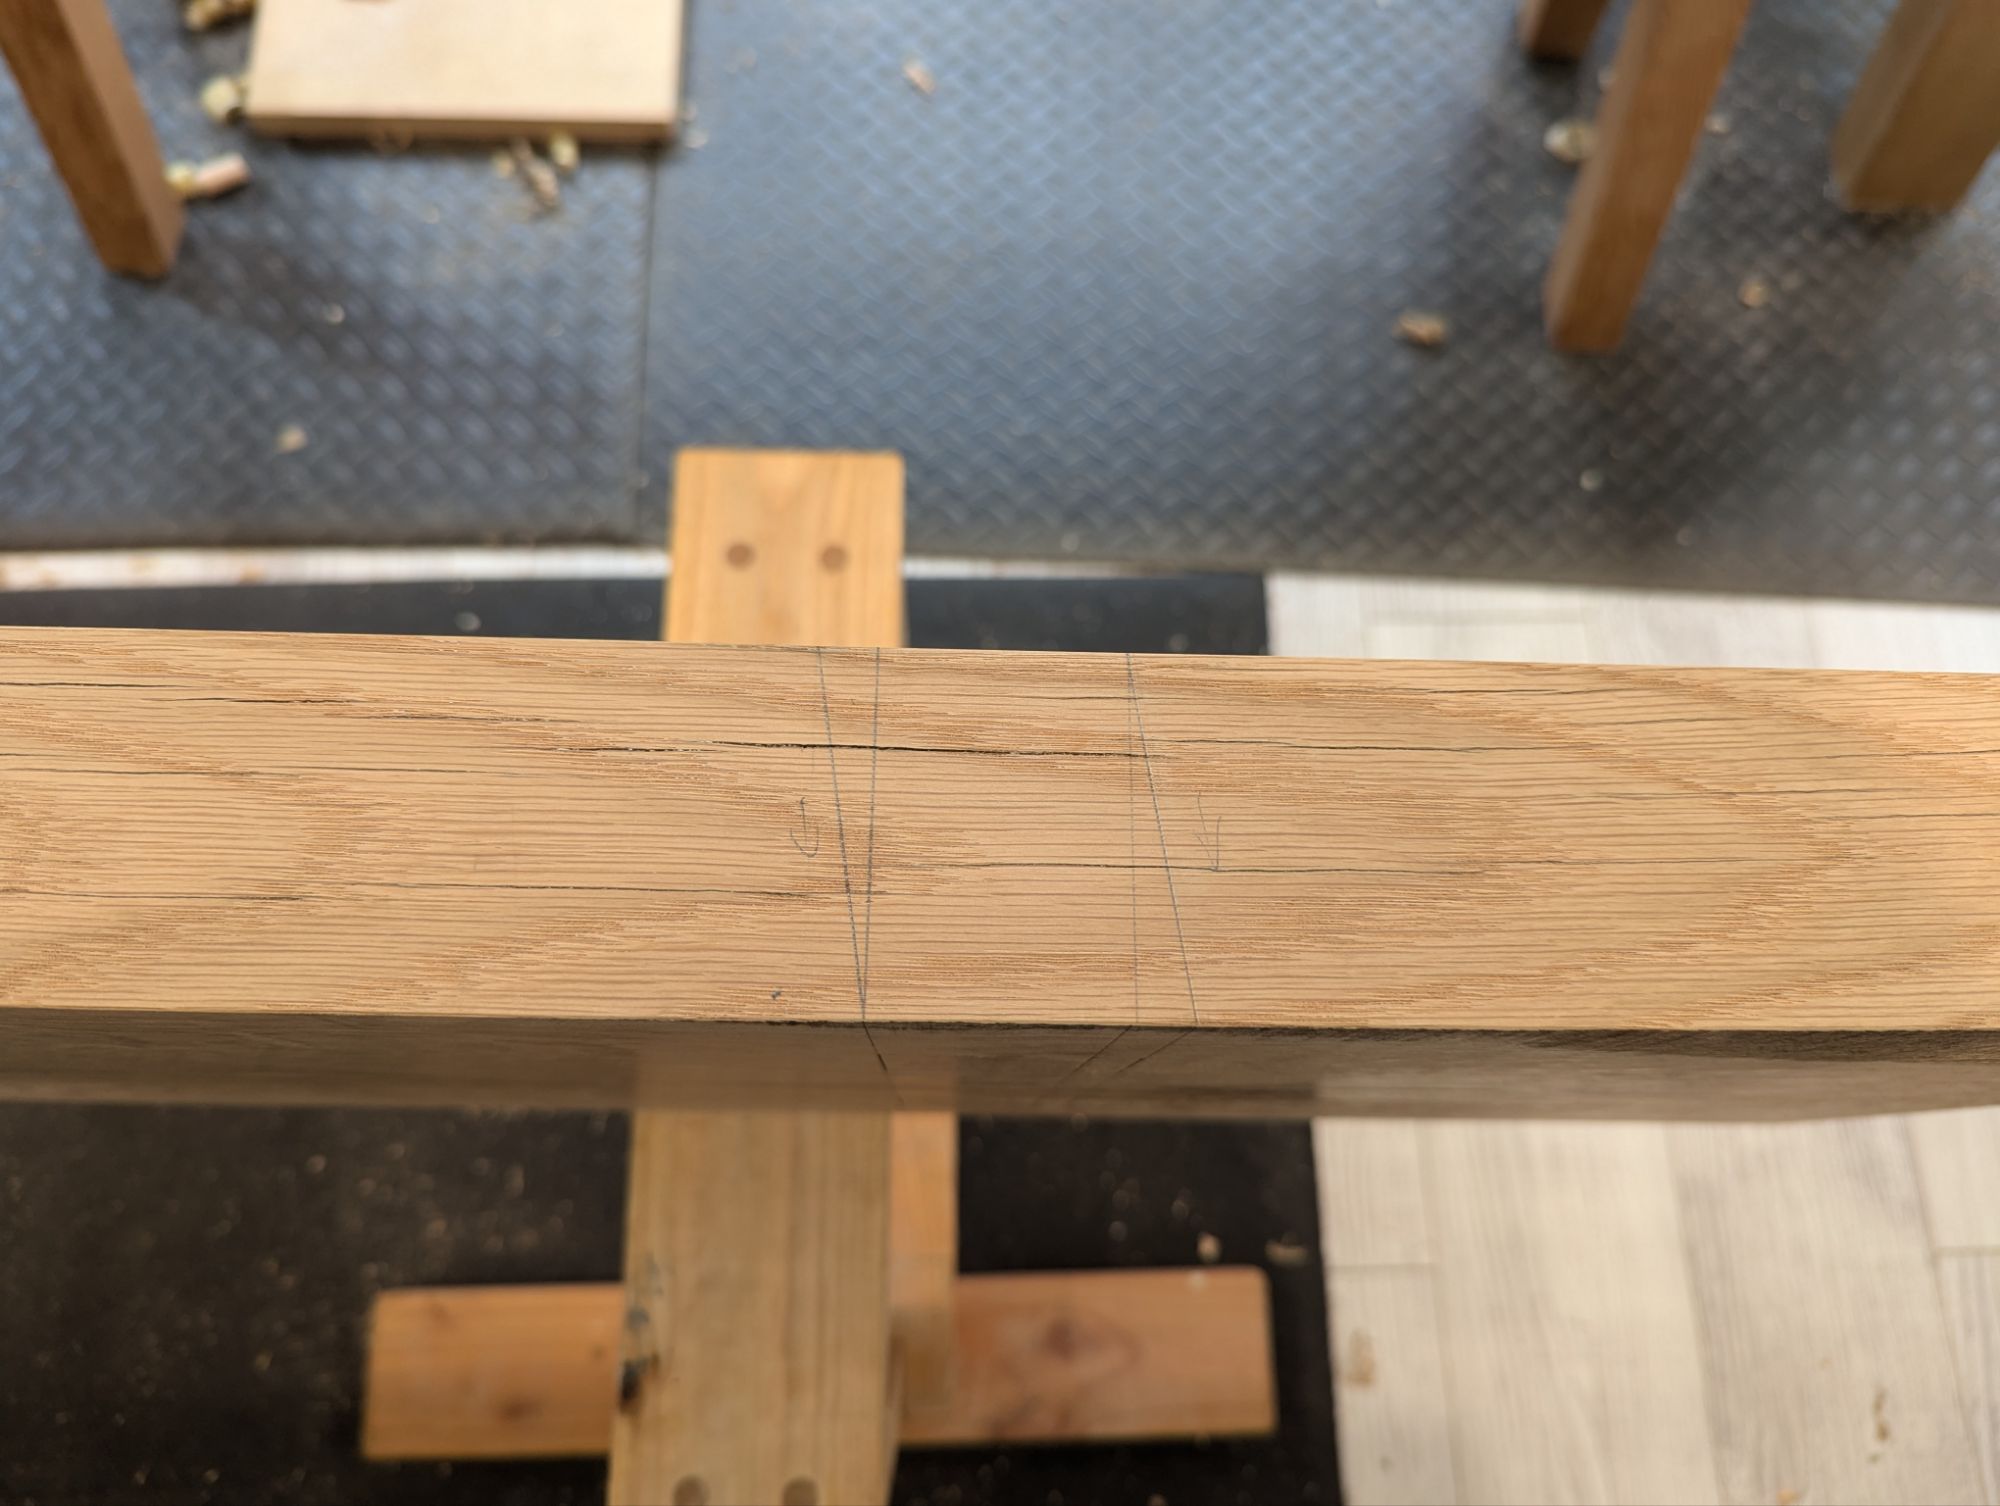
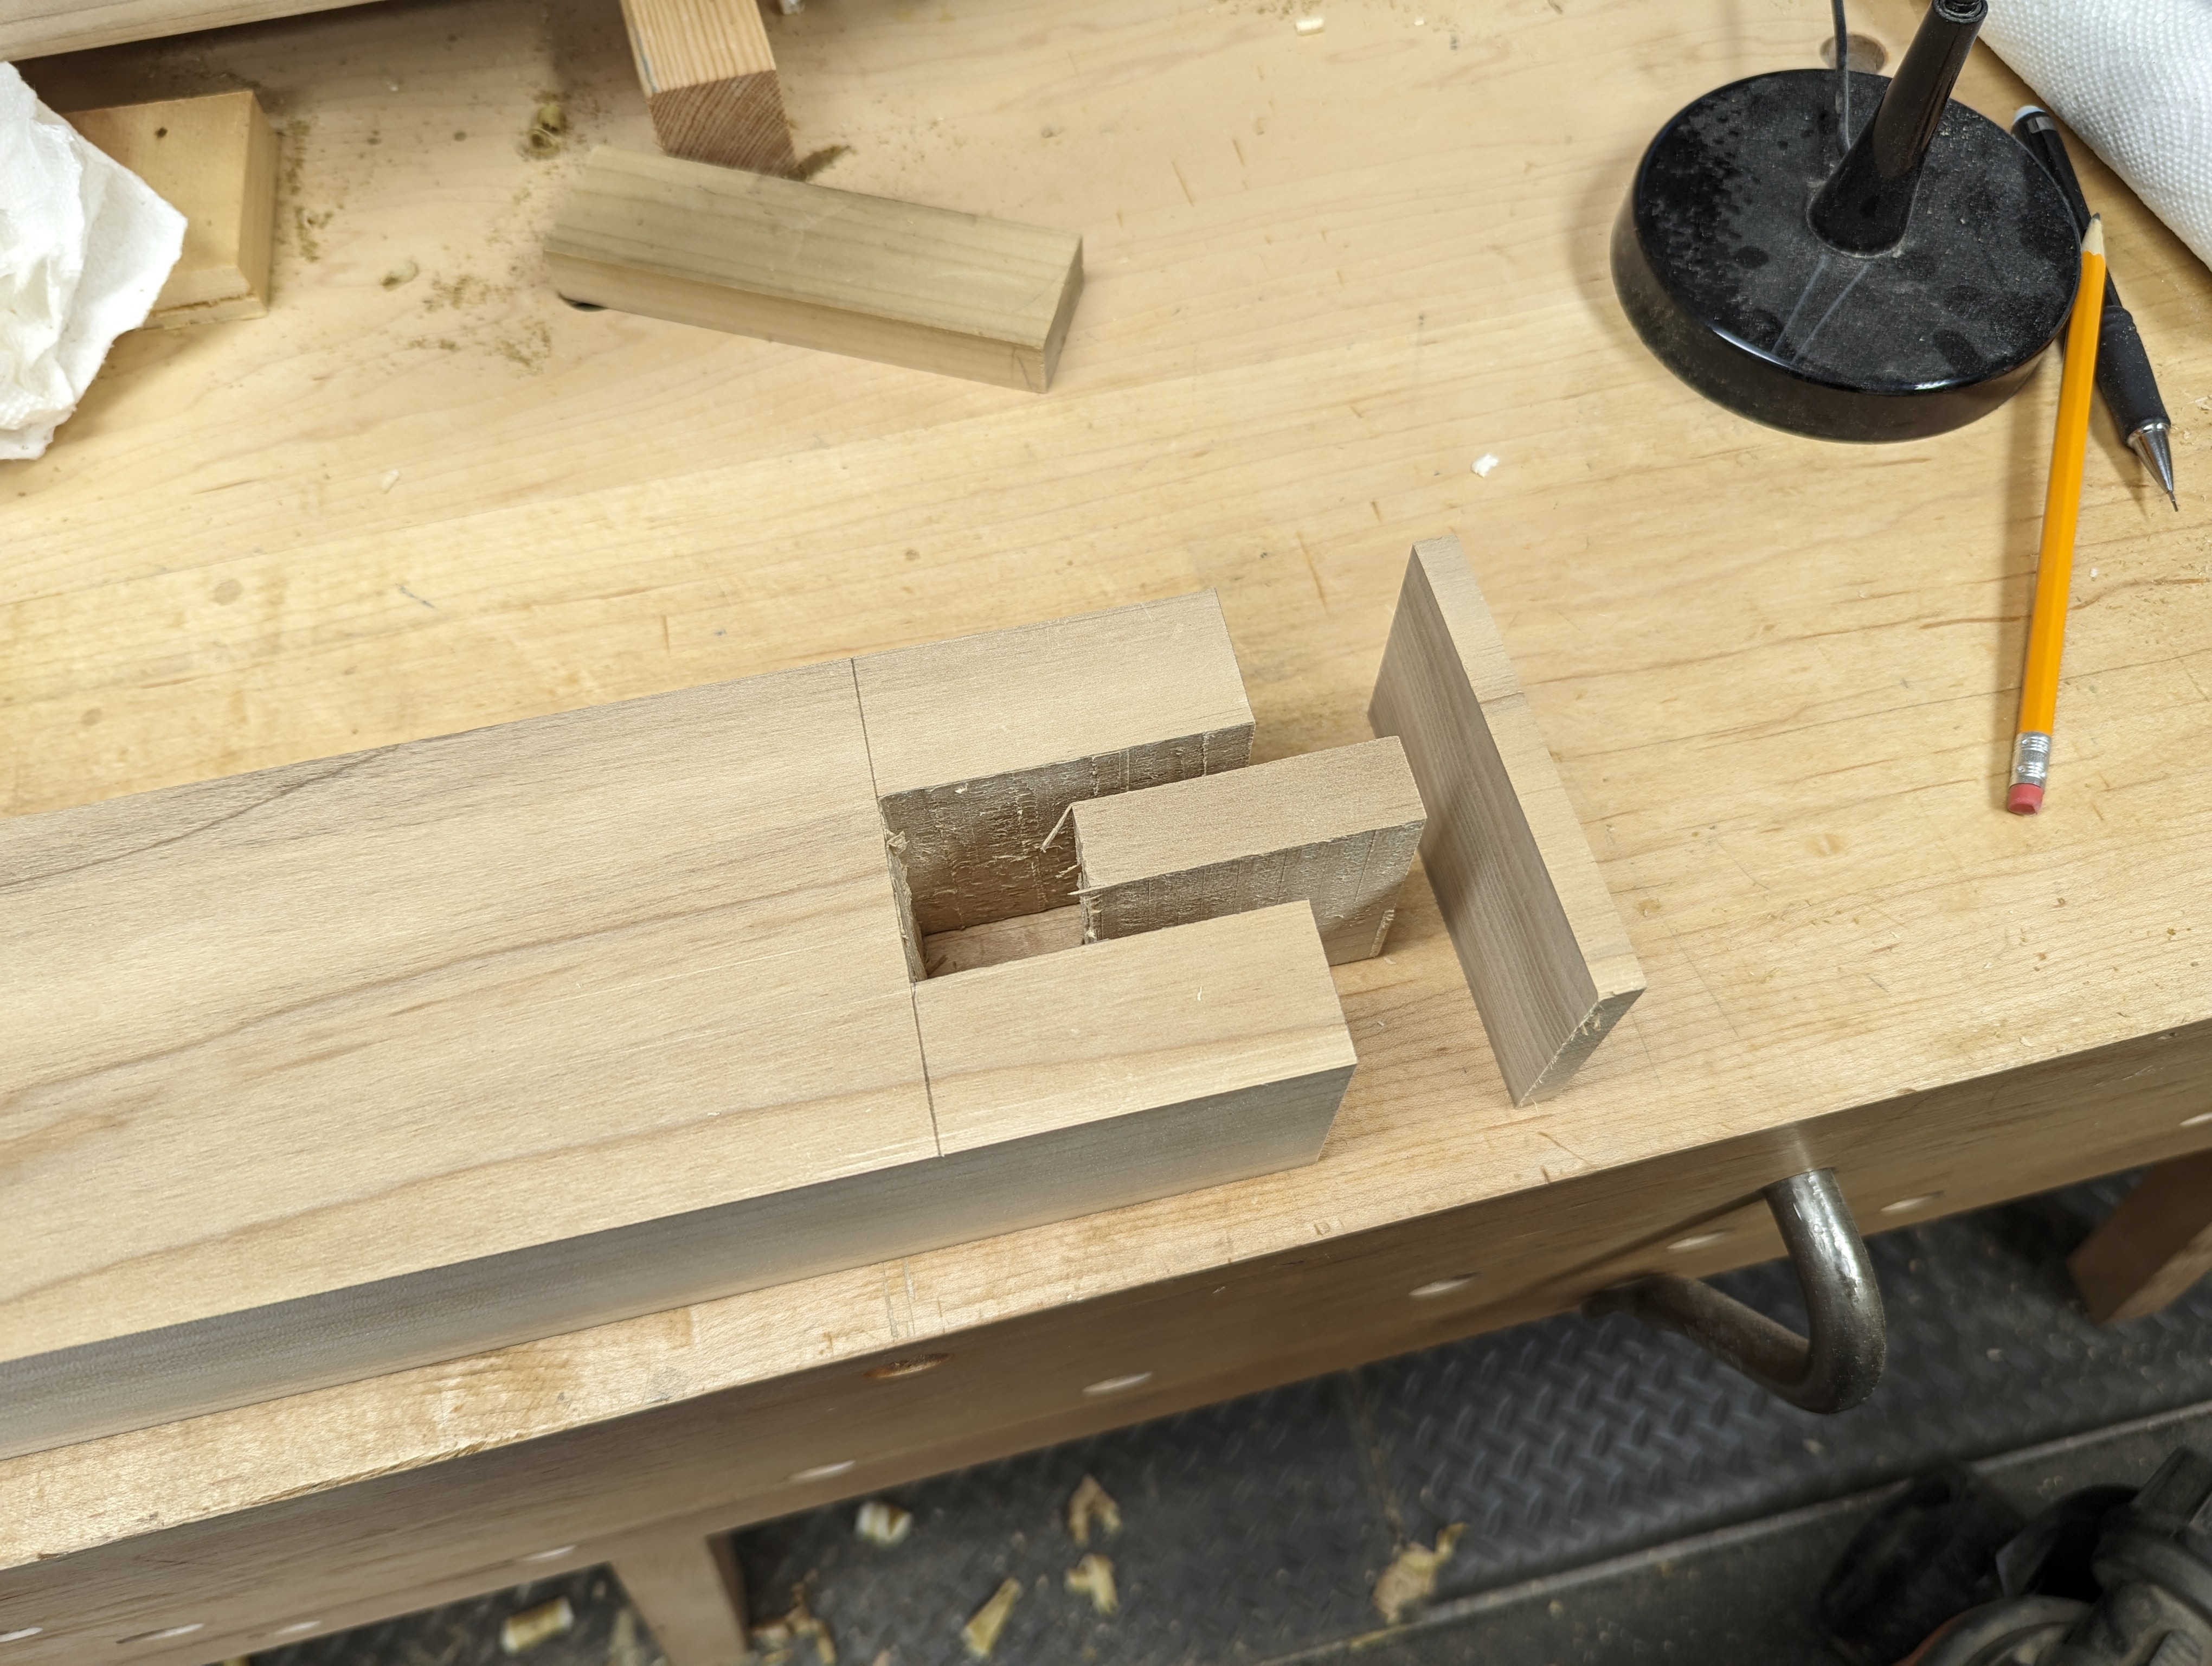
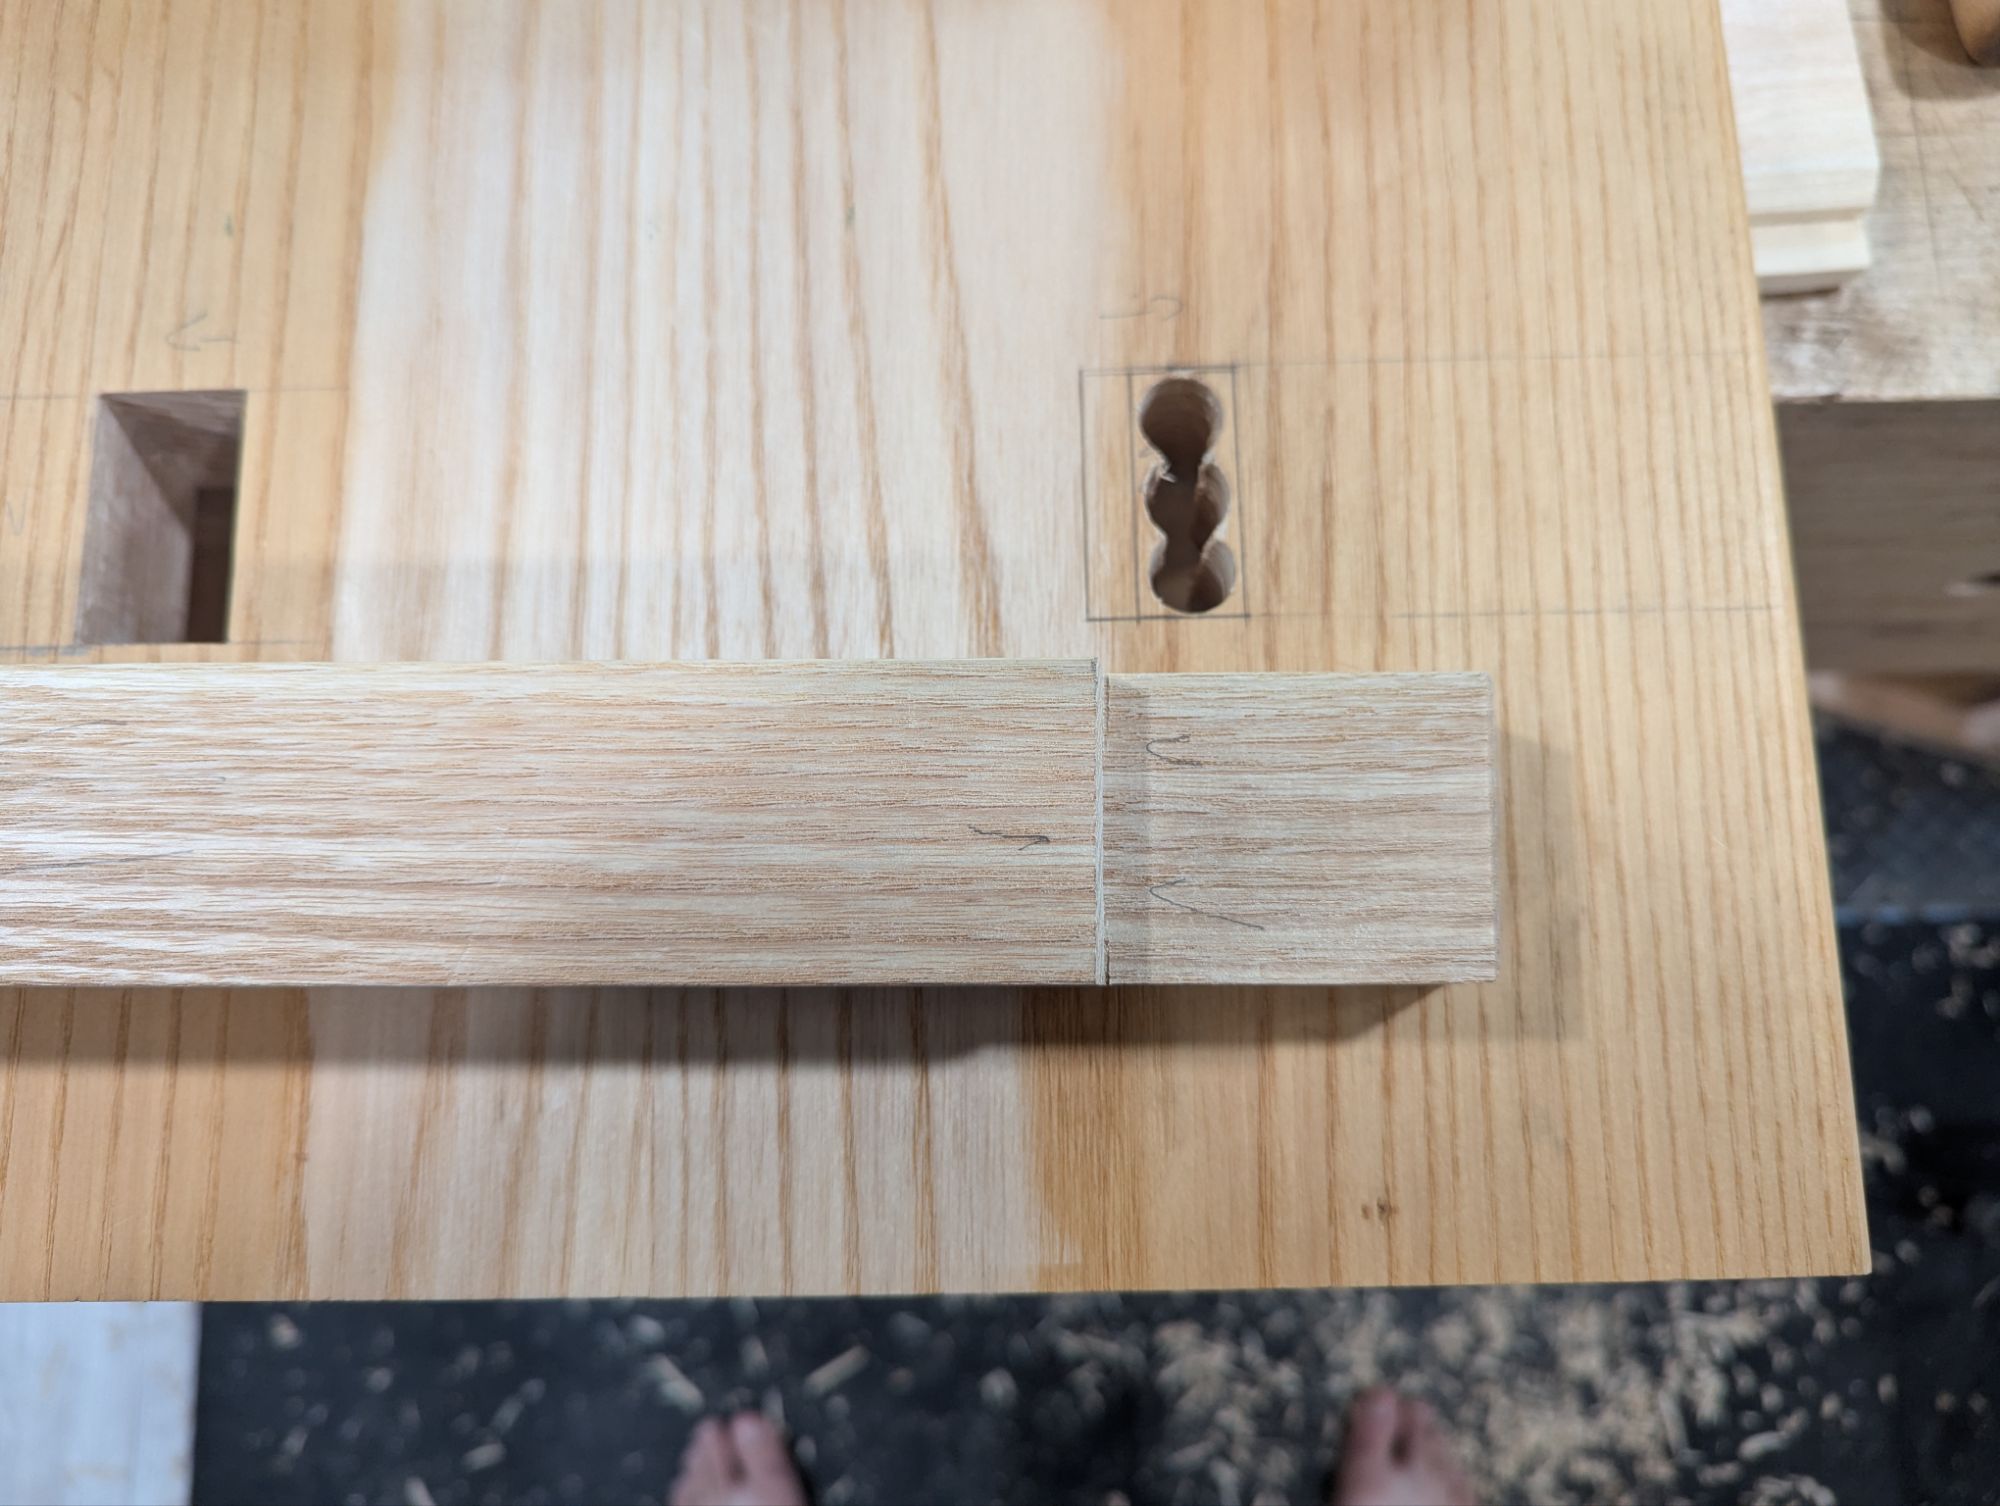
I like to start with the shoulder cut, using a small crosscut saw. If all goes well, it should come off the saw at the correct angle. If not, more on that later. Then rip down the tenon length (although you could split it too, like any other tenon). Because ever one of these mortises will be different, be sure to leave the line so you can pare down later.
As someone who started woodworking in the golden age of Paul Sellers, I refine all of my tenons with a router plane. For these, though, be careful and take very small bites (i) to ensure the tenon isn’t too thin (there really isn’t a good way to wedge that) and (ii) to avoid tearing the grain (especially in open pore woods like ash and red oak). Any undulation in the tenon face will show when you flush the tenon to the slab top.
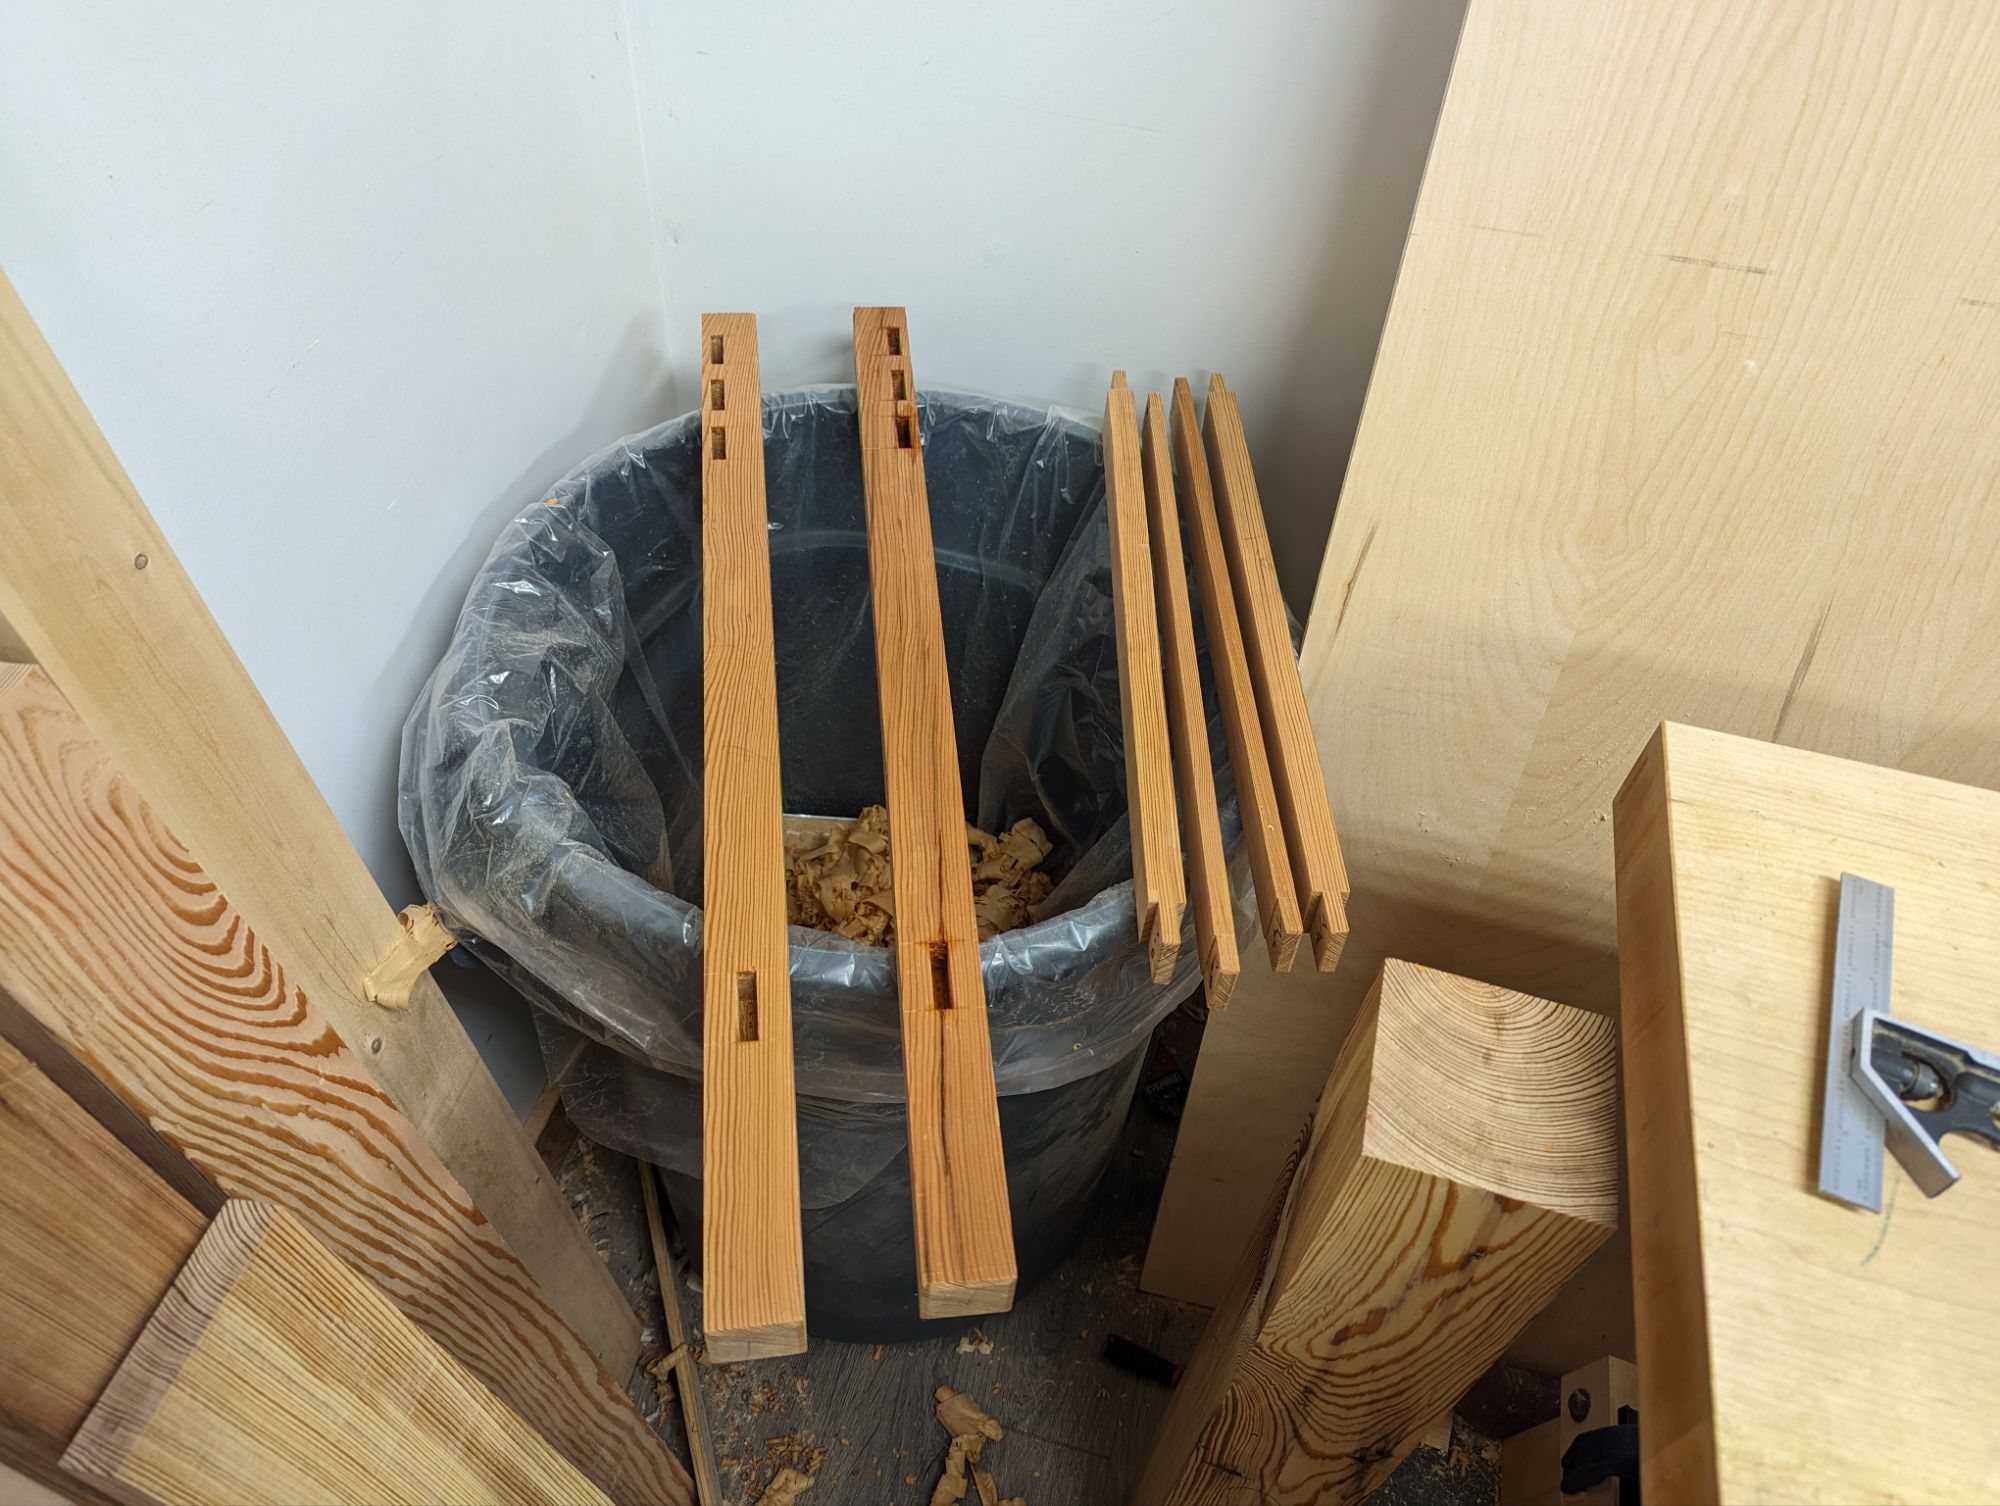
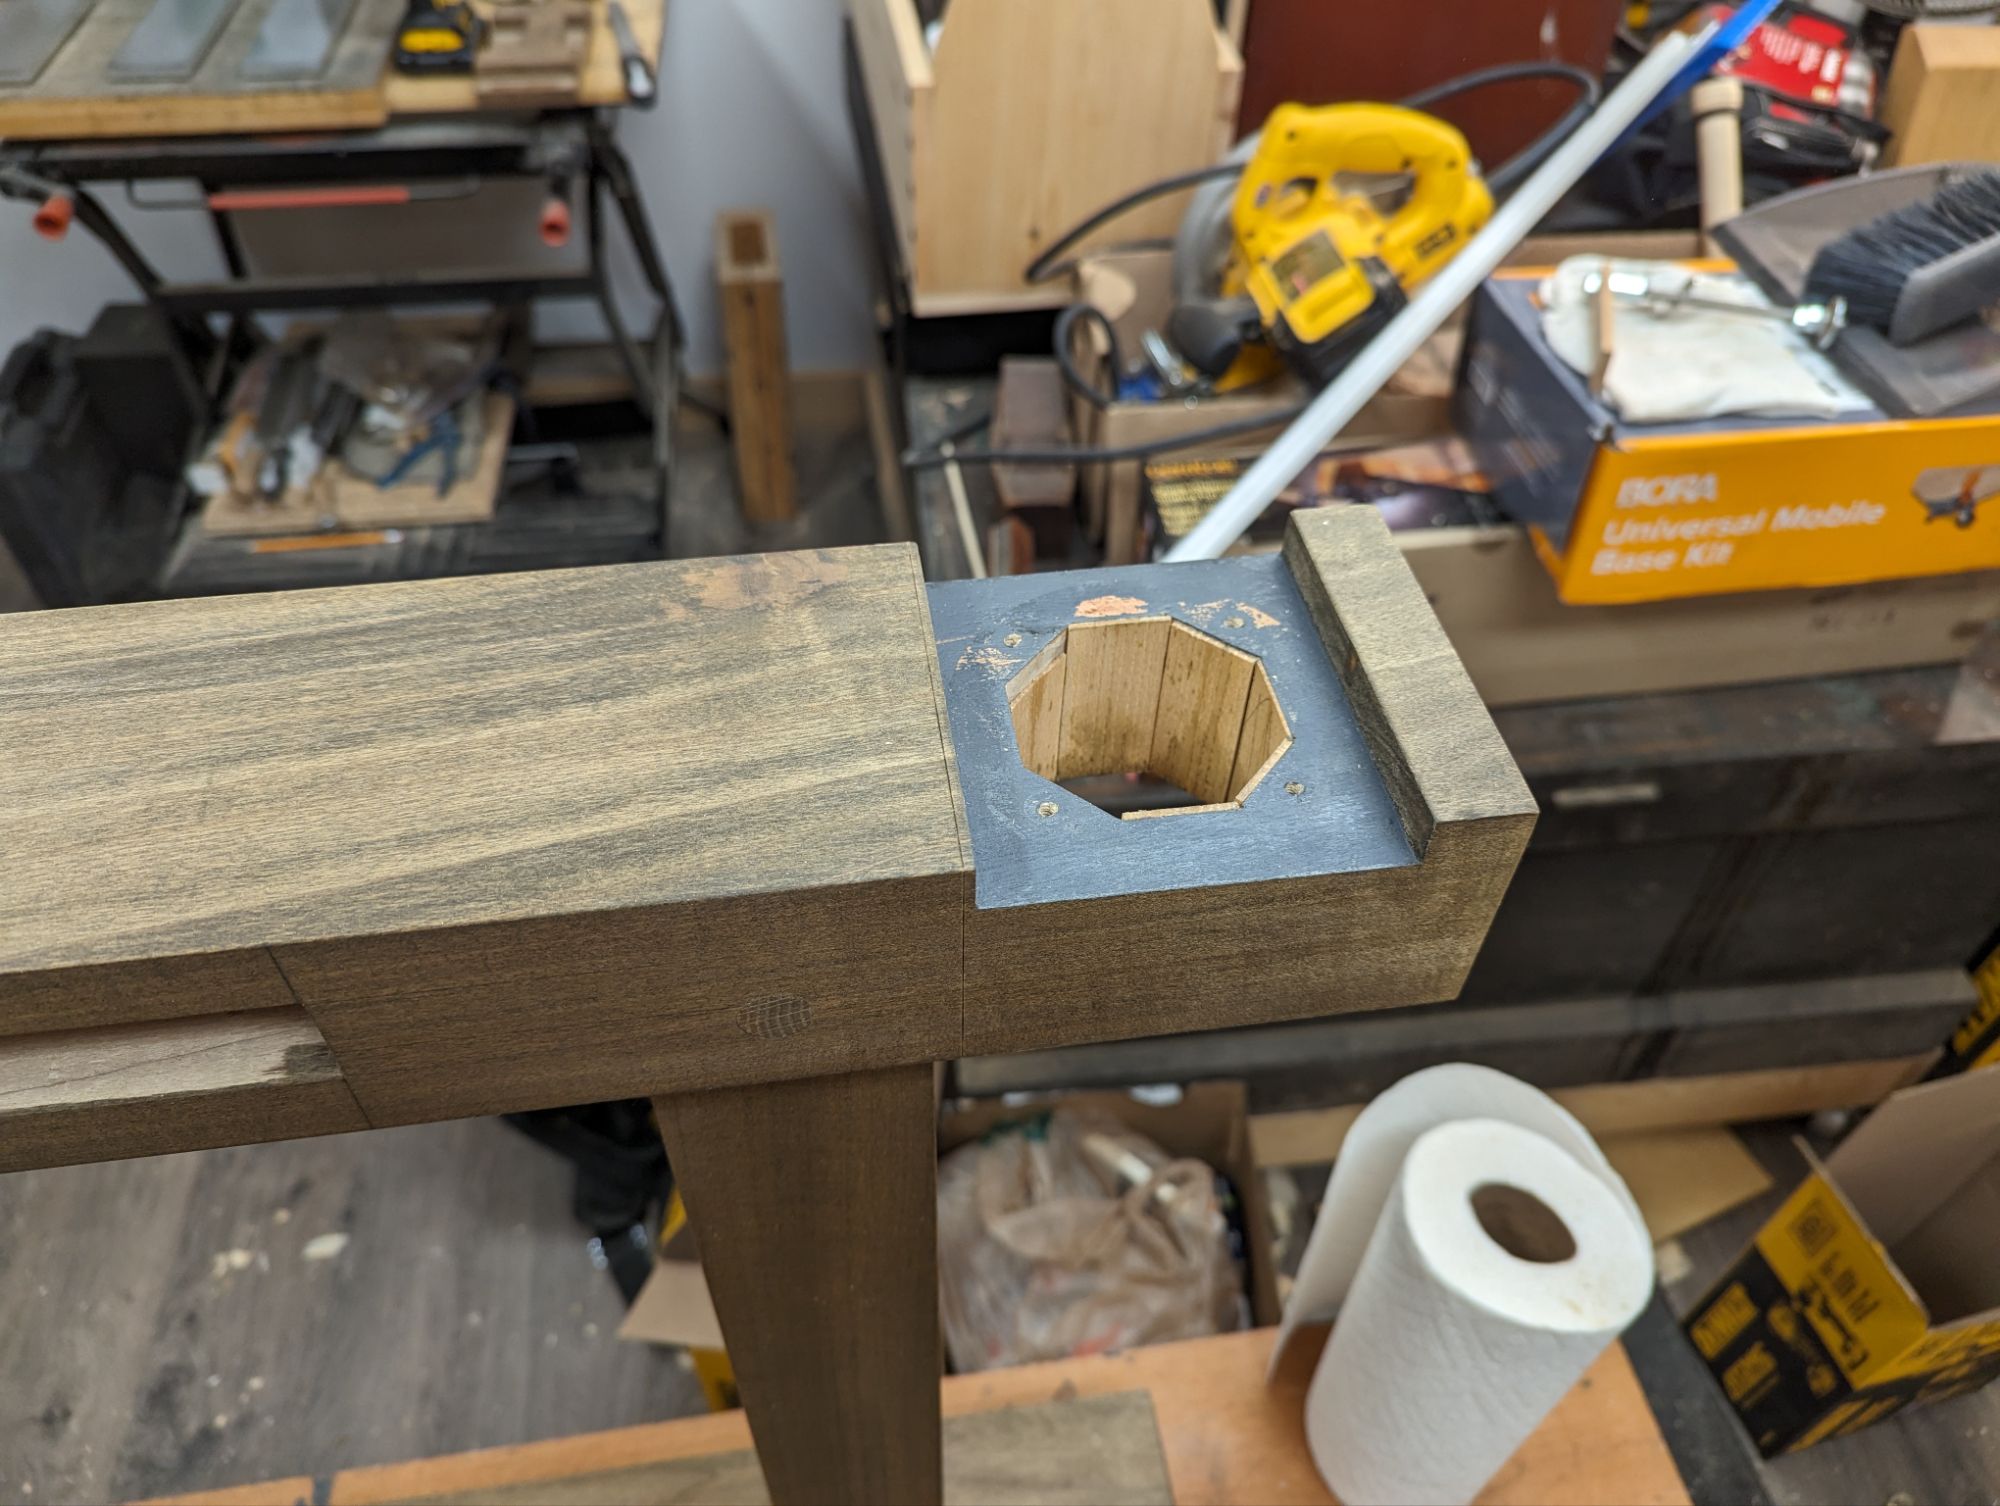
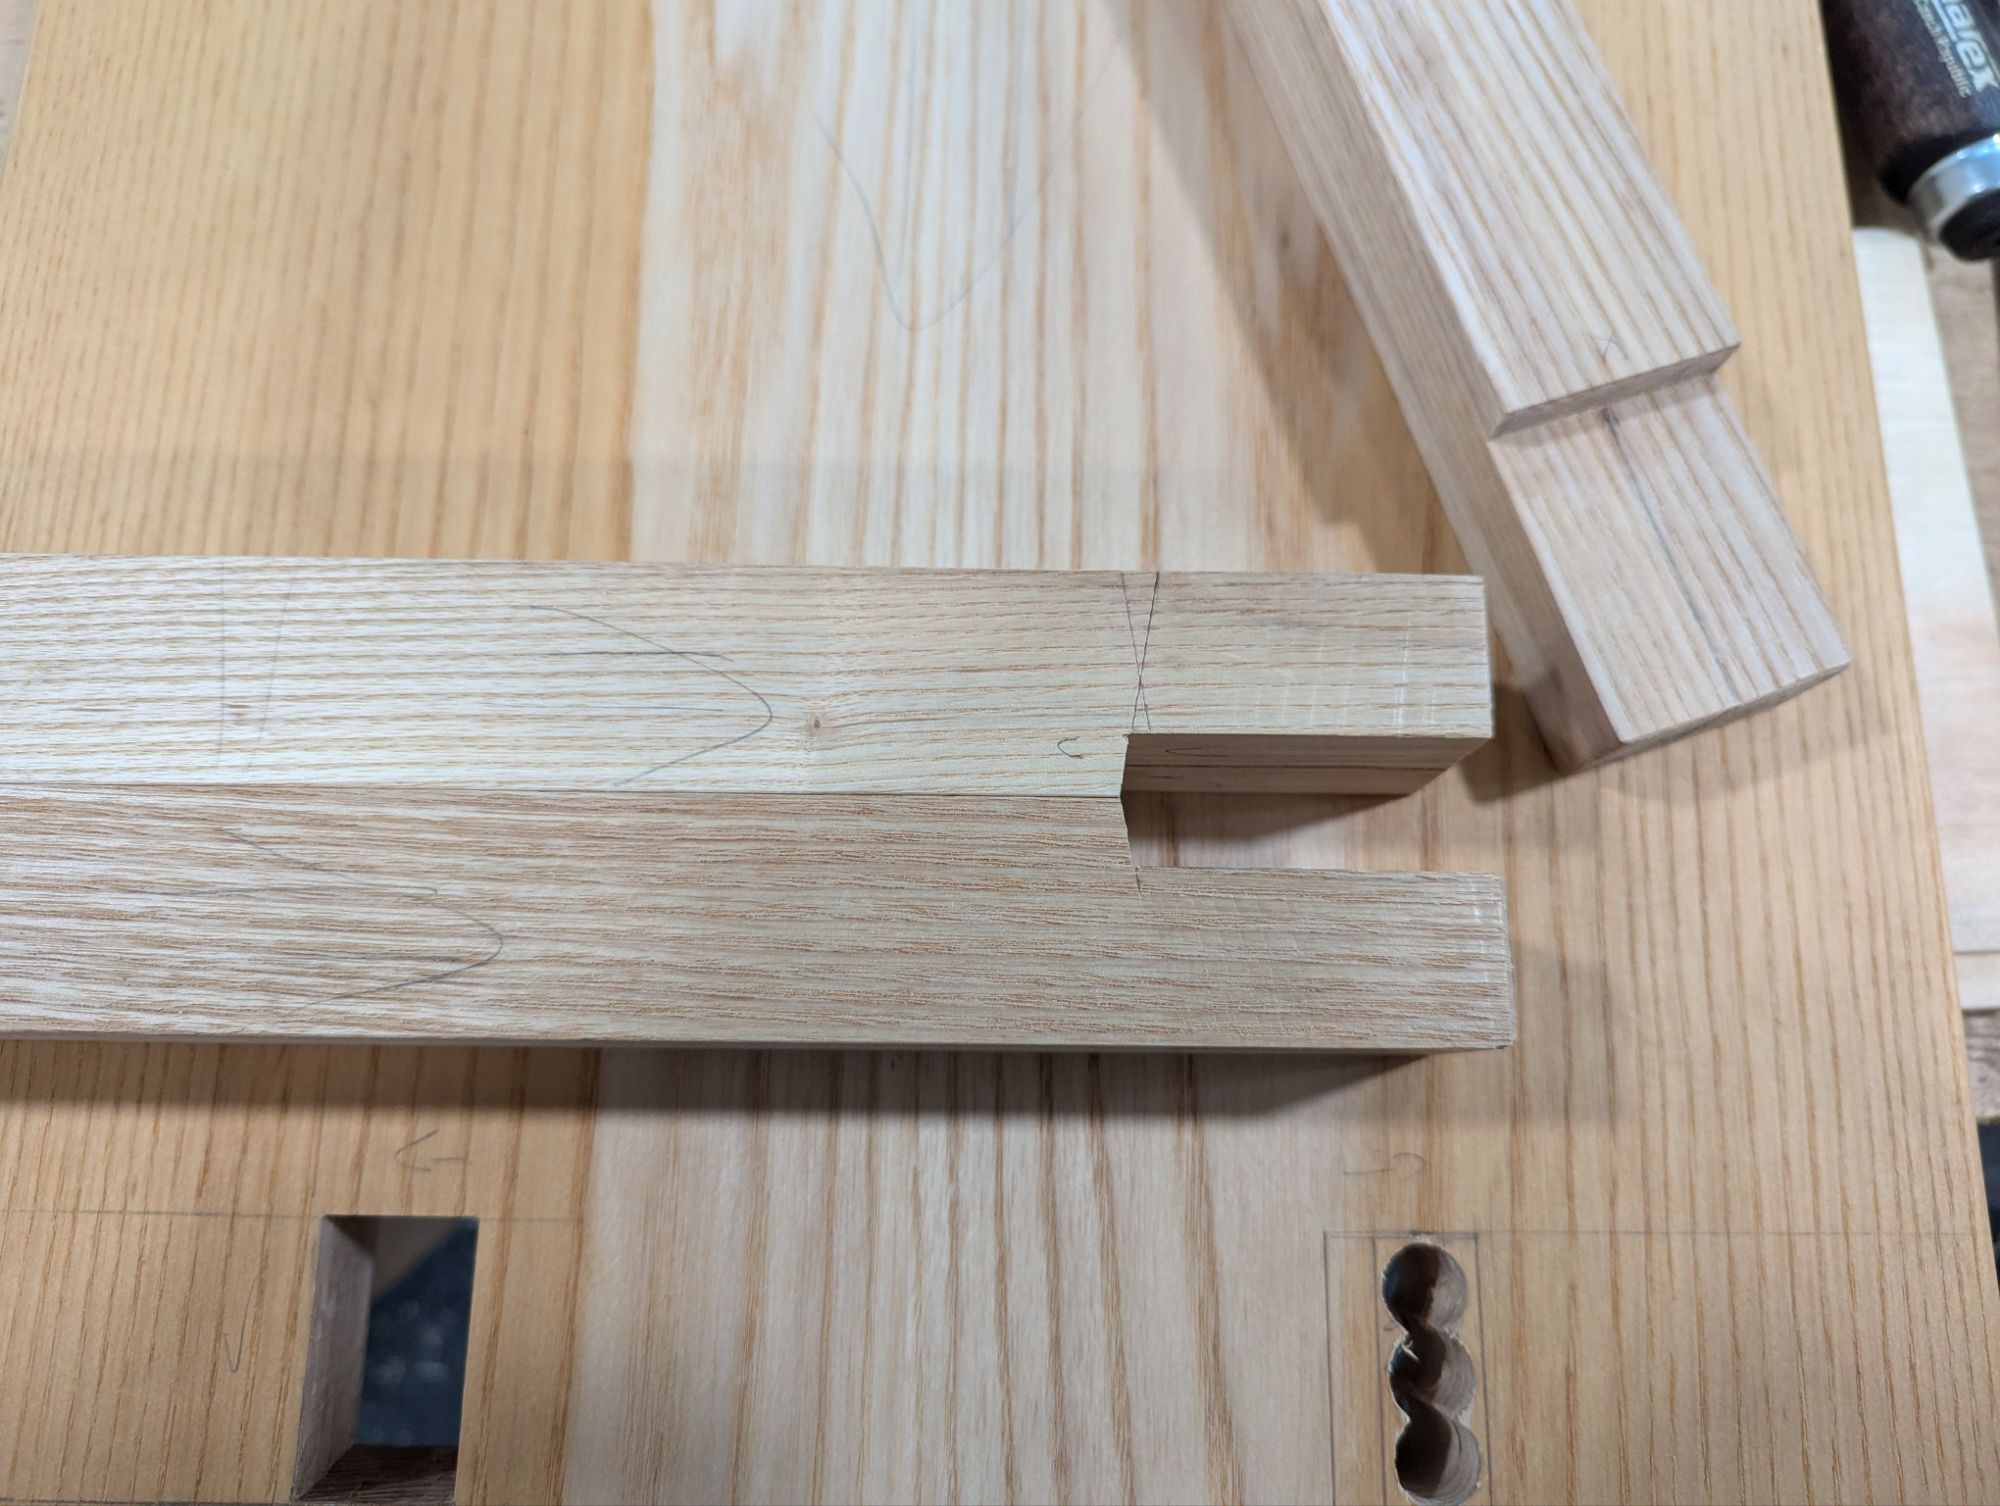
After a quick test fit, it’s likely one of your shoulders won’t seat perfectly. I sawed at the wrong angle on one of the legs and ended up with the gap below. Now, this would probably be fine (the other side of the tenon actually seated quite well and the rake angle was spot on. But for a low workbench or a footstool that will see heavy loads, or if you need to fix a wonky rake angle, here is my process.
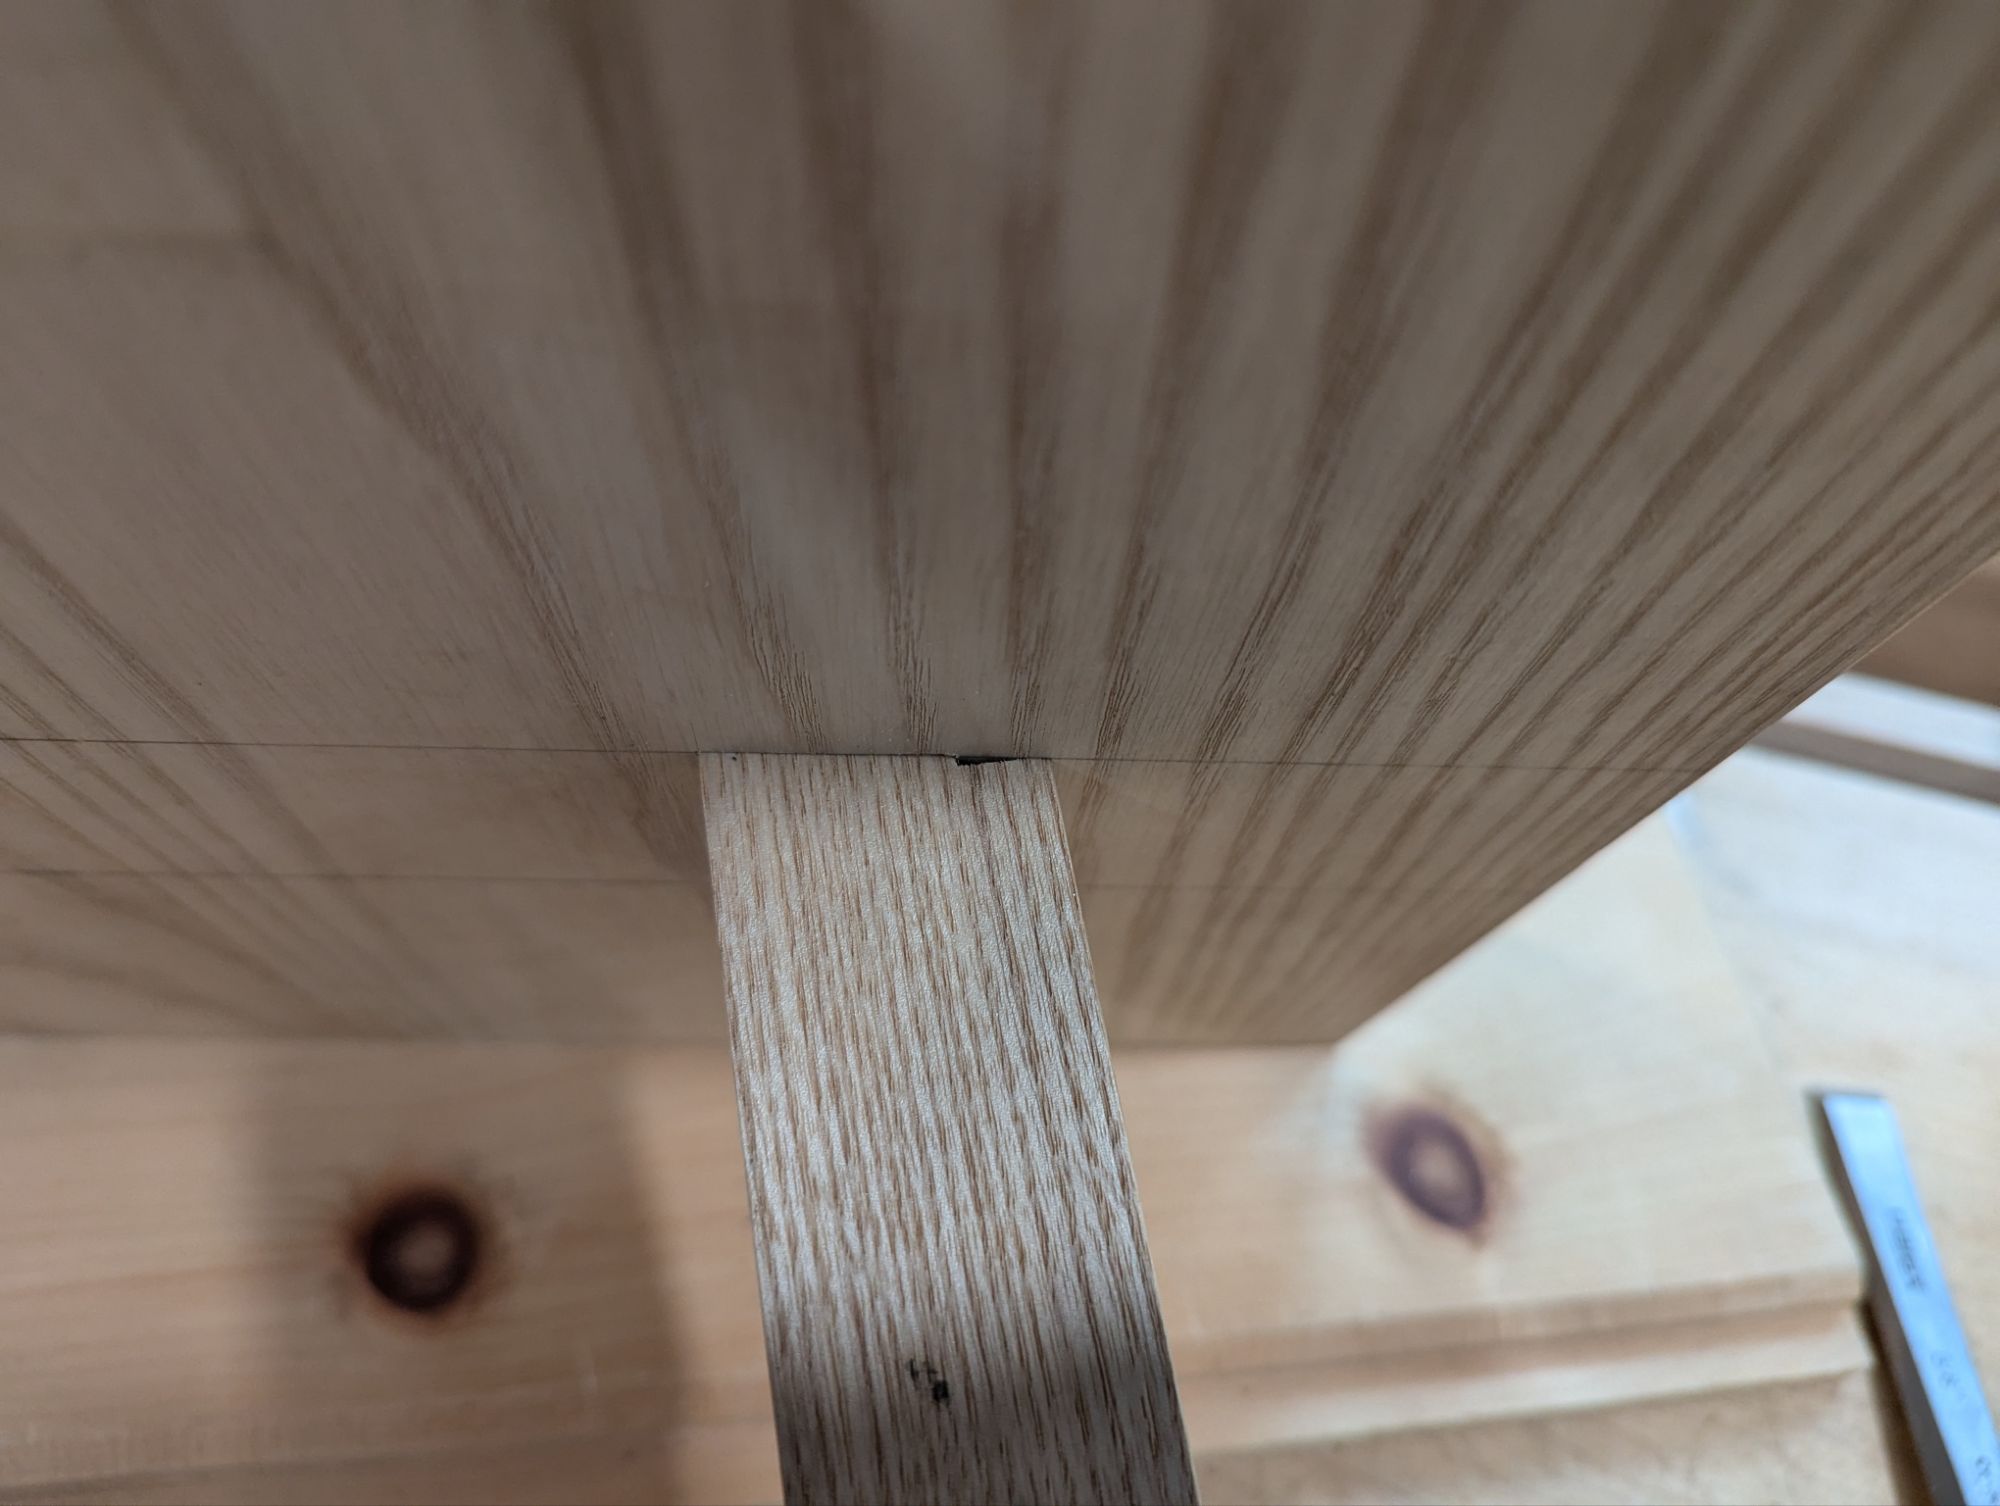
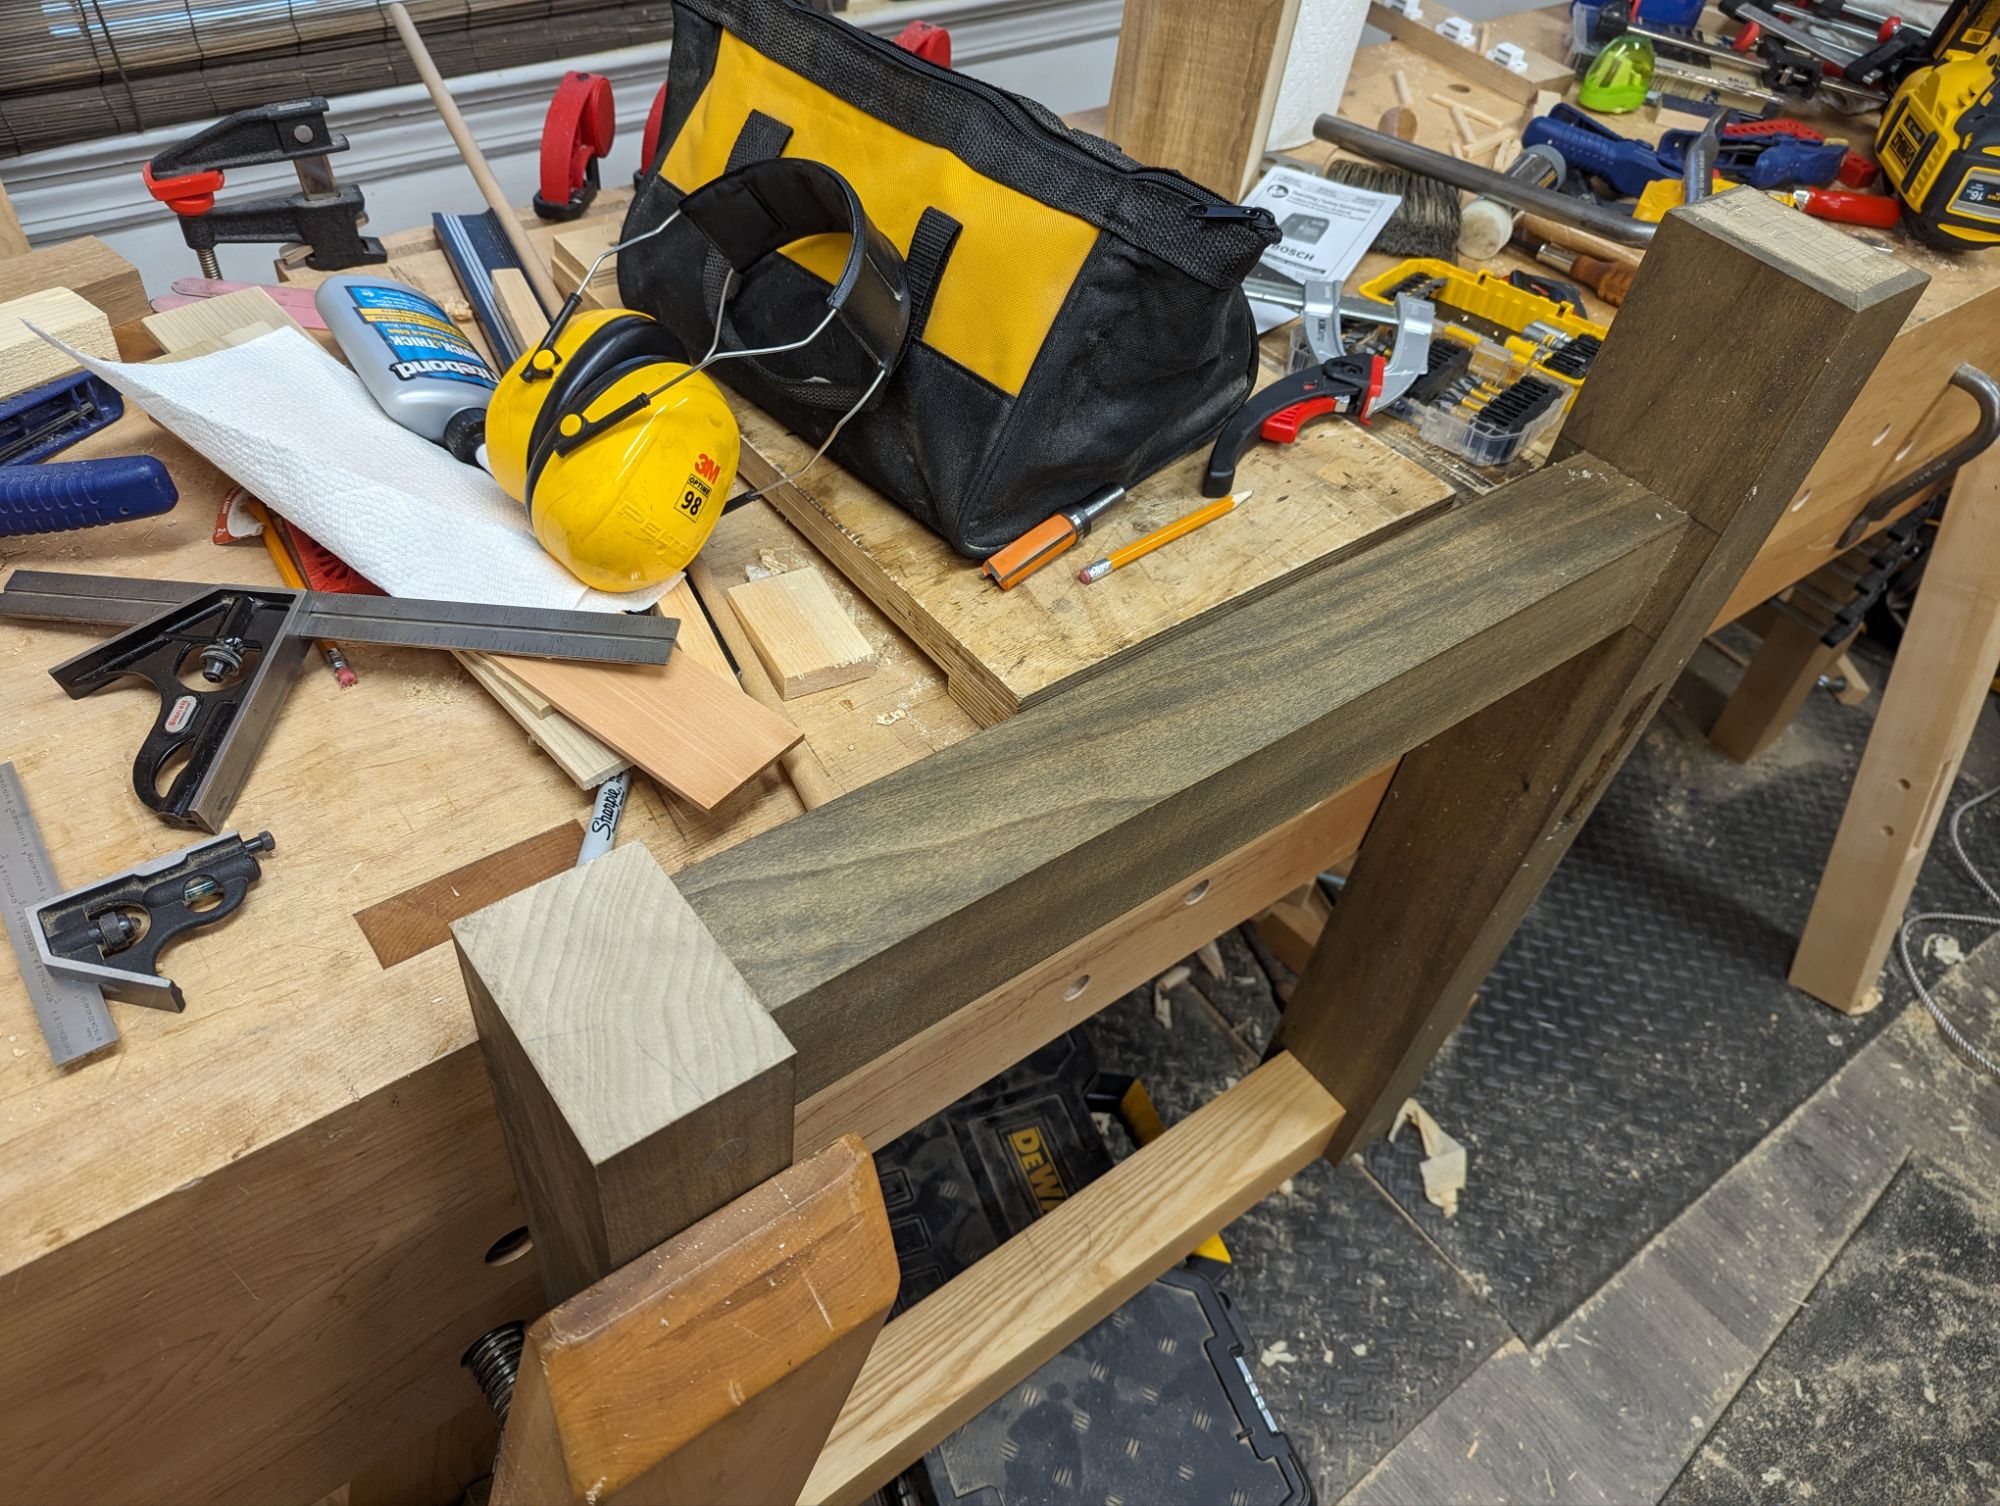
If you have a good flush cut saw (most likely a low set Japanese pull saw or dedicated flush trim saw), you can very gently and carefully saw away flush with the slab top and you’ll be done. If, like me, your flush trim saw plate is thinner than the gap you’re trying to overcome, it may just be worth remarking the splay and rake angles and paring down with a chisel. As long as you left your leg stock overlong, either approach will work. Even if you screw it up a few times.
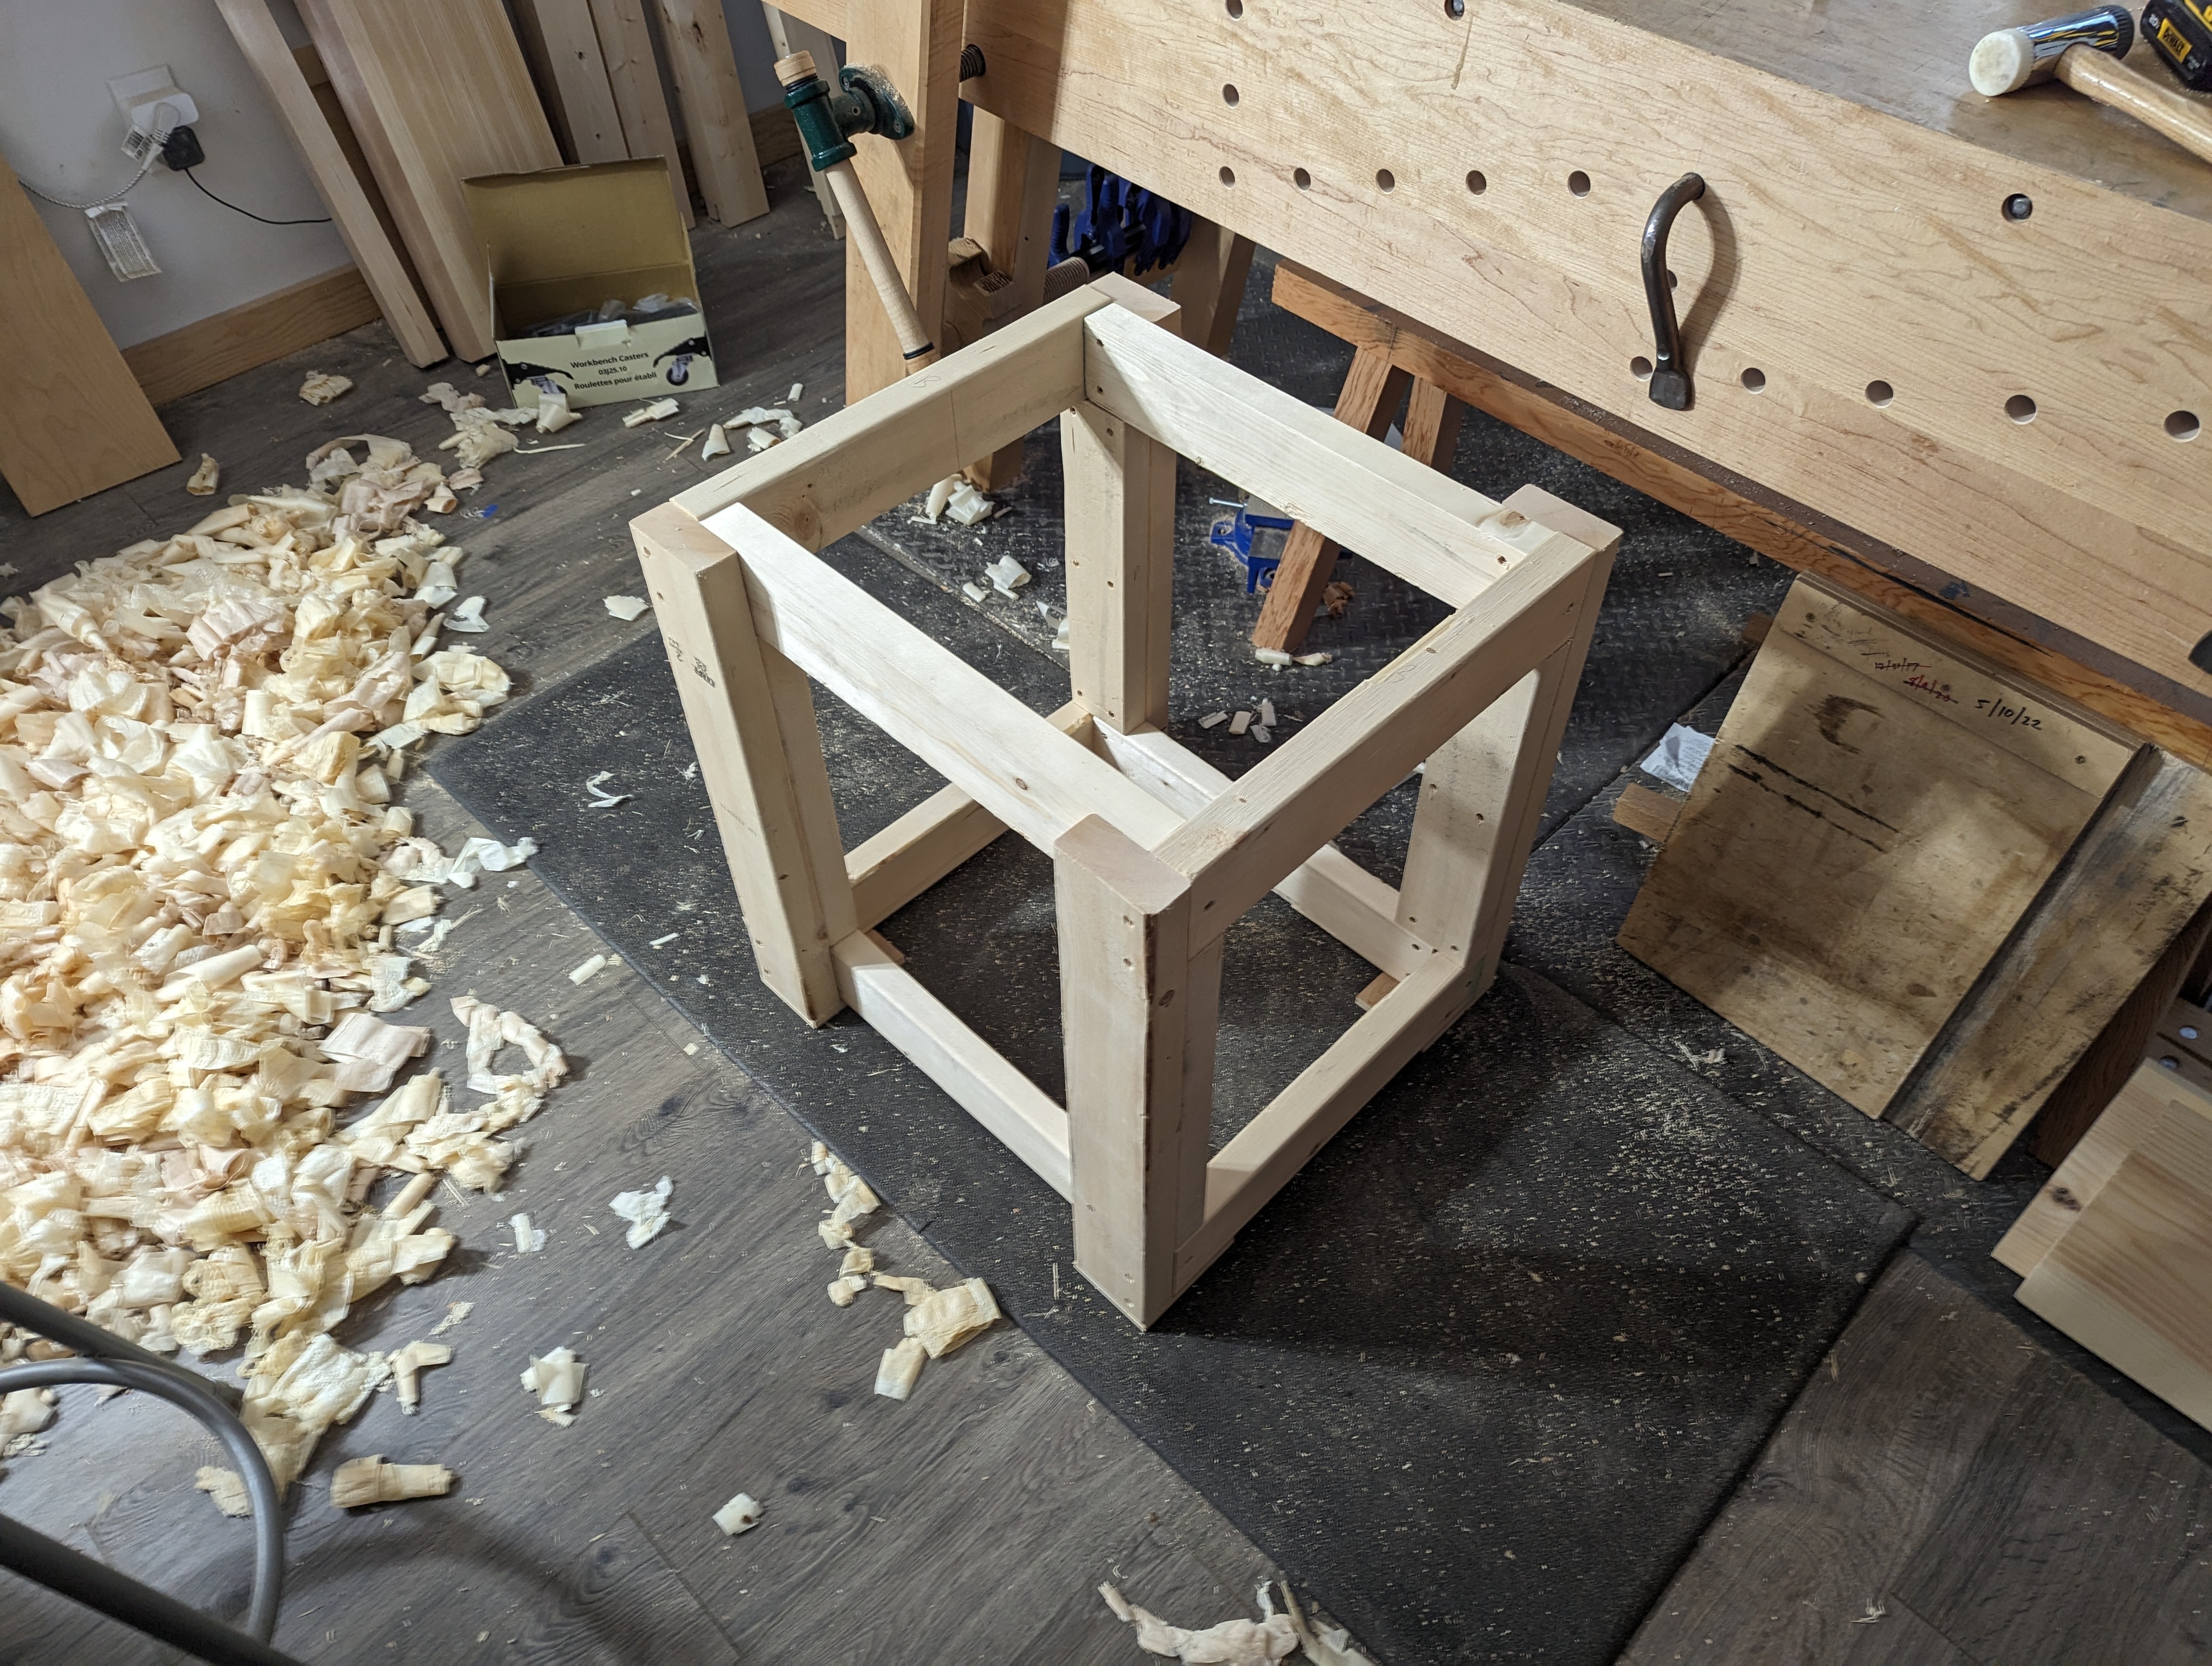
Now repeat three more times (or as many times as legs you have). You’ll quickly notice that the diagonal legs are identical (other than tenon thickness, probably, since that depends on the mortise). So if you screw up a leg by cutting the angled shoulder wrong, don’t necessarily throw it out or recut it. It will be useful for the opposite set of diagonal legs you haven’t done yet.
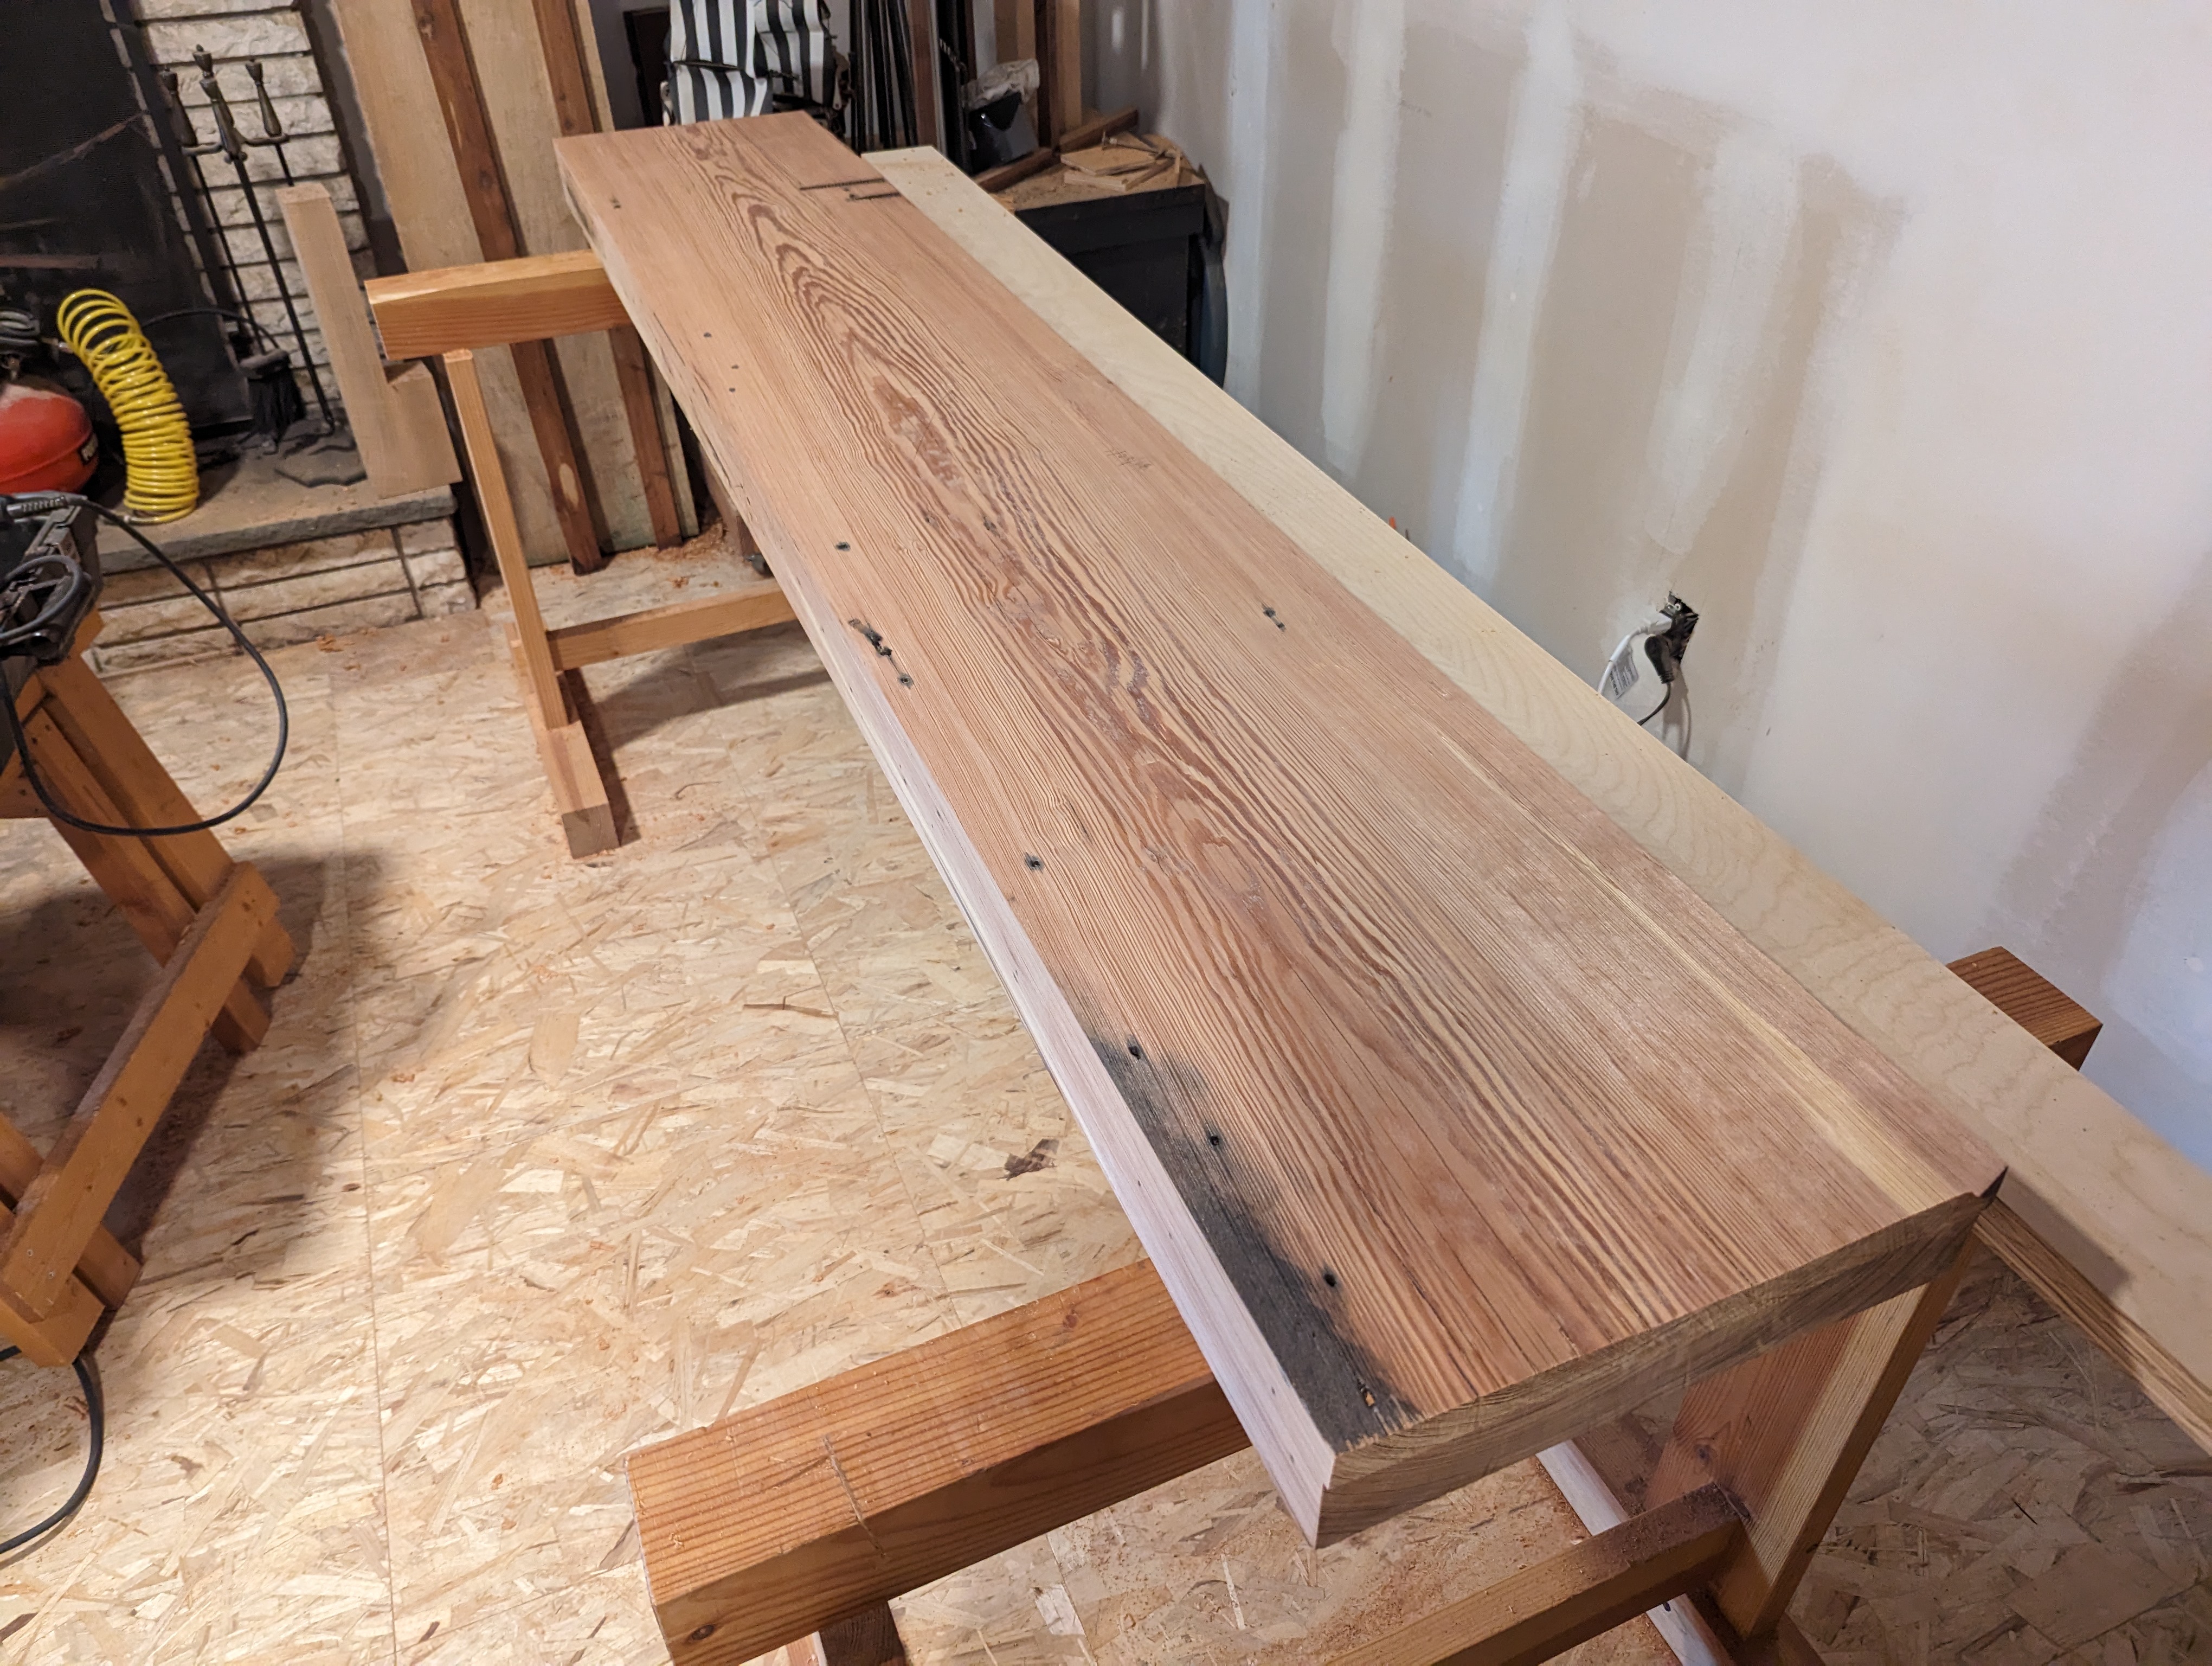
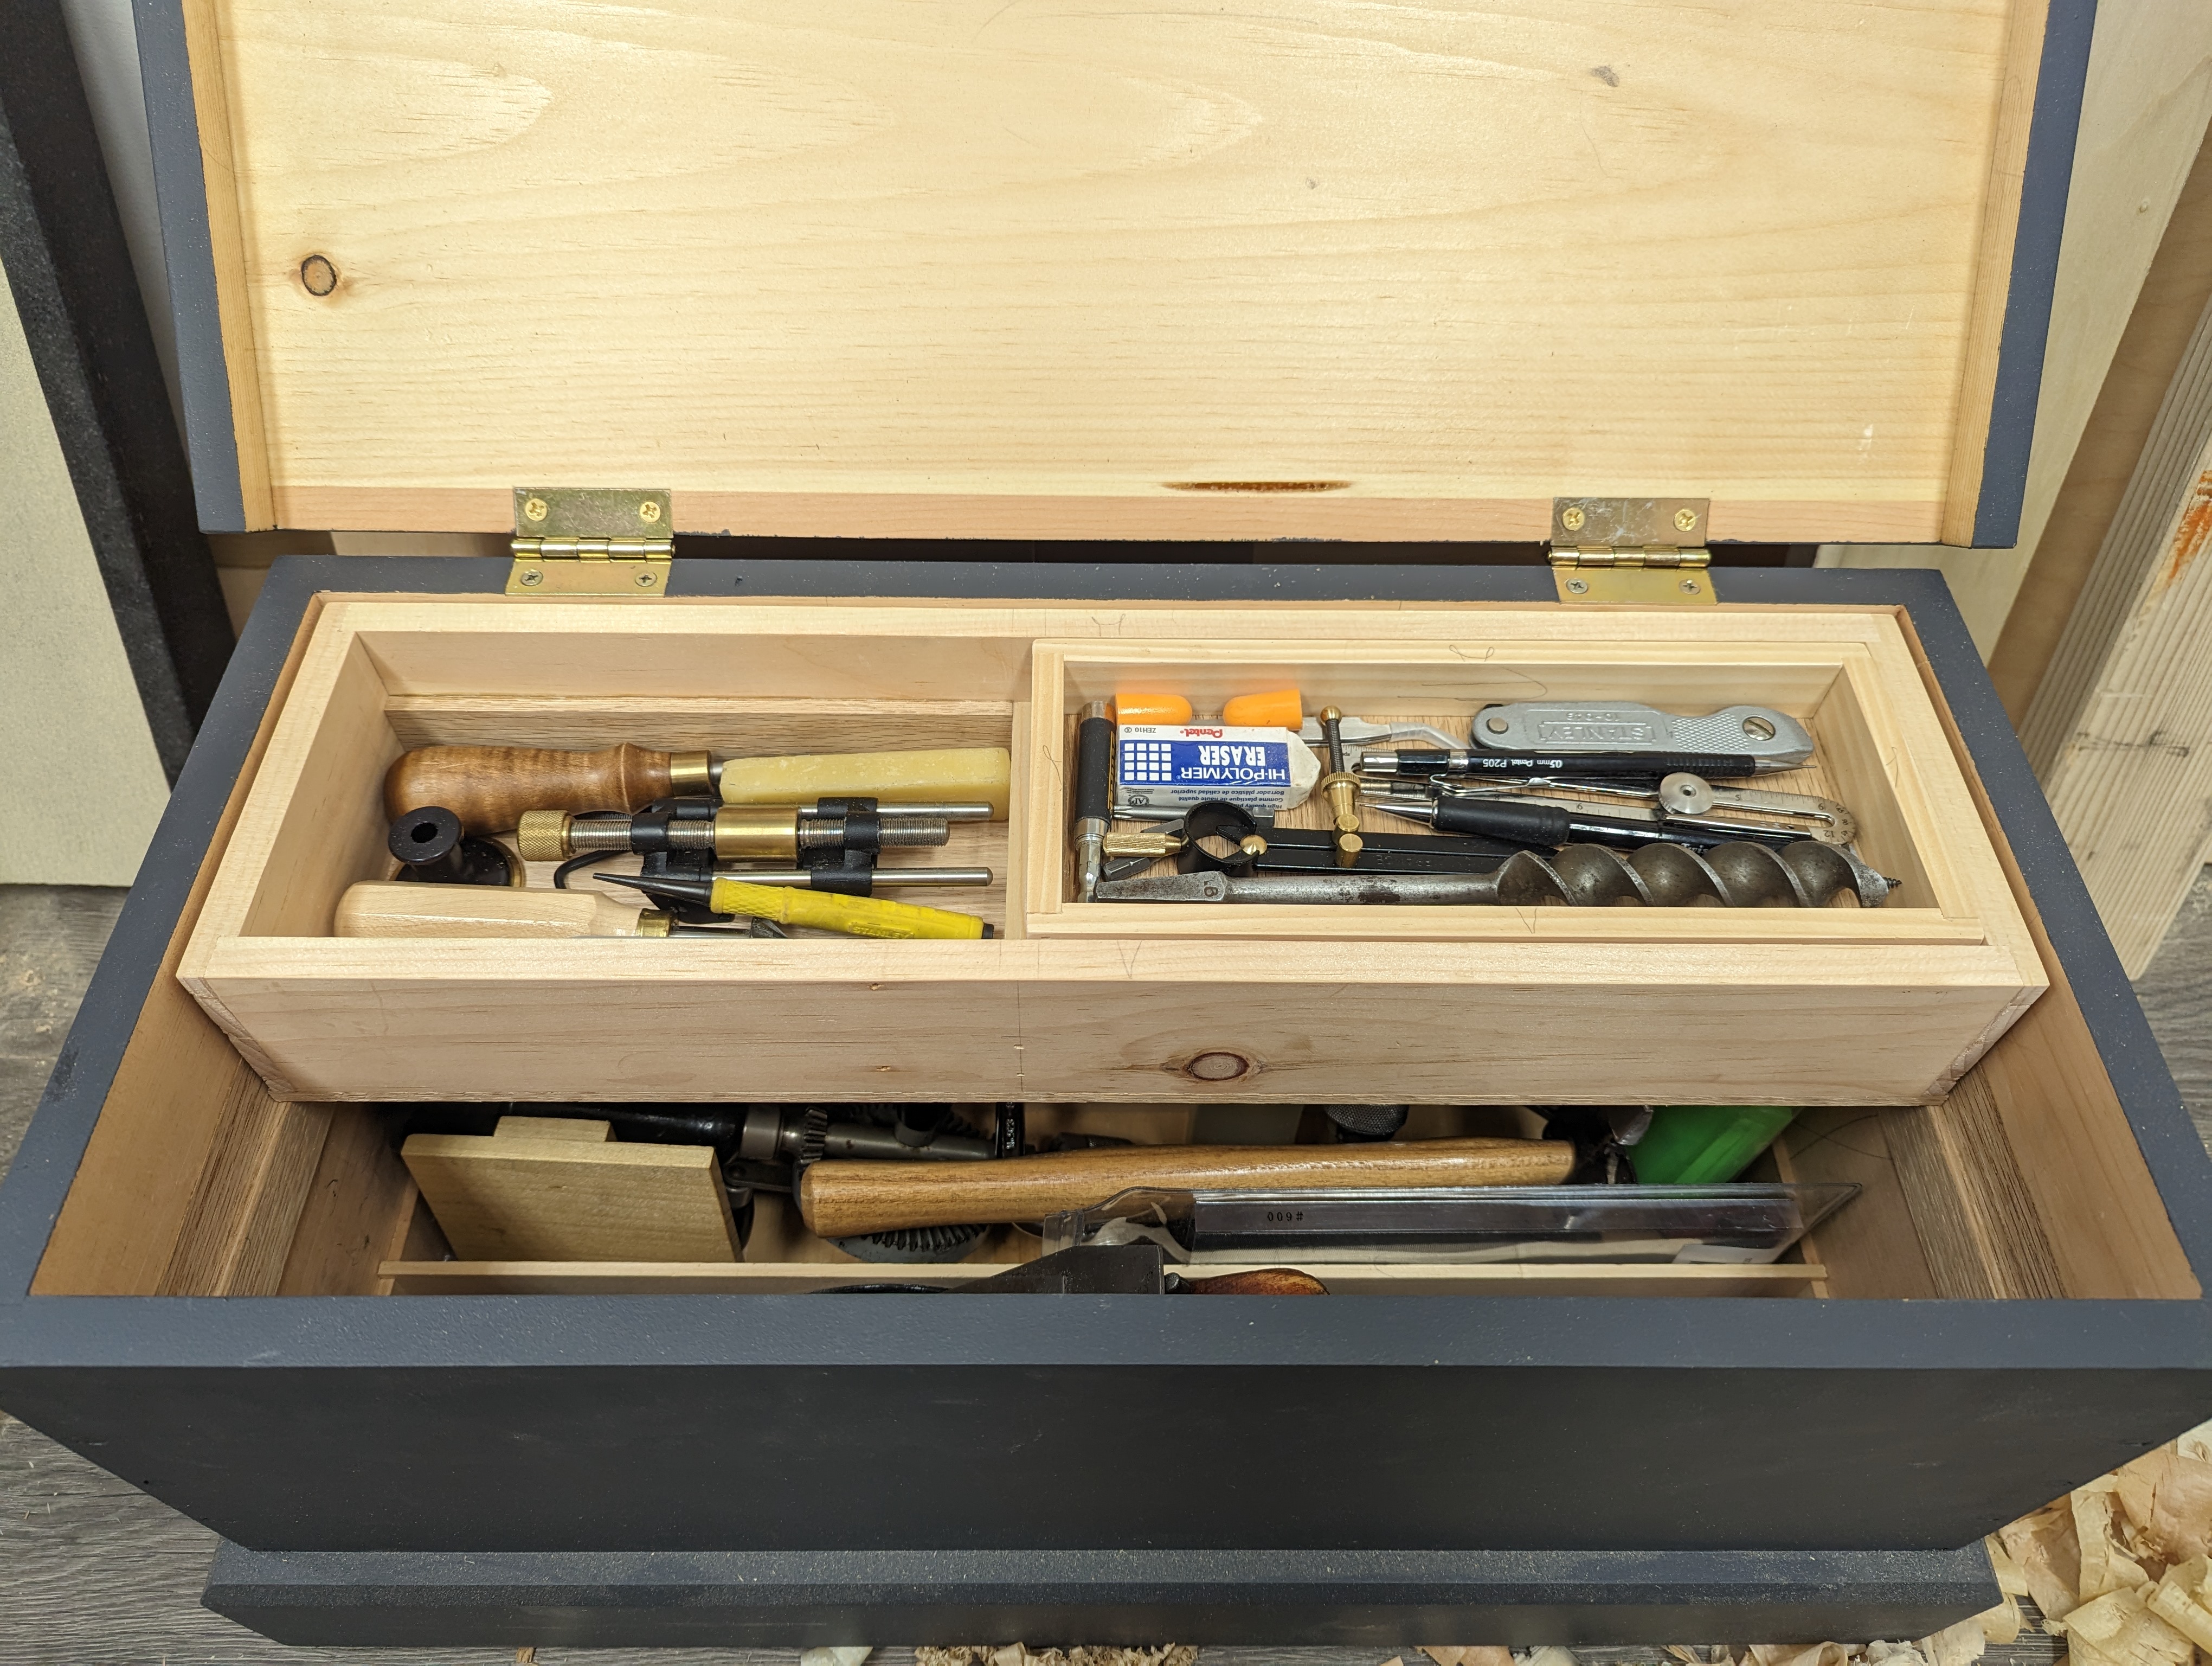
I’ve got one mortise and one leg left to go on this new project (an entirely too beefy coffee table made of 8/4 white ash that will also be a large stepstool in a pinch), and will post pictures when it’s done.
JPG