For several years, the floor of my workshop has been the OSB top of DriCore tongue and groove subfloor squares. DriCore is a modern miracle (not a sponsor, just to be clear) and going from working on the bare concrete of the basement to a fully insulated, slightly cushioned wood floor was nothing short of staggering. Not to mention eliminating the risk of a falling chisel needing a full regrind by landing edge down to the concrete. I’ve recently added some tongue and groove laminate on top of the DriCore which, even though it’s darker in color, it has actually brightened the room (I assume because the albedo of the shiner floor is higher than the OSB of the DriCore squares).

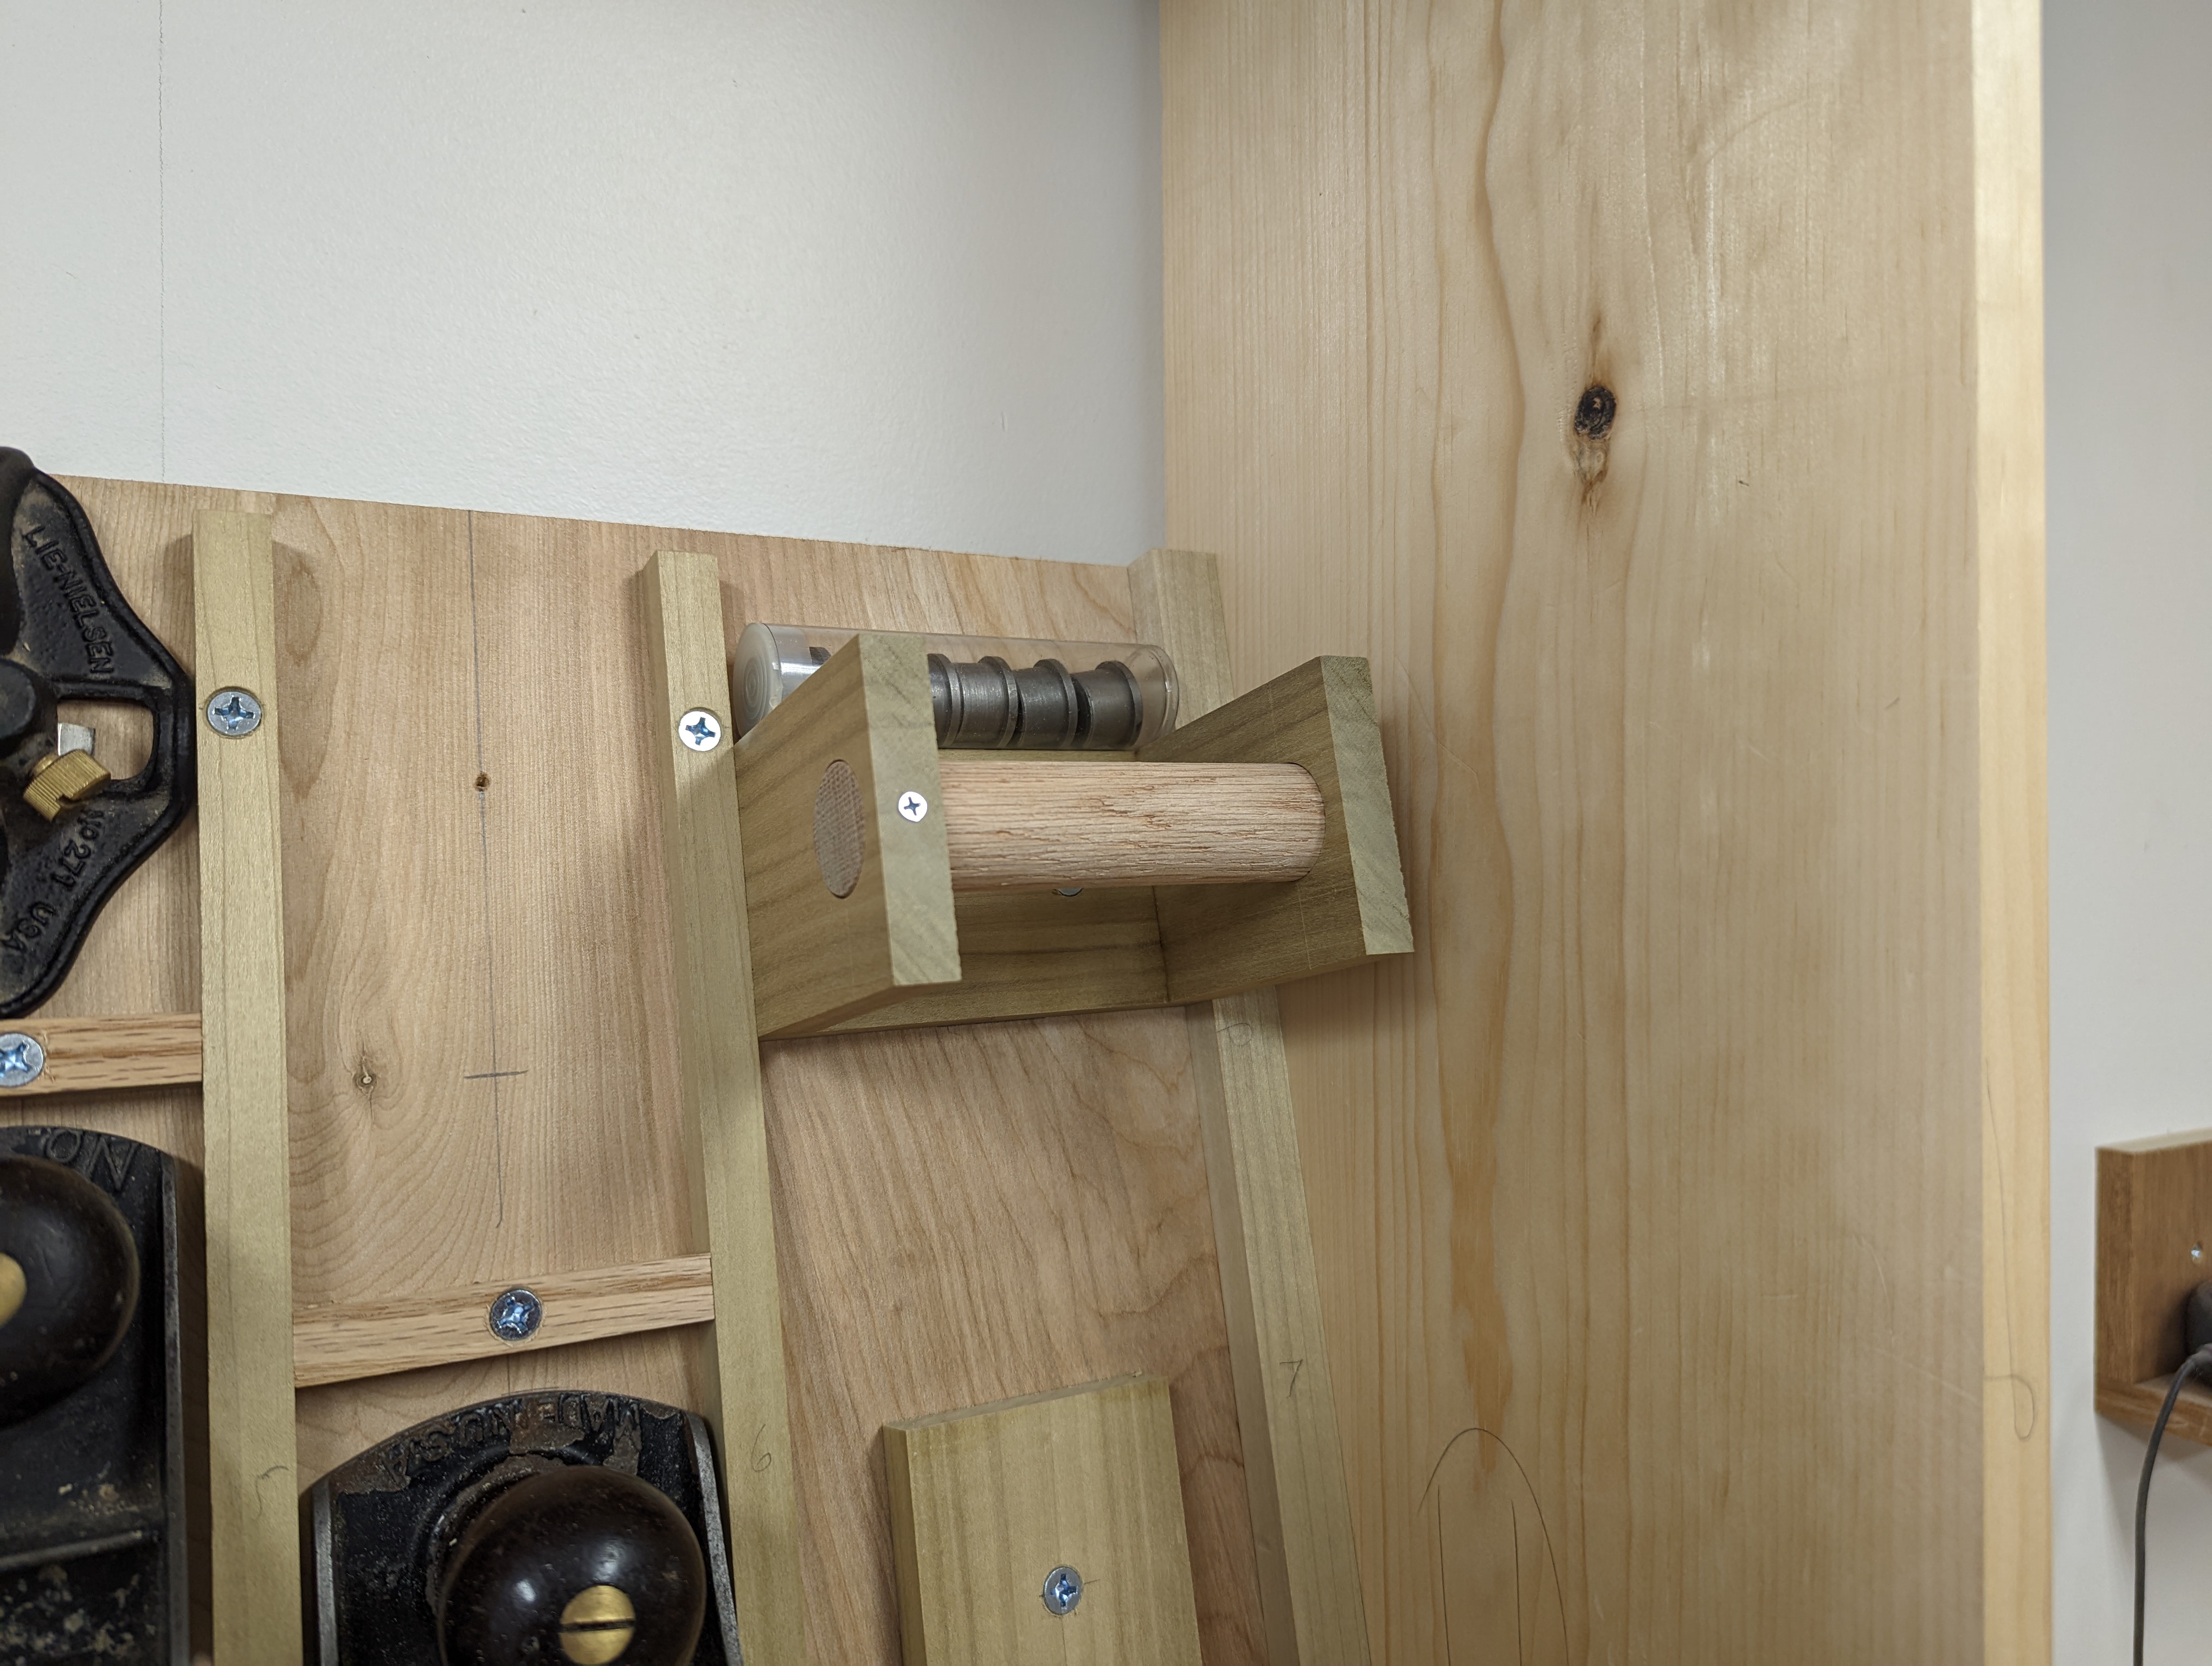
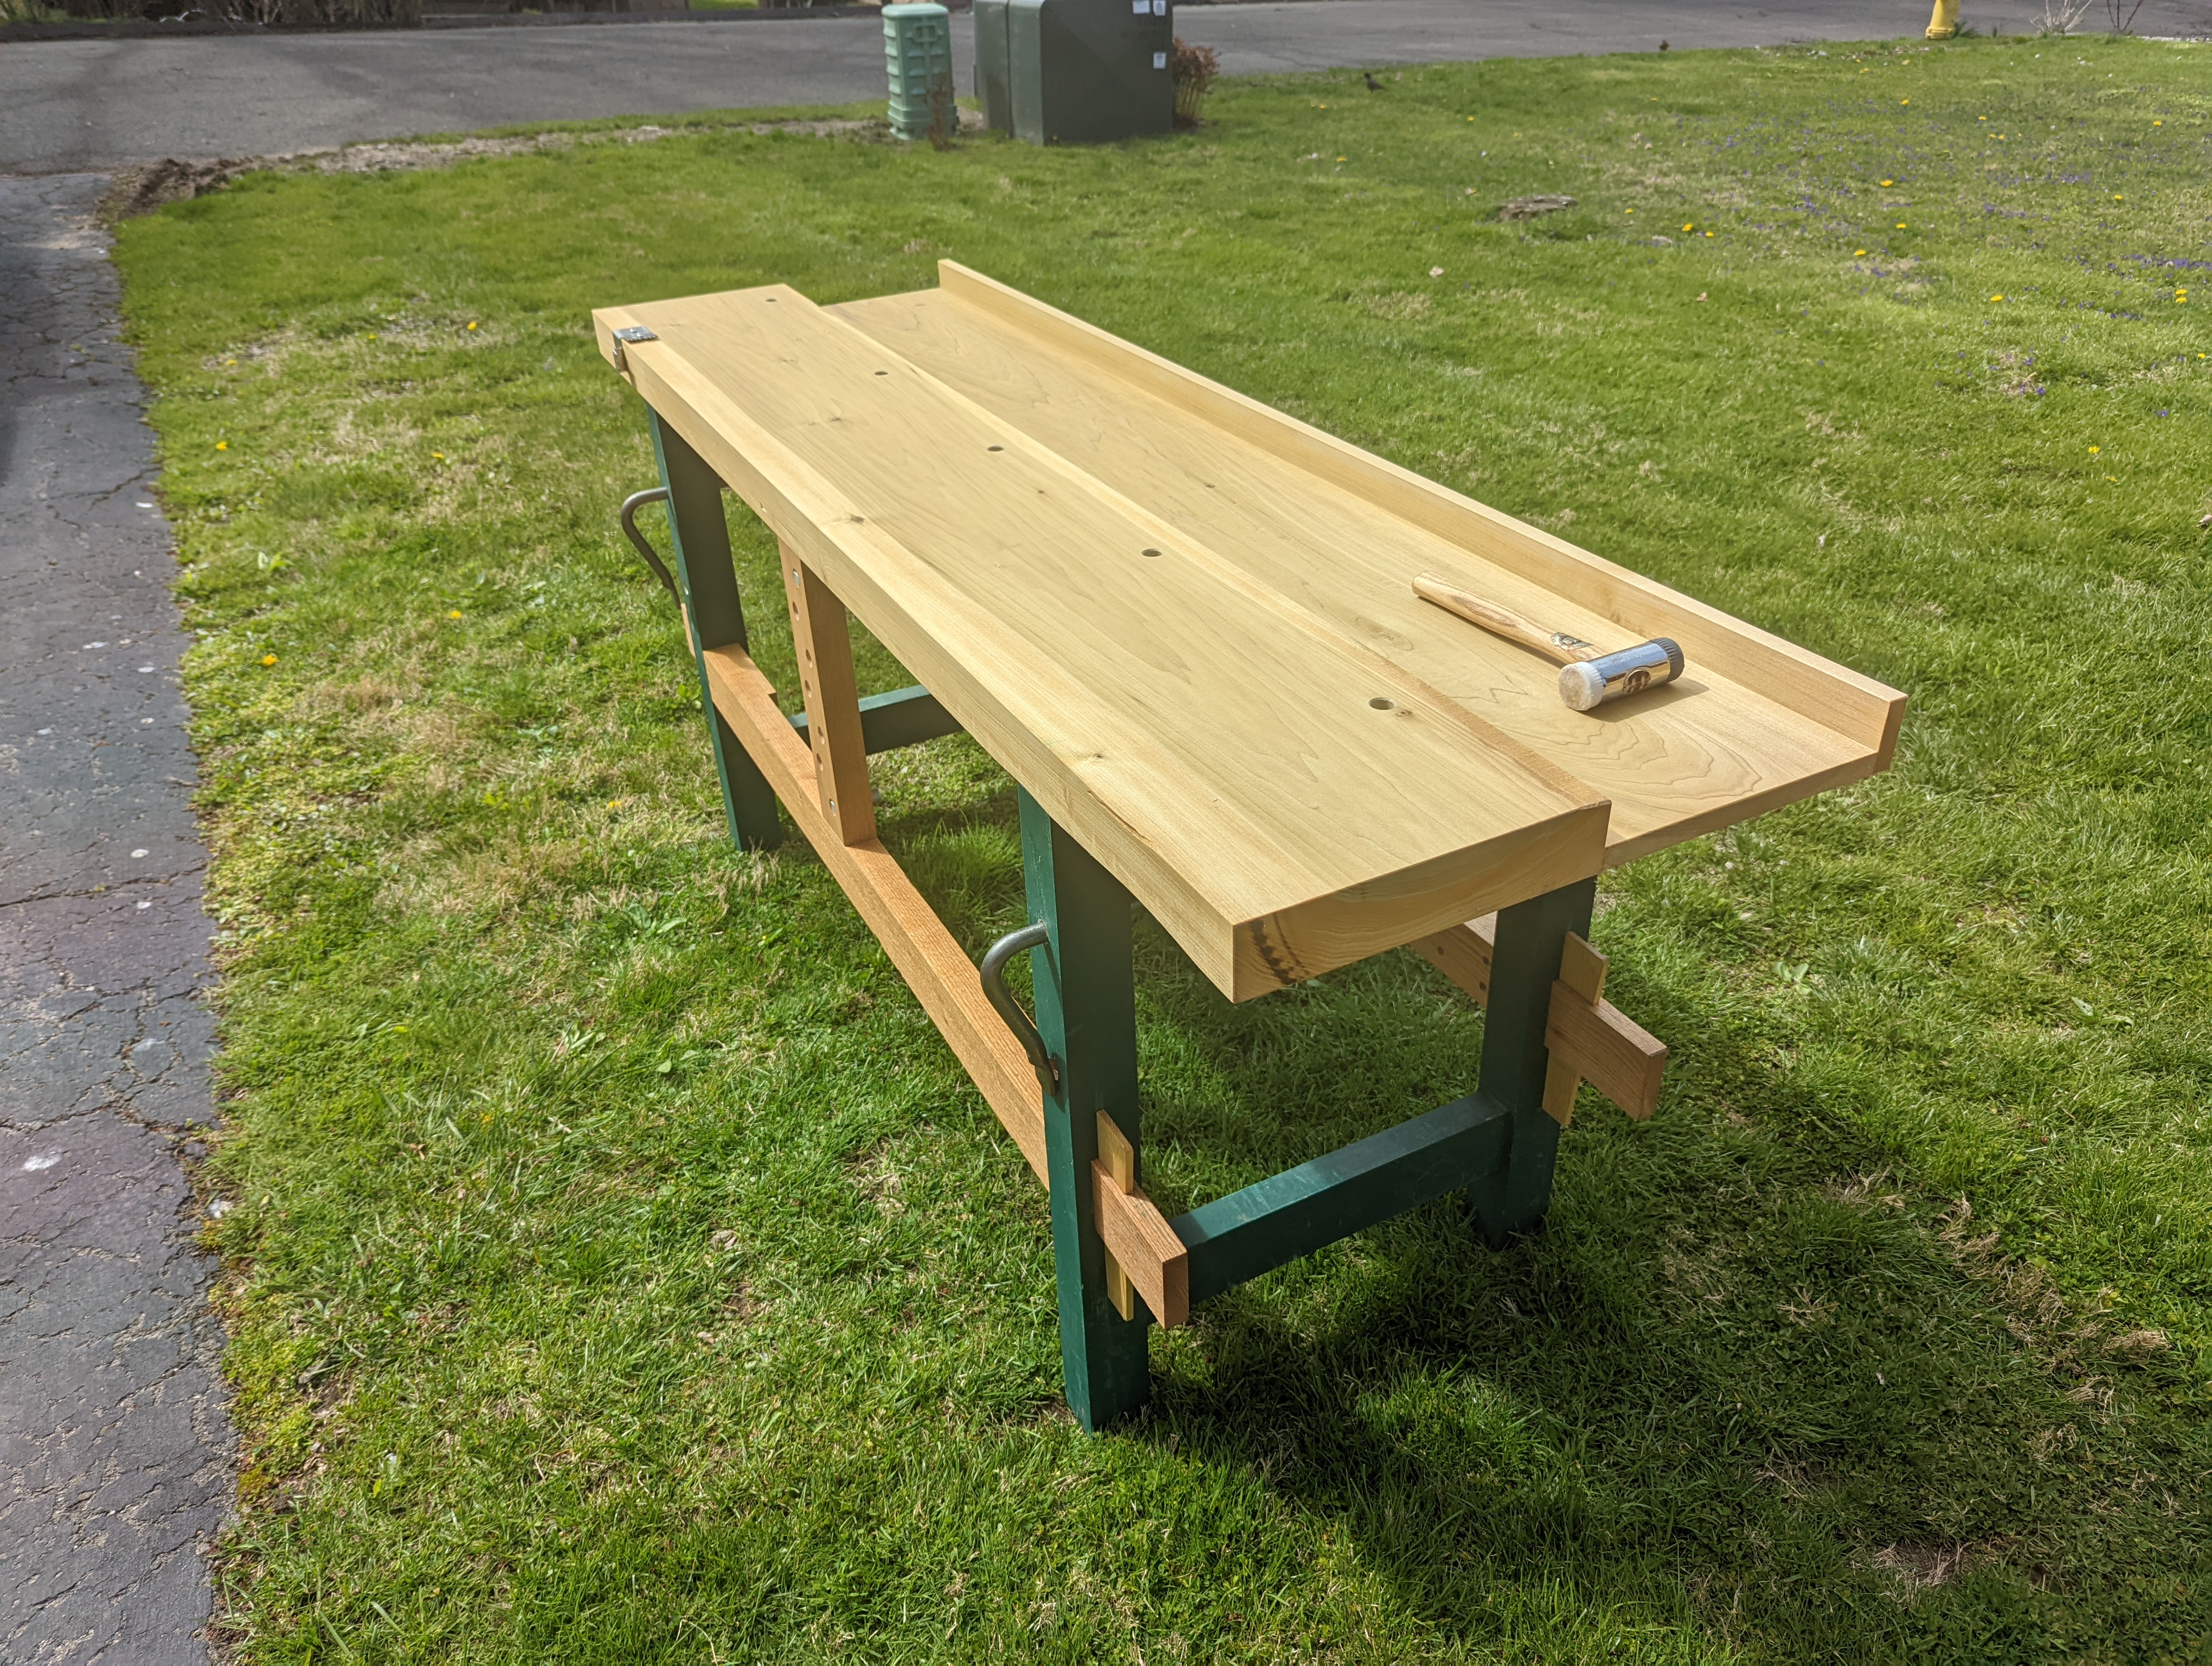
Since adding the laminate floor, I’ve been working off my 98″ Nicholson workbench, made of hard maple. This bench has by far the best leg vise I’ve ever made. It works smoothly, doesn’t bind and the foot operated cog gets real momentum because of the heft (8/4 white oak). It’s still too big for the space, and honestly could use another 2″ of benchtop depth (being a hair under 22″). But it’s the only bench currently in the room. My last buddy to buy a house needs a better workbench than the one I made him pre-pandemic. So I’m giving him my proper Moravian knockdown bench. And with my outdoor workbench neatly stacked in the garage, I’ve got room (and time) to make another full size workbench. But more on that later.
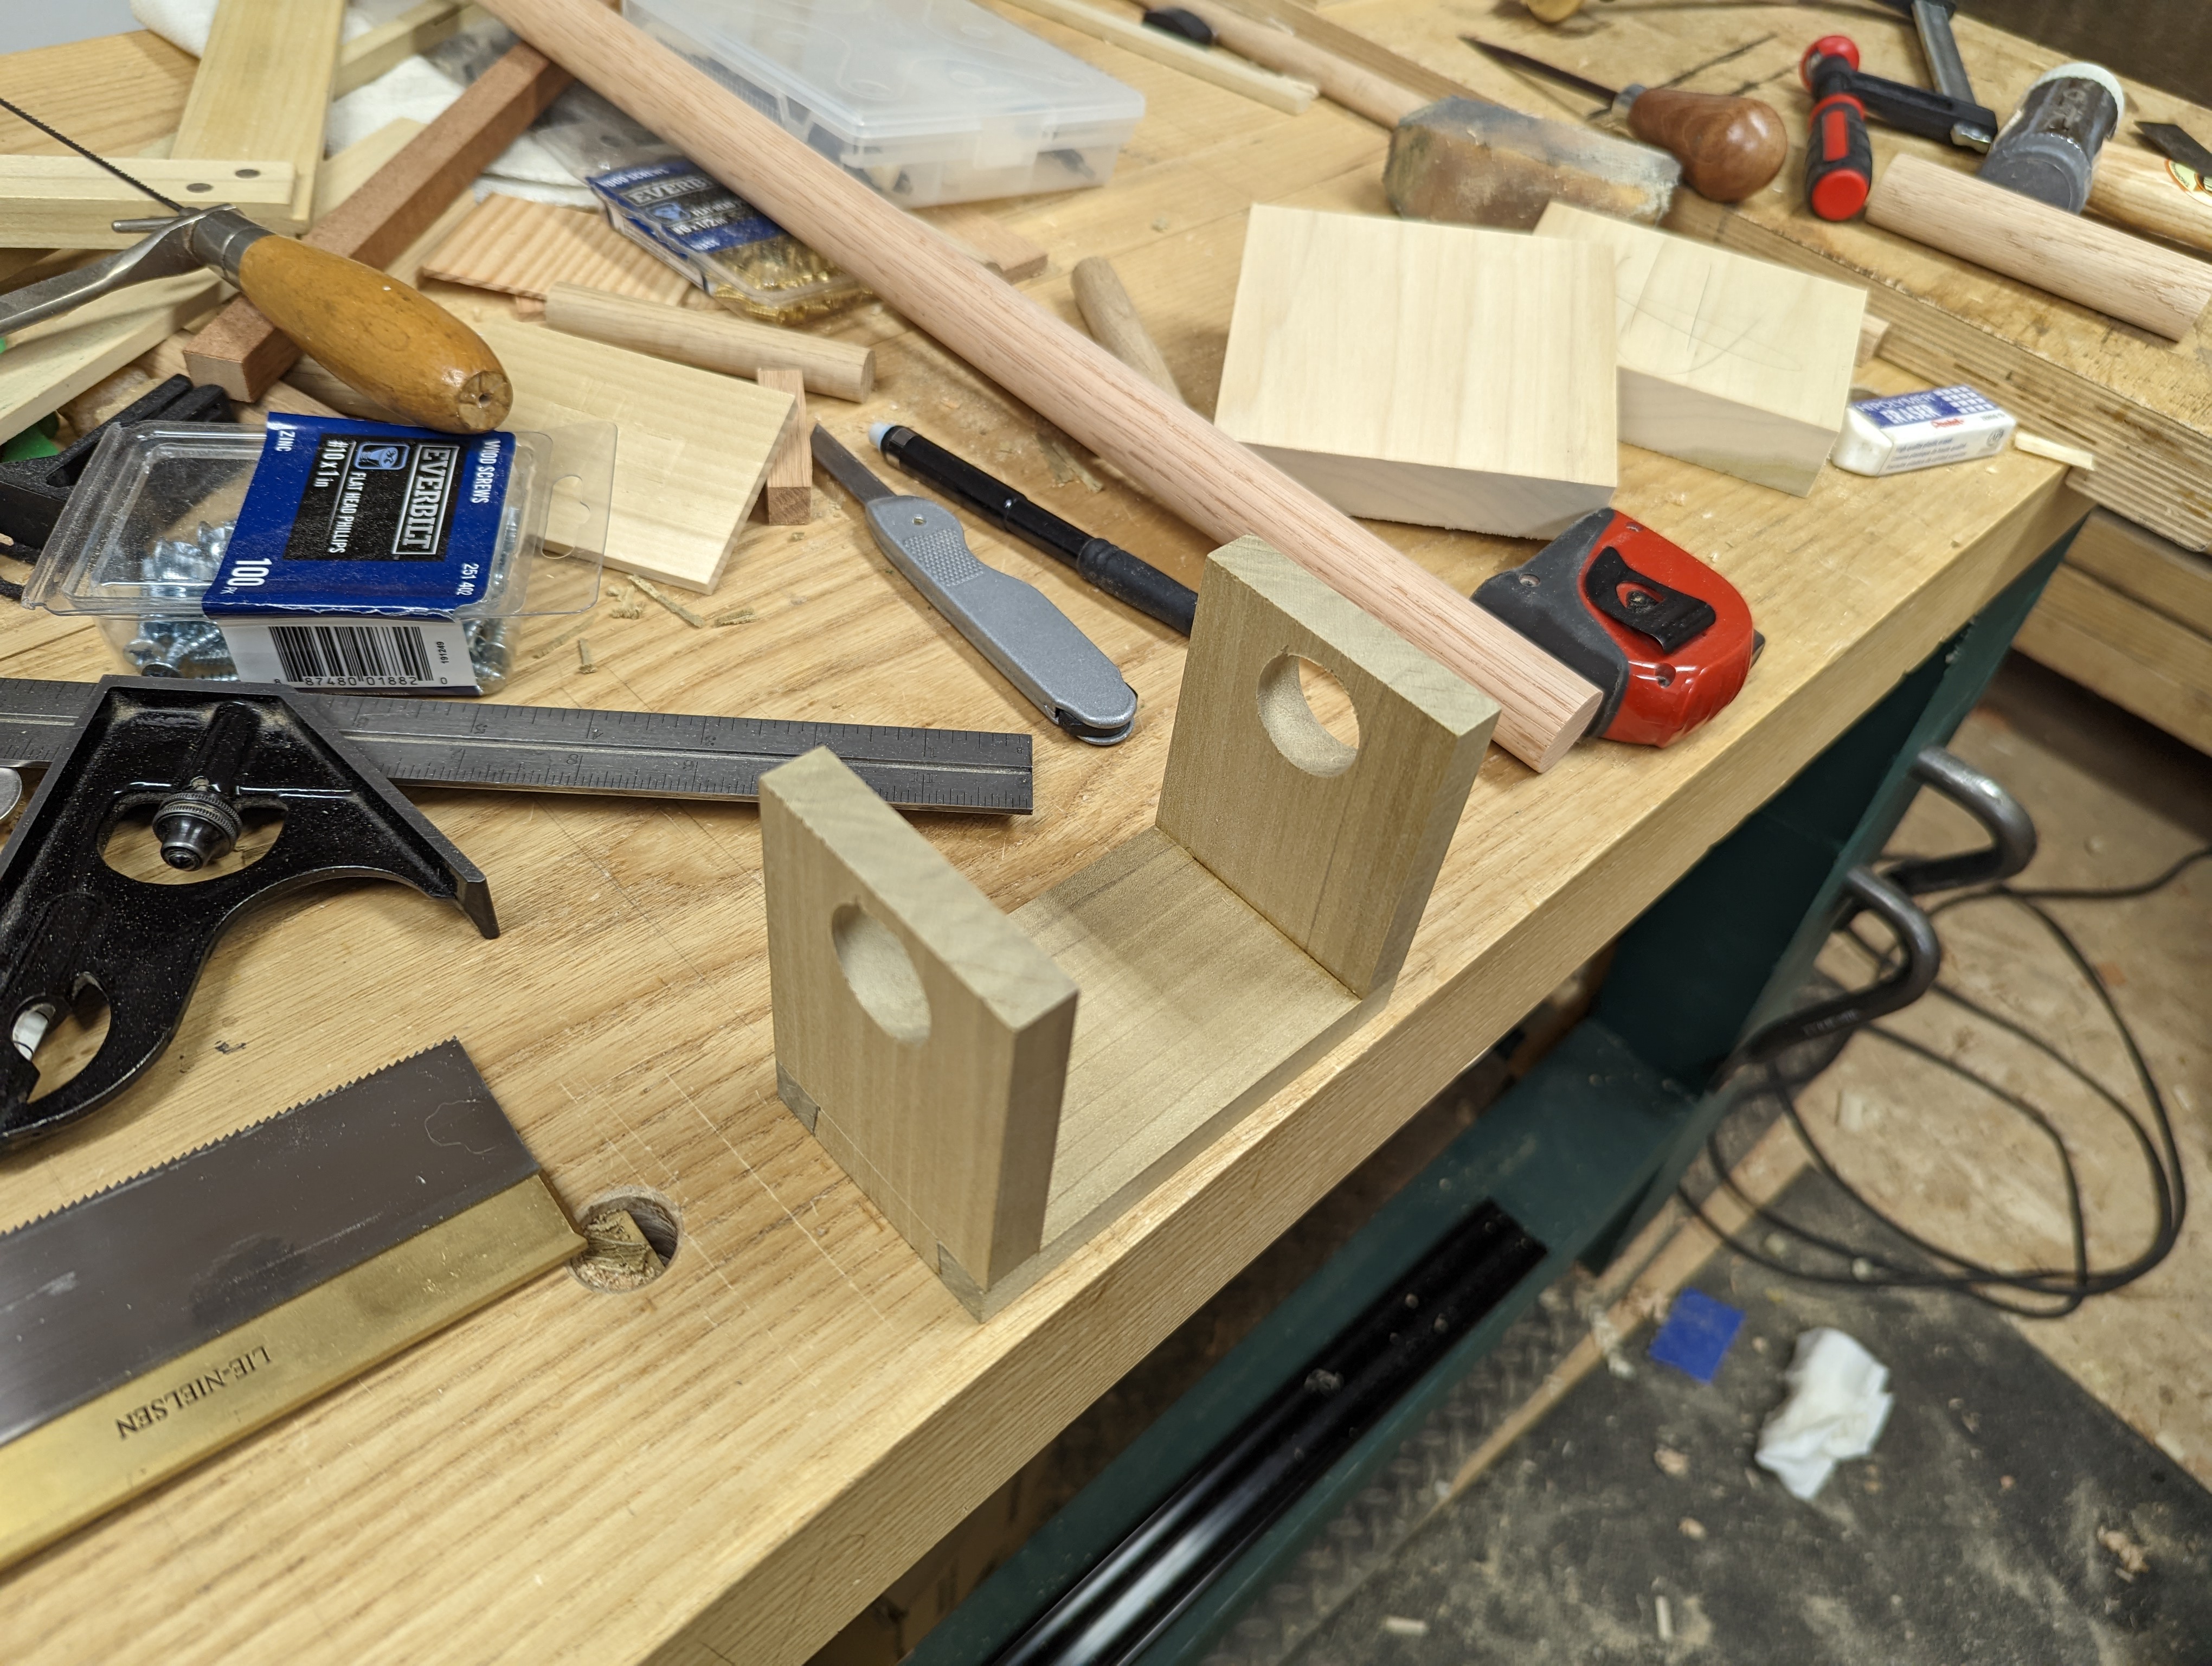
I like the vise on the maple Nicholson when cutting tenons. Unlike a pinboard variety, the cog and screw parallel guide easily adjusts between holding the tenon board widthwise to cut the tenon shoulders and cheeks and holding the mortise board lengthwise to chop and pare out the mortise. Although, in fairness, I’ve been using a hollow chisel mortiser more and more these days to do the mortise chopping.
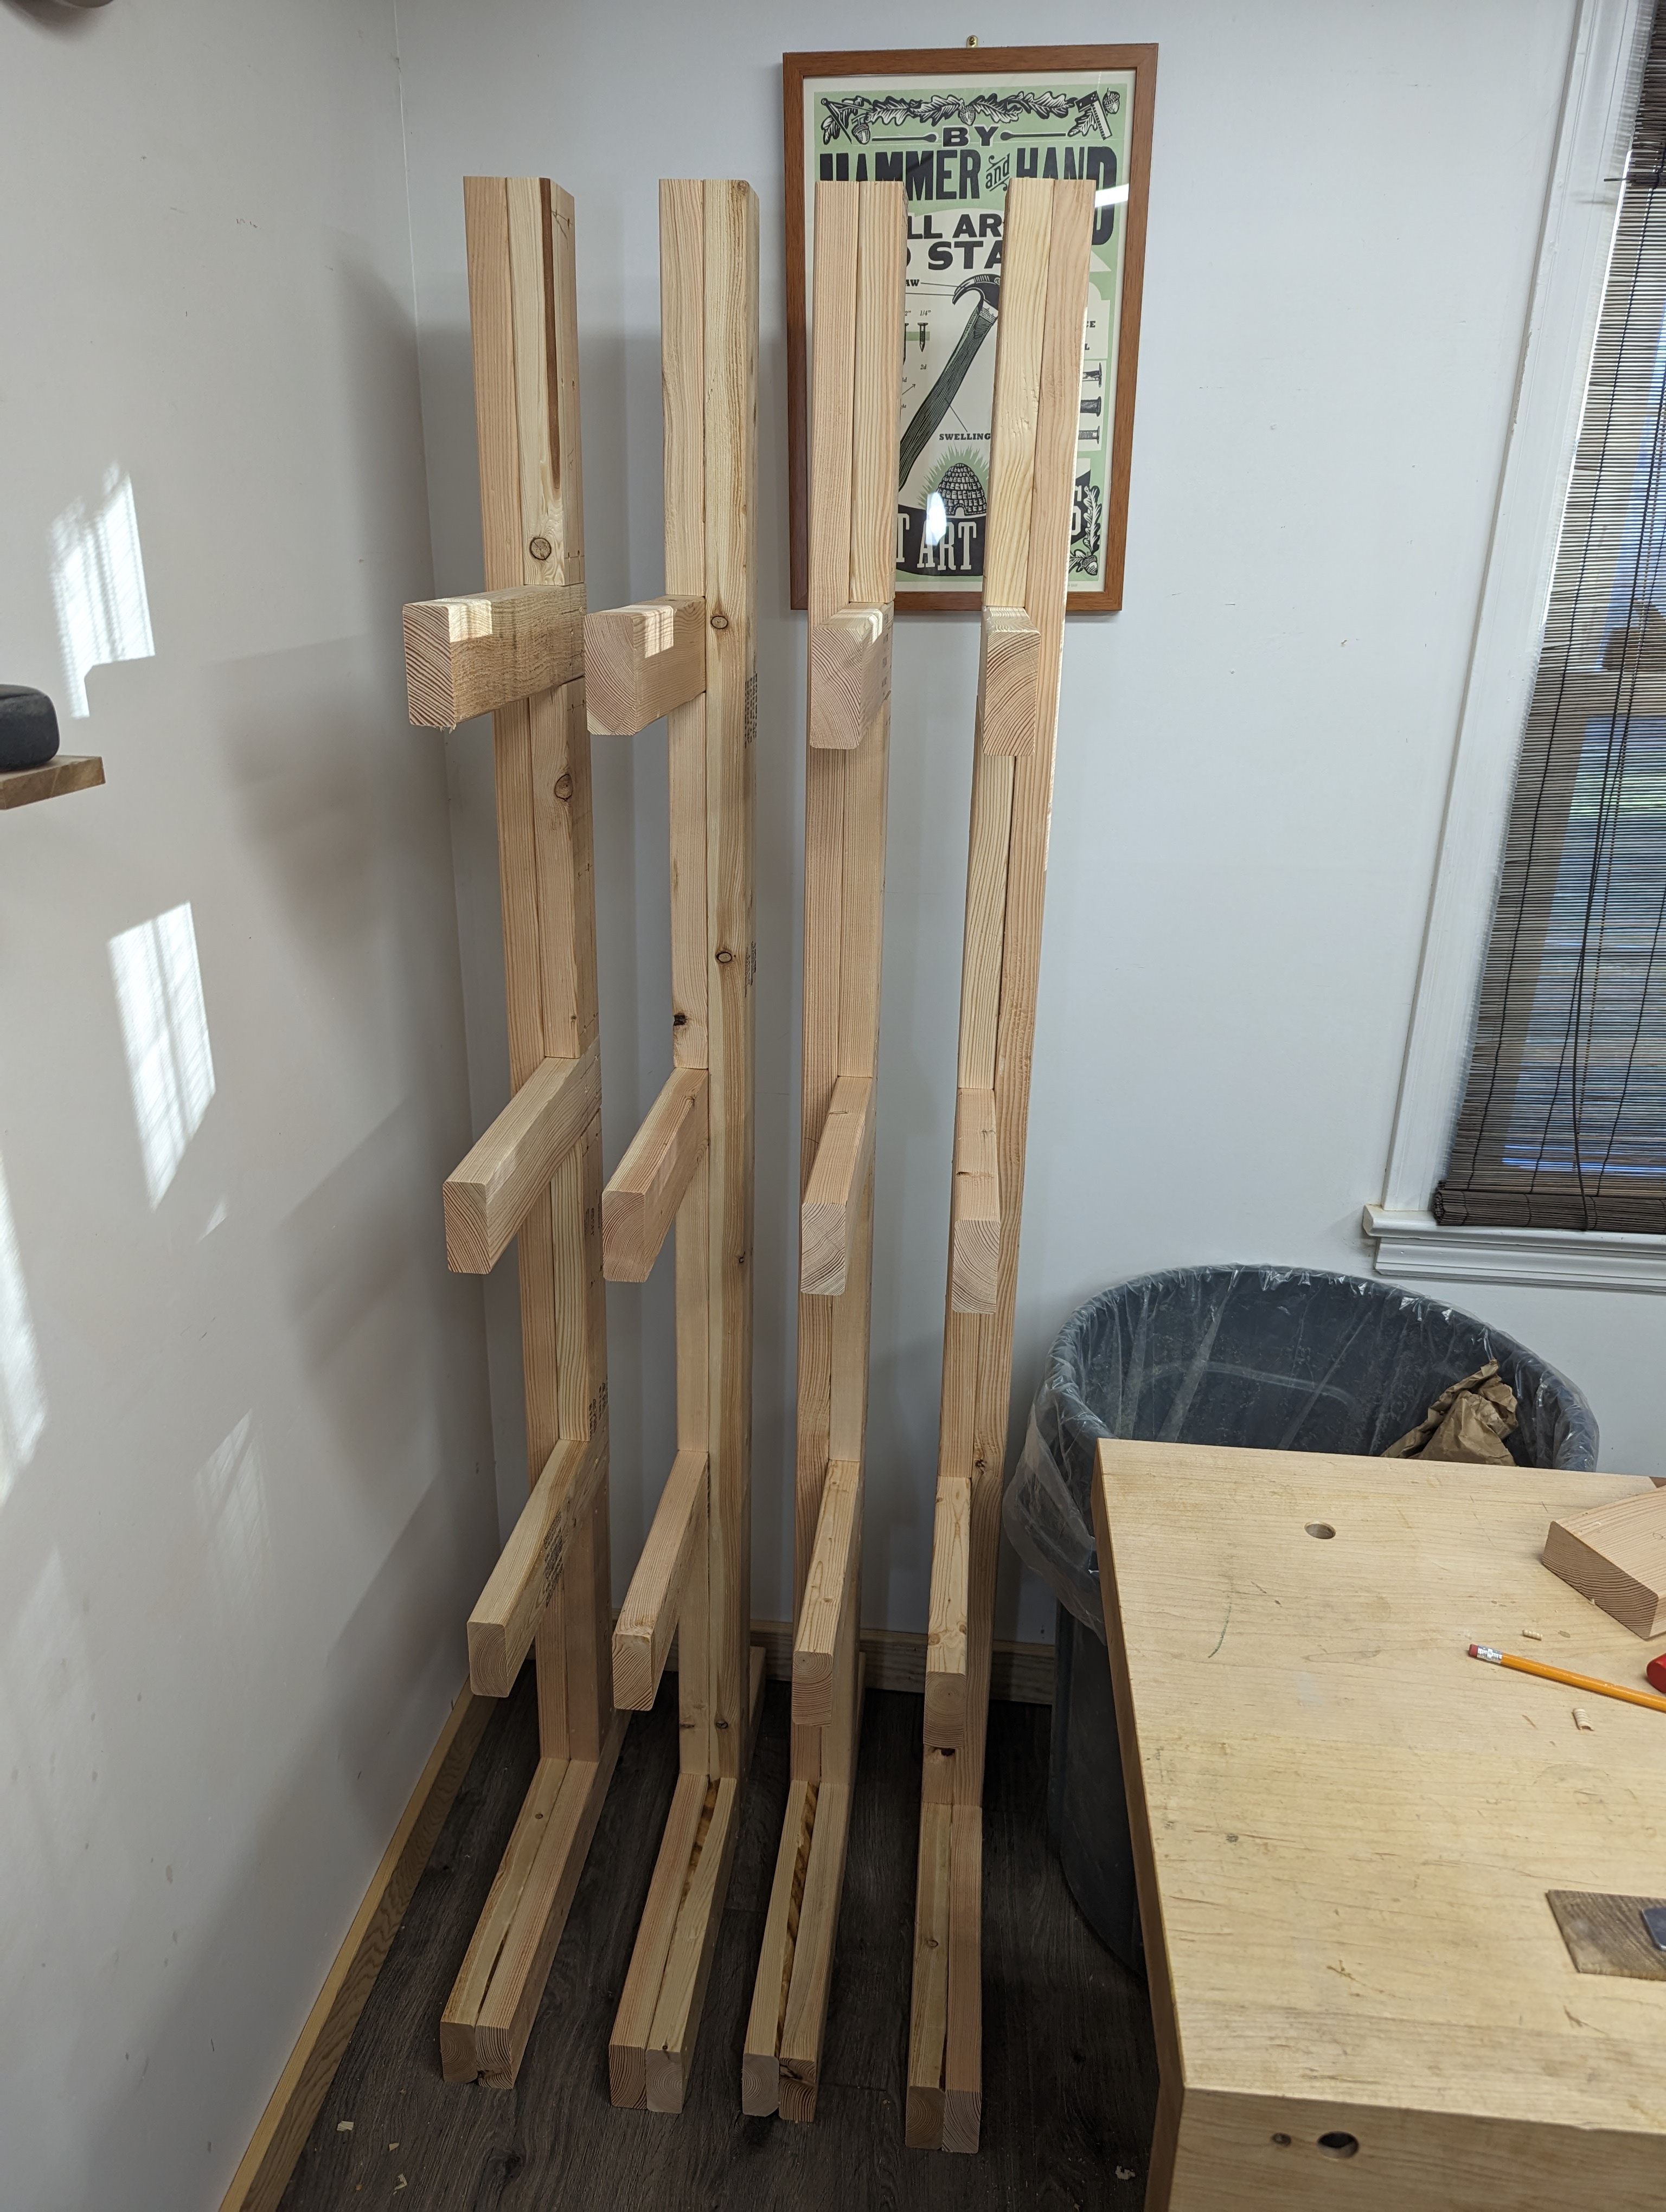
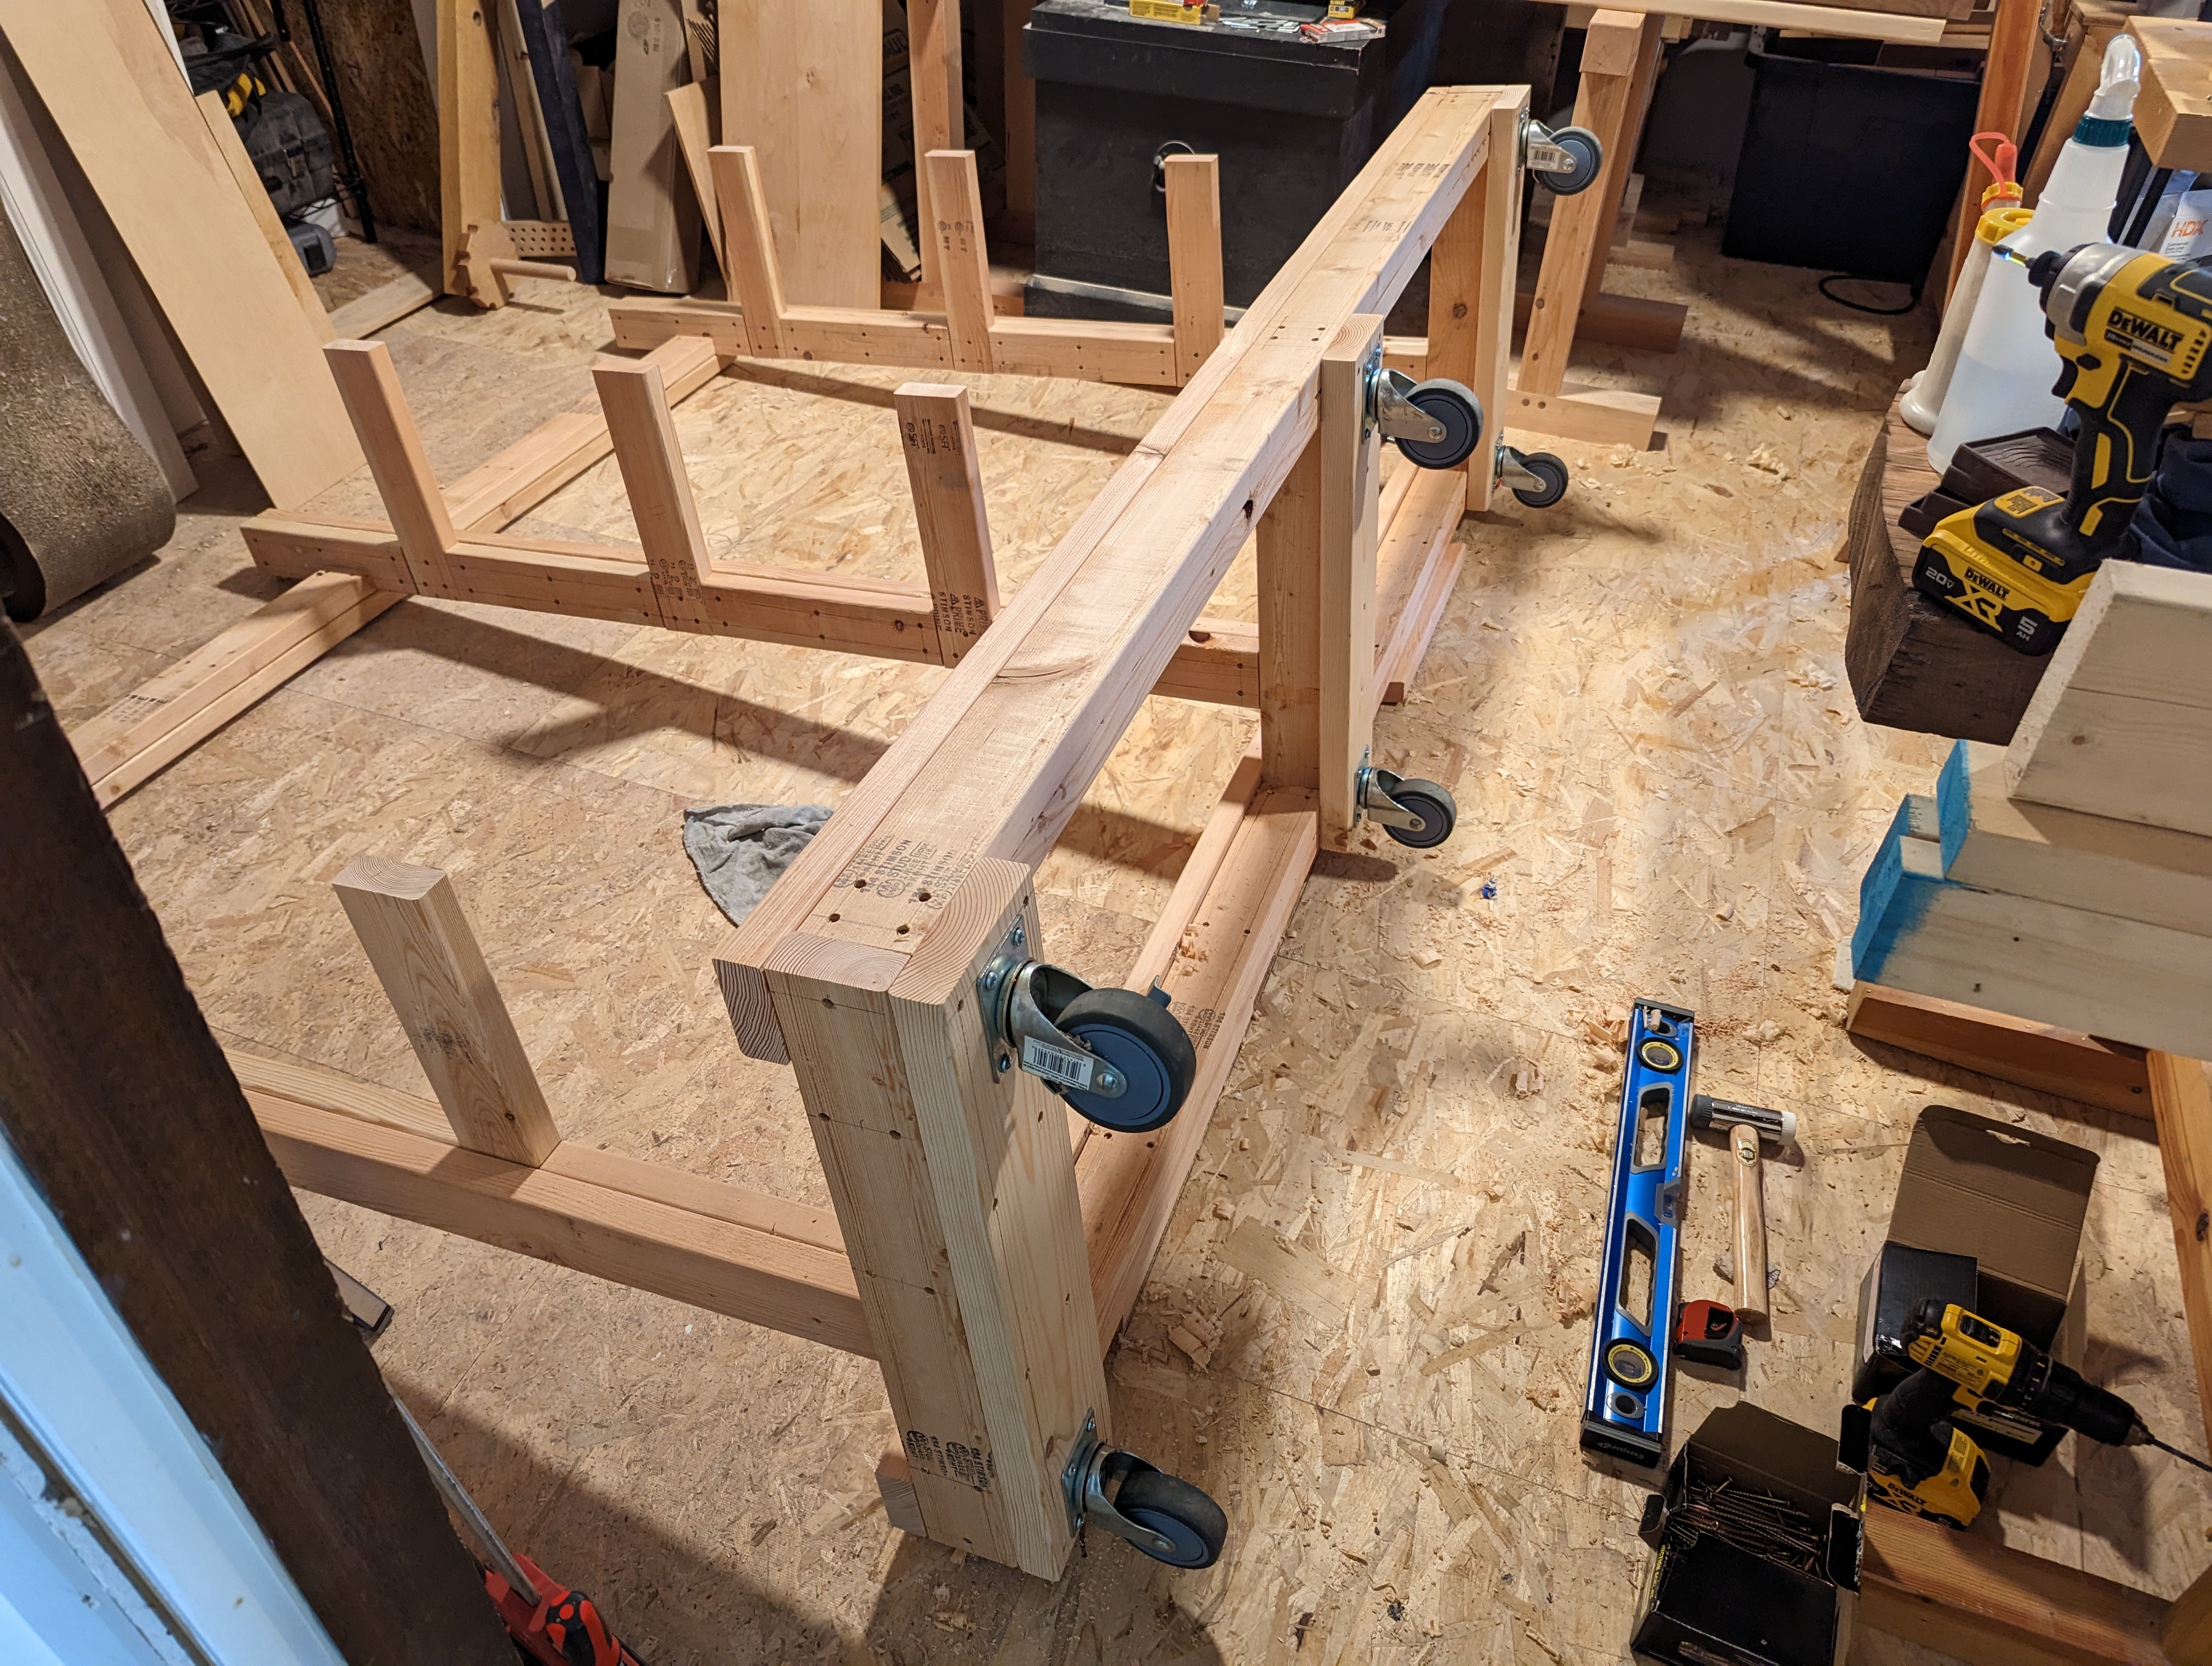
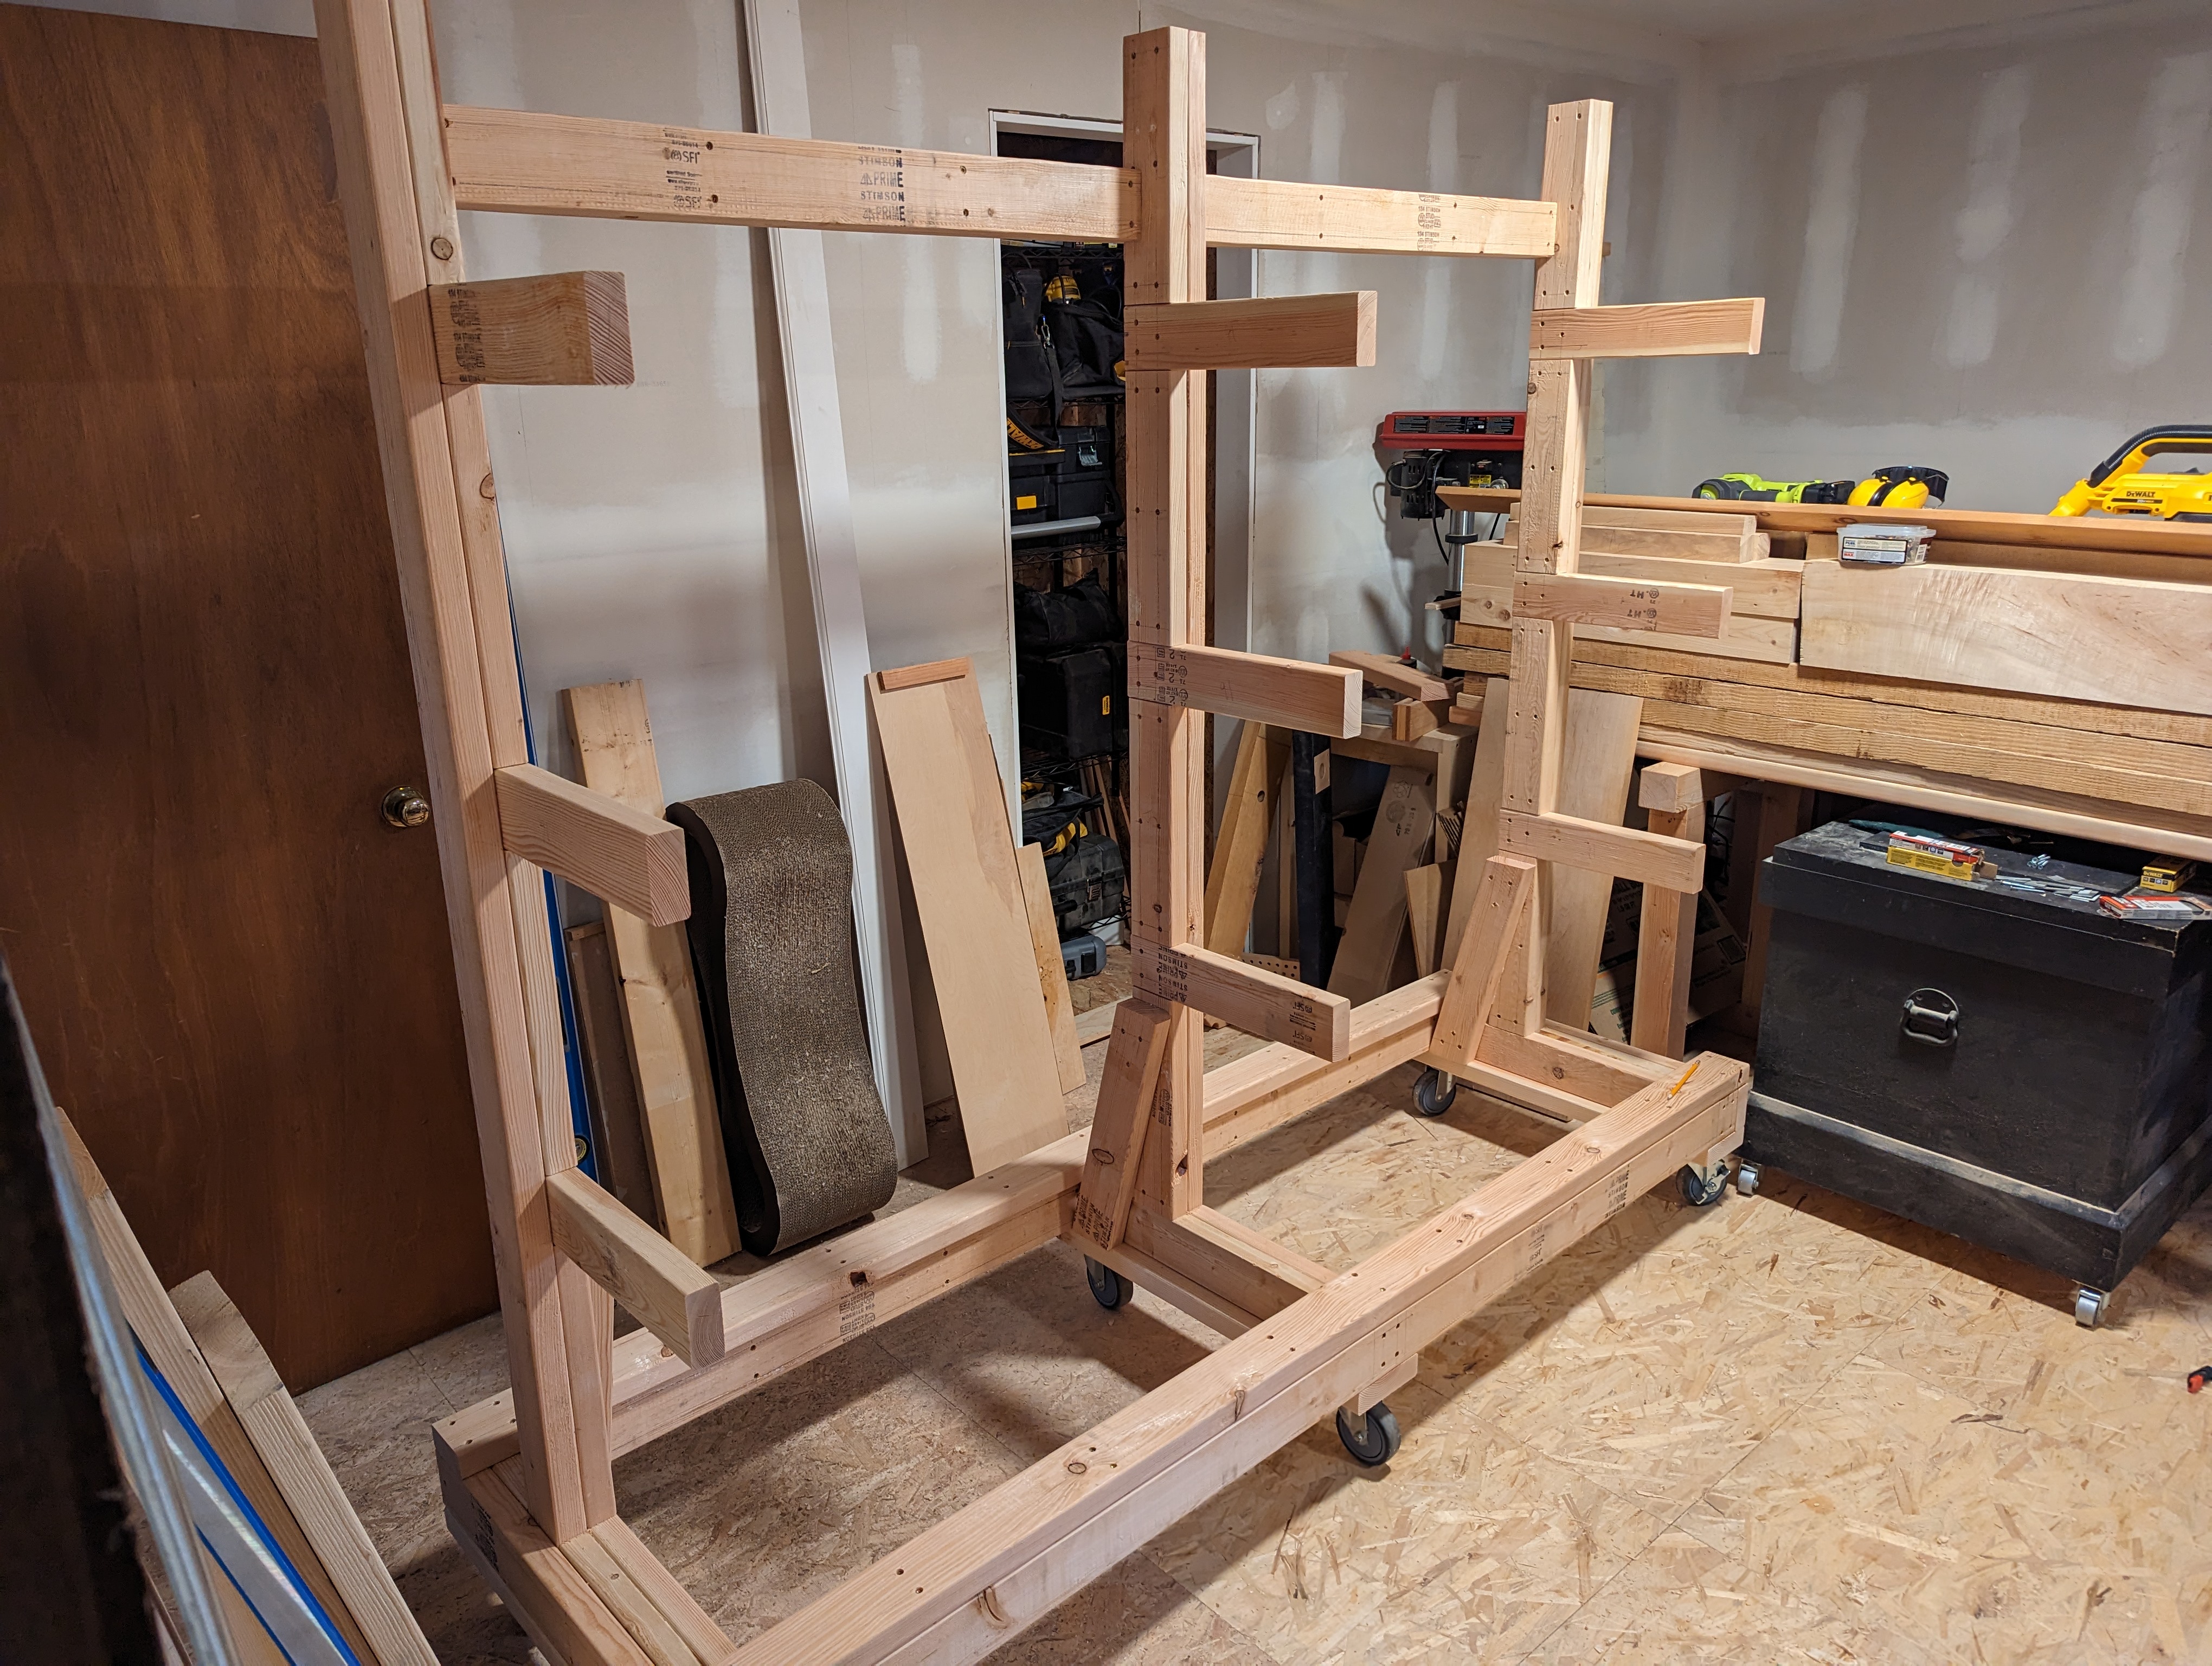
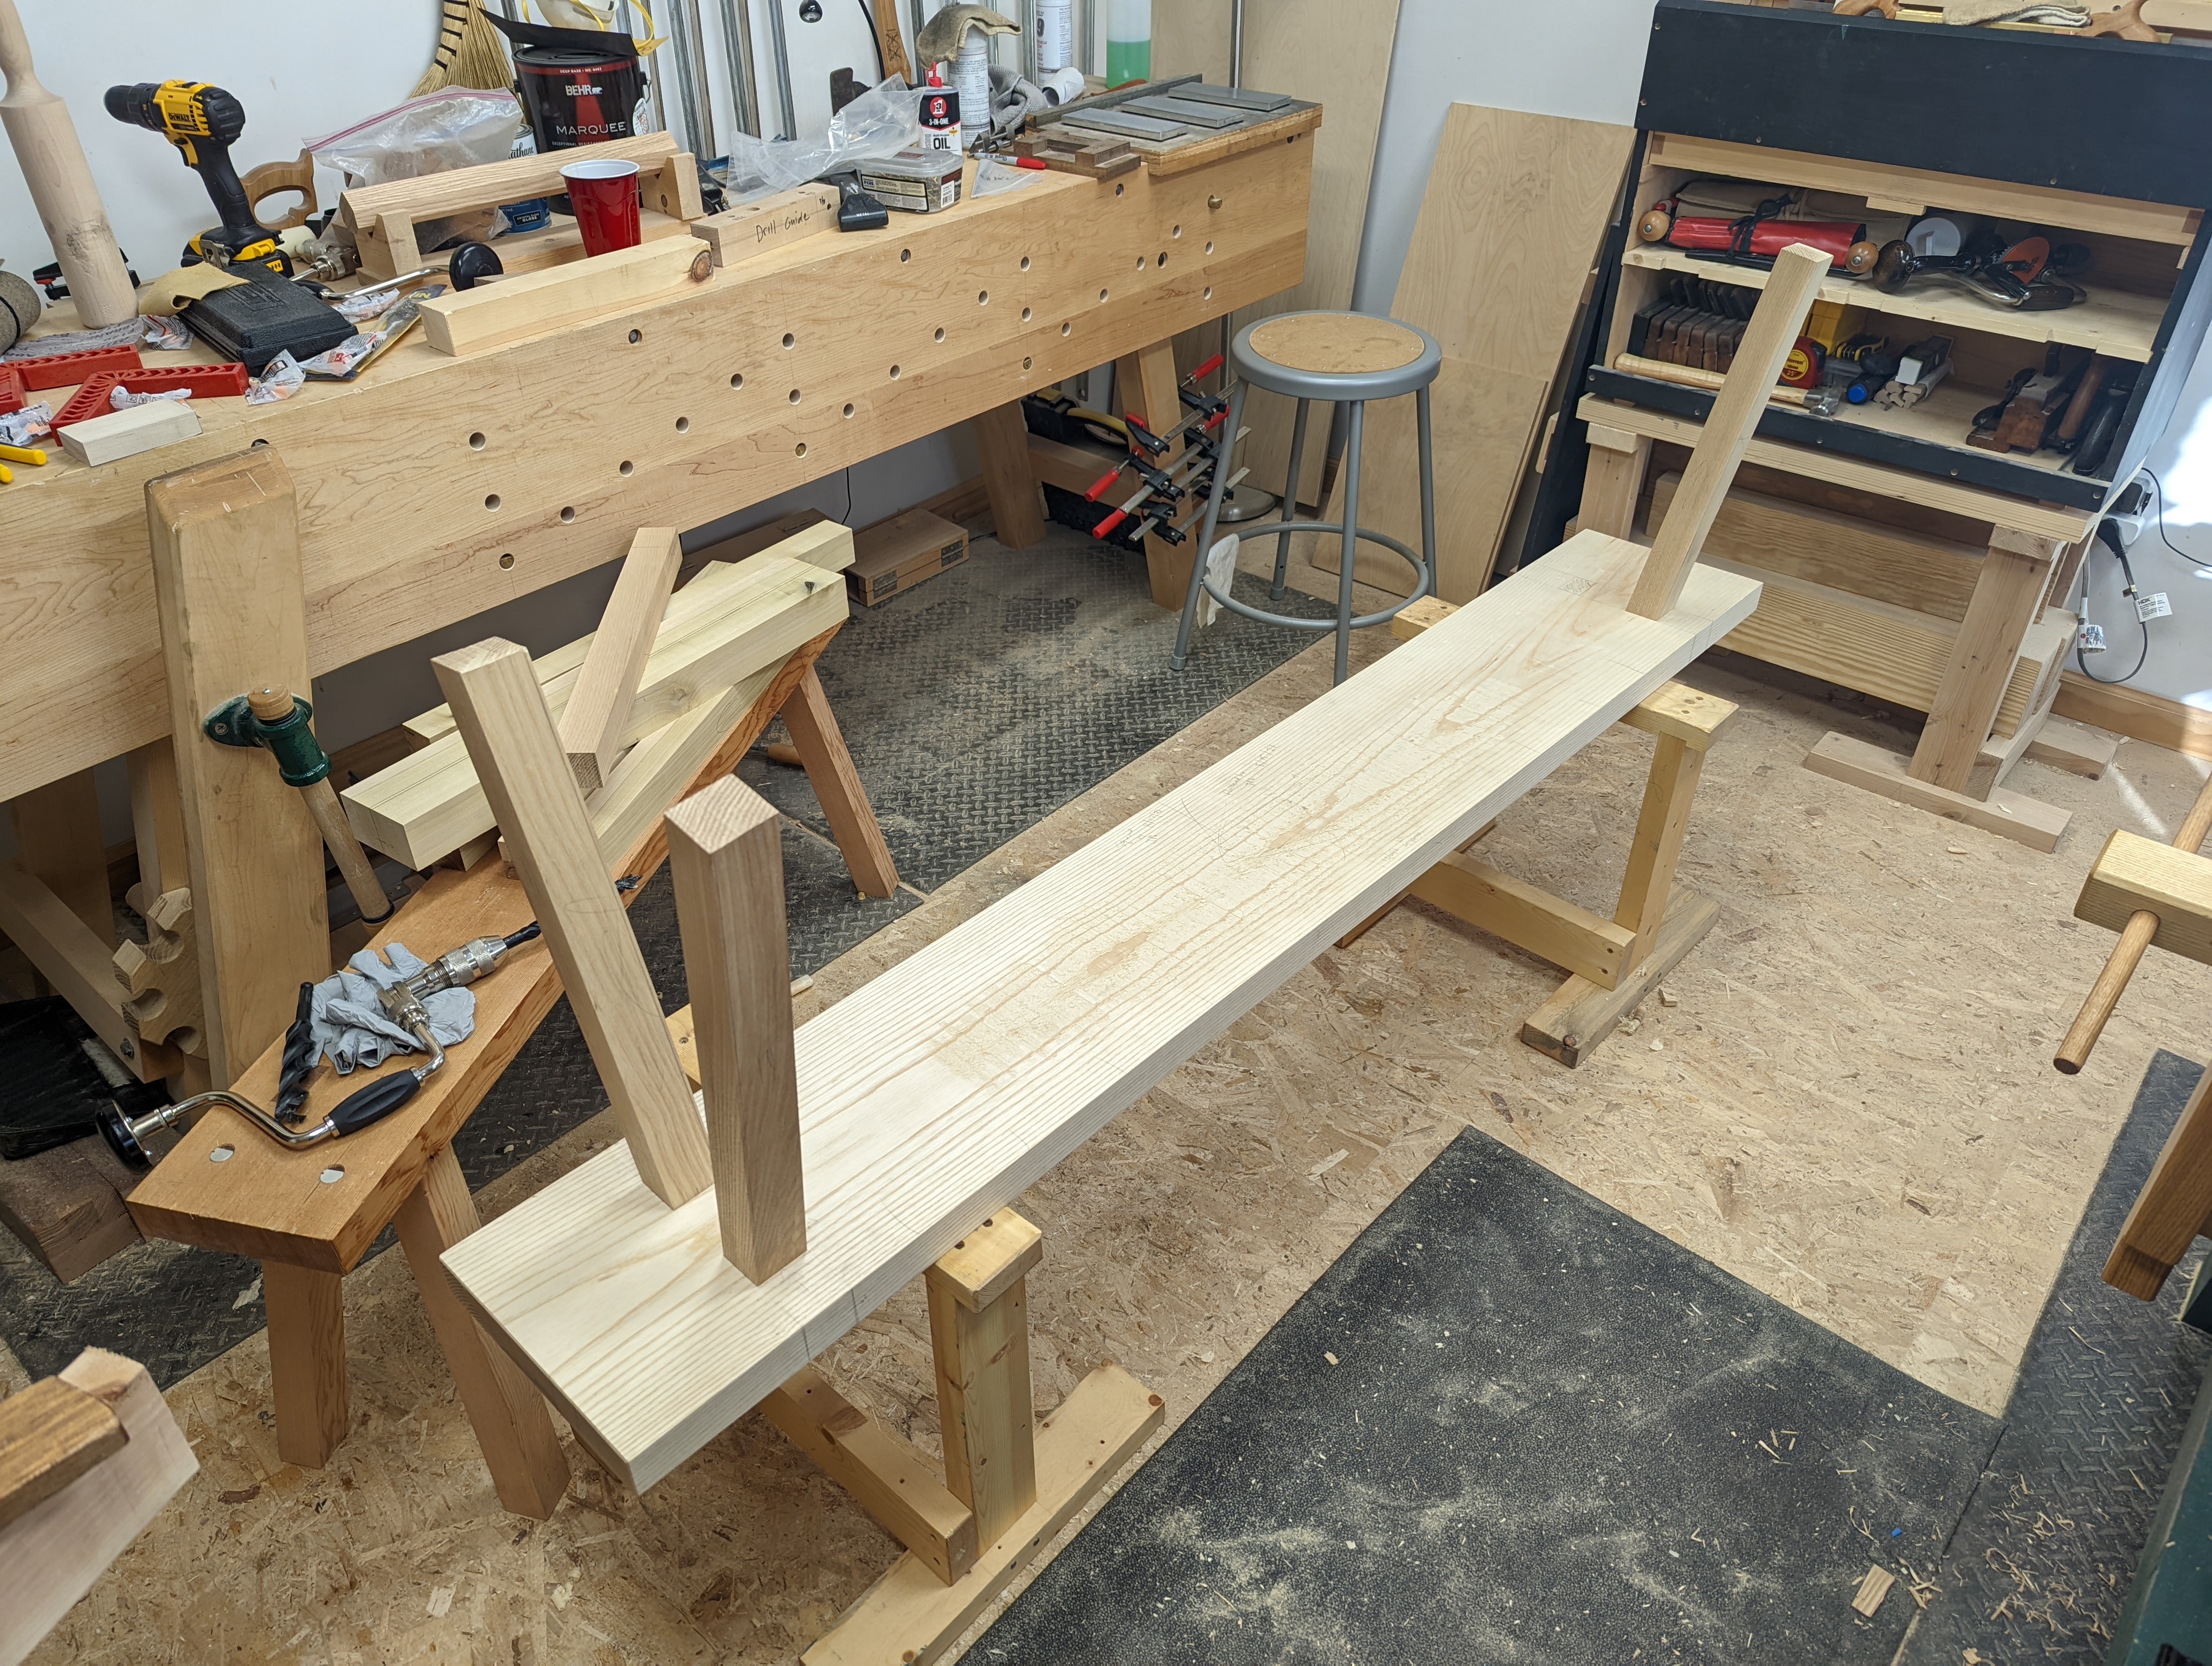
All those tenons are currently for a new sharpening station. Essentially a trestle table about the size of a sawhorse (and, quite frankly, patterned off a Krenov-style sawhorse). The frame is made of scrap Douglas Fir 2×4 leftover from the lumber rack build and the top will be Spruce offcuts from a planting table built up in Vermont. When it’s done, it will also have a drawer for saw sharpening gear. I might even use full extension, metal drawer glides that can open from either side.
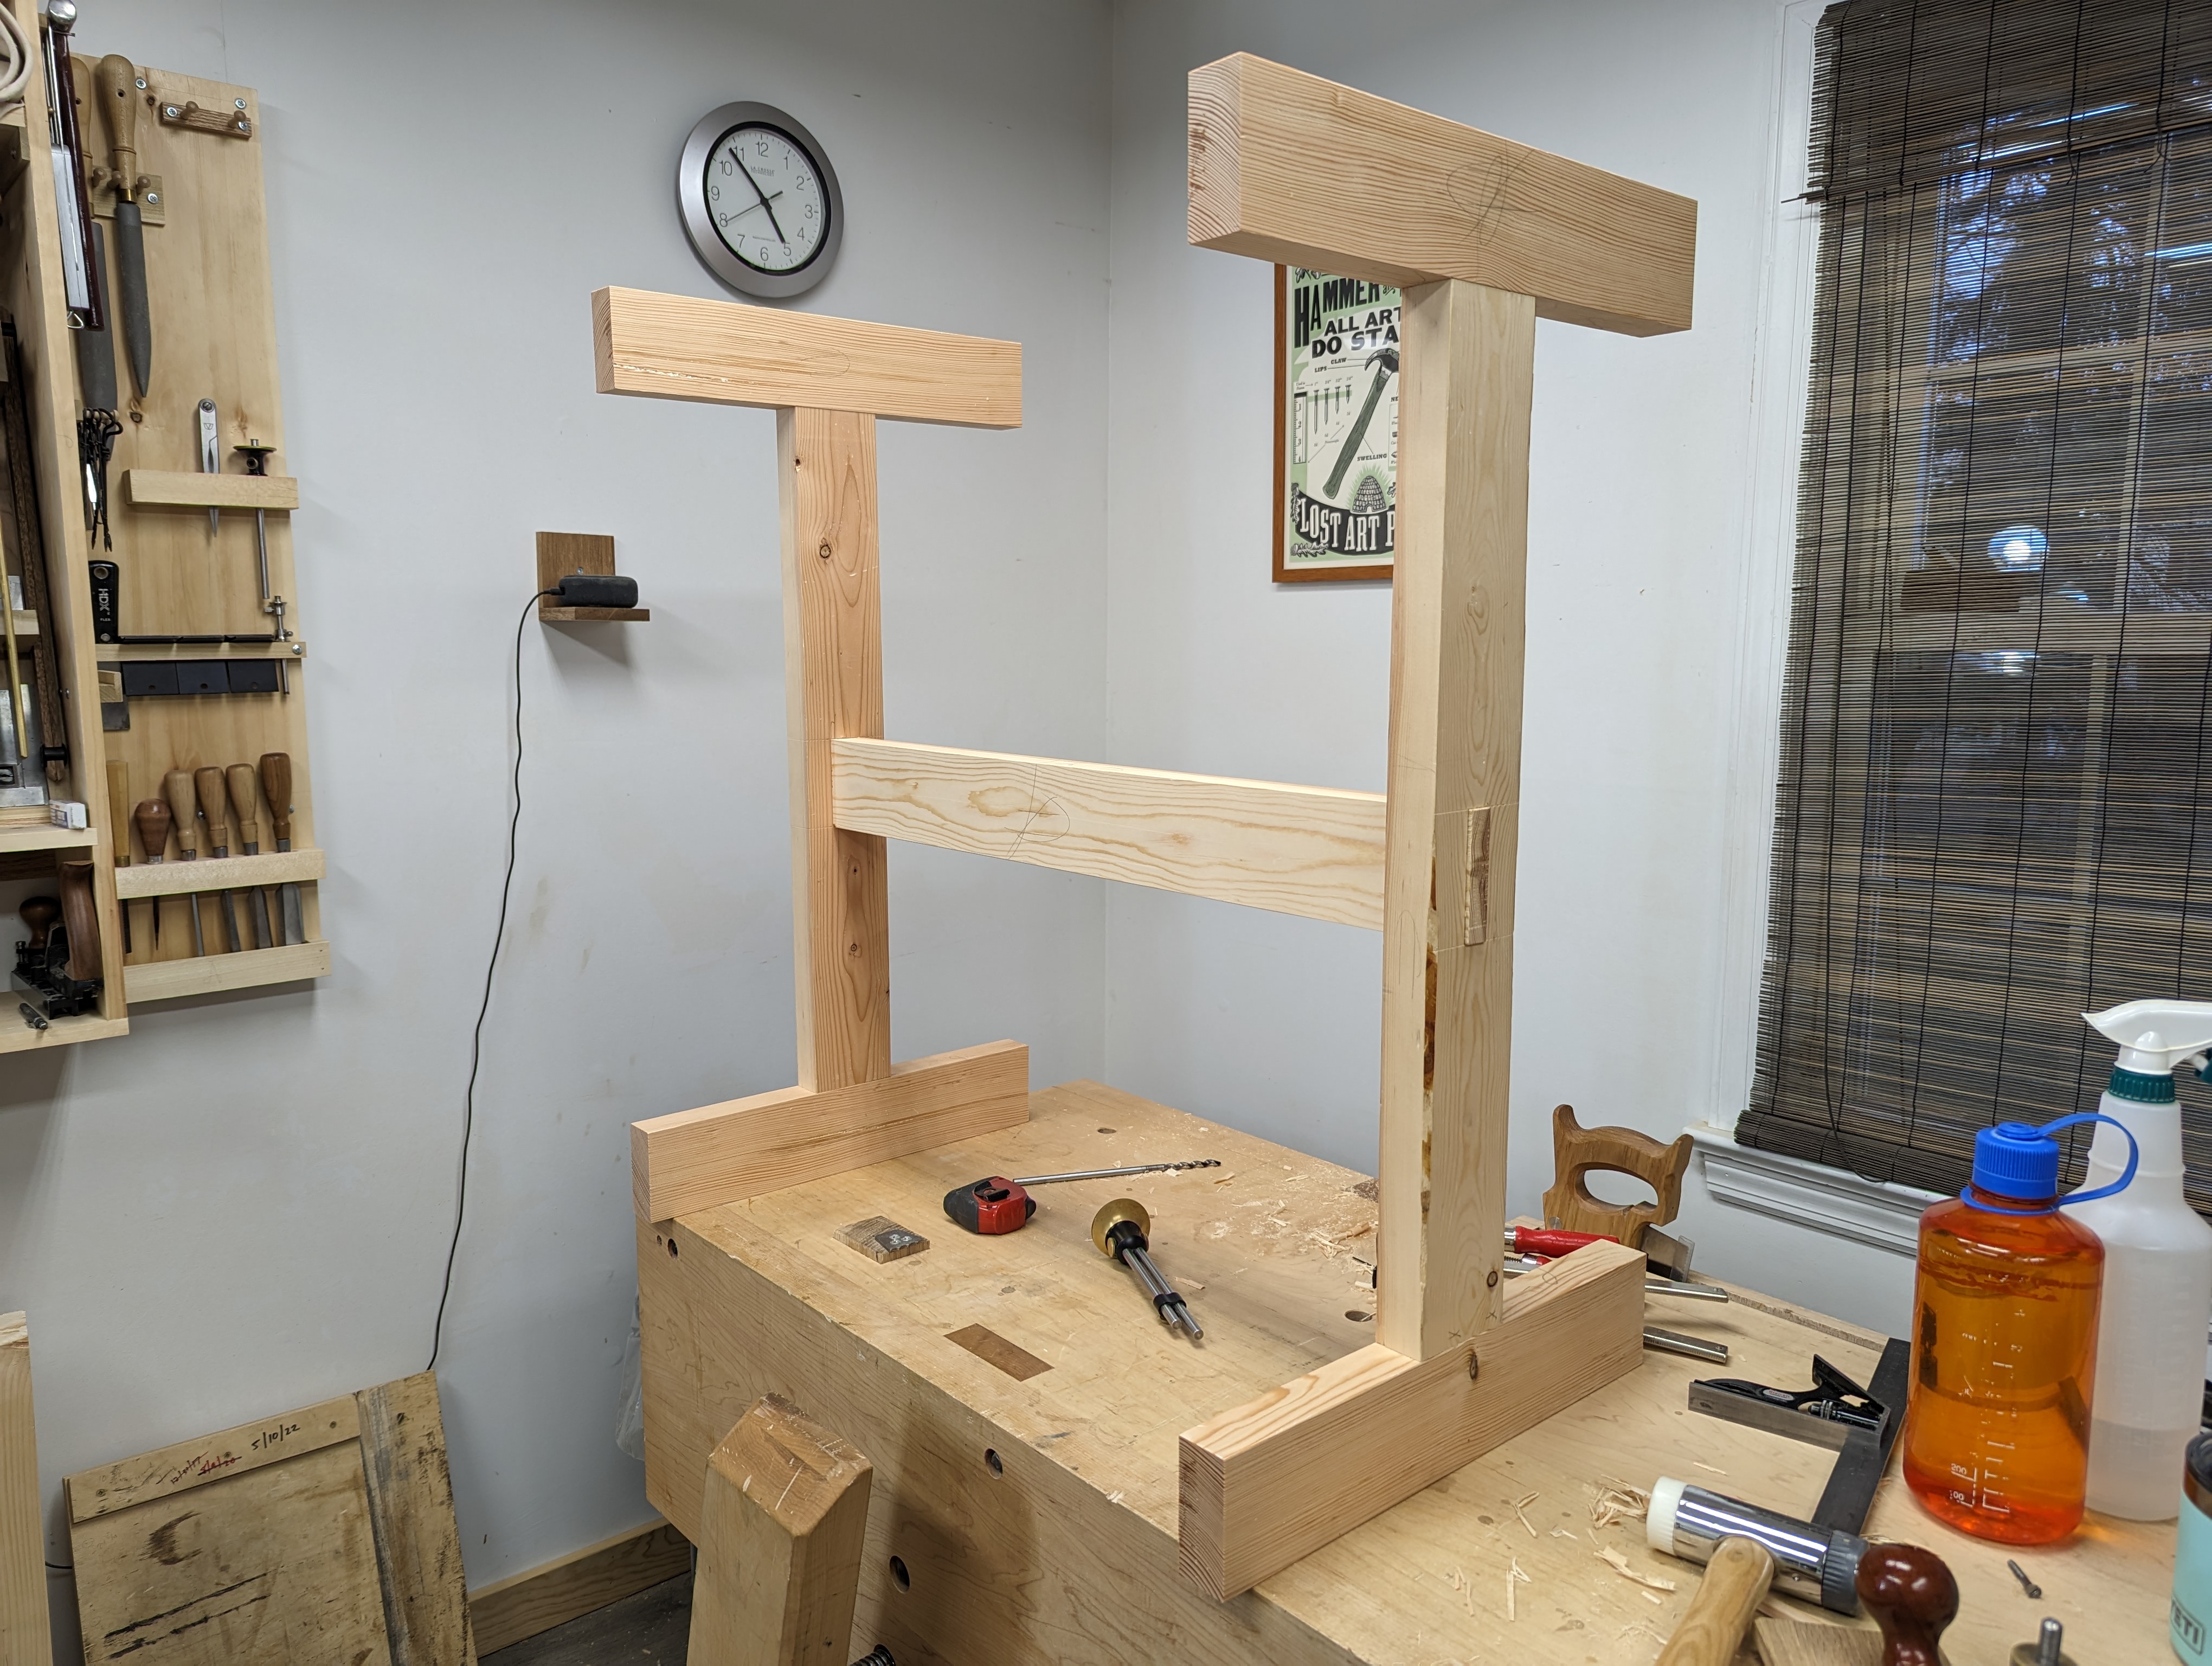
I had missed having a dedicated sharpening station that stashes in the corner. When I was working on the green Moravian, the maple Nicholson was pushed up against the wall and the sharpening station was all the way at the end. Besides having to squeeze in between my tool chest and whatever I was working on, the rest if the workbench top got super cluttered all the time. This new station will hold everything it needs to without any extra room to accumulate detritus. It will also be more accessible.
After I finish the sharpening station, the next thing is to take down the lumber rack on the right wall. It barely stores any lumber and just collects clutter (seeing a theme here?). I’ll move whatever lumber (mostly reclaimed red pine) is on it to the new lumber rack (by, unironically, hanging the racks on the back side of the lumber rack posts). That will free up more than a foot of usable floor space (and force me to organize the other crap on the racks currently).
That’s all for now. Will share some pictures when the sharpening station is finished.
JPG