Back during the prime of the pandemic (early 2021), I took the plunge and bought a benchtop hollow chisel mortiser (an “HCM”). At the time, the Powermatic Benchtop Mortiser was on backorder from Southern Tool (who are really great to work with [not a sponsor]). I’ve always hated boring and chopping mortises by hand. I’m totally totally fine with cutting tenons with hand tools. It’s just the donkey work of mortises that I would love to avoid. And my HCM allows me to do so.
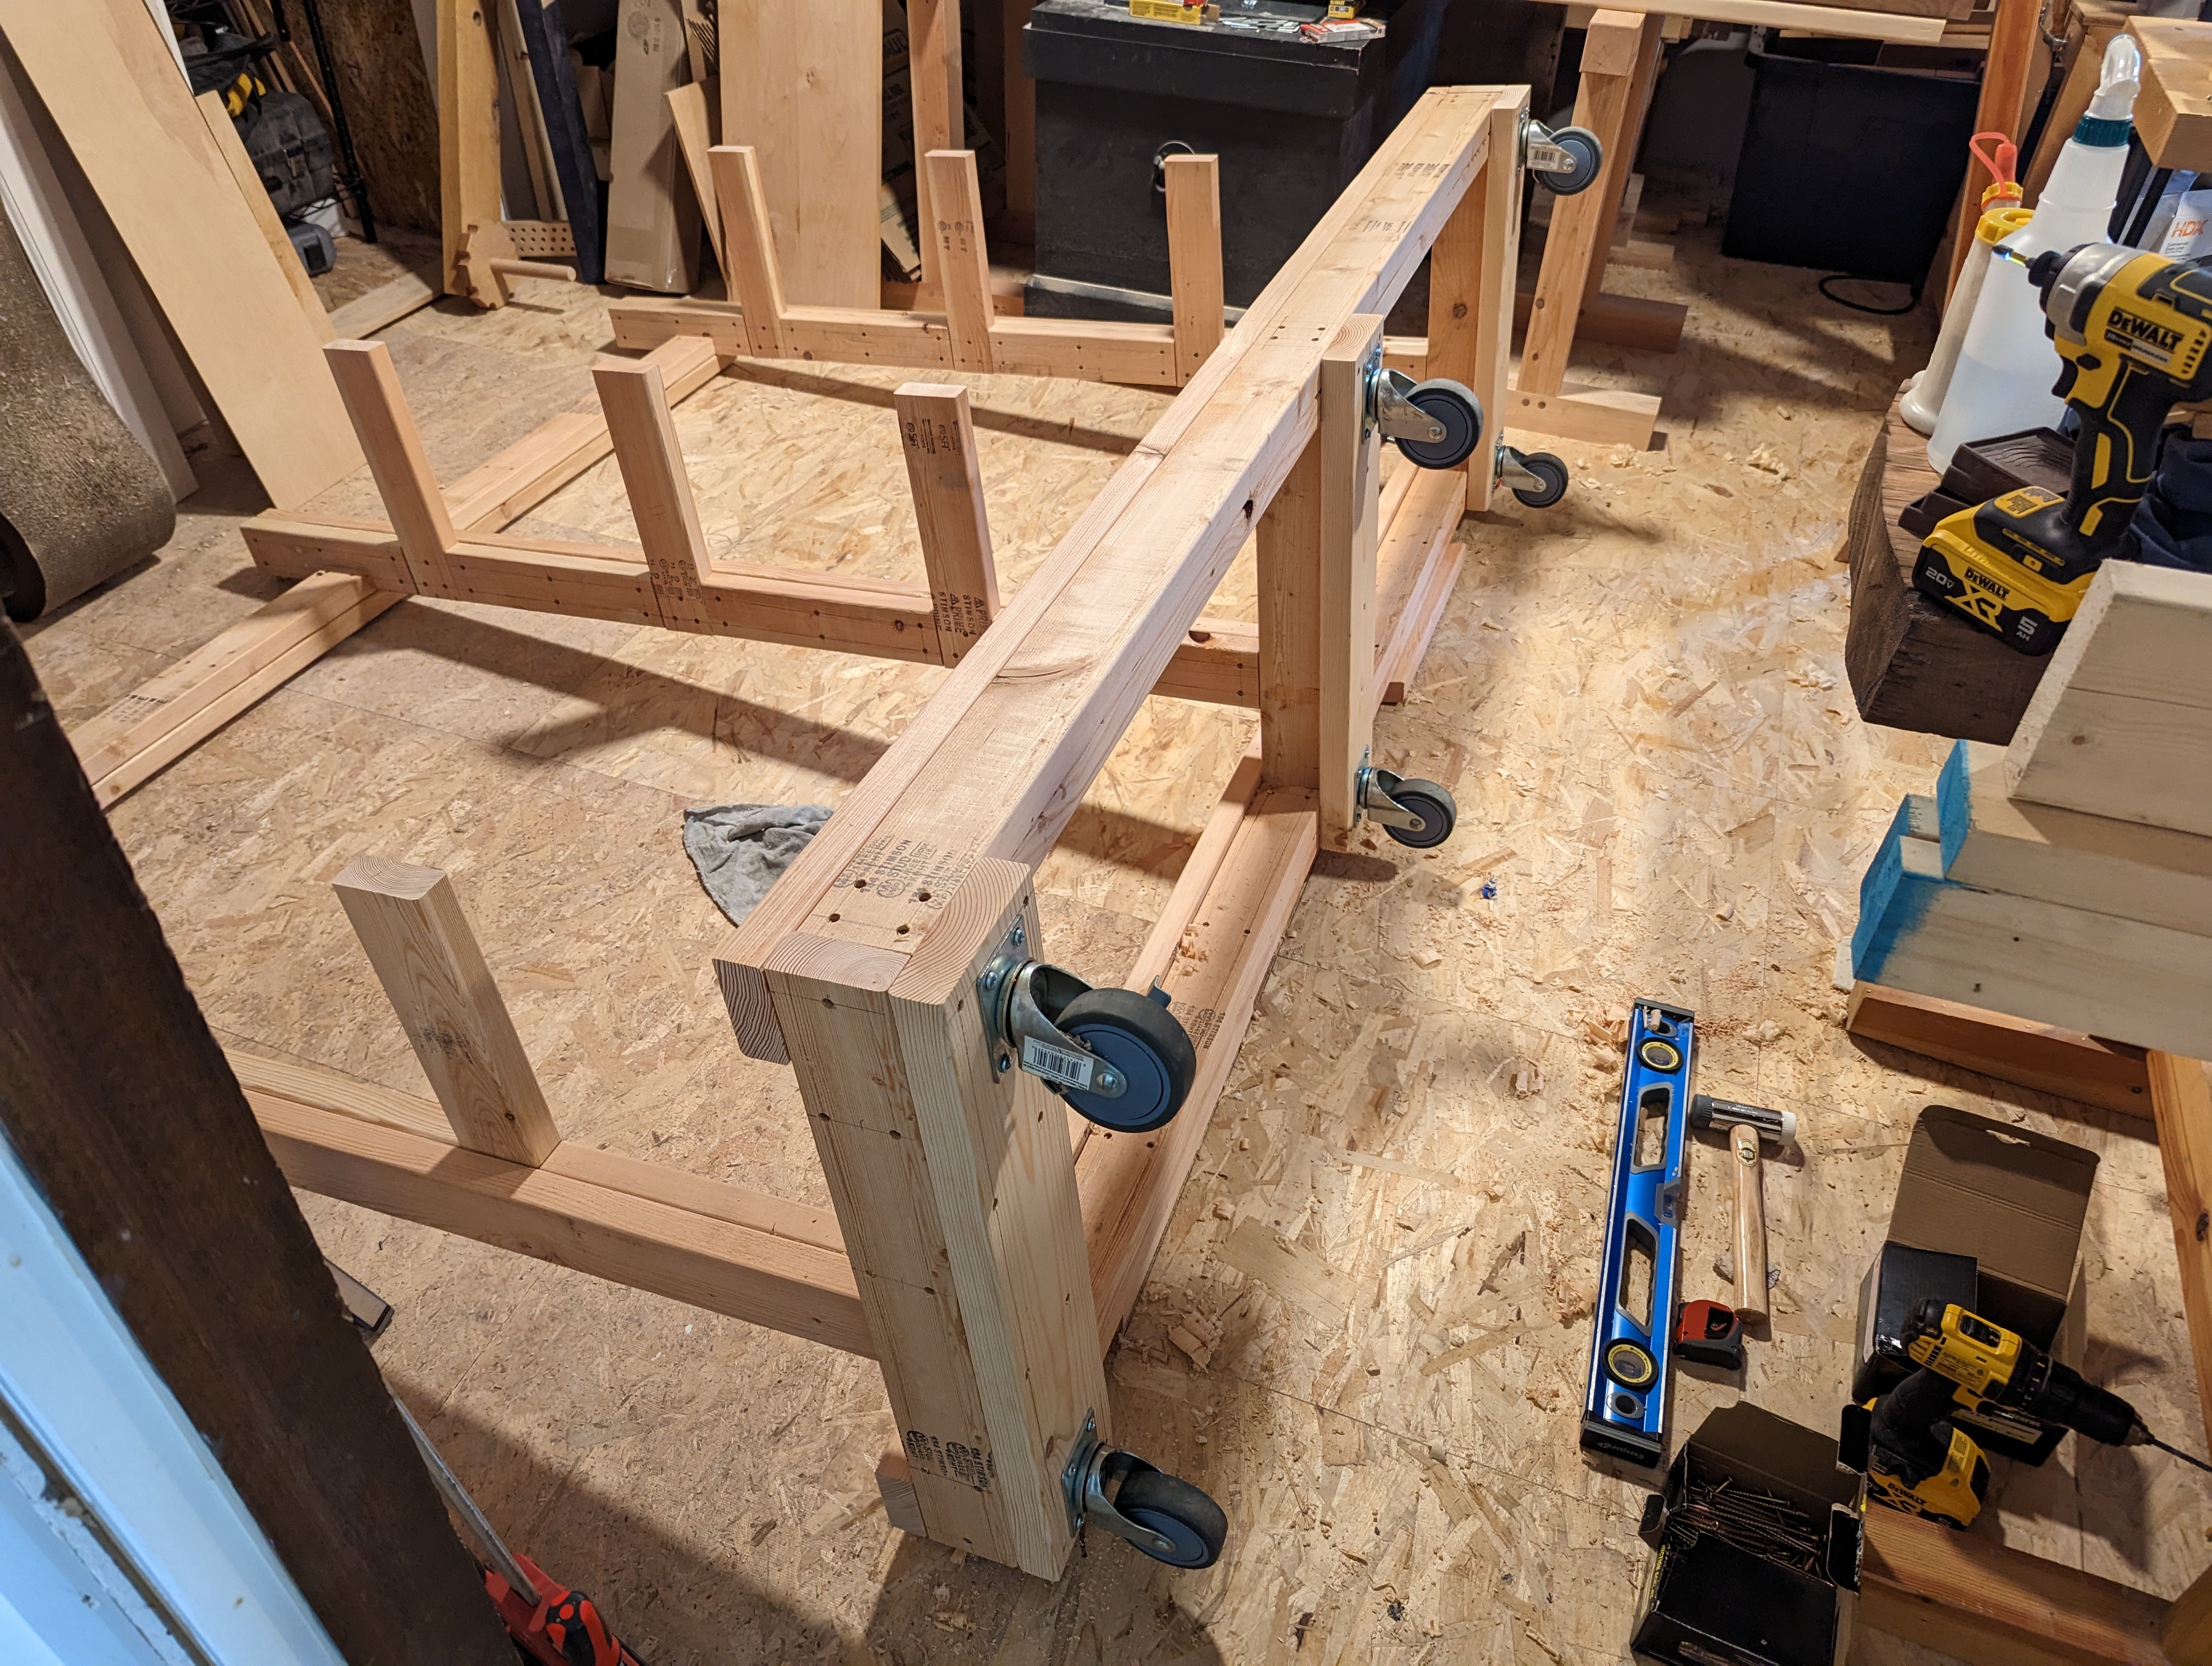
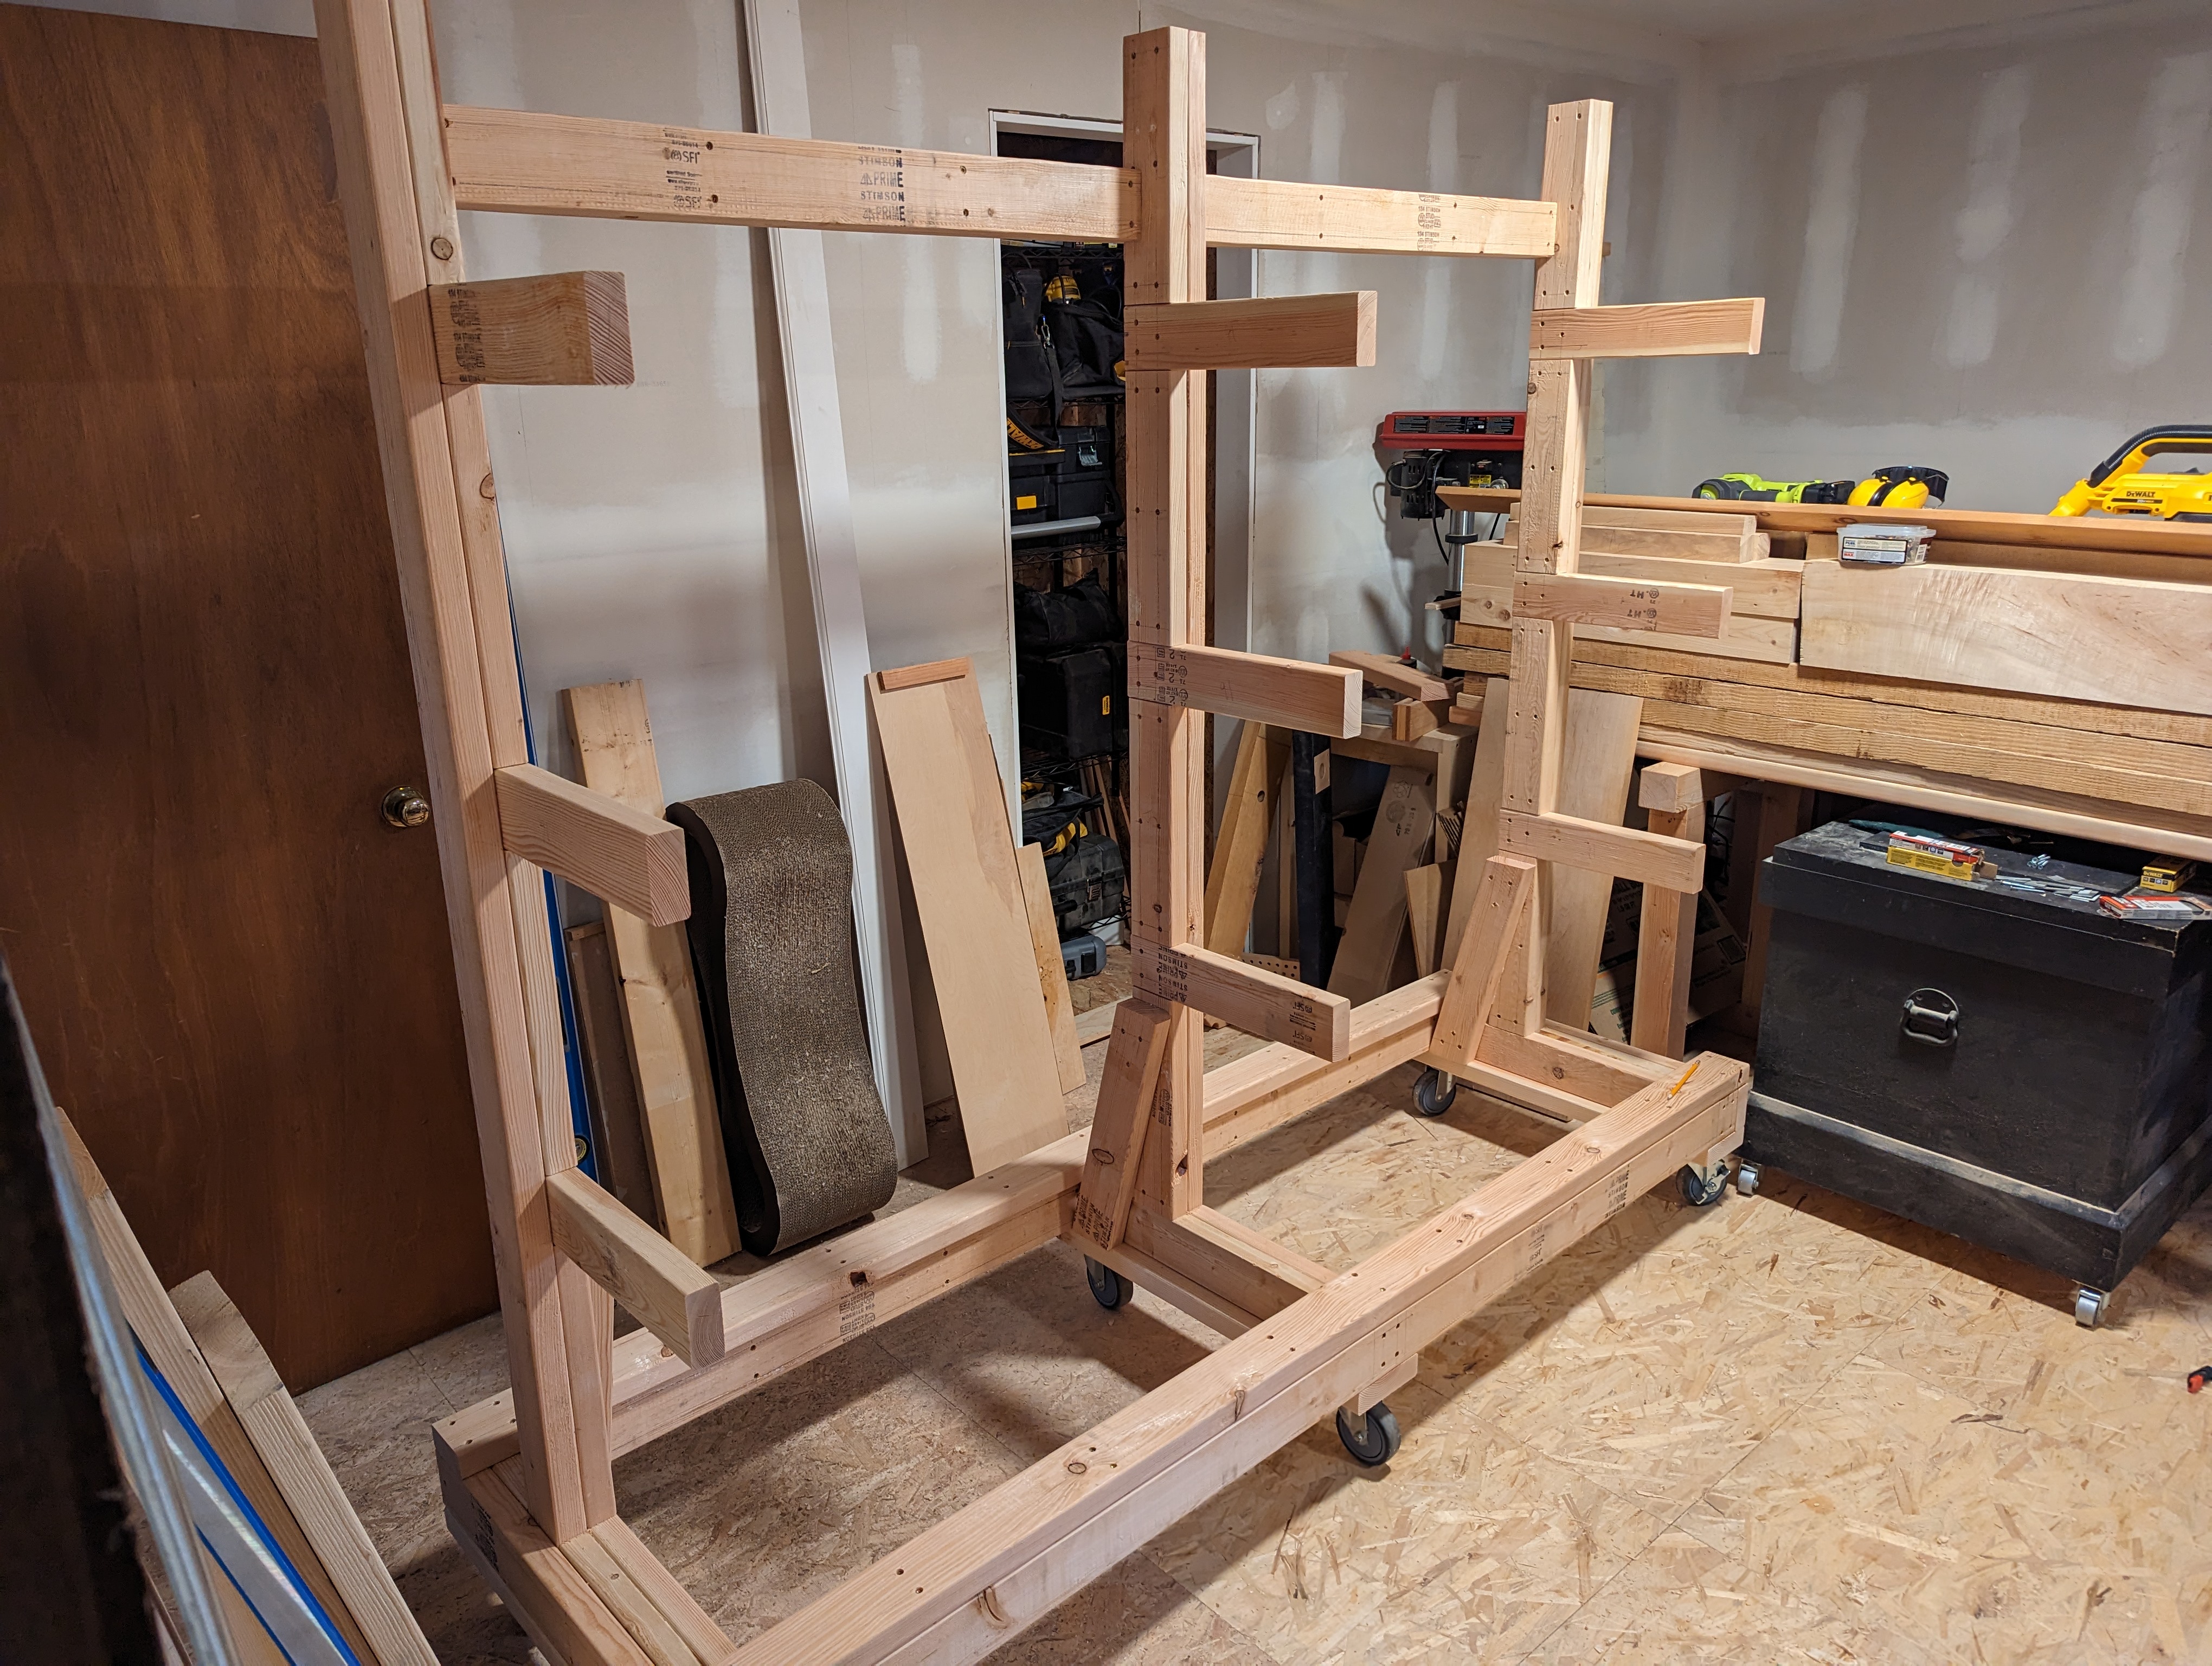
So when it came time to cut some large bridle joints for my new forever workbench (I mean it this time!), I couldn’t help but wonder if I could do it on the HCM. I consider myself to be pretty good at following a line with a panel saw and have cut plenty of large bridle joints that way. But bridle joints are just “open” mortise and tenon joints, after all. So cutting bridles on the HCM should be easy enough with just a little planning. It’s not really intended for this purpose, but it works just fine.
First of all, it really helps if all of your leg blanks are S4S and the same dimensions, within a few shavings at least. That way, you can flip the blank in all directions and use the same fence setting for centering the mortise. It’s not fatal if things aren’t exact, as long as you use a consistent reference edge for the matching legs. But it will slow things down if you need to reset the fence after every flip end over end.
Second, leave your leg blank overlong, so there is some meat to support the temporarily enclosed mortise without blowing out. For wood species that split easily, such as Red Oak, you should probably leave a full inch. These legs are poplar, so 1/2″ was fine.
Thirdly, size your mortise to be no more than 4x (or just under 4x, ideally) the size of the bit you plan to use.

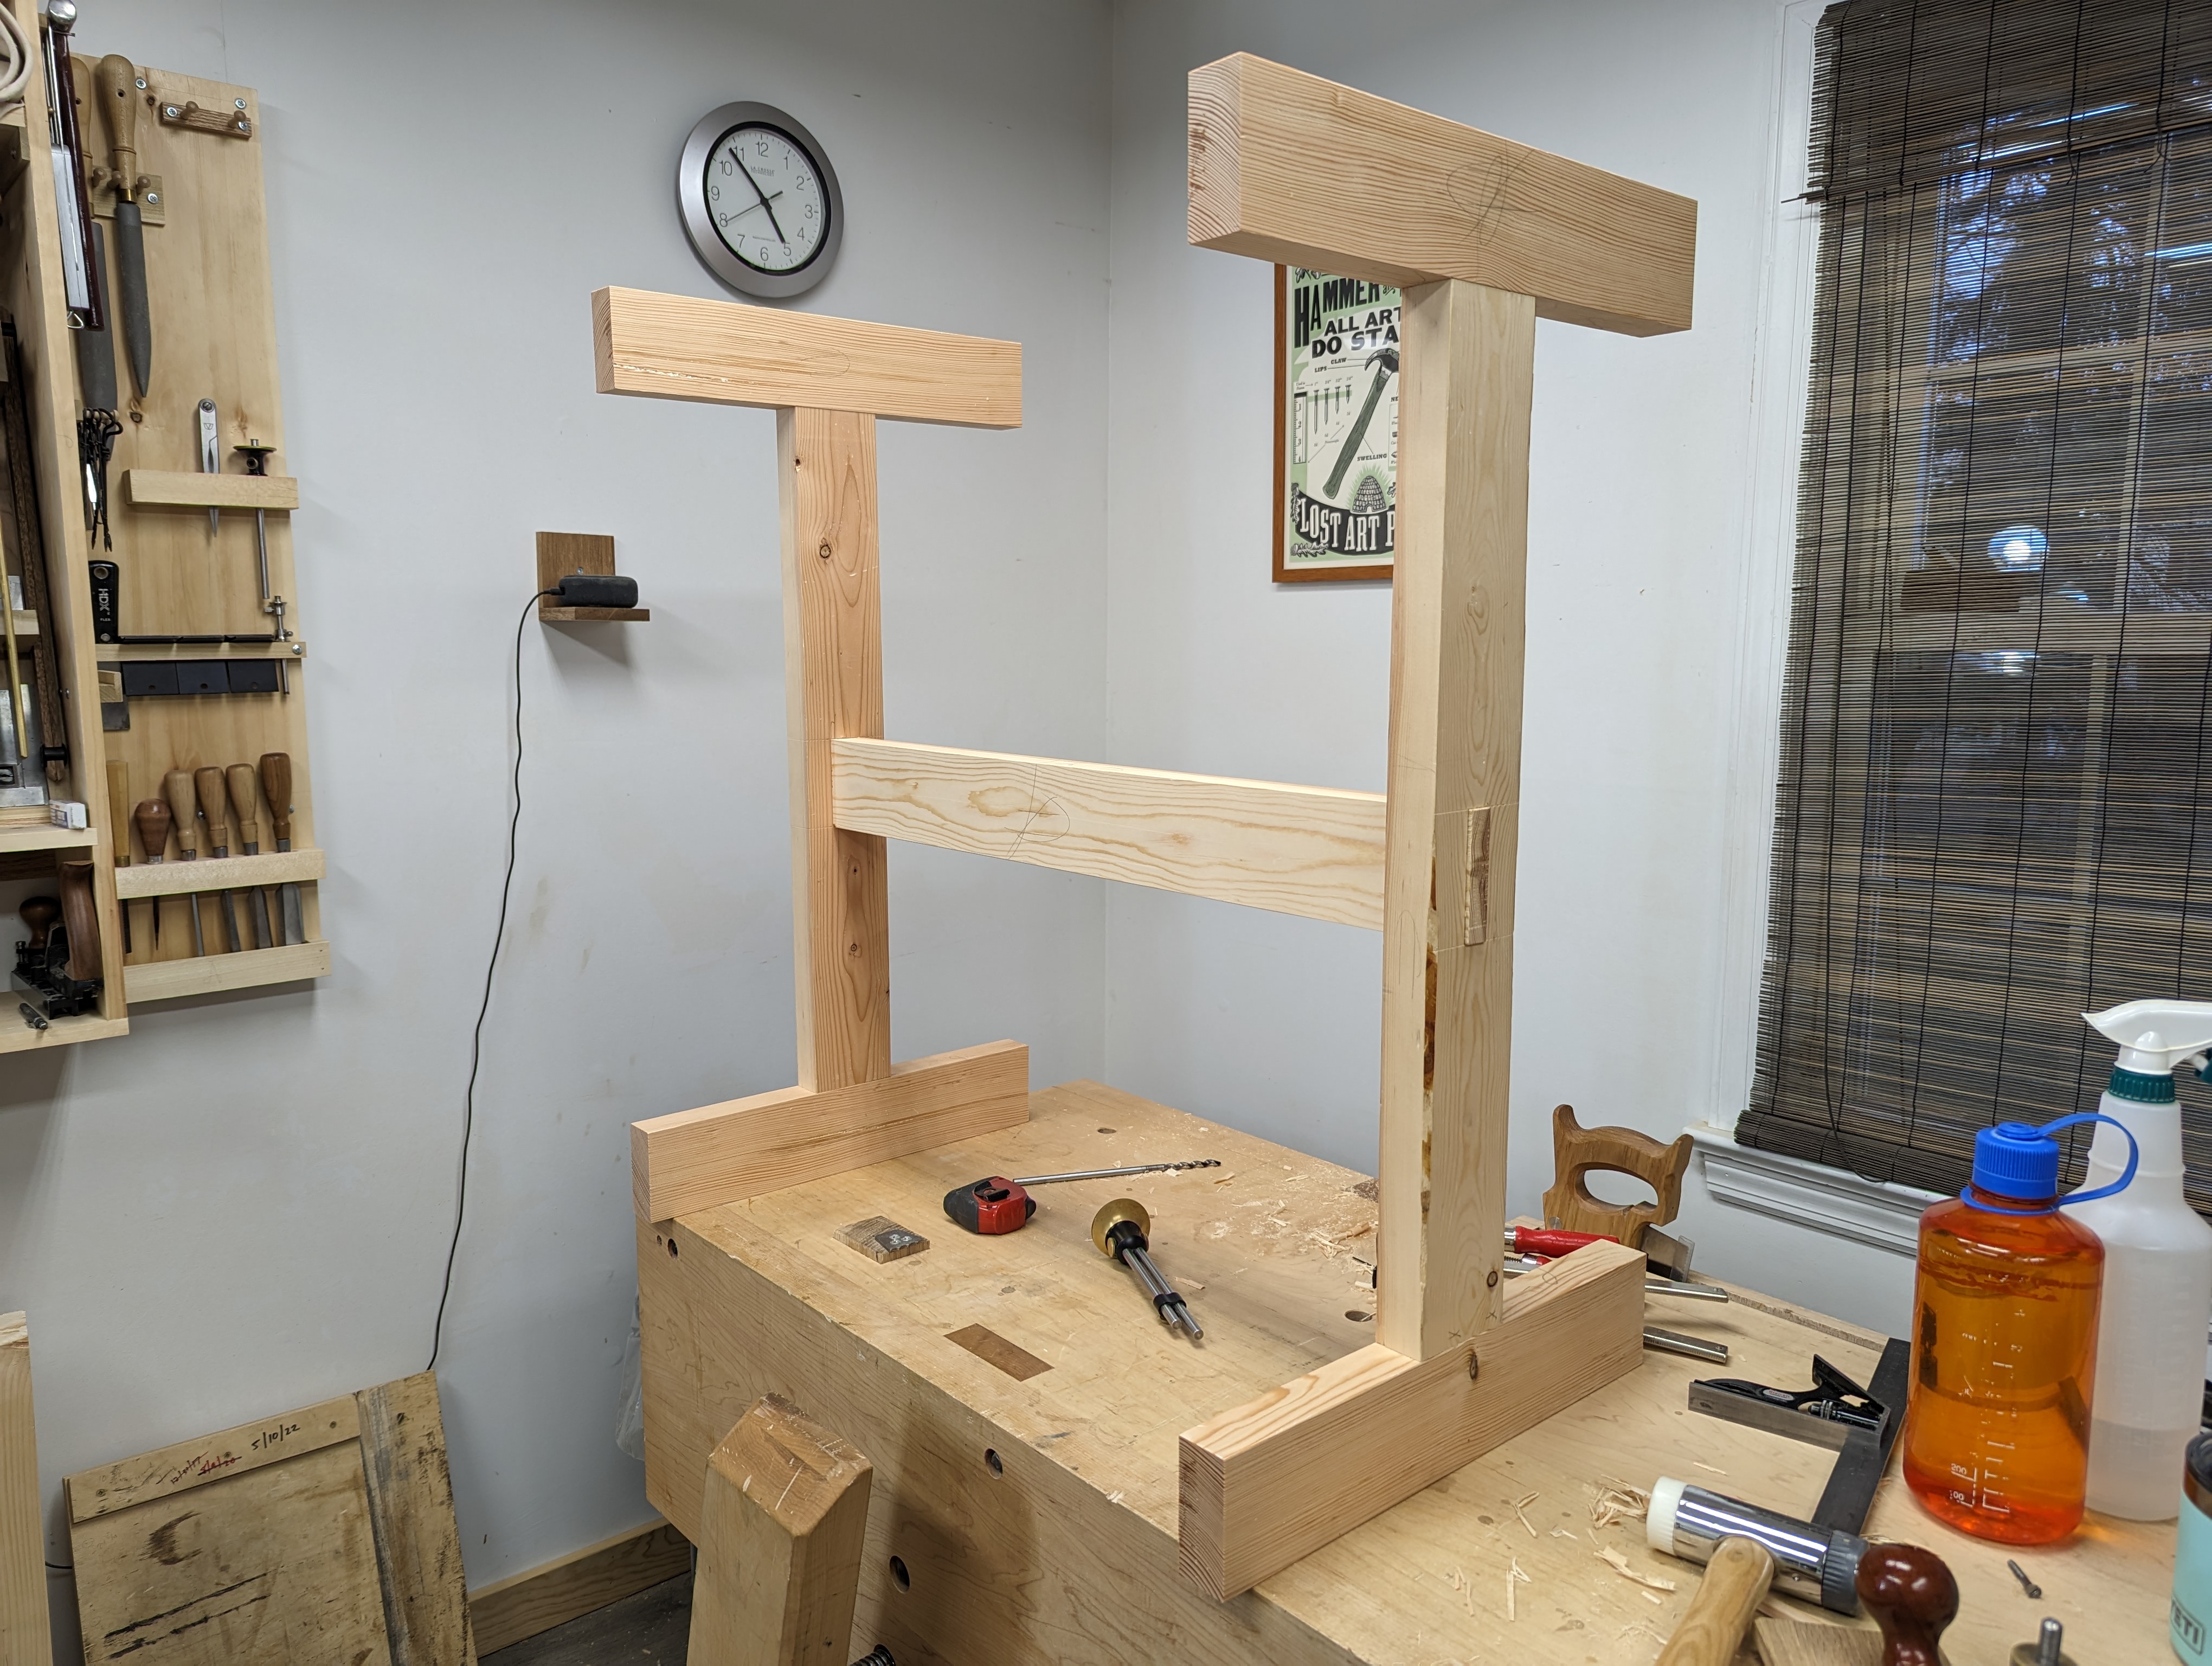
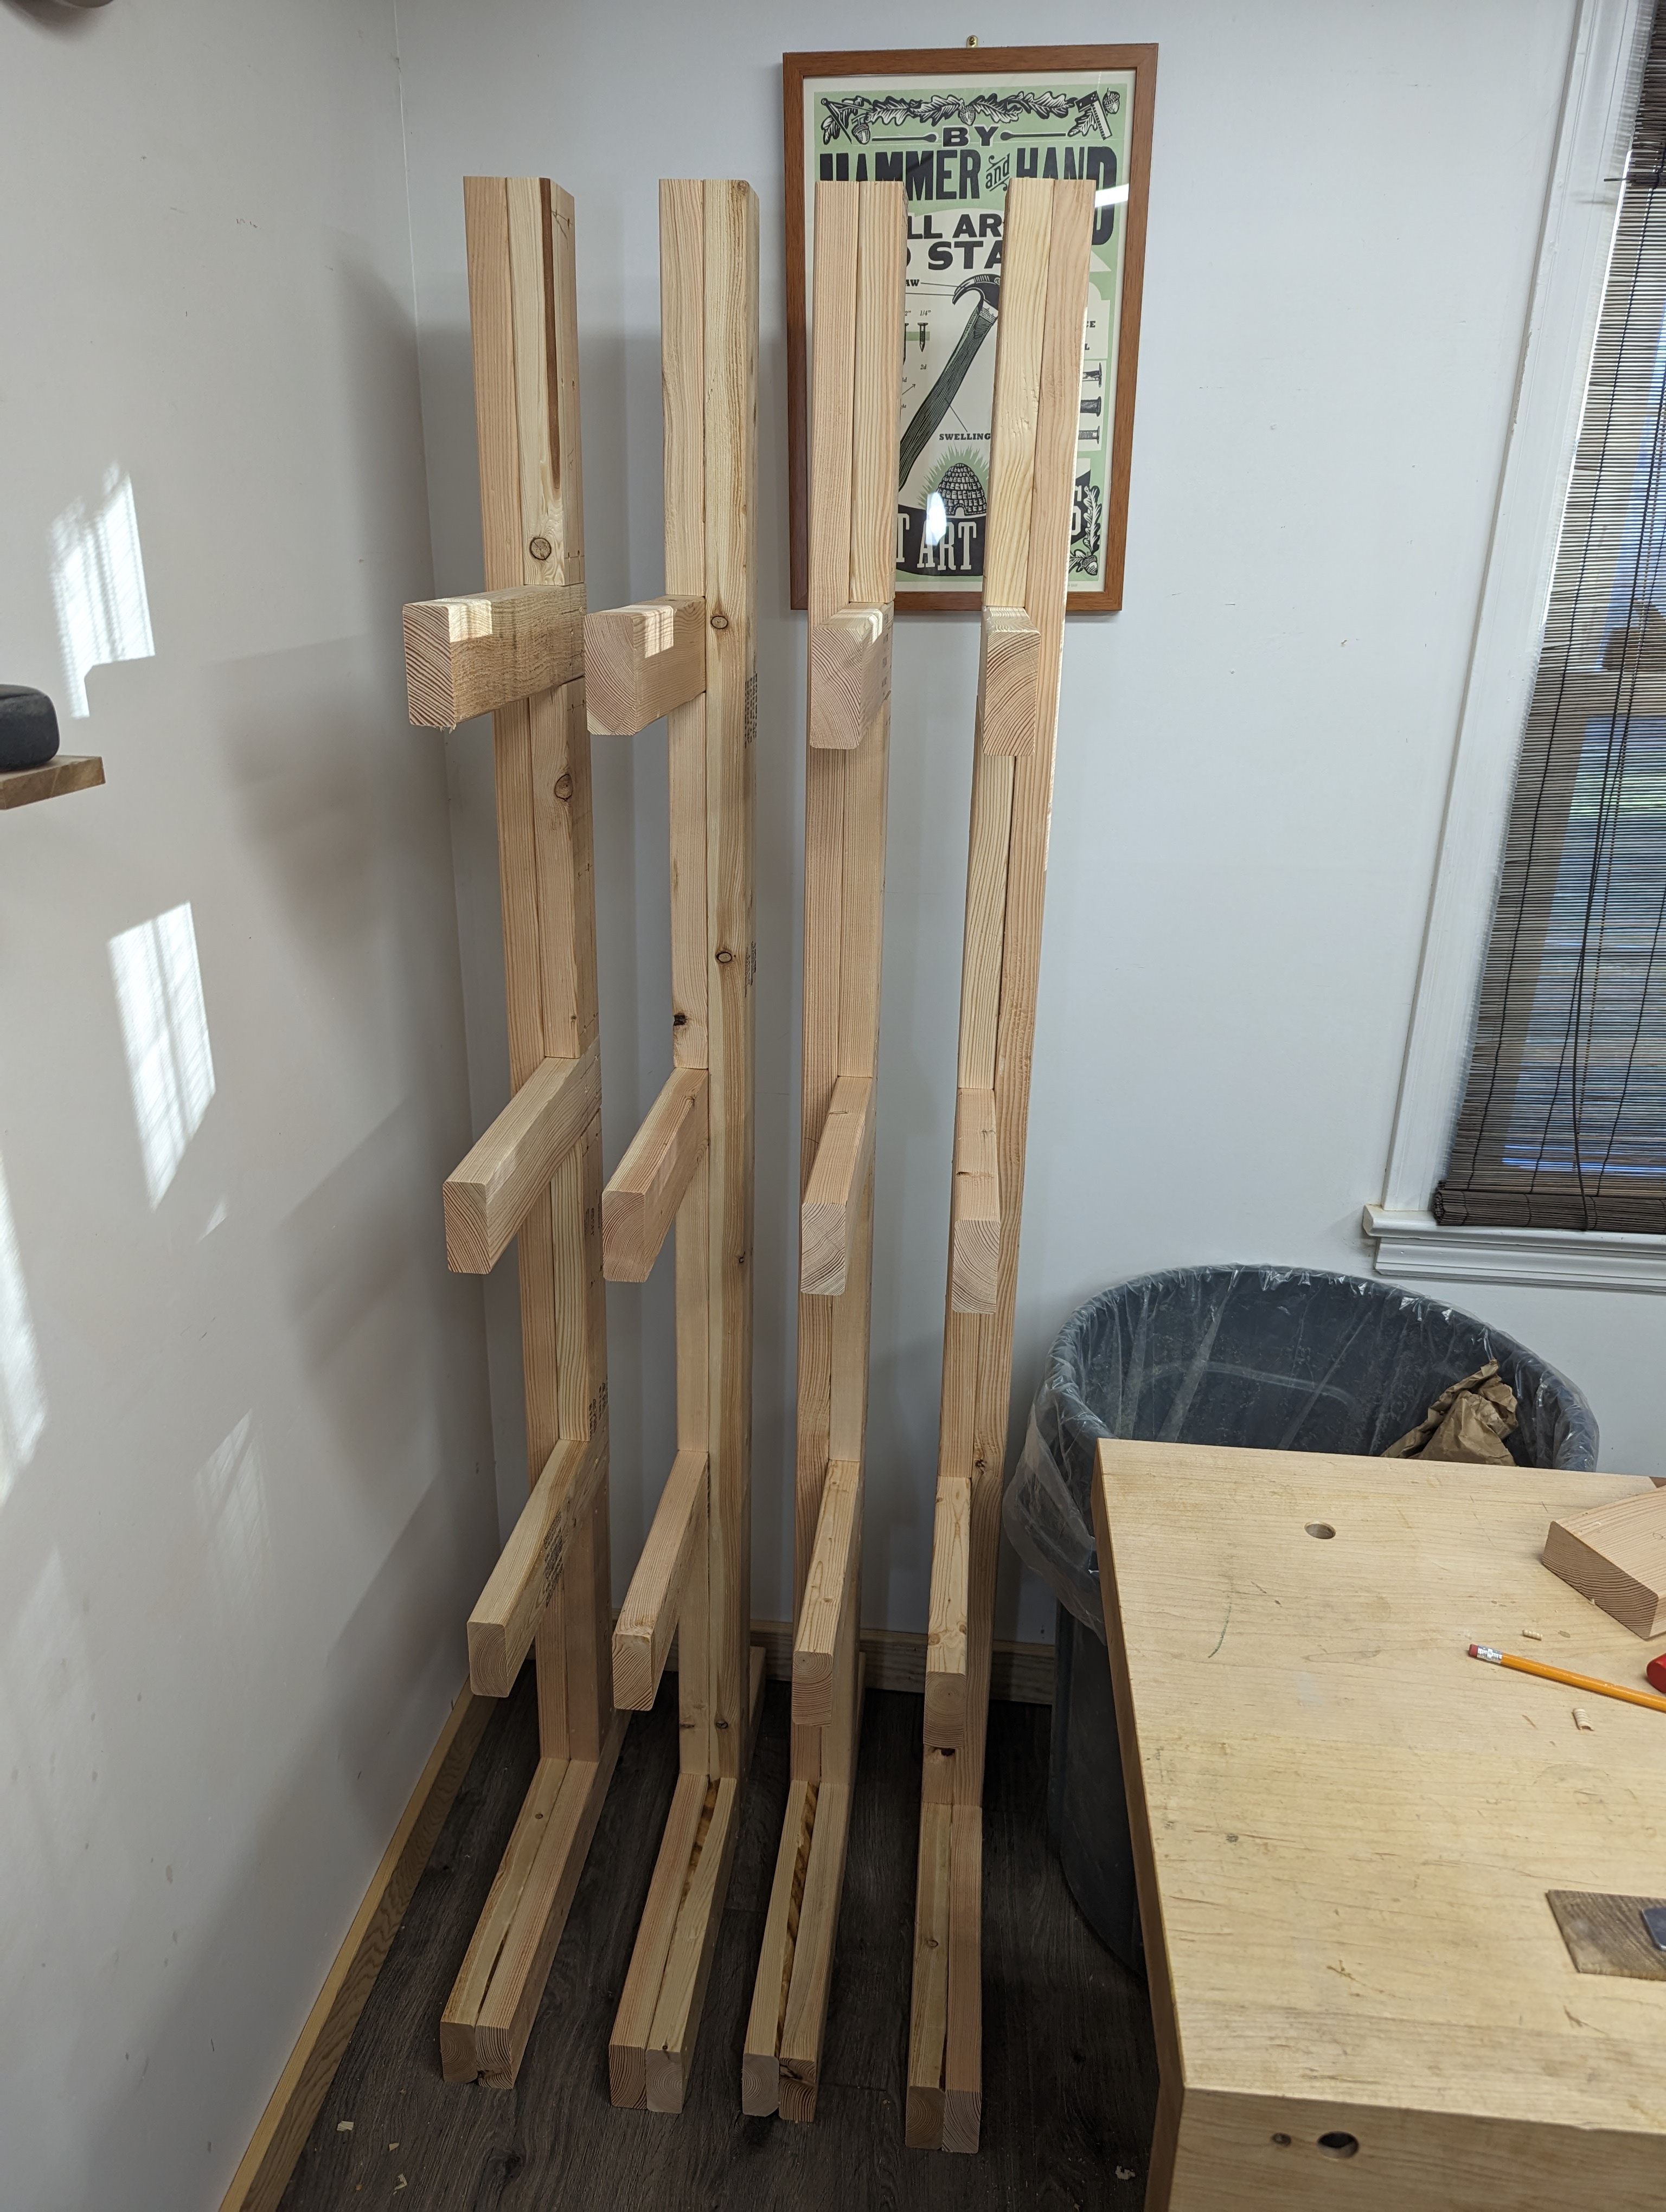
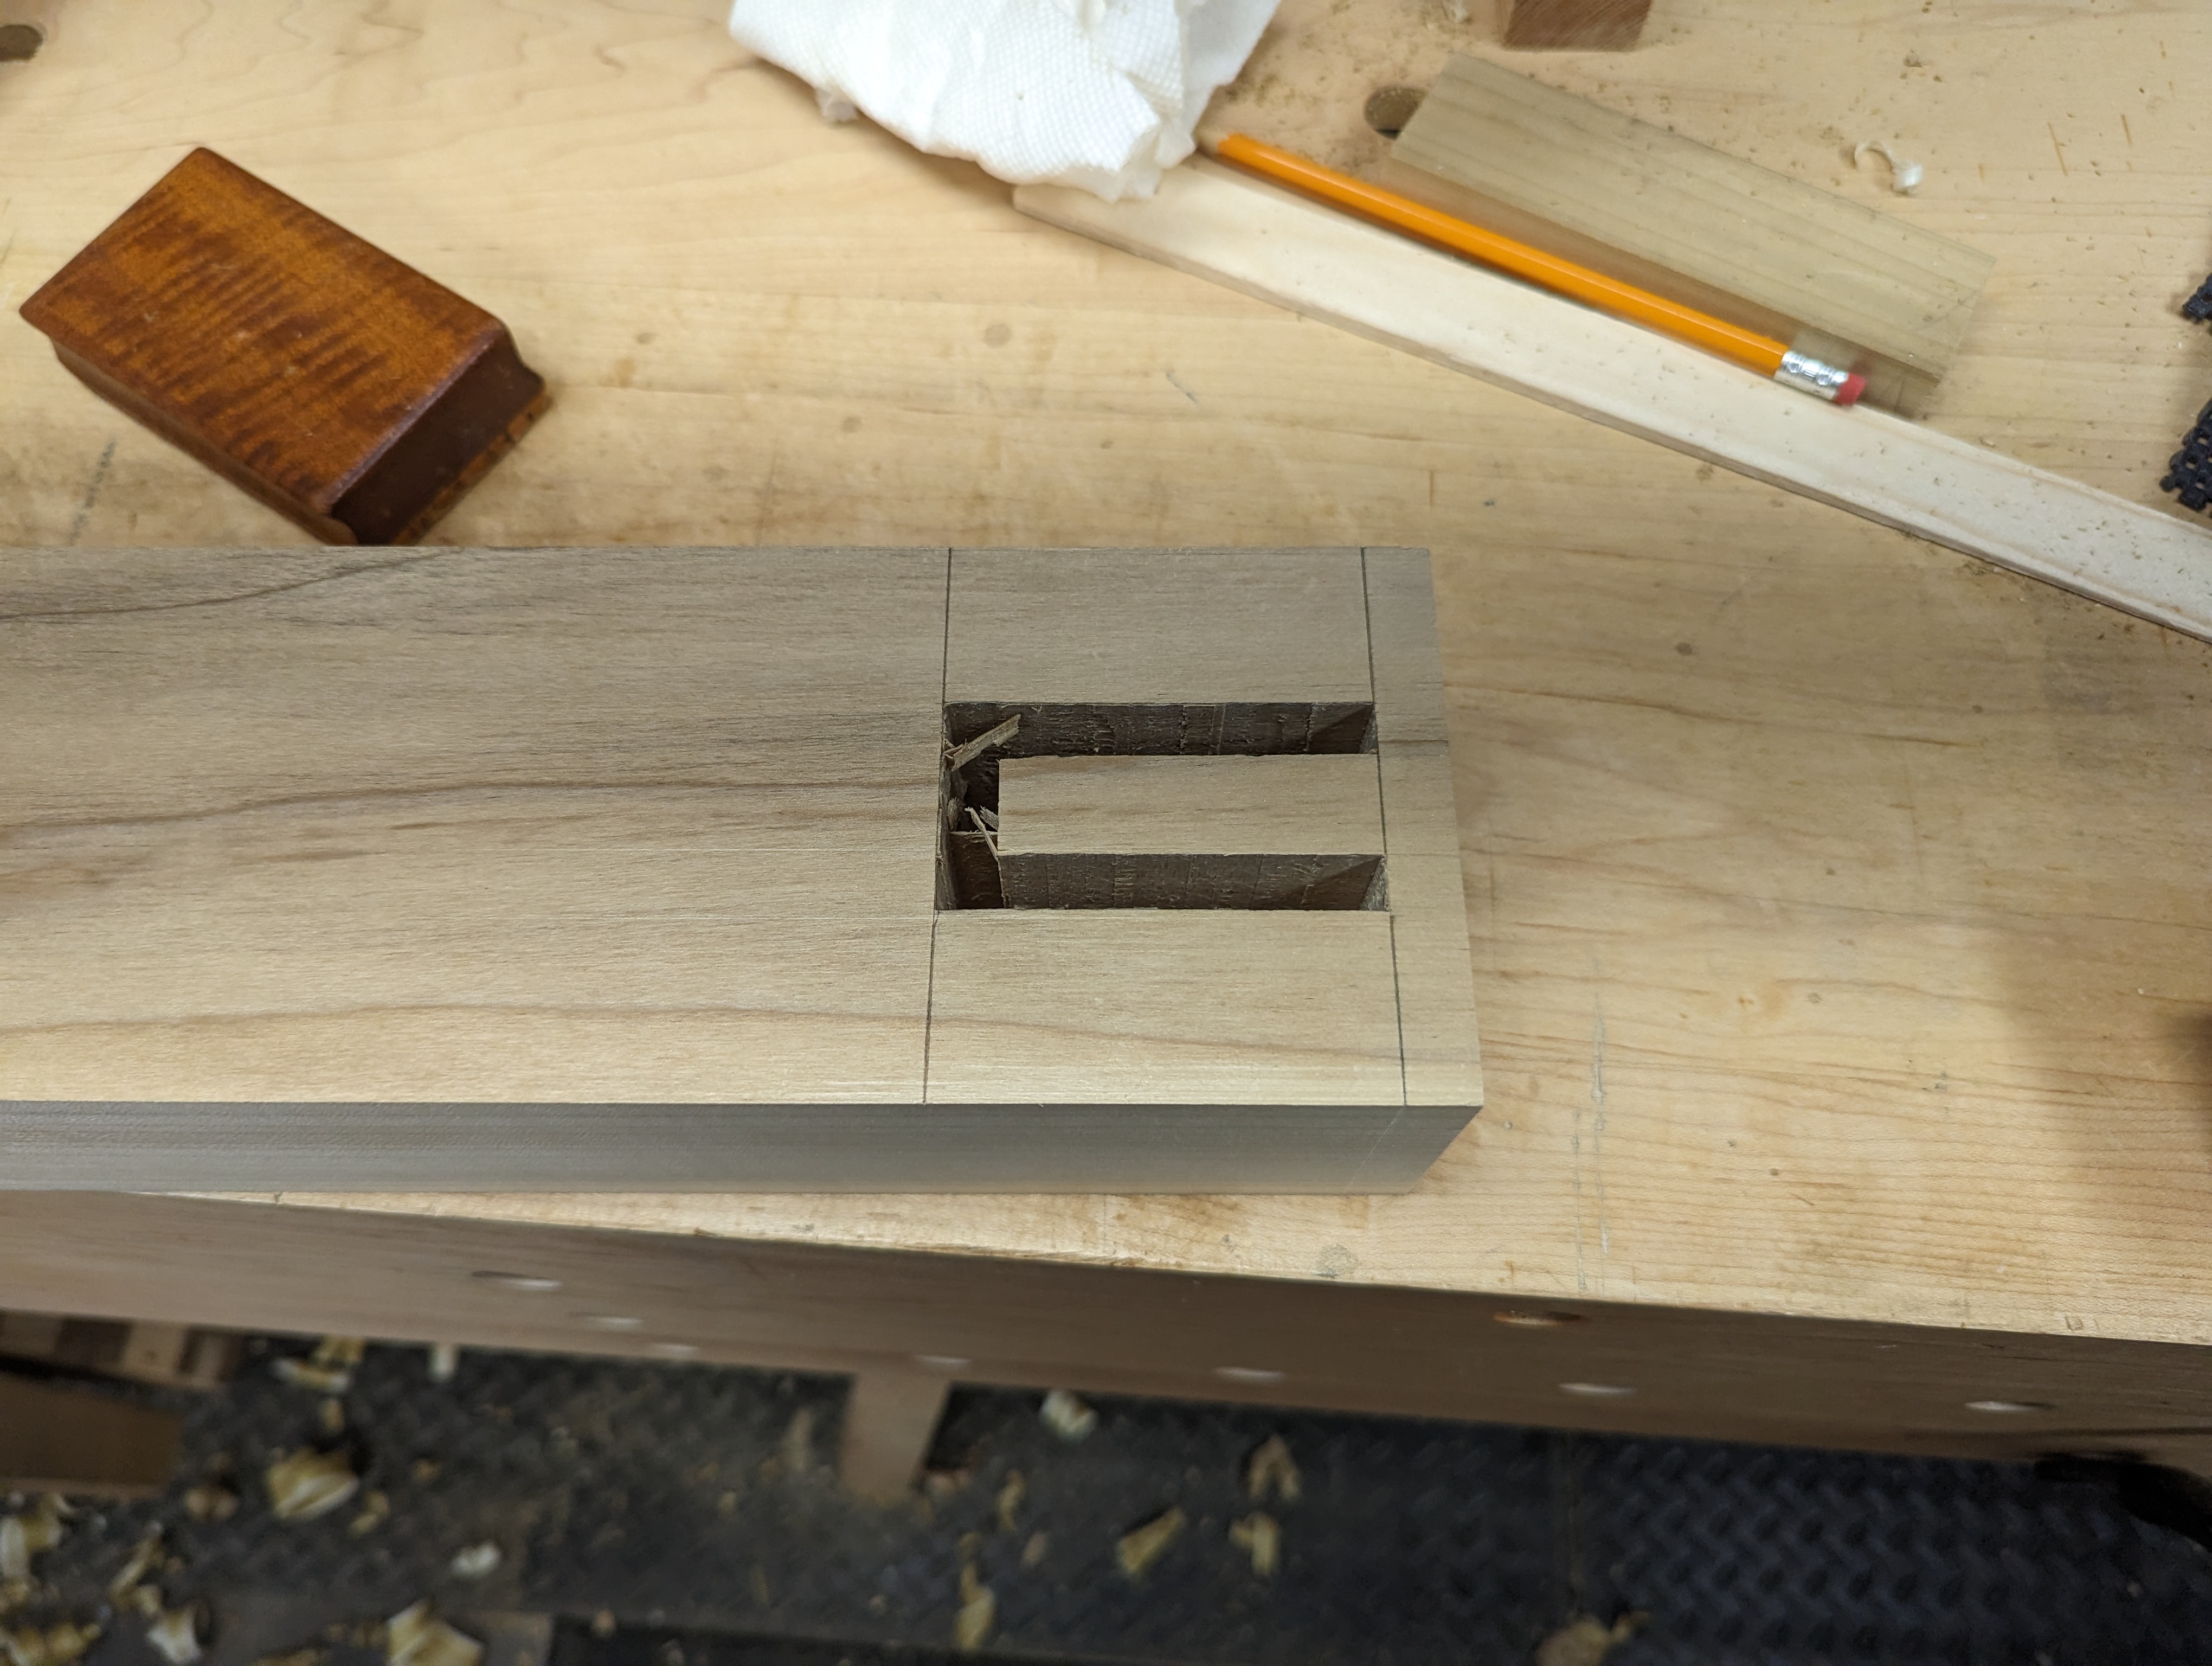
I start by defining the walls of the mortise. Assuming the mortise is centered on the leg, cut about halfway through on a full pass, flip end over end, and cut the rest of the way from the other side. Then, you can spin the leg 180 degrees and repeat the two passes. After four total passes, you have the mortise defined as shown above. Repeat for the other 3 legs until the walls of the mortise are all defined.
Now, reset the fence so you are removing half of the material remaining in the middle part of the mortise. If you’ve sized the bridle joint correctly (i.e., no more than 4x the size of your HCM bit), you only need to reset the fence this once. Remove the material only at the base of the mortise with four plunge cuts, flipping the work as before. The base of the mortise will now be fully established. No need to worry about removing the rest of the waste on the HCM, as you’re about to see.
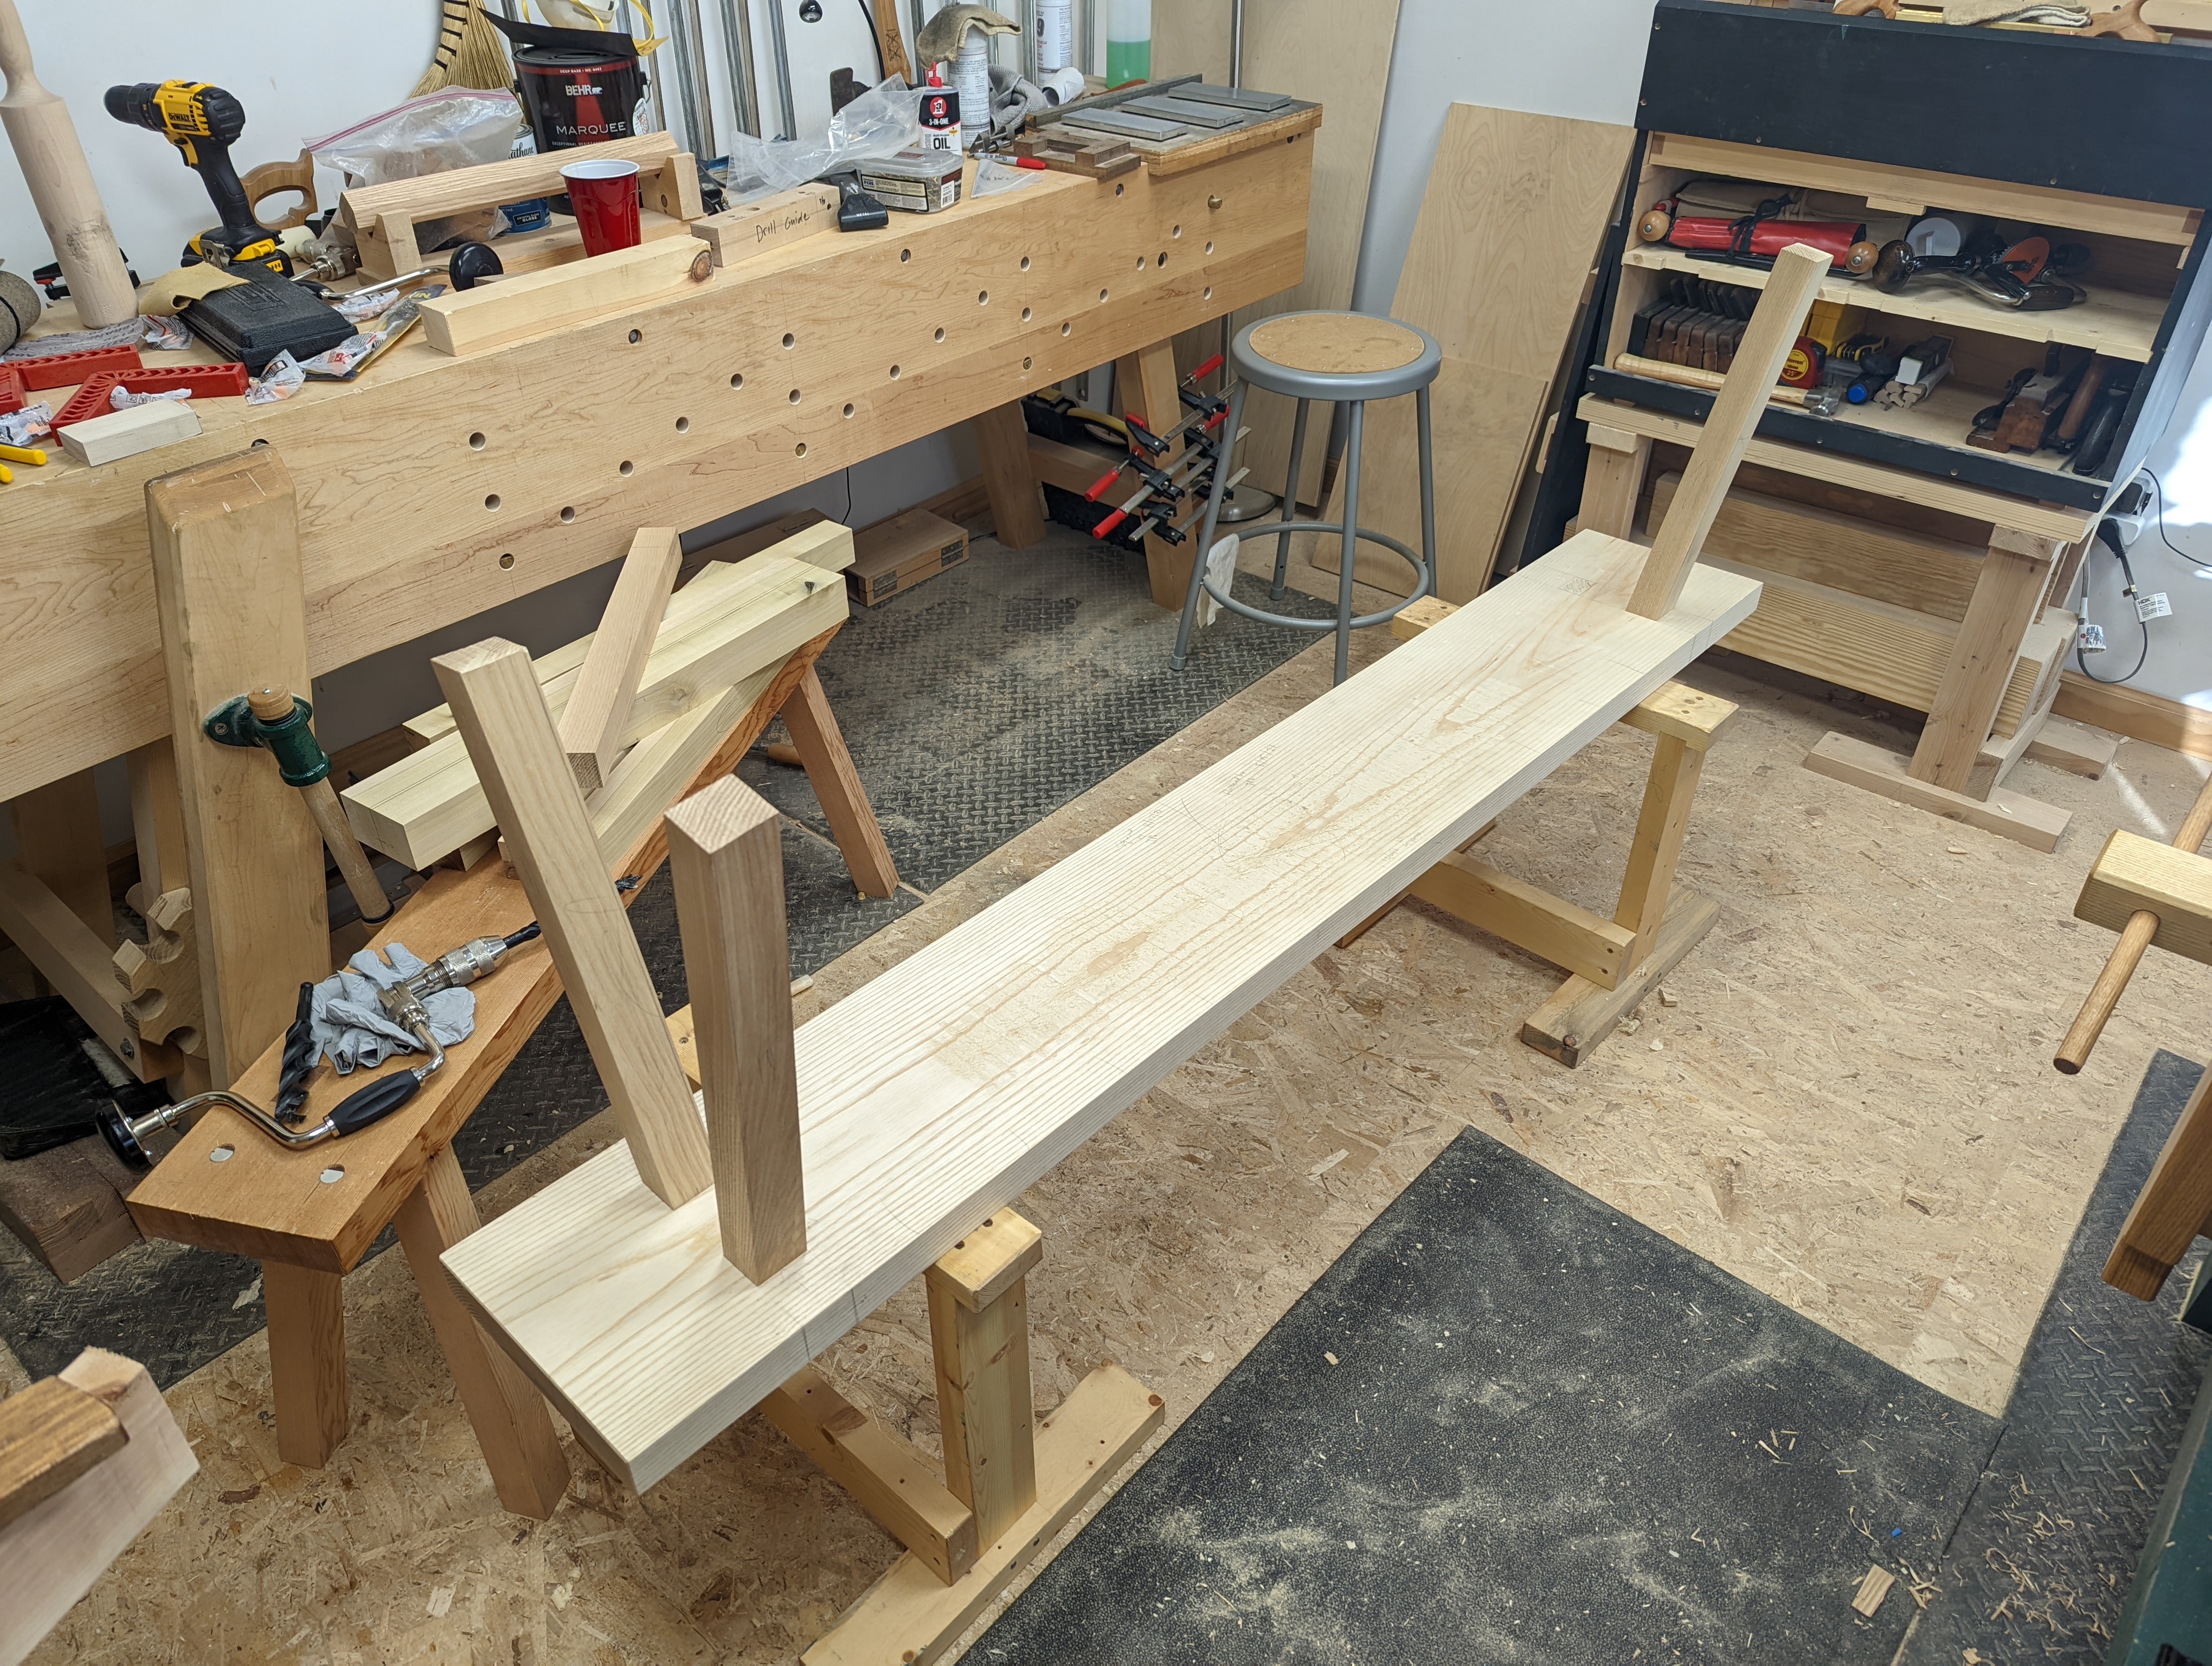
Finally, saw off the extra length on the leg (I use my miter chop saw for big cuts like this, but hand saws are fine too). BAM! You’ve got an open mortise. You may have a small strip of waste holding the inner chunk on. Just snap it off and you’re good.
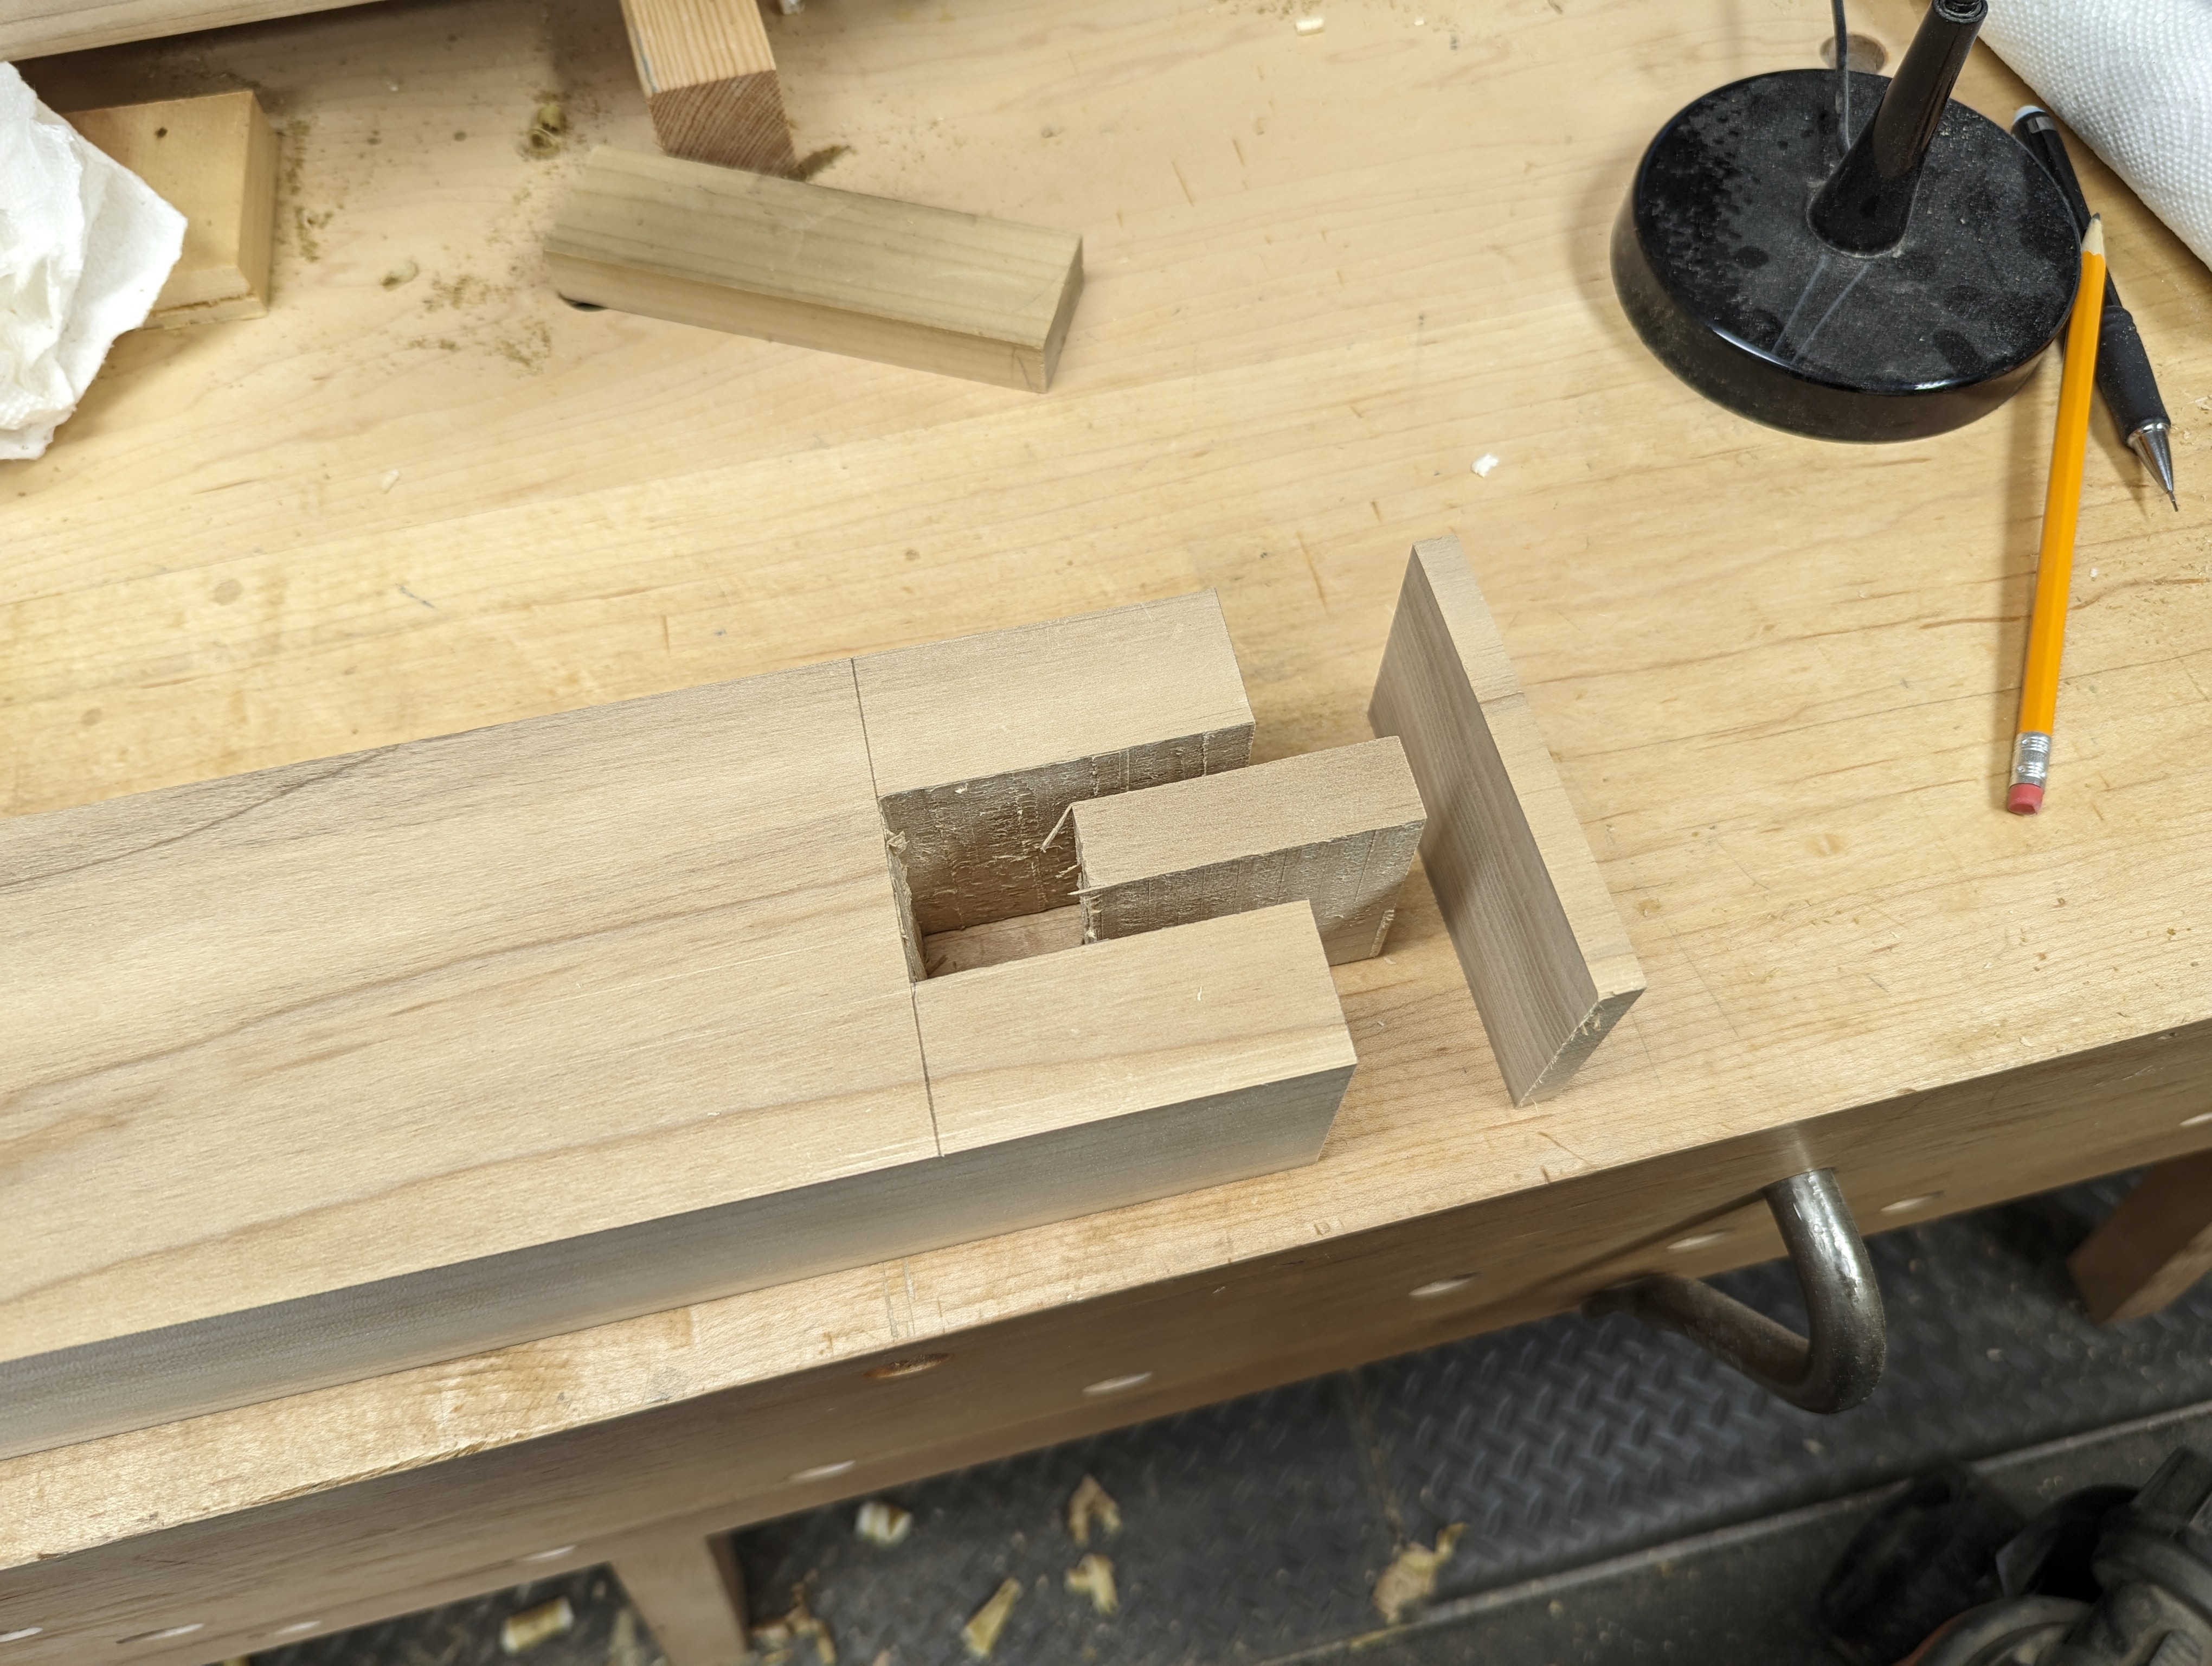
If needed, a wide chisel or a medium cut file makes quick work of smoothing any unevenness on the inside of the open mortise. But if your HCM is well set up, this may not be an issue.

Is this the most efficient way to cut bridle joints? No, not at all. Either a table saw or a band saw works faster and probably better. But I’m still learning to set up my little band saw and I wasn’t confident the cheek cuts wouldn’t wander horribly. Plus I already had the HCM set up for mortising in the lower stretchers so it was quick to move over to this operation.
While it may be a single purpose tool, I believe the HCM is the second most time saving stationary tool for the hand tool woodworker (right after the thickness planer). It’s far quieter than a router or simply chopping the mortise with chisel and mallet, and produces more predictable results. It’s faster than boring and paring out a mortise (whether with a drill press, a hand drill or a brace) and makes only the same amount of mess. All of which makes it ideal for small space woodworking.
To be clear, you don’t need a hollow chisel mortiser as a hand tool woodworker. But if I have a batch of mortises to knock out, odds are that’s where you’ll find me.
JPG